• Skip to main content
  • Skip to primary sidebar
  • Skip to secondary sidebar

Sixth Street Sundries

Emily Midgett

  • Home
  • About Me
  • Contact
  • OLO Marker Color Swatch Chart
  • Shop

karin markers

Simon Says Stamp Beautiful Days Release + New Illustration-Mother’s Day Dogwood!

April 5, 2023

Hi there! Simon Says Stamp is releasing a beautiful new collection of products tonight, called the Beautiful Days! This collection features so many beautiful, unique products that are perfect for creating springy cards, and I am thrilled that I have illustrated a stamp set included in this release, called Mother’s Day Dogwood! This stamp set features two large dogwood illustrations: one dogwood heart filled with sweet filler flowers and foliage, and one more simplistic illustration of a dogwood branch, as well as lots of sentiments to be used to build meaningful greetings for your Mother’s Day cards (or even non-Mother’s Day cards!). I have two projects to share with you today using my new Mother’s Day Dogwood stamp set and lots of beautiful colored cardstock, so let’s get started with the details!

Vivid colored cardstock is one of my favorite ways to make a huge impact on a card front. Figuring out how to add all of the different elements on my card while also keeping the intense color of the cardstock true (that is, not using white cardstock!) is like a puzzle for me. I love monochromatic cards, as you’ve seen if you have looked at my blog before, and my cards today feature monochromatic jewel-toned color scheme with bright pops of pink flowers and some pretty metallic accents!

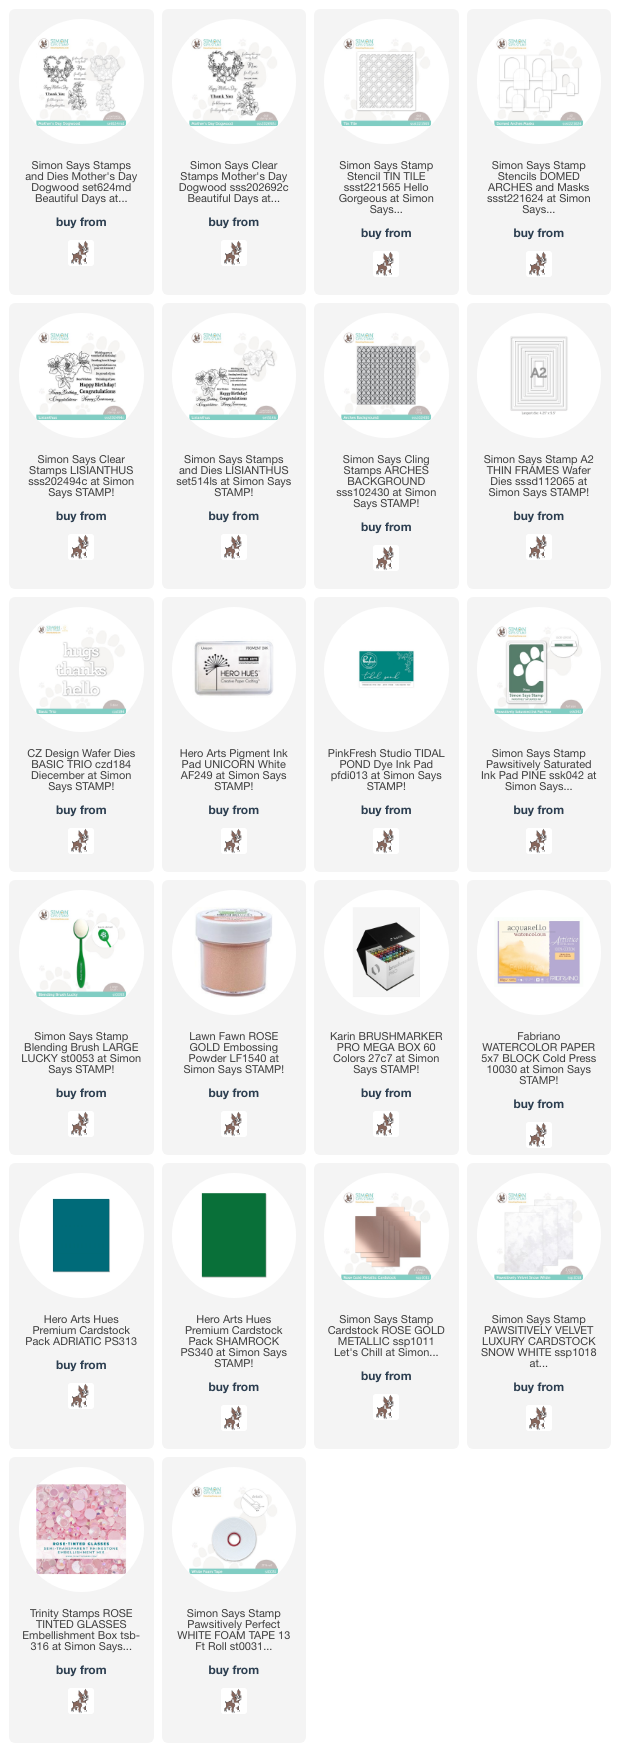
For my first project, I paired the simple Mother’s Day Dogwood branch with my colored pencils and Hero Arts Adriatic cardstock. When coloring with pencils on colored cardstock, I like to use Hero Arts Unicorn White pigment ink. I think that, because this thick ink sits on top of the cardstock rather than sinking down into it, it melds nicely with the colored pencils, which also sit atop the cardstock, preventing unsightly lines from being visible beneath the colored pencils. When using super intense colored cardstock like this deep teal cardstock, I like to lay down a base layer of my lightest colored pencil, which in this case was a cool pale blush color. I covered the entirety of each petal with that pale blush, then went back and added my darker colors, blending them together with the same pale blush color. I die cut the finished colored piece with the coordinating dies.

To accent the pink flowers, I used a blending brush to blend Pinkfresh Studio Tidal Pond ink with the Simon Says Stamp Domed Arches Stencils and Masks. I love the boldness of the dark teal ink on the intense teal cardstock. After I’d blended the arch shape, I kept my stencil in place, then placed the Simon Says Stamp Tin Tile Stencil directly over the top of the cardstock and attached dome stencil, blending with the same Tidal Pond ink. This creates a super subtle monochromatic pattern within the arch shape. I removed the patterned stencil and, while the arch stencil was still in place, splattered some handmade rose gold metallic watercolor in the background. The pale rose gold juxtaposes beautifully with the vivid teal. I finally removed the arch stencil, leaving me with a lovely patterned background that is entirely one layer! So much dimension and interest when you layer multiple stencils together.

I trimmed down the stenciled panel so that it was slightly smaller than a standard A2, then mounted it on a full size A2 panel of the same Adriatic cardstock with some foam tape. I heat embossed one of the greetings from Mother’s Day Dogwood onto some more teal cardstock using rose gold embossing powder, which contrasts beautifully with the jewel-toned cardstock, then trimmed the sentiment out with sharp scissors. I popped up the die cut with more foam tape, then added a double layer of foam tape to the sentiment, which creates a triple layer of foam tape on this card… so much dimension! But I find that with monochromatic cards like this, dimension and varying heights are important elements in keeping things interesting.

My second card features some older products, but uses a couple of the sentiment builder stamps from my new Mother’s Day Dogwood stamps. I designed the sentiments so that they would work together or you could mix and match with sentiment dies, as I’ve done here. In some “free” time that I had a few weeks ago (a unicorn if ever there was one!), I decided to do some therapeutic watercoloring with the previously-released Lisianthus stamp set that I illustrated last year. I heat embossed the main image on some Fabriano Artistico watercolor paper using more rose gold embossing powder. I used Karin Brushmarker Pro markers to watercolor some pretty pinks, hunter green, and plum to this large image. I added a dark green halo around the edge, as well, so that after die cutting, I could have a dark green cardstock background without worrying about that pesky white edge!

For the background, I trimmed down an A2 panel of Hero Arts Shamrock cardstock and stamped the Simon Says Stamp Arches Background using Pine ink. I used a blending brush to blend more Pine ink around the edge. I love the halo effect this creates! I splattered some more sparkling metallic rose gold watercolor on the background to add a bit more textural interest, but I love the subtly-patterned monochromatic look on this beautiful green cardstock!

I had originally painted this image on a 4″x6″ panel of cardstock, so the die cut was just a tiny bit too narrow to fill out the full A2 card front. To compensate for this, I die cut an A2 Thin Frames die from Simon Says Stamp using the gorgeous Rose Gold Metallic cardstock, also from Simon Says Stamp, and added my Lisianthus die cut to the back of it, creating a delicate, coordinating metallic frame around my large floral die cut.

For the greeting, I die cut the “thanks” from the Basic Trio dies, cutting it twice from plain white cardstock and once from white velvet cardstock to add some extra texture to the card front. I layered all of the die cut sentiment pieces together, creating a dimensional die cut greeting. Using some of the sentiment builder stamps included in the Mother’s Day Dogwood stamp set, I heat embossed “Mom” and “for all you do” on some scraps of Shamrock cardstock, again with the rose gold embossing powder. It stands out beautifully from the jewel-bright cardstock. I arranged them all on my card front, creating a custom sentiment for my colorful card. I love mixing and matching different products to create one cohesive project! The trick is to keep the colors cohesive so that each component looks intentional. Finally, I added a smattering of pink Rose Tinted Glasses gems for one last bit of sparkle and shine.

Well, that’s all for my projects for today! The release blog hop will be later this week, so be sure to be on the lookout for that. Thanks so much for stopping by today, and have a marvelous day!
Filed Under: simon says stamp Tagged With: A2 thin frames, arches background, basic trio, colored pencil, domed arches, karin markers, lisianthus, mother's day, mother's day dogwood, stencil, tin tile, watercolor

Honey Bee Stamps Holiday Cheer+Pretty Poinsettias!

October 25, 2020

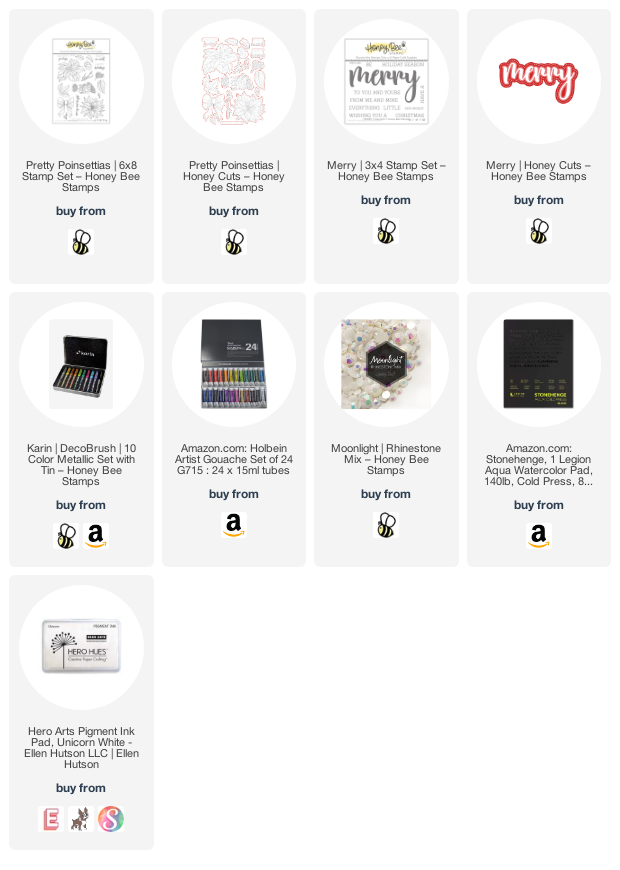
Hi there! The Honey Bee Stamps Holiday Cheer release is now available for pre-order, and I’m super excited to have designed a new holiday floral stamp set: Pretty Poinsettias! This new release has so many absolutely stunning new “country Christmas” products, from gorgeous plaid cover plates to snow globe dies to two amazing new truck sets to a fabulous new holiday floral set designed by yours truly! I have a project to share with you today using my new set using the Karin Metallic Brush Marker Pro and some black watercolor paper, so let’s get started with the details!

For this non-traditional card, I began by stamping the images from Pretty Poinsettias on some black watercolor paper using white pigment ink. I was super excited to see how well the white pigment ink disappeared beneath the metallic Karin markers. This bouquet was stamped really quickly, too, because there was little to no masking involved! The metallic markers covered up the overlapped images so well.

Next, I used the Metallic Karin Brushmarker Pro to add color to the images. Not my usual meticulous coloring, but it was certainly fun to try something different. I did add a layer of white gouache to the poinsettia to make sure that I could get some depth on those large flower petals. After the gouache had dried, I laid down some of the purple metallic Karin ink on the petals, then pulled the color out with a damp paintbrush.

Once the painting/coloring was finished, I heat embossed a greeting from Pretty Poinsettias on some vellum using silver embossing powder. I trimmed down the colored panel and added some strips of matte silver foil on either side, then mounted the vellum sentiment strips on the colored panel, folding the edges over the sides and hiding some of the adhesive on the back of the solid cardstock portion, adhering the rest with tiny dots of adhesive. Finally, I adhered the colored section to an A2 lavender card front using foam adhesive.

For my second project, I used the Pretty Poinsettias with my new Holbein gouache to create this super vibrant patterned background panel. I stamped the images again using white pigment ink, then had some fun playing around with the gouache to create this super vibrant, almost velvety patterned panel. Once I’d finished adding color to the images, I used my white gel pen and T-square to add a rectangular frame around the edges.

I white heat embossed a greeting from the new Merry Buzzword stamp set on the coordinating pierced die, also stamping the rest of the greeting on some strips of red cardstock.

I adhered the sentiments to the card front using foam adhesive, finally adding a few Moonlight gems to add some sparkle and extra texture to the card front.

Well, that’s all for today’s projects. I have loooots more to show you, but this is just a little taste! Due to some shipping delays (dangit, Covid, quit messing with our crafty purchases!), the new release will be shipping on or around November 2, 2020. The team is going to be having an inspiration week November 2-6, so be sure to keep your eyes peeled for lots of gorgeous inspiration on Instagram, the Honey Bee Blog, and YouTube channel!

Thanks so much for stopping by today, and have a marvelous day!

Filed Under: christmas card, holiday card, Honey Bee Stamps Tagged With: black watercolor paper, christmas, gouache, holiday, karin markers, karin metallic, merry buzzword, pretty poinsettias

Honey Bee Stamps Autumn Afternoon Blog Hop-Day 2!

September 23, 2020

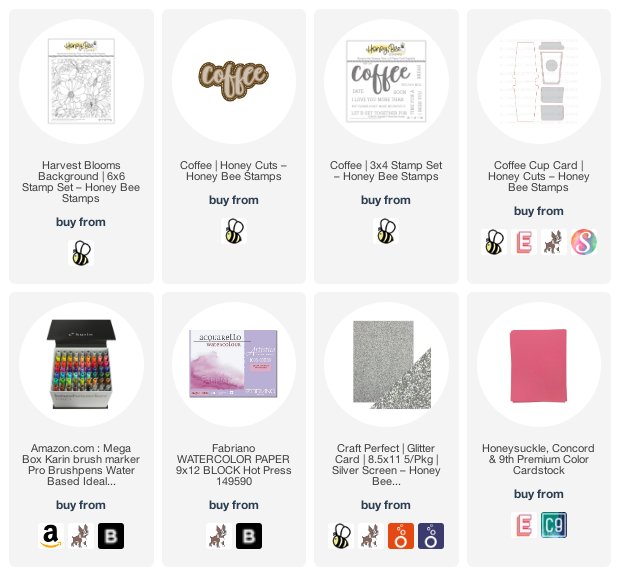
Hi there!! Today is day two of the Honey Bee Stamps Autumn Afternoon Blog Hop, and I’m super excited to be the final stop on the hop. You should have arrived here from Becky Roberts. You can also start back at the beginning at the Honey Bee Stamps blog. I actually was able to create my first video in six months just to celebrate! I used my new Harvest Blooms stamp set with Karin Brush Marker Pro markers.

You can also watch the video in HD here.

In the video, I created two different projects using the entirety of the watercolored 6×6 Harvest Blooms panel. I began by heat embossing the Harvest Blooms on a panel of Fabriano Artistico Hot Press watercolor paper using silver embossing powder, then used Karin Brush Marker Pro markers to watercolor the image.

I used the Coffee Cup Card Dies, die cutting the coffee sleeve from the floral watercolored panel. I also added a greeting from the new Coffee Buzzword Stamp and Die set, cut from silver glitter cardstock.

I adhered the die cuts to the sleeve, then slid the finished coffee cup sleeve over the top of the coral gift card holder.

I put the rest of the Harvest Blooms watercolored panel Harvest Blooms to use as the background for this A2 card front. I added some strips of coral cardstock along the edges of the watercolored panel, then mounted it in the center of a silver glitter A2 panel. The coral cardstock helps to break up the busy-ness of the watercolored panel and the super textured and glitzy silver glitter cardstock.

I adhered a white Coffee Cup Card Die to the left side of the card front, then layered the sentiment from Coffee Buzzword Stamp and Die set over the top using foam adhesive. The final touch was to add some gems for even more sparkle!

Well, that’s all for my projects today. To celebrate this release, Honey Bee Stamps is giving away a $25 gift certificate on each day of the hop. The more comments you leave on the hop, the more chances you have to win! Thanks so much for stopping by today, and happy hopping!

Filed Under: Honey Bee Stamps Tagged With: coffee, gift card, harvest blooms, karin markers, watercolor

Tropical Card Set using Paradise Blooms from Honey Bee Stamps!

August 12, 2020

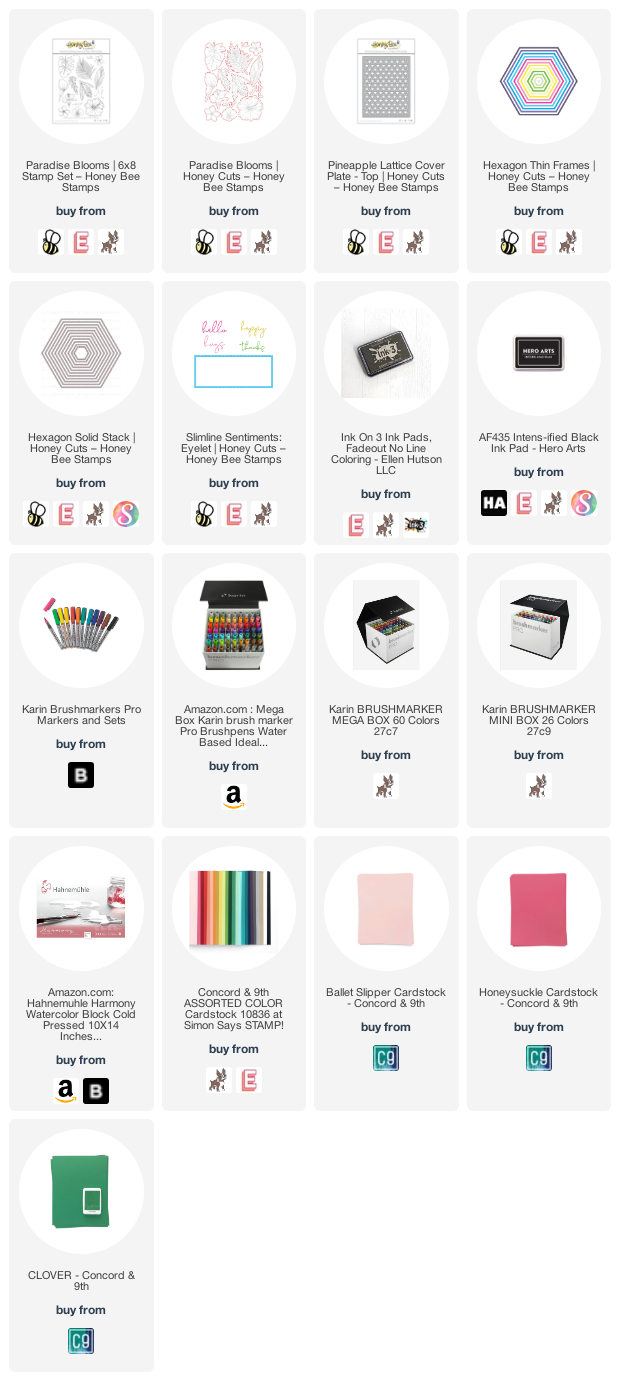
Hi there! If you follow me on Instagram, you’ll know that I have been trying to hone my drawing skills, and as a result have been designing stamps for Honey Bee Stamps! My most recent set is called Paradise Blooms, a large 6×8 tropical floral set, perfect for coloring! I’ve done some no-line Copic coloring and some watercoloring for today’s projects, as well as some fun die-cutting techniques in a pretty watermelon color scheme, so let’s get started with the details!

This card set is a two-fer; I created both card bases using one set of die cuts from the Hexagon Thin Frames dies and the Pineapple Lattice Cover Plate. I first die cut the Pineapple Lattice Cover Plate from some Ballet Slipper cardstock, then die cut a hexagon from the lower right hand corner using the Hexagon Solid Stack dies. I also die cut the Hexagon Thin Frames from some Clover cardstock. These die cut pieces would form my card bases for both cards.

For this first card, I watercolored a variety of the blooms from Paradise Blooms using Karin markers. I stamped them first on Hahnemühle watercolor paper using waterproof black ink, then watercolored them in a pretty peachy-pink, jade green, and deep coral color scheme with the Karin (AZ|SSS) markers. I die cut the watercolored images using the coordinating Honey Cuts.

I adhered the cover plate die cut to an A2 Honeysuckle card base, adding the Clover frame over the edge of the hexagonal die cut area. I arranged the Paradise Blooms die cuts in a cluster over the frame and adhered them using foam adhesive. I then added a black die cut “thanks” from the Slimline Sentiments Eyelet die set, finally adding some iridescent white gems for sparkle.

For my second project, I used some leftover no-line Copic-colored floral die cuts from the Paradise Blooms set. When I’m stressed or just wanting to color, but don’t necessarily have the time to sit down and make a full card from start to finish, I like to stamp a bunch of images and then color them, so that when I do have the time or the inspiration for a card layout strikes, I have my images ready to go and can just pop everything together! These Copic-colored flowers were leftover from these projects and were just waiting for the right layout! I adhered the die cut Pineapple Lattice Cover Plate to the Clover Hexagon Thin Frames, then popped it up on a Honeysuckle card base.

I arranged the Paradise Blooms stamps in a little cluster, then adhered them with foam adhesive. I also added another black die cut from the Slimline Sentiments Eyelet die set, finally adding some more iridescent white jewels for sparkle.

Well, that’s all for these cards today! It is so exciting to see my drawings come to life as stamps, so that they can be used over and over again with different mediums, color schemes, and techniques!! Thank you so much for reading, and stay well, friends!

Filed Under: Honey Bee Stamps, karin Tagged With: concord and 9th cardstock, copic coloring, karin markers, no line coloring, paradise blooms, pineapple cover plate, watercolor

Tickled Pink with Colorado Craft Company!

August 2, 2020

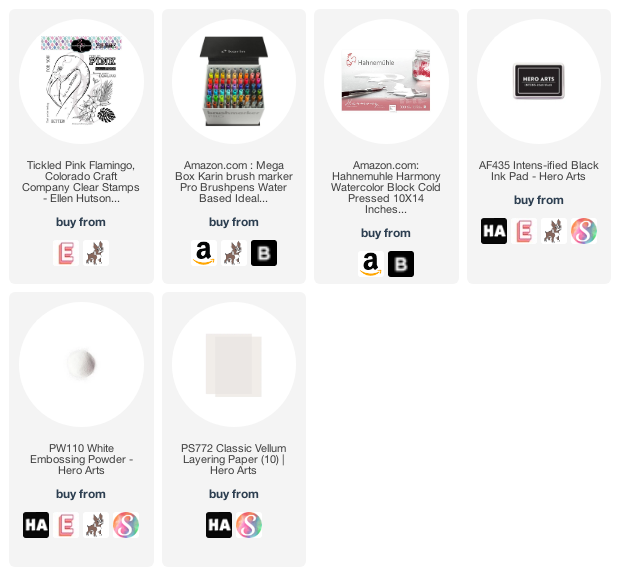
Hi there! Today, I am sharing this super colorful project created with one of the latest Big and Bold stamps from Colorado Craft Company- Tickled Pink! These Big and Bold stamp sets from CCC are seriously a joy to color… their massive size make them great for adding lots of detail and depth with your coloring, making them great for a newbie to practice their coloring, as well as a more experienced colorist for adding in lots of layers and depth! July happened to be #worldwatercolormonth over on Instagram, as well as #thedailymarker30day challenge hosted by the fabulous Kathy Racoosin, and I decided to combine the two challenges to practice my watercoloring skills!

The fabulous folks at Colorado Craft Company were kind enough to send me a few of their newest stamp sets, including this gorgeous Tickled Pink (EH|SSS) stamp set, and I couldn’t wait to pair it with my Karin (AZ|SSS) markers to create a super vibrant card front.

I stamped the main flamingo image on some Hahnemühle watercolor paper (one of the papers I prefer to use with the Karin markers), as well as the lovely floral image along the edge of the panel to create a floral border, using Intens-ified Black Ink from Hero Arts. I then used my Karin markers (AZ|SSS) to add lots of super vibrant color to the image, including a bright blue gradient sky. Super vibrant and fun, don’t you think?

For the greeting, I heat embossed a couple of the sentiments from Tickled Pink (EH|SSS) using white embossing powder on some heavyweight vellum, then used tiny dots of glue behind the heat embossed letters to adhere them to the card front. Finally, I added a few iridescent gems to add a bit of sparkle and texture!

Well, that’s all for me today! Thanks so much for stopping by, and have a marvelous day!

Filed Under: colorado craft company, karin Tagged With: flamingo, hahnemühle, karin markers, tickled pink, watercolor

  • Page 1
  • Page 2
  • Go to Next Page »

Primary Sidebar

  • Facebook
  • Instagram
  • Pinterest
  • YouTube

Favorite Shops

Secondary Sidebar

Subscribe

Enter your email address to subscribe to this blog and receive notifications of new posts by email.

Instagram
Something is wrong.
Instagram token error.
Follow
Load More

Archives

Tags

3D embossing folder alcohol markers better press birthday birthday card blog hop card kit christmas christmas card christmas tag colored pencil copic copic coloring Daniel Smith die cutting embossing folder embroidery felt giveaway holiday holiday card hot foil ink blending karin brushmarker pro layered stencil masculine my monthly hero new release no line coloring no line watercolor OLO marker olo markers original illustration pawsitively saturated rainbow shaker card slimline stamping stamptember stencil thank you thinking of you valentine's day video watercolor

Popular Posts

Simon Says Stamp Sending Cheer Blog Hop- Day 2 + Freebie + Giveaway!
Joyful Snowman with New Simon Says Stamp Sending Cheer Release!
Simon Says Stamp Sending Cheer Release: Now Available!
Altenew October 2026 Release Blog Hop + Giveaway!
February 2018 My Monthly Hero Blog Hop!
Altenew March 2020 Release Blog Hop+Giveaway!
Special Release: Simon Says Stamp Limited Edition STAMPtember Christmas Card Kit!
Simon Says Stamp Cozy & Bright Inspiration, Part Two!
Waffleflower December Release Blog Hop!
Altenew Build A Flower Japanese Mum Blog Hop!

Disclosure

Some affiliate links are used in my posts. This means that, should you click on one of my links and purchase something from that company, I will receive a small portion of the sale at no extra cost to you. I use the money earned from these sales to help maintain my blog. I so appreciate you visiting and, if you do choose to use one of my affiliate links, thank you so much for your support!
Copyright © 2026 ·Brunch Pro Theme · Genesis Framework by StudioPress · WordPress · Log in
Loading Comments...