I have a new video up over on the Pinkfresh Studio YouTube Channel showing how I created this clean and pretty project that features lots of crisp white, pops of pink, and tons of sparkling textures! Watch the video HERE.
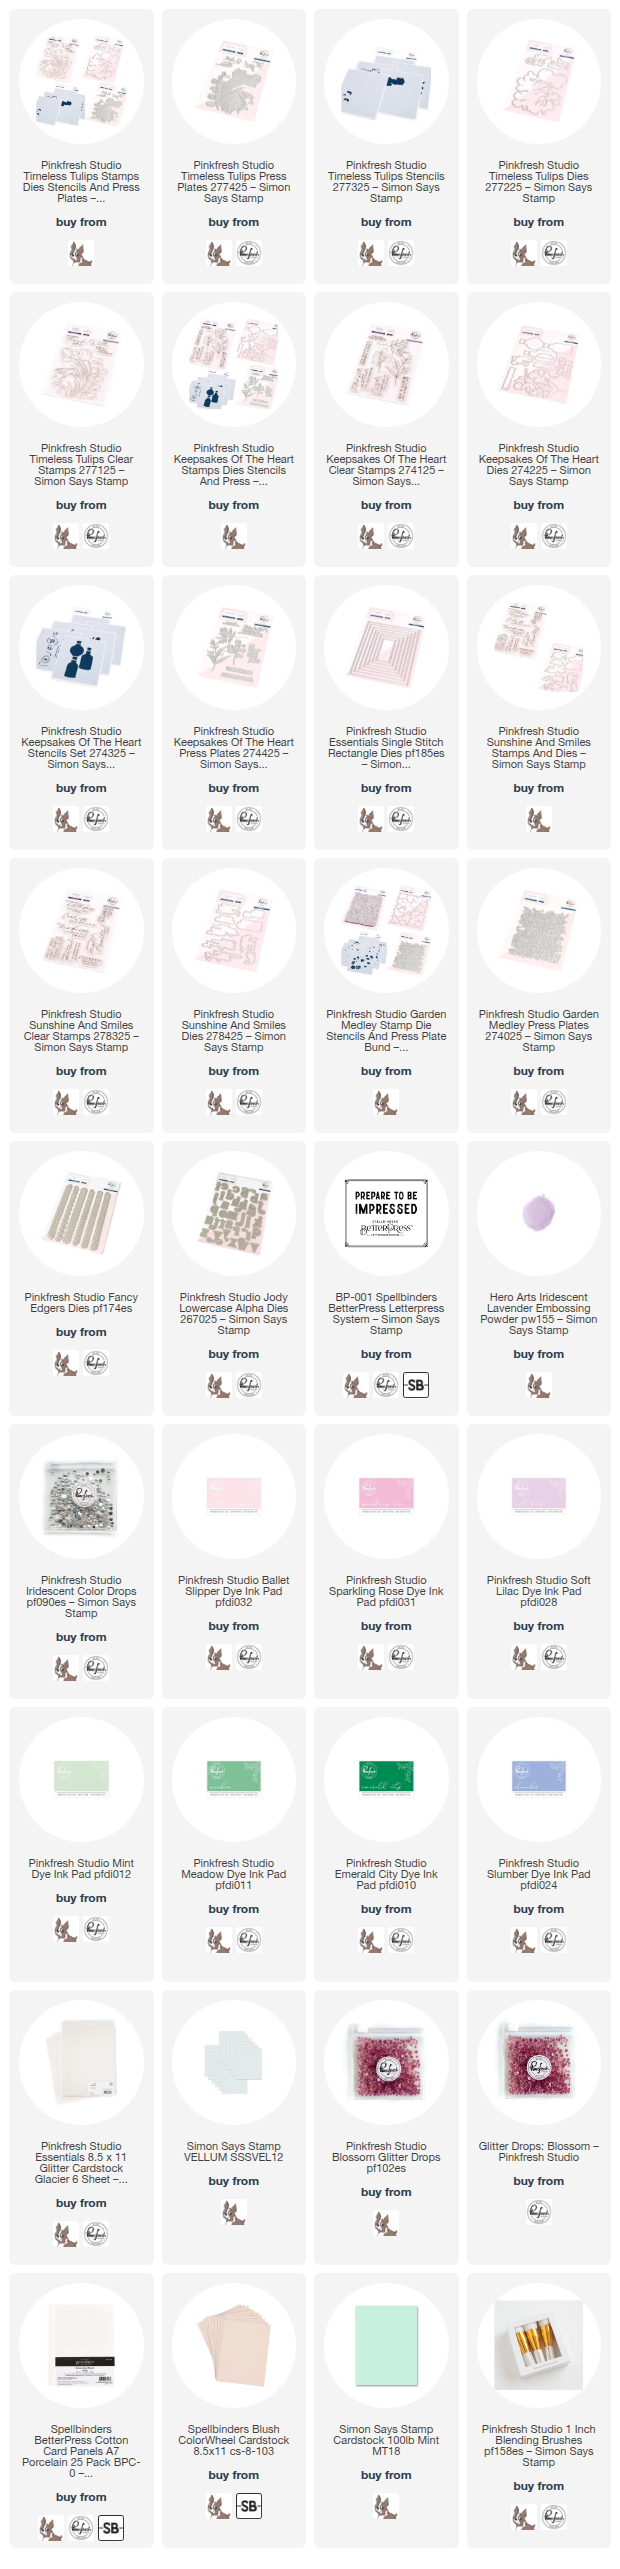
Supplies Used:
Emily Midgett
I have a new video up over on the Pinkfresh Studio YouTube Channel showing how I created this clean and pretty project that features lots of crisp white, pops of pink, and tons of sparkling textures! Watch the video HERE.
Supplies Used:

Hi friends! I am hopping along with Pinkfresh Studio today to share inspiration using their gorgeous new Sunshine and Smiles release that just went live! You can see the full hop list at the bottom of this post. I have a pair of lovely and soft springtime cards using several of the new press plates and dies. Let’s get started with the details on my projects!
*I have gathered links to all of the products used at the bottom of the post for your convenience, using affiliate links. Thank you for shopping with my links! I truly appreciate your support for my work!*

For both of my projects, I kept the color palette light and airy, pulling Ballet Slipper, Sparkling Rose, Soft Lilac, Mint, Meadow, Emerald City, and Slumber Pinkfresh Studio inks. These colors work so beautifully together, and I am so pleased with the results of this pairing with these new press plates, stencils, and dies!

For my first project, I thought I would take advantage of the generous size on the new Timeless Tulips Press Plate, Stamps, and Dies product suite to create an A7 birthday card! I used Meadow Ink to press the Timeless Tulips image once into a panel of A7 Porcelain Better Press cardstock and again on a separate panel of cardstock, then used the 1″ Blending Brushes and the coordinating stencils with Ballet Slipper, Sparkling Rose, Soft Lilac, Mint, Meadow, and Emerald City inks. I think this image is so beautiful and graceful! After I had stenciled both images, I used the coordinating Timeless Tulips die to cut one of the images out. I also used Lilac and Slumber inks to create a lovely and soft blended background behind my pastel tulips, splattering the entire blended panel with some shimmering handmade watercolors.
Once I had finished blending the images, I used those same shimmering watercolors to add some sparkling highlights to the edges of the tulips and the center of each leaf. It’s such a pretty effect, but so difficult to capture in a photo!

For the greeting, I used a sweet sentiment from the new Sunshine and Smiles stamps and die product suite, stamping it on white cardstock using Emerald City ink, then again with embossing ink and adding Iridescent Lavender Embossing Powder over the top to add extra gorgeous shimmer to the sentiment. I die cut the greeting with it’s coordinating die, then used the Fancy Edgers dies to die cut a lacy strip of Pinkfresh Studio Glacier glitter cardstock. I adhered this lacy edge to a strip of Simon Says Stamp Vellum, which reminds me of a lovely handkerchief, and mounted the sentiment die cut in the center of the “hankie” with some foam adhesive squares. I adhered the die cuts to the card front with more dimensional foam adhesive squares. The vellum behind the sentiment helps soften the images on the card front so that the sentiment can pop a bit better, while also not adding any additional visual weight to the card front! I finished the card off with some Iridescent Bubble Drops and a delicate white silk bow for added texture.

For my second project, I kept the color palette similarly soft and feminine, pairing the soft Blush cardstock from Spellbinders with Simon Says Stamp Mint cardstock to create a vintage jadeite effect. I began by ink blending the bottles from the Keepsakes of the Heart product suite onto the Mint cardstock using Mint and Meadow inks. I also stamped the blooms and foliage sprigs from the coordinating stamp set onto some more Mint cardstock using Meadow ink, then used the coordinating stencils to blend Ballet Slipper, Sparkling Rose, Mint, Meadow on the images. The tone-on-tone blending on the minty cardstock reminds me so much of my vintage jadeite pieces! I used the coordinating dies to die cut the finished stenciled images.

For the background, I used the trick that I demonstrate in THIS video to impress the new Garden Medley press plate into Spellbinders Blush cardstock with Ballet Slipper ink. I love the spectacularly detailed texture that this adds to my card front! I die cut one of the new Stitched Rectangle Dies from some Simon Says Stamp Vellum and used that piece to ground my floral vase arrangement on the textured background. I die cut “love” from the now-discontinued Julieta Alpha dies from some Pinkfresh Studio Glacier glitter cardstock (I have linked some alphabet dies that would work well in place of the older Julieta set!) and arranged them in the corner, tucking them amongst the foliage and flowers with liquid and foam adhesive. I added a greeting from the Keepsakes of the Heart stamp set, stamping it on some deep emerald green cardstock using white pigment ink, then adding more iridescent lavender embossing powder to add some extra shimmer. I adhered the sentiment on the card front with a double layer of foam adhesive, then added a few Blossom Glitter Drops for added shimmer and sparkle!
Well, that’s all for my projects today! Now for some fun giveaway information:
To celebrate this release, Pinkfresh Studio will be giving away the full release on the Pinkfresh blog and YouTube channel. They will also give away TEN $50 gift cards along the hop. The winners will be selected from the comments, at random. The more comments you leave along the hop, the more chances you have to win! Winners will be selected and posted on May 28, 2025, on our GIVEAWAY PAGE. Winners must check that page and claim their prize within two weeks
Here’s the full hop list:
Thanks so much for stopping by today, and happy hopping!
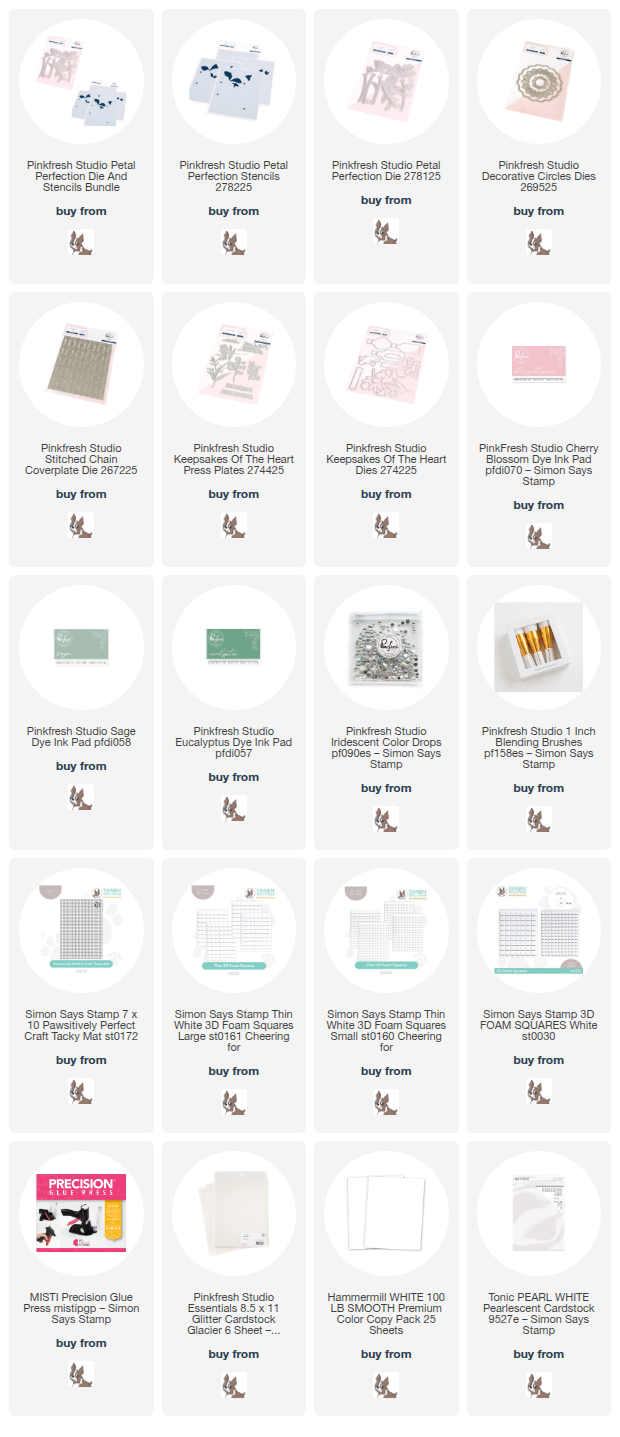
Products used: