• Skip to main content
  • Skip to primary sidebar
  • Skip to secondary sidebar

Sixth Street Sundries

Emily Midgett

  • Home
  • About Me
  • Contact
  • OLO Marker Color Swatch Chart
  • Shop

layered stencil

Simon Says Stamp STAMPtember Collaboration 9/25/25: Pinkfresh Studio!

September 25, 2025

Hi friends! I am back with another STAMPtember collaboration project, this time featuring one of my all-time favorite brands: Pinkfresh Studio! (You can see all of their products in the Simon Says Stamp store HERE.) Today’s collaboration set, called Every Lovely Reason, features not only a stamp and die set, but you can also purchase Pinkfresh Studio’s signature coordinating layered stencil designs to make your projects come together lickety split! (Check out the full product suite HERE.) Pinkfresh Studio also has some of the most luscious ink colors in the industry, so I chose my favorite set of blue inks and got to work creating this blue-tiful card. Let’s get started with the details!

If you are new to STAMPtember from Simon Says Stamp, throughout the month of September, Simon Says Stamp will have exclusive collaborations with some of our favorite stamping companies, releasing an exclusive, limited edition stamp set designed in collaboration with a different company nearly every day! (Click HERE to see the Collaboration Sets page, and be sure to bookmark it!) 

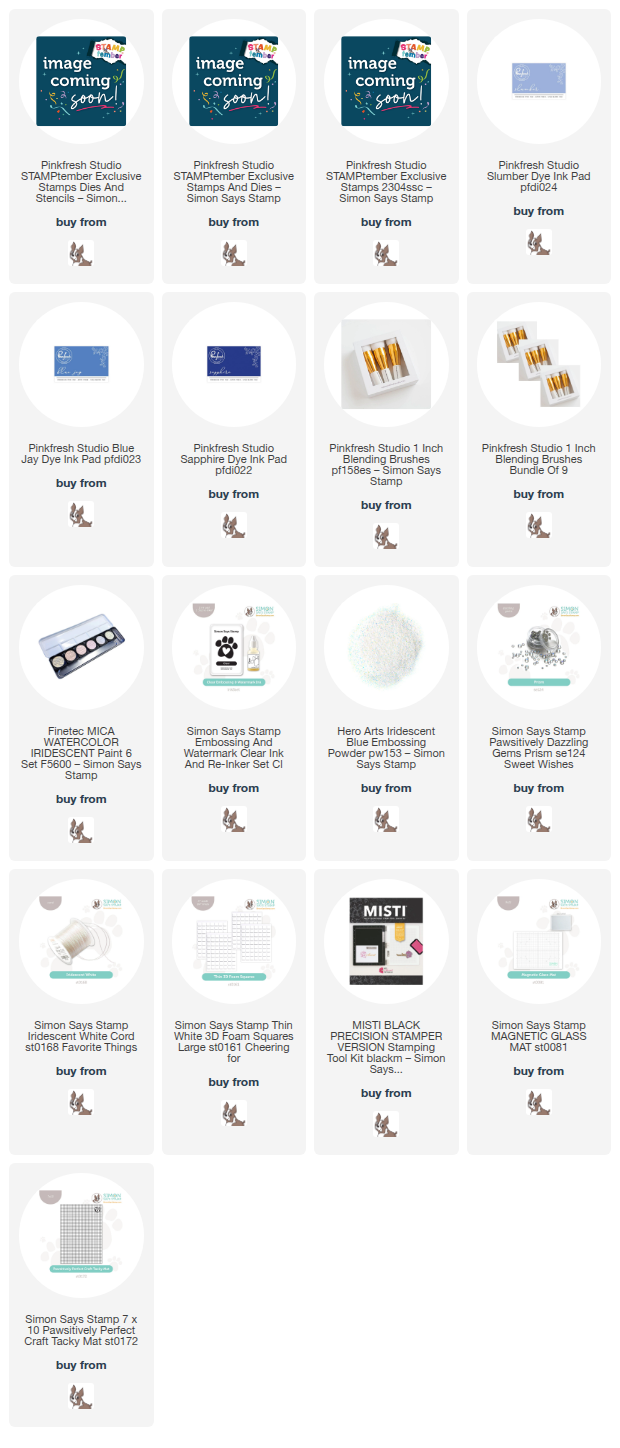
To begin, I stamped the large floral frame from the Pinkfresh Studio STAMPtember collaboration Every Lovely Reason set onto some white cardstock using Pinkfresh Studio’s Slumber ink. This mid-blue ink is the most stunning shade of blue, cool and lush and elegant. I stamped directly over the top of the floral frame image with embossing ink, then added my favorite Iridescent Blue embossing powder from Hero Arts to add exquisite shimmer and iridescent shine to the lines of the image. Because I wanted to create a tone-on-tone monochromatic project, I used one of Pinkfresh Studio’s fabulous 1″ blender brushes to lightly blend Slumber ink over the entirety of the image so that the white outlines of the die cut image would match the blue background panel that I had in my mind’s eye.

Once I had finished stamping and embossing the main image, I placed the panel on my stencil station, comprising of a glass magnetic mat and Craft Tacky Mat from Simon Says Stamp. This combination allows me to be ready to stencil at a moment’s notice, holding my cardstock and stencils down effortlessly! I arranged each stencil over my embossed floral frame, then blended Slumber, Blue Jay, and Sapphire inks using the 1″ blender brushes, creating a gorgeous monochromatic floral frame. After I had finished stenciling, I used the coordinating die to die cut the finished frame.

To create the background, I used the large 1″ blending brushes (if you struggle with smooth blends, these brushes are the answer! So soft and so worth the investment!) from Pinkfresh Studio to blend the same shades of blue ink on my A2 card front. I created a blue haze all over the card front, then concentrated a bit more of the Blue Jay and Sapphire inks on the top right corner, with the intention of creating a visual cascade on the card front. I splattered the blended background with some iridescent watercolors, then arranged my stenciled floral frame on the card front, turning it 90* so that it hung off of the long side slightly and trimmed the excess. I popped up the frame with foam adhesive, then added a greeting from Every Lovely Reason with a double layer of foam adhesive to help it pop from the background. I tucked a bow tied using Iridescent Cord next to the greeting for added texture and added a few Prism Pawsitively Dazzling gems for additional sparkle!

Well, that’s all for my project today! If you love the STAMPtember Collaboration Sets, don’t wait to purchase them, because these limited edition sets will NOT be restocked. Once they’re gone, they’re gone! (Click HERE to see the Collaboration Sets page, and be sure to bookmark it!) Each day holds new surprises, so be sure to check out the Simon Says Stamp social media at noon ET every day throughout STAMPtember so that you don’t miss out. Thanks so much for stopping by today, and happy STAMPtember!!!
Filed Under: pinkfresh studio, simon says stamp, Uncategorized Tagged With: collaboration, die cutting, every lovely reason, ink blending, layered stencil, limited edition, stamptember, stencil

The Holidays Are Coming with New Simon Says Stamp!

August 25, 2025

This post was sponsored by Simon Says Stamp. Thanks, Simon!

Hi friends! Can you believe that we are merely four months from Christmas? I am in shock at how quickly this year has gone! The weather is cooperating with that reminder today, as well, for the air is crisp and gorgeous. I always enjoy adding some new and beautiful holiday imagery to my stash, as well as a beautifully curated holiday sentiment set, and the new CZ Design items from the Simon Says Stamp Happy Camper release are absolute staples, in my opinion. Cathy Zielske has such a way with fonts, making the simplest fonts look completely classy and timeless with her use of different sizes and kerning… perfection! Let’s get started on the details for my holiday card with it’s matching tag!

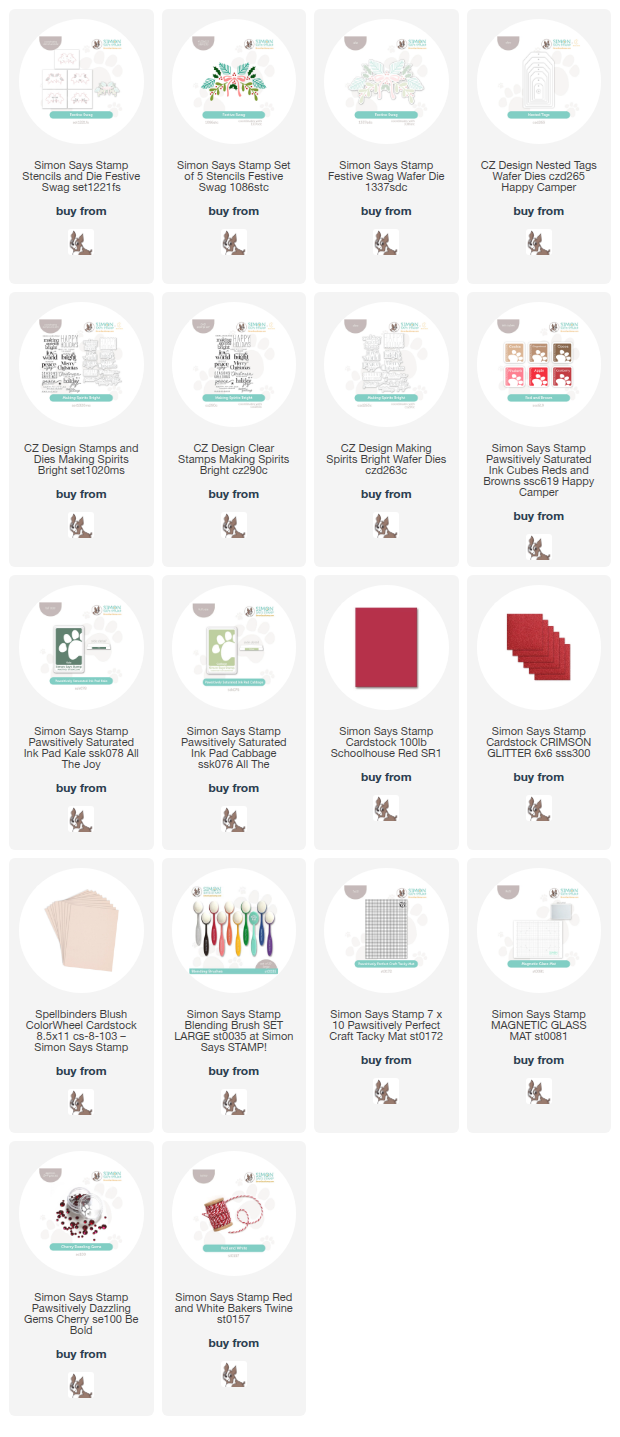
*I have gathered links to all of the products used at the bottom of the post for your convenience, using affiliate links. Thank you for shopping with my links! I truly appreciate your support for my work!*

I kept my color palette for this pair of projects mostly traditional, with reds and greens made a bit more modern by using a pale blush cardstock rather than white cardstock. This pale blush cardstock is so pale that it works perfectly for blending, allowing the blended colors to maintain their true tones without getting muddled by the touch of pink.

For my card, I used the new Festive Swag stencil set, stenciling the greenery using Pawsitively Saturated Inks: Kale & Cabbage and adding some vibrant red from the new Red & Brown Ink Cubes. I rotated my stencil station (I keep a stencil station set up at all times using a Pawsitively Perfect Craft Tacky Mat on a Simon Says Stamp Magnetic Glass Mat so that I can do my stenciling lickety split!) and repeated the stenciling process again, creating a mirror image of the swag top and bottom on my blush card front. I trimmed the stenciled panel down 1/8″ on each side, then matted it on a deep red card front, creating a beautiful red frame around the detailed stenciled image.

For the greeting, I stamped the bold Happy Holidays sentiment from the new Making Spirits Bright using bright red ink on some more blush cardstock, then die cut it with the coordinating die. I added a few strips of the same cherry red cardstock, as well as a strip of red glitter cardstock, in the center of my stenciled panel, adding a bit more intentionality with the design as well as some additional texture and sparkle. I popped up the sentiment with some foam adhesive, then added Cherry Pawsitively Dazzling Gems to the holly berries on the stenciled images for another touch of shine! Even with the addition of the blush cardstock, I think this card exudes holiday imagery and spirit!

I continued the same color palette with my matching tag, this time taking advantage of the detailed coordinating die from the Festive Swag product suite. I stenciled the image using the same ink colors and blush cardstock, the die cut the finished image. I also stamped the “peace and joy” sentiment from Making Spirits Bright using vibrant red ink, as well as a sentiment strip, cutting the strip with my trimmer and the larger sentiment with the coordinating die. I die cut a large tag from more blush cardstock using the new Nested Tags dies, adding some strips of red and red glitter cardstocks to the bottom with liquid adhesive before adding the rest of the die cuts above with a double and single layer of foam adhesive. Finally, I finished the tag off with a red and white twine loop, all ready to add to a pretty holiday package!

Well, that’s all for my projects today! Let the holiday cardmaking begin! (that is, if you haven’t already begun…. I’m so behind!) Thanks so much for stopping by today, and have a marvelous day!

Filed Under: simon says stamp Tagged With: christmas card, christmas tag, die cutting, festive swag, holiday card, ink blending, layered stencil, making spirits bright

Vacation Mode with Simon Says Stamp!

August 20, 2025

This post was sponsored by Simon Says Stamp. Thanks, Simon!

Hi friends! While our summer vacation has officially ended with the start of school for all four of my kiddos, I still wish that we had been able to get to a beach somewhere. However, in the depths of the cornfields of the Midwest, beach vacations are not terribly easy to come by, so I just have to daydream about past beach trips and hope that maybe next summer we will get it together enough to plan a beach vacation for our family! In the meantime, I created this serene, beach-inspired project using some goodies from Simon Says Stamp. Let’s get started with the details!

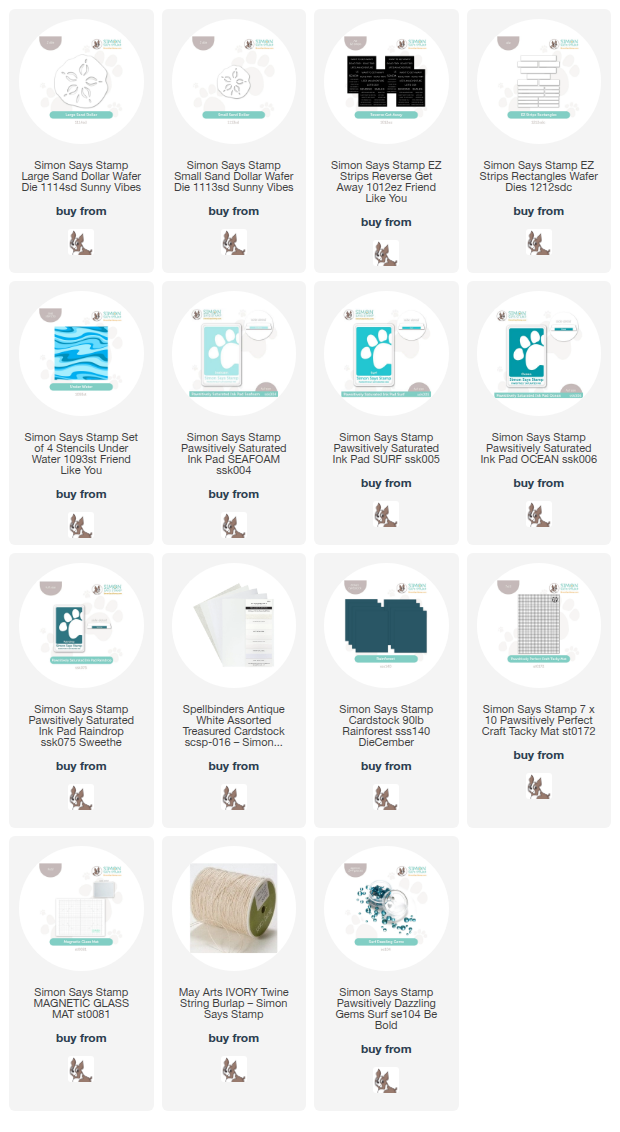
*I have gathered links to all of the products used at the bottom of the post for your convenience, using affiliate links. Thank you for shopping with my links! I truly appreciate your support for my work!*

To begin my project, I die cut the Large Sand Dollar and Small Sand Dollar dies from some pearlescent white cardstock. I love the subtle sheen on this cardstock, and the coating means that it die cuts extraordinarily well. I also used the EZ Strips Rectangles dies to die cut all of the sentiments from one of the EZ Strips Reverse Get Away in one fell swoop! How convenient, right?

For the background of my card, I decided to invoke the tranquil lines of ocean waves with the Underwater Stencil. I placed my white A2 cardstock on my stenciling setup (a Simon Says Stamp Pawsitively Perfect Craft Tacky Mat placed on a Simon Says Stamp Magnetic Glass Mat, which I keep setup at all times for quick stenciling!) then blended Pawsitively Saturated Inks in shades of Seafoam, Surf, Ocean, and Raindrop with blending brushes. I found that the delicate lines of these stencils work best if you follow the lines with soft horizontal brushing strokes, rather than the circular strokes with which I normally blend on stencils. After blending each layer, I removed the panel from my mat and trimmed it down slightly, matting it on a full size panel of Simon Says Stamp Rainforest Cardstock.

Once I had finished die cutting and stenciling each component, I assembled the die cuts on the card. I used single and double layers of Thin Foam Squares to adhere each die cut, creating a variety of heights and adding texture and depth to the card front. I clustered the three sand dollars around the sentiment, tucking a twine bow beneath the sentiment for additional texture. Finally, I added some Surf Pawsitively Dazzling Gems for a touch of added sparkle!

Well, that’s all for my project today! Thanks so much for stopping by today, and have a marvelous day!

Filed Under: simon says stamp Tagged With: beach, die cutting, ink blending, layered stencil, sand dollar, under water, wanna get away

VIDEO: Getting Creative with the Rule Of Three with Pinkfresh Studio!

June 12, 2025

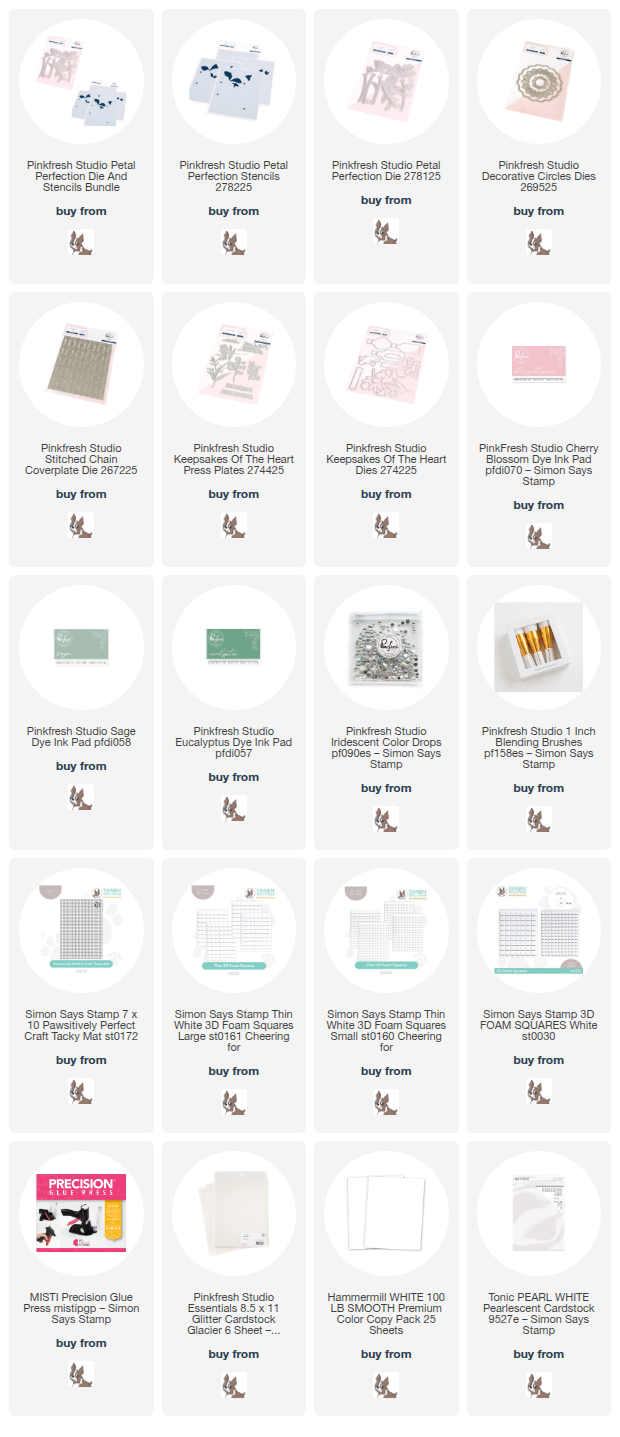
I have a new video up over on the Pinkfresh Studio YouTube Channel showing how I created this clean and pretty project that features lots of crisp white, pops of pink, and tons of sparkling textures! Watch the video HERE.

Supplies Used:

Filed Under: pinkfresh studio Tagged With: decorative circles, die cutting, ink blending, keepsakes of the heart, layered stencil, petal perfection, stitched chain, video

VIDEO: Air Mail Inspired Belated Birthday with Pinkfresh Studio!

May 15, 2025

Hi friends! I am up on the Pinkfresh Studio YouTube Channel today with this fun “air mail-inspired” project featuring the new Classic Correspondence product suite from Pinkfresh Studio! You can watch the full video below or HERE on YouTube!

If you can’t watch the video or prefer written instructions, I will give a brief rundown of how I created this card!

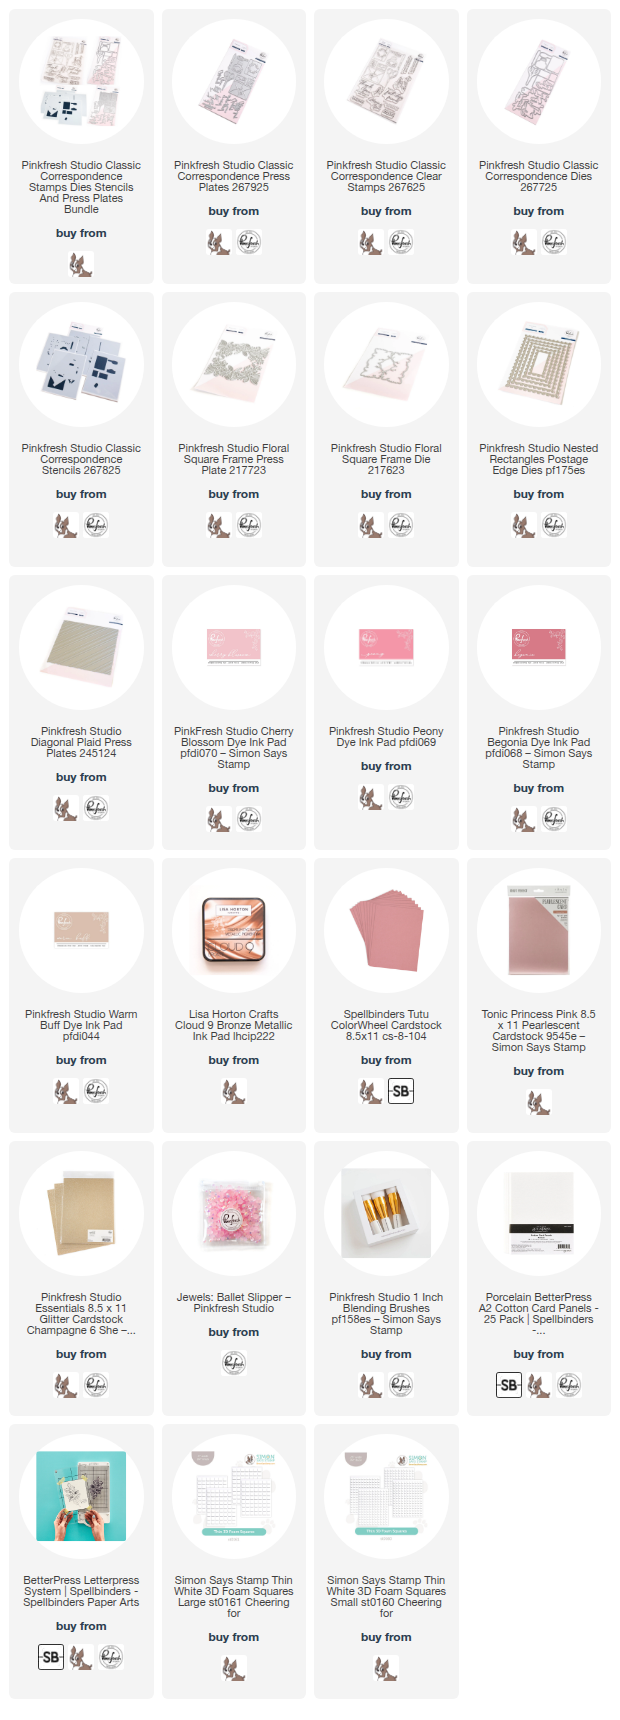
To begin, I inked up the Diagonal Plaid Press Plate with some Metallic Bronze Ink from Lisa Horton Crafts. This pigment ink works beautifully with press plates and adds a beautiful, subtle shimmer to your projects! While I had my Better Press System out, I used Warm Buff ink from Pinkfresh Studio to press the Classic Correspondence Press Plate onto some Better Press cardstock, then used the trick that I learned from Carissa Wiley to press the gorgeous Floral Square Frame Press Plate into some pearlescent pink cardstock without inking the plate, creating beautiful and intricate texture on the coated cardstock. (I demonstrate this technique in several videos on the Pinkfresh YouTube Channel if you would like to see it in action!)

After I had pressed all of the images, I used the Classic Correspondence Stencils with Cherry Blossom, Peony, Begonia, and Warm Buff inks from Pinkfresh Studio and the fabulous Pinkfresh Studio 1″ Blending Brushes to add a warm, feminine color palette to the mail images from Classic Correspondence. I used the fabulous one-pass die to die cut all of the stenciled images, then die cut the detailed Floral Square Frame image. I also die cut the large Postage Edge Dies from Pinkfresh Studio’s Glitter Champagne cardstock, then trimmed the long edges off of the die cut to use as an accent for my colored cardstock panel. I adhered the glittery postage accent strips so that they were peeking out from around my Tutu pink cardstock piece, adding another touch of sparkle and helping to break up the contrasting patterns on the card.

For the greeting, I used the same Bronze ink to stamp the sentiments from the Classic Correspondence Stamp set, then added clear embossing powder over the top to make the sentiments even more crisp, helping highlight them amongst the busy background. After trimming and die cutting the sentiment components, I used liquid and foam adhesive to adhere al of the elements to the card front, finally adding a few Ballet Slippers Jewels to help fill in some of the bare spots on my card design.

Well, that’s all for my project today! It’s always fun for me to mix and match new and old products, and the goodies from Pinkfresh work so well together even if they’re not necessarily designed to coordinate. Thanks so much for stopping by today, and have a marvelous day!

Supplies used (affiliate links used at no extra cost to you-thank you for helping to support my work!):

Filed Under: pinkfresh studio Tagged With: better press, classic correspondence, diagonal plaid press plate, floral square frame, ink blending, layered stencil, nested rectangles, postage edge dies, press plate, stencil

  • « Go to Previous Page
  • Page 1
  • Page 2
  • Page 3
  • Page 4
  • Interim pages omitted …
  • Page 8
  • Go to Next Page »

Primary Sidebar

  • Facebook
  • Instagram
  • Pinterest
  • YouTube

Favorite Shops

Secondary Sidebar

Subscribe

Enter your email address to subscribe to this blog and receive notifications of new posts by email.

Instagram
Something is wrong.
Instagram token error.
Follow
Load More

Archives

Tags

3D embossing folder alcohol markers better press birthday birthday card blog hop card kit christmas christmas card christmas tag colored pencil copic copic coloring Daniel Smith die cutting embossing folder embroidery felt giveaway holiday holiday card hot foil ink blending karin brushmarker pro layered stencil masculine my monthly hero new release no line coloring no line watercolor OLO marker olo markers original illustration pawsitively saturated rainbow shaker card slimline stamping stamptember stencil thank you thinking of you valentine's day video watercolor

Popular Posts

Simon Says Stamp Sending Cheer Blog Hop- Day 2 + Freebie + Giveaway!
Altenew October 2026 Release Blog Hop + Giveaway!
Rustic Monochromatic Stars for Christmas with Rainbow Splash!
December 2018 My Monthly Hero Blog Hop + Giveaway!
March 2020 Essentials By Ellen Blog Hop+Giveaway!
The Ton Stamps Summer Release: Day 1
Hero Arts Partners Blog Hop: Lawn Fawn!
Waffleflower July Release Blog Hop!
Simon Says Stamp STAMPtember Tim Holtz Collaboration: Festive Holidays!
Honey Bee Stamps Autumn Blessings Blog Hop-Day 2!

Disclosure

Some affiliate links are used in my posts. This means that, should you click on one of my links and purchase something from that company, I will receive a small portion of the sale at no extra cost to you. I use the money earned from these sales to help maintain my blog. I so appreciate you visiting and, if you do choose to use one of my affiliate links, thank you so much for your support!
Copyright © 2026 ·Brunch Pro Theme · Genesis Framework by StudioPress · WordPress · Log in
Loading Comments...