• Skip to main content
  • Skip to primary sidebar
  • Skip to secondary sidebar

Sixth Street Sundries

Emily Midgett

  • Home
  • About Me
  • Contact
  • OLO Marker Color Swatch Chart
  • Shop

layered stencil

Mother’s Day Gift Bag with New Simon Says Stamp!

February 22, 2024

This post was sponsored by Simon Says Stamp. Thanks, Simon!

Hi friends! I have some super cute inspiration to share with you today featuring the marvelous new Gift Bag die from the Simon Says Stamp Splendor release! This Gift Bag die creates the most adorable little gift bag, just the perfect size to fit a gift card, some jewelry, some lip gloss… perfect for all of those tiny gifts that don’t need a huge gift bag but still want to look a little special! The Gift Bag die requires just one sheet of 8.5″ x 11″ cardstock, so it’s a super economical and fun way to make your gifts extra exciting. Let’s get started on my Mother’s Day gift bag!!

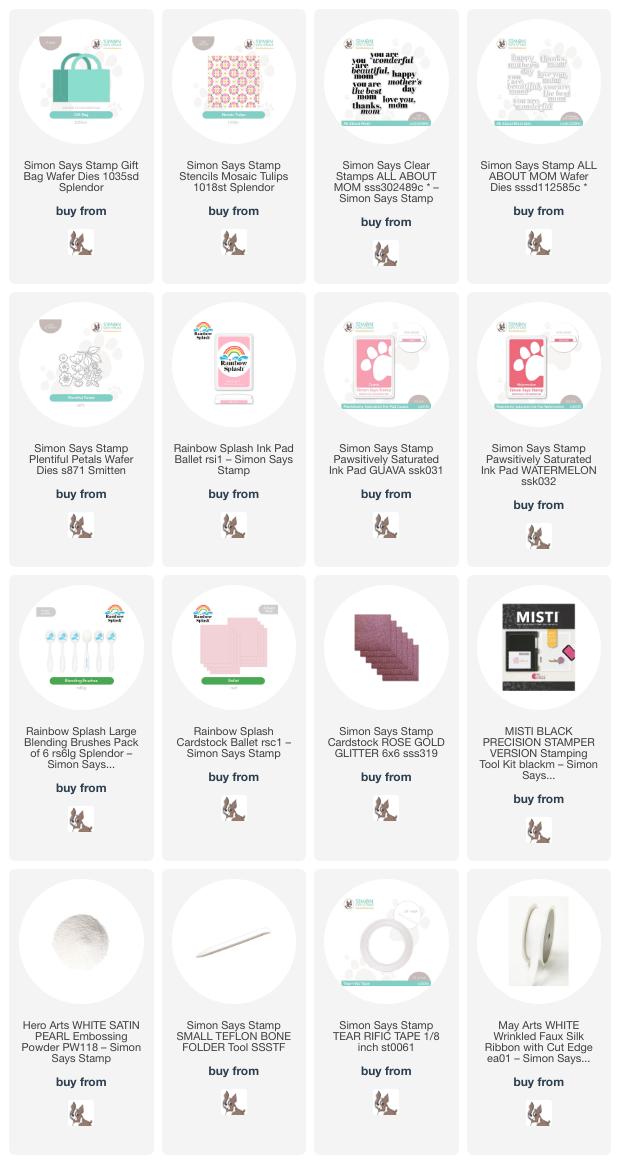
I started my project by die cutting the Gift Bag die twice from Rainbow Splash Ballet cardstock. To create the pretty pattern on each of the large, flat spaces on the gift bag, I first used Post-It Notes to mask off the sides and bottom while the bag was still a flat die cut. I then blended the pattern from the the layered Mosaic Tulips stencil set using Rainbow Splash blending brushes with Rainbow Splash Ballet ink and Pawsitively Saturated Guava & Watermelon inks to create this feminine tone-on-tone patterned bag. This layered stencil set is fast becoming one of my all-time favorites!!

In keeping with the monochromatic pink color scheme in my head, I used the All About Mom + coordinating die to create a greeting to use on the outside of the gift bag. I wanted to heat emboss my greeting, but since I did not have a shade of embossing powder that was exactly the right shade of pink, I decided to create my own custom “embossing powder” by putting my MISTI to good use! I first stamped the sentiment from All About Mom onto some more Ballet cardstock using Watermelon ink, then without moving the stamp, stamped the sentiment again using embossing ink and sprinkled it with White Satin Pearl embossing powder. The result was a lovely pearlescent pink sentiment, the contrast of which was enhanced by the addition of the pearlescent embossing powder! I used the coordinating die to die cut the finished sentiment, creating a polished, crisp effect.

After I had stenciled my gift bag and created my greeting, it was time to start assembling. I used my bone folder and strong double sided tape to assemble my bag, which went *so* quickly. 3D projects always intimidate me, and this project was incredibly simple to assemble! Score! To adorn my gift bag and Mother’s Day sentiment, I used some floral die cuts from the Plentiful Petals floral dies, cut using both Rose Gold Glitter Cardstock and Ballet cardstock. I also used an alcohol marker to add color to some white faux silk ribbon, tying it in a pretty bow and adhering it to the front of the gift bag. A little pink tissue paper et voilá!

Isn’t this new Gift Bag die just the cutest? I can’t wait to make more bags for different occasions! I’m definitely going to be using this one for teacher gifts at the end of the school year! Thanks so much for stopping by today, and have a marvelous day!
Filed Under: simon says stamp Tagged With: all about mom, gift bag, ink blending, layered stencil, mother's day, packaging, plentiful petals, rainbow splash

VIDEO: Pinkfresh Studio Window Card with Die Cuts and Hot Foil!

February 21, 2024

This video was sponsored by Pinkfresh Studio. Thanks, Pinkfresh!

Hi friends! I am up on the Pinkfresh Studio YouTube channel today with this fun monochromatic window card, complete with hot foiled and die cut accents. You can check out the video below or HERE on YouTube:

This shaped card features a fun window on the card front that I backed with some foiled acetate and adorned with some floral die cuts in monochromatic shades of aqua. Let’s get started with the details on my project!

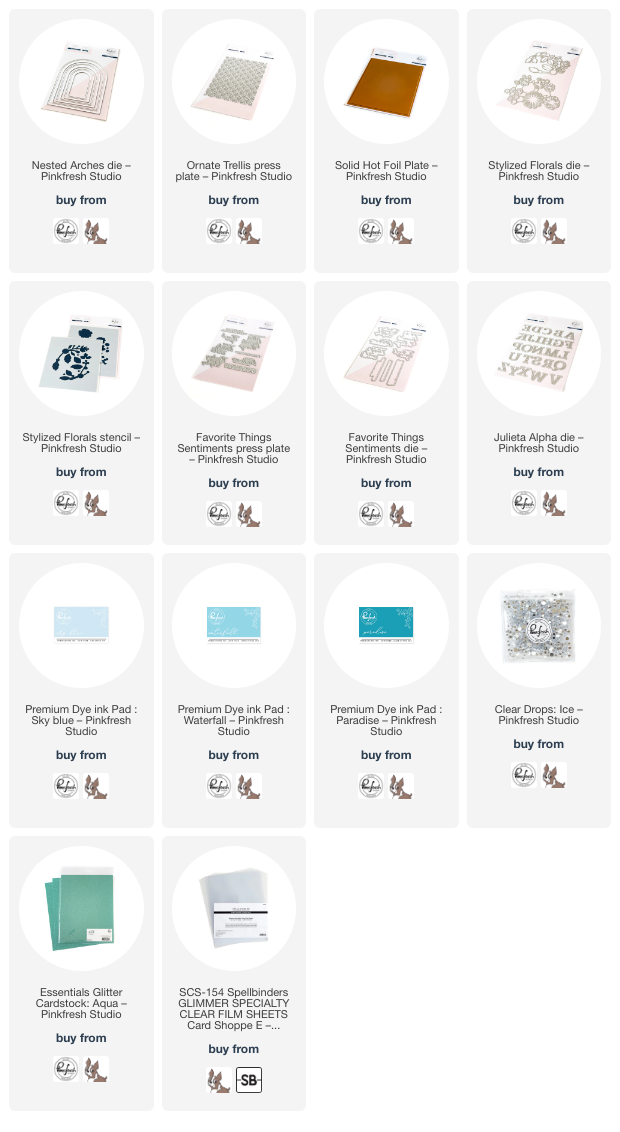
I began by die trimming down a panel of icy blue cardstock to 6″ x 4.25″, then using a score board to score a fold 1/2″ away from the top, creating a lip upon which I would later adhere the back of my card base. The plates on my die cutting machine are pretty beaten up, so I used two separate panels to create my top-folding A2 card base in order to keep the back panel as clean as possible. After I had scored the top fold, I used a die from the Nested Arches Die set to cut a window from the center of the front card panel. To fill in the open window, I used an acetate panel that I had created previously using the Ornate Trellis Better Press Plate and the Solid Hot Foil Plate. I love using heat-resistant acetate with the Solid Hot Foil Plate and leftover hot foil pieces; the super smooth surface of the acetate hot foils the solid foil pieces with immaculate results. I backed the open window with the hot foiled piece, adhering it with some super strong double sided tape.

Once I had created my card base, it was time to embellish my card! I used the Stylized Florals Stencils with Sky Blue, Waterfall, and Paradise inks, keeping my aqua blue monochromatic color palette true throughout the process. I die cut the individually-stenciled flowers in one fell swoop with the one-piece Stylized Florals Dies, then cut the foliage from another panel of icy blue cardstock as well as some Aqua Glitter Paper. I adhered the die cuts together on the die cut foliage swag, using the color-printed schematic in the product packaging as my guide for placement. To add a bit more interest to the layers of the flowers, I added a smattering of Ice Clear Drops to the centers of a few of the flowers, adding one more element of texture and shine.

For the greeting, I used a silver hot foiled sentiment from the Favorite Things Sentiments Better Press set. This sentiment set is one of my favorites from Pinkfresh Studio; it features so many lovely sentiments, making it truly all-purpose! I used some residual ink left over on my blending brushes from my stenciled flowers to blend over the silver-foiled sentiment die cut to continue my monochromatic aqua color palette throughout the card. I thought this sentiment worked perfectly for a birthday card, so I also used some deep teal cardstock to die cut HBD using the Julieta Alpha Dies. (In the video, I share a trick for adhering alphabet die cuts in a perfectly straight line!) I popped up the greeting die cuts with foam adhesive, completing the card!

Well, that’s all for my project today. I just love a good monochromatic card, don’t you? It’s such fun to find new ways to keep things texturally and visually interesting while still staying in the same color family! Thanks so much for stopping by today, and have a marvelous day!

Filed Under: pinkfresh studio Tagged With: better press, favorite things, glitter cardstock, hot foil, ink blending, julieta alpha die, layered stencil, nested arches, ornate trellis, solid hot foil, stencil, stylized florals, window card

Simon Says Stamp Splendor Release Blog Hop Day 1 + Giveaway!

February 16, 2024

This post was sponsored by Simon Says Stamp. Thanks, Simon!

Hi friends! Today, I am hopping along with Simon Says Stamp for Day 1 of the Splendor Release Blog Hop. You should have arrived here from Lisa Addesa and your next stop is Cheiron Brandon. You can find the full hop list over at the Simon Says Stamp Blog in case you get lost! I have been embracing all things spring with the new Splendor release, using the beautifully buttery new Pawsitively Saturated Ink Trio 27 as my excuse to keep things light and sunny. I have some springy Easter cards to share with you today using some of the new stencils and the gorgeous new Trio 27 inks, so let’s get started with the details!

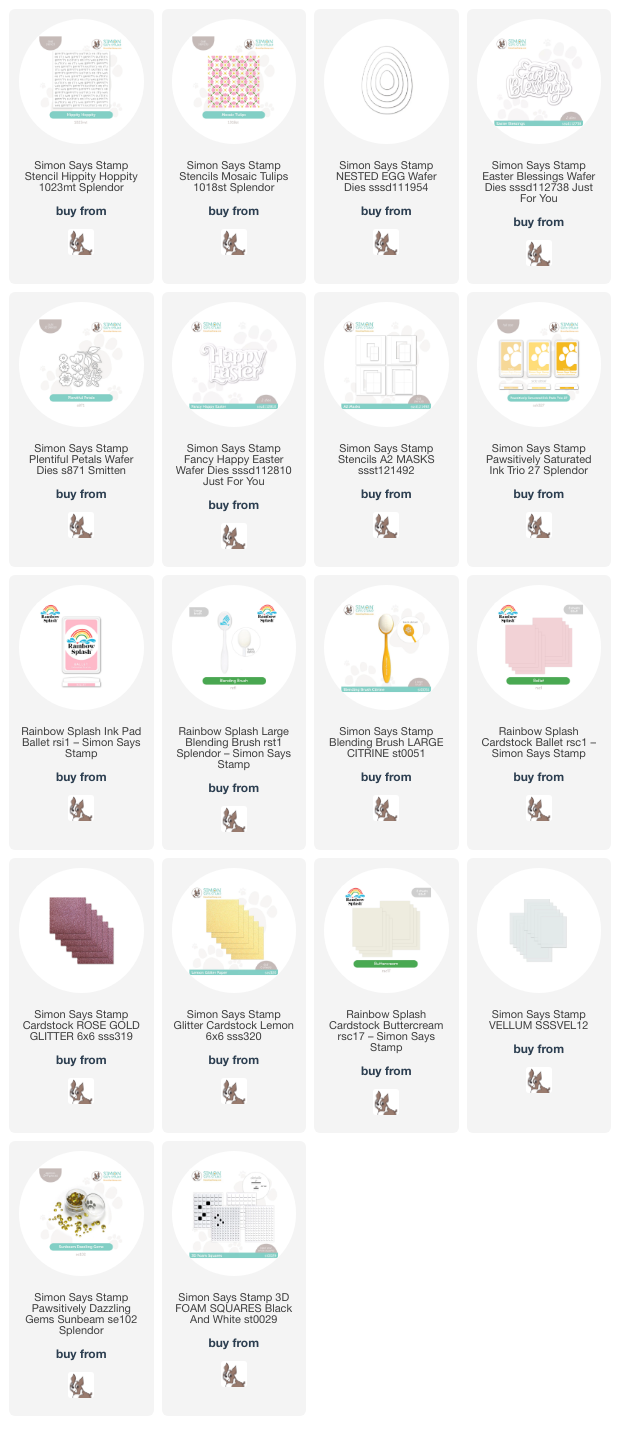
To start, I die cut several Easter eggs in three different sizes from Hammermill cardstock using the Nested Eggs dies. Using blending brushes, I blended several of the die cut eggs using the new lemon meringue inks from the Pawsitively Saturated Ink Trio 27, as well as a few eggs using Rainbow Splash Ballet Ink (using one of the new Rainbow Splash blending brushes). Concentrating the color around the edges of the eggs is lovely on its own, lending plenty of dimension and shape to these simple die cuts, but I wanted to make some of them extra special, and so used the new Hippity Hoppity stencil and Mosaic Tulips layering stencil set to add some fun patterns to a few of the eggs.

When selecting patterns to mix & match, I like to find completely contrasting patterns so that the eye does not get overwhelmed by too much busyness on the card front, instead being able to focus on each individual pattern. The close, somewhat repetitive pattern on the Hippity Hoppity stencil contrasted nicely with the open floral pattern on the Mosaic Tulips layering stencil. I also broke up the different patterned eggs by leaving some of the eggs solid, with only some ink blending around the edges.

Before arranging the eggs on my slimline card front, I used blending brushes to blend Butter ink from the Pawsitively Saturated Ink Trio 27 and Rainbow Splash Ballet Ink on the top and bottom of the card front, leaving the center white to provide some relief to the eye and to avoid creating a third color on my card by mixing the colors. I arranged the eggs on my card front, adhering the largest eggs in the background with liquid adhesive and the smaller eggs with foam squares. To accent the eggs and keep things extra springy, I die cut the Plentiful Petals dies from white, Ballet, and Rose Gold Glitter cardstock, mixing and matching the three colors to create little floral clusters with a variety of sizes, tucking the flowers and foliage amongst the egg die cuts. For the greeting, I die cut the Easter Blessings die from some more Ballet cardstock and layered it atop the egg lineup. Finally, I accented the card using some sparkling iridescent yellow gems from my stash!

After I had used the utterly gorgeous new Mosaic Tulips layering stencil on my egg die cuts, I knew that I needed to use it on a larger canvas and allow it to shine. For my next project, I paired the beautiful layering stencil with the older A2 Stencil and Masks set and the new Ink Trio 27 to create a focal point for some springy die cuts. I started by centering my A2 Stencil and Mask over my white A2 panel and lightly blending Butter ink from Ink Trio 27 around the edges, keeping the color concentrated around the edge of the rectangle. Keeping the mask in place, I placed the first layer of the Mosaic Tulips layering stencil over the open area and blended it with Butter ink, as well. I replaced each stencil layer and blended with the next darkest shade of ink from the trio until I had created this pretty background with a crisp white frame.

To accent the floral pattern, I found that the tulips in the Plentiful Petals dies perfectly match the shape of the flowers from the Mosaic Tulips stencil set. I die cut the flowers three times, once from Lemon Glitter Cardstock, once from Rainbow Splash Buttercream cardstock, and once from a panel of cardstock that I blended with residual yellow ink leftover from blending the stenciled background. I created little swags in the corners of my blended panel, mixing and matching the different textures and colors to create interesting bouquets.

For the greeting, I used some more Lemon Glitter Cardstock to die cut the detail layer of the Fancy Happy Easter die, cutting the shadow layer from vellum and adhering the two together. I popped up the greeting in the center of the stenciled area using foam squares, then added a smattering of Sunbeam Pawsitively Dazzling Gems for some sparkle!

Well, that’s all for my projects today! To celebrate the Splendor Release, Simon Says Stamp is offering a free gift with purchase: simply follow the instructions on the graphic at the top of the post to find the freebie, then enter code MRGT at checkout so that you can receive the Margot Embossing Folder free with purchase!

Simon Says Stamp is also generously sponsoring a $25 coupon for each blog to be chosen from comments left along the hop! Simply leave a comment on each blog hop stop to be entered to win! The winners will be posted on the Simon Says Stamp blog on Wednesday, February 21. Winners can email Simon Says Stamp to claim his/her prize 🙂

Your next stop on the hop is Cheiron Brandon. Thanks so much for stopping by today, and happy hopping!

Filed Under: simon says stamp Tagged With: easter blessings, easter card, hippity hoppity, ink blending, layered stencil, mosaic tulips, nested egg, plentiful petals, rainbow splash, slimline card

Altenew January 2024 Release Blog Hop + Giveaway ($300 in Total Prizes!)

January 10, 2024

Hi friends! I am hopping along with Altenew today to help introduce their scrumptious new collection of products for January, 2024. You should have arrived here from Caly Person, and your next stop is Mindy Eggen. You can also see the full hop list over on the Altenew Blog. I have three different cards to share with you today using some of the beautiful new stencils and dies from this month’s release. Stencils are one of the unsung heroes of the craft room, in my opinion; they are very cost effective for the sheer volume of techniques for which they can be used! The new Stencil Art: Playful Watercolor Flowers features layering stencils to create two different floral arrangements, one large and bold, one smaller and more delicate, and very easily customizable.

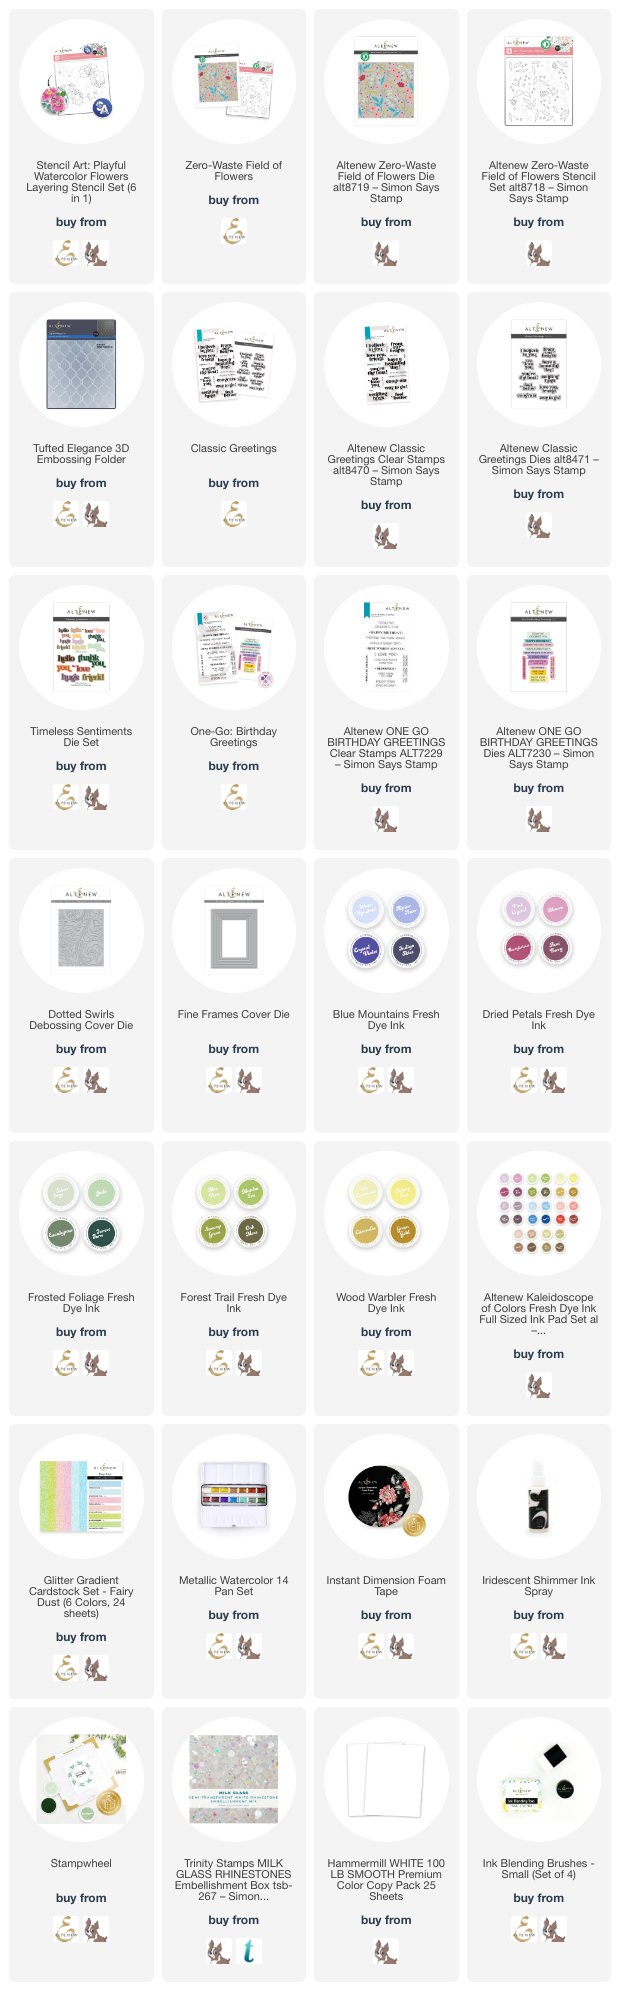
I used the new Stencil Art: Playful Watercolor Flowers to create two different cards that allow the stencils to be the stars of the show. For both projects, I used the new Forest Trail Fresh Dye Inks, Dried Petals Fresh Dye Inks, and Wood Warbler Fresh Dye Inks to create soft and feminine cards.

For my first project, I used the large floral arrangement in the Stencil Art: Playful Watercolor Flowers set, orienting it in the center of my A2 card front, allowing it to spill over the edges. (Tip: the sticky mat in the Stampwheel makes layered stenciling an absolute breeze!) After I had finished blending the main image, I blended some light and medium pink inks from the Dried Petals Fresh Dye Inks around the edge, then splattered the entire panel with some Metallic Watercolor for some added artistic flair!

To accent the stenciled pattern on the background, I die cut some glittering rose gold frames using the Fine Frames Cover Die and framed the center of the card, drawing the eye to the lovely stenciled floral image. For the greeting, I die cut the bold, chunky “friend” from the Timeless Sentiment Dies and some coordinating deep maroon cardstock. I also used a leftover embossed and die cut sentiment from the One Go Birthday Greetings, popping both sentiment elements up with Instant Dimension Foam Tape. As a final sparkling touch, I added a smattering of iridescent white gems!

For my second card, I used the smaller floral images and delicate foliage from the Stencil Art: Playful Watercolor Flowers. I arranged the smaller bouquet in the center of my white A2 card front and blended the flowers and foliage using the Dried Petals and Wood Warbler Fresh Dye Inks, adding some additional sprigs of foliage by carefully blending some individual branches. I kept the arrangement nice and clean by making good use of a Post-It Note to prevent ink from going where I didn’t want it! I trimmed down the panel to 3.75 x 5.5″ and ran it through my die cutting machine with the Dotted Swirls Debossing Die. This pierced die cut adds the subtlest texture; it reminds me a bit of paper towels that have designs printed on them, teehee!

After I had finished my background panel, I mounted it on a full size white A2 card front, allowing the solid background to peek out from either side of the pierced and stenciled panel to add extra interest. I die cut another greeting from the Timeless Sentiment Dies, this time from white cardstock. The white cardstock stands out nicely when placed over the colorful stenciled area, but still allows the overall card to remain crisp and clean. I added another embossed greeting from the One Go Birthday Greetings, tucking it beneath the edges of the die cut “hello.” Finally, I added a few more iridescent white gems for sparkle!

My final card features the brand new Zero Waste Field of Flowers die and stencil set. I began by blending the layered stencils on a 6″ x 6″ panel of white cardstock using Blue Mountains Fresh Dye Ink, Dried Petals Fresh Dye Ink, and Frosted Foliage Fresh Dye Ink. I added a bit of sparkle by spritzing the images with Iridescent White Shimmer Spray. While the stenciled floral pattern was lovely on it’s own, I wanted to create a delicate spray of flowers, so I used the coordinating die to cut the stenciled flowers in one pass through my die cutting machine! This die cuts a ton of delicate little flowers, foliage, and buds so easily… definitely a must-have, in my opinion.

Next, I ran a panel of A2 sized white cardstock through my die cutting machine using the new Tufted Elegance 3D Embossing Folder. This new folder creates such lovely, simplistic texture, the perfect foil for the delicate stenciled and die cut flowers. I trimmed the panel down lengthwise, then added a strip of pink glitter from the Fairy Dust glitter cardstock along one of the long edges and adhered both to a full size panel of white A2 cardstock, orienting it to the left so that the solid white cardstock peeked out on the right.

After I had created the background panel, I stamped and die cut two sentiments from the Classic Greetings Stamps and Dies set, stamping first with dark blue ink and then again with embossing ink, sprinkling iridescent blue embossing powder over the top to create a gorgeous customized iridescent greeting. I arranged the floral die cuts in a pretty swag along the edge of the embossed panel, adhering with both liquid and foam adhesive, then popped up the greeting over the top of the center. Finally, I added a few shimmering gems for one last bit of sparkle!

Well, that’s all for my projects today! Now for some fun giveaway information:

$300 in total prizes! To celebrate this release, Altenew is giving away a $100 gift certificate to 1 lucky winner and a $50 gift certificate to 4 winners! Please leave a comment on the Altenew Card Blog and/or each designer’s blog post on the blog hop list below by 01/17/2024 for a chance to win. Altenew will draw 5 random winners from the comments left on each stop of this blog hop and announce the winners on the Altenew Winners Page on 01/19/2024.
*The winner of the $100 gift certificate will be chosen from comments left on the Altenew blog. 

Here’s the full hop list:

You are invited to the Inlinkz link party!

Click here to enter

Thanks so much for stopping by today, and happy hopping!

Filed Under: altenew Tagged With: dotted swirls debossing die, fresh dye inks, layered stencil, one go birthday greetings, stencil art playful watercolor flowers, timeless sentiments, zero waste field of flowers

Hero Arts My Monthly Hero January 2024 Blog Hop + Giveaway!

January 8, 2024

Hi friends! I am hopping along today with my friends from Hero Arts to share inspiration using their new My Monthly Hero Kit and some of the coordinating add-on products that coordinate! This month, we are celebrating all things love with a beautiful floral layered stencil, chunky word dies, and (in the Premium Kit) gorgeous graphic flower dies! Here’s a peek at this month’s kit:

Classic Kit Contents:

  • 5 Color Layering Floral Background Stencils, 5.25″ x 6.5″
  • Coordinating Heart Window Frame Cut
  • Love You Fancy Dies
  • Love Messages Clear Stamp Set, 4″ x 6″
  • 6 Sheets of Camel Watercolor Paper, 5″ x 7″
  • 3 Core Ink Cubes (Moss, Azalea, Summer Sky)

    Premium Kit Contents:
    (Premium Elements in Bold)
  • 5 Color Layering Floral Background Stencils, 5.25″ x 6.5″
  • Coordinating Heart Window Frame Cut
  • Love You Fancy Dies
  • 10 Floral Fancy Dies
  • Love Messages Clear Stamp Set, 4″ x 6″
  • 6 Sheets of Camel Watercolor Paper, 5″ x 7″
  • 3 Core Ink Cubes (Moss, Azalea, Summer Sky)
  • Gold Leaf Flakes
  • Sparkle Clear Lacquer Pen
  • Pink Gold Metallic Spray, 1 oz.

Classic Kit: $70 Value for $36.99
Premium Kit: $106 Value for $49.99

I am a pink girl, but for this month’s love-themed kit, I thought that I would create an homage to another of my favorite colors that is also Valentine’s-approriate: purple! I pulled out Orchid, Amethyst, and Grape Juice Core Inks, Amethyst and Passion Flower cardstock, and some blending brushes and got to work to create this trio of purple cards. Let’s get started with the details!

For this first project, I used the lovely floral layering stencils included in both the Classic Kit and the Premium Kit with Orchid, Amethyst, Grape Juice, Arctic, and Paradise Core Inks to create this vivid background. After ink blending, I also spritzed the entire A2 panel with Iridescent Shimmer Mist. The sparkle on this panel is so lovely in person, but so difficult to capture in a photo!

After I had created my panel, I used some deep purple glitter cardstock to die cut the chunky “love” sentiment, included in both the Classic Kit and the Premium Kit, heat embossing the coordinating sentiment strip onto a piece of Passion Flower cardstock with silver embossing powder. To accent the greeting and add a little more texture to the project, I die cut several of the flowers included in the Premium Kit from Passion Flower, Eggplant, and Paradise cardstock and layered them around the sentiment components. For a final touch, I dotted some White Hero Pearls in the center of the little hydrangea flowers!

My next project pairs the gorgeous Orchid, Amethyst, and Grape Juice Core Inks with the new Love You So Much cover plate die. I began by ink blending the three purple inks on two different A2 panels of white cardstock using blending brushes. Once I had finished blending both panels, I die cut the new Love You So Much cover plate die from one blended piece and layered it over the top of the other, creating a subtle, tone-on-tone card front filled with vibrant color!

To accent the simple card, I die cut some hearts from a few scraps of lilac glitter cardstock to inlay them into the delicate hearts at the top and bottom of the card! I also swiped a shimmer pen over the top of my words to try to emphasize them a bit more, but I had some leaking issues (hello blobs of sparkle ruining my blended backgrounds! Thumbs down!), so splatters came to the rescue! I splattered the background with some handmade glitter watercolors from Etsy to camouflage some of the blobs, then added some more purple die cut hearts with foam adhesive to hide others. I would have been so frustrated to throw the panels away, so I’m glad that I was able to come up with a solution to hide the messy bits!

My last card features the new Flowers and Hearts Cover Plate die! I die cut the cover plate from some beautiful Amethyst cardstock and backed it with some coordinating lilac colored glitter cardstock so that the pattern sparkled so prettily behind the die cut windows! I reserved all of the die cut pieces for later to accent my sentiment.

I die cut the new I Love U Stamp N Cut XL from Eggplant cardstock and some purple mirror foil that I found in my stash of specialty cardstocks. I paired it with a white heat embossed greeting from the new Valentine Wreath Bundle, popping up all of the pieces with foam adhesive. To accent the greeting, I used a Copic marker to add color to some of the leftover die cuts from the Flowers and Hearts Cover Plate die to help them stand out from the different shades of purple on the card front! This is an easy way to customize your leftovers and still have everything look coordinated and cohesive. Finally, I added a few white jewels to the center of some of the flowers for some more sparkle.

Well, that’s all for my projects today! Now for some fun giveaway information:

We will give away a $50 gift card, drawn from the comments left across the hop. Enter by
Sunday, January 14th at 11:59pm PT, and the winner will be announced on the Hero Arts blog
the following week.

You can see the full hop list over on the Hero Arts Blog. Thanks so much for stopping by today, and happy hopping!

Filed Under: Hero Arts Tagged With: flowers and hearts cover plate, i love u snc xl, layered stencil, love you so much, my monthly hero, valentine's day

  • « Go to Previous Page
  • Page 1
  • Interim pages omitted …
  • Page 4
  • Page 5
  • Page 6
  • Page 7
  • Page 8
  • Go to Next Page »

Primary Sidebar

  • Facebook
  • Instagram
  • Pinterest
  • YouTube

Favorite Shops

Secondary Sidebar

Subscribe

Enter your email address to subscribe to this blog and receive notifications of new posts by email.

Instagram
Something is wrong.
Instagram token error.
Follow
Load More

Archives

Tags

3D embossing folder alcohol markers better press birthday birthday card blog hop card kit christmas christmas card christmas tag colored pencil copic copic coloring Daniel Smith die cutting embossing folder embroidery felt giveaway holiday holiday card hot foil ink blending karin brushmarker pro layered stencil masculine my monthly hero new release no line coloring no line watercolor OLO marker olo markers original illustration pawsitively saturated rainbow shaker card slimline stamping stamptember stencil thank you thinking of you valentine's day video watercolor

Popular Posts

Simon Says Stamp Joy For You Blog Hop- Day 1!
Watercolor Poinsettia Card and Tag with Tim Holtz and Simon Says Stamp!
Cottagecore Christmas Framed Artwork with New Simon Says Stamp!
Fluted Frames and Tags with New Simon Says Stamp!
Simon Says Stamp Glory to the Newborn King Holiday Kit-Part II!
Shaped Holiday Shaker Card with New Simon Says Stamp Jolly Season Card Kit of the Month!
Simon Says Stamp Card Kit November 2026: Jolly Season!
Warmth and Love at Christmastime with New Simon Says Stamp!
Honey Bee Stamps 4th Anniversary Celebration!
Cottagecore Canvas with New Simon Says Stamp Shine On Release!

Disclosure

Some affiliate links are used in my posts. This means that, should you click on one of my links and purchase something from that company, I will receive a small portion of the sale at no extra cost to you. I use the money earned from these sales to help maintain my blog. I so appreciate you visiting and, if you do choose to use one of my affiliate links, thank you so much for your support!
Copyright © 2026 ·Brunch Pro Theme · Genesis Framework by StudioPress · WordPress · Log in
Loading Comments...