• Skip to main content
  • Skip to primary sidebar
  • Skip to secondary sidebar

Sixth Street Sundries

Emily Midgett

  • Home
  • About Me
  • Contact
  • OLO Marker Color Swatch Chart
  • Shop

layered stencils

Pinkfresh Studio September 2023 Ink Release

September 29, 2023

Hi friends! Today happens to be an incredibly exciting day, not just because it’s my birthday, but because the looooong-awaited Pinkfresh Studio September 2023 Ink Release is finally here!! With so many delays, it felt like these beautiful inks were never going to arrive, but here they are in all of their glory! This new release adds so many beautiful additions to the already-gorgeous Pinkfresh Studio rainbow of ink colors. You can purchase the large pads individually HERE on the Pinkfresh Studio website, or as an Ink Pad Bundle (PFS | SSS). Pinkfresh Studio also offers their ink pads in cubes to accommodate everybody’s storage needs, and you can check them out HERE on the Pinkfresh Studio website. You can also purchase the entire bundle of new ink cubes (PFS | SSS) as well!

Pinkfresh Studio is releasing an absolutely scrumptious addition to their Studio Essentials line with the release of their new 72 Ink Cube Holder (PFS | SSS) and 48 Ink Cube Holder (PFS | SSS). These ink cube holders are the epitome of elegance, with pale blush pink vegan leather and a crisp white velour interior, accented with shining gold hardware. I don’t have many ink cubes, but let me tell you… I want to get some just to store them in these stunning cases!! They would make great holiday gifts for your crafty friends, too!

I was particularly enamored with the Rose Garden and Green Gables ink sets, and so chose to use those as the color palette for my holiday cards today! For my first project, I wanted to put those beautiful and unique new shades of red to good use. The Rose Garden ink family is a stunning ombré of peachy blush to a unique cool, deep red. I am not kidding when I say that Begonia (PFS | SSS) and Mulberry Blush (PFS | SSS) are my two favorite ink colors in this new release. So different from anything that I have in my (extensive) ink collection!

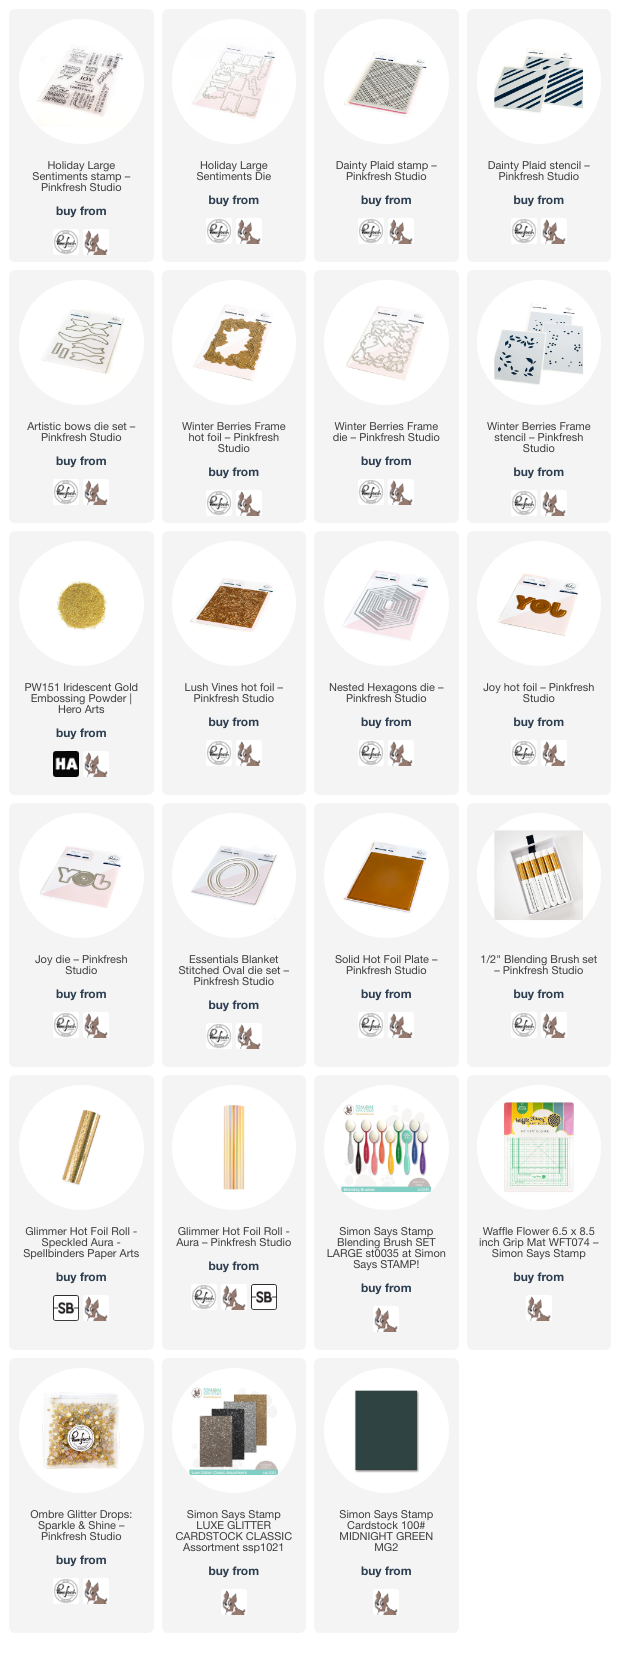
To start, I heat embossed the Dainty Plaid Background (PFS | SSS) onto some white cardstock using Hero Arts Iridescent Gold Embossing Powder (SSS | HA). I then used the coordinating Dainty Plaid Stencils (PFS | SSS) and Cherry Blossom (PFS | SSS), Begonia (PFS | SSS), and Mulberry Blush (PFS | SSS) inks to create this lovely and festive tone-on-tone red plaid background. Depending on your pressure with your blending tools, you can make these colors more or less intense, creating a whole array of shades!

After I had created my plaid background, I used the Winter Berries Frame Hot Foil Plate (PFS | SSS) with Speckled Aura hot foil (SB | SSS). I cut out the images with the coordinating dies (PFS | SSS), then used the Waffle Flower Grip Mat (SSS) with the coordinating Winter Berries Stencils (PFS | SSS) to blend Begonia (PFS | SSS), Mulberry Blush (PFS | SSS), Sage (PFS | SSS), and Eucalyptus (PFS | SSS) inks to create these lovely and festive floral die cuts that coordinated beautifully with the plaid background. I also die cut the pieces of the Artistic Bows (PFS | SSS) from white cardstock and blended Cherry Blossom (PFS | SSS), Begonia (PFS | SSS), and Mulberry Blush (PFS | SSS) inks on each piece before assembling to create a bow that perfectly matched the colors of the rest of my card!

For the greeting, I heat embossed a sentiment from Holiday Large Sentiments stamps (PFS | SSS) using more of the Hero Arts Iridescent Gold Embossing Powder (SSS | HA). I die cut the finished sentiment with the coordinating die (PFS | SSS). To accent my plaid background and coordinate with the white on the die cuts, I die cut a white frame using the Blanket Stitched Oval dies (PFS | SSS), popping it up on the plaid background using foam adhesive. I arranged my berries, bow, and sentiment on the card front, popping them up with single and double layers of foam adhesive to add lots of dimension. Finally, I added a few Sparkle & Shine Glitter Drops (PFS | SSS) to add one more sparkling touch, making this card super festive!

My second card is an homage to the gorgeous Green Gables ink set. These shades of green are such a beautiful and unique addition to the Pinkfresh Studio ink line! Green normally plays second fiddle to whatever pinks, purples, and corals I am using for my flowers, so I thought I’d allow these beautiful, verdant shades to be the star of the show for this project! I began by hot foiling the Lush Vines Hot Foil Plate (PFS | SSS) using Speckled Aura hot foil (SB | SSS) onto some white cardstock. I then used large blending brushes to blend Sage (PFS | SSS), Eucalyptus (PFS | SSS), Spruce Tips (PFS | SSS), and Lush Forest (PFS | SSS) inks in an ombré down the front of the hot foiled background. I am in love with these gorgeous greens!! I trimmed the blended, foiled panel down slightly and mounted it on a full sized A2 panel of Midnight Green cardstock from Simon Says Stamp.

Next, I hot foiled the negative leftovers of the Winter Berries Frame Hot Foil Plate (PFS | SSS) from the previous card using the Solid Hot Foil Plate (PFS | SSS) and die cut the images with the coordinating dies (PFS | SSS). I blended Lush Forest (PFS | SSS) over the white lines to create a bit more contrast and to coordinate more perfectly with my shiny green background. I also heat embossed the JOY Hot Foil Plate (PFS | SSS) using Aura hot foil (PFS | SSS | SB), then die cut it with the Coordinating Die (PFS | SSS). Using the same green inks, I blended over the white areas around the edges of the die cuts, as well, to keep everything completely cohesive.

Sage (PFS | SSS), Eucalyptus (PFS | SSS), Spruce Tips (PFS | SSS), Lush Forest (PFS | SSS) inks

I die cut a crazy sparkly frame using the Nested Hexagon dies (PFS | SSS) and some fabulous Luxe Glitter cardstock from Simon Says Stamp, which I backed with clear acetate and enclosed with foam tape. I filled my shaker with coordinating green and gold sequins from my stash and added it to the front of my blended, foiled card. Over the top of my shaker, I arranged my foiled and blended die cuts, popping them up with foam adhesive to add extra height. The finishing touch was a twine bow to add extra textural interest to this detailed and super color-coordinated project!

Well, that’s all for my projects today! Now for some fun givewaway information:

We will be giving away the full release on the Pinkfresh blog & YouTube channel. 

Pinkfresh Studio will be giving away a total of FIVE $25  gift cards along the hop. As per usual with blog hops – the winners will be selected from the comments.Winners will be announced on October 9, 2023 on our GIVEAWAY PAGE. Winners must check that page & claim their prize within 2 weeks.

Here’s the full hop list below:

You are invited to the Inlinkz link party!

Click here to enter

Thanks so much for stopping by today, and happy hopping!
Filed Under: pinkfresh studio Tagged With: artistic bows, christmas card, dainty plaid, holiday card, holiday large sentiments, hot foil, ink blending, ink release, joy hot foil, layered stencils, lush vines, nested hexagons, shaker card, stencil, winter berries

Simon Says Stamp Just A Note Blog Hop-Day 2 + Giveaway!

July 29, 2023

This post was sponsored by Simon Says Stamp. Thanks, Simon!

Good morning and welcome to the Simon Says Stamp Just A Note Blog Hop-Day 2! You should have arrived here from Amy Rysavy, and your next stop is Lisa Addesa. We are hopping along to celebrate the brand new Just A Note release, which is chock full of fabulous stamps and dies, including back to school sets, super cool layering stencils, and marvelous embossing folders! I shared some inspiration using the Citrus Slice Background Die HERE and the Golden Fern Embossing Folder HERE, but today I’m switching gears and sharing a fun shaker back-to-school shaker card using the new The Write Stuff and School Supplies stamps! Let’s get started with the details.

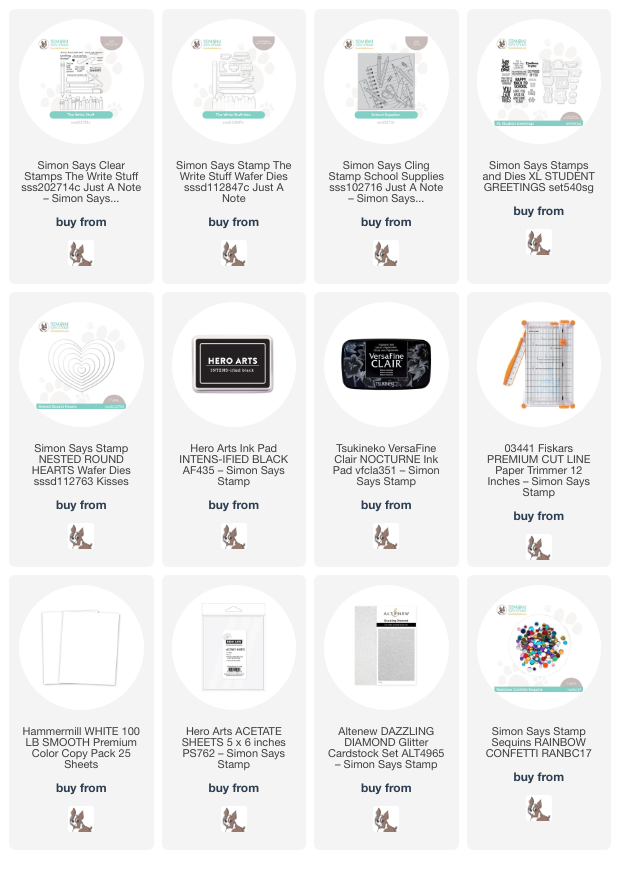
I began this encouragement shaker card by stamping the new School Supplies background stamp onto some Hammermill cardstock using alcohol marker-friendly black ink. I then colored the images in a variety of primary colors using both Copic and OLO markers to achieve the simple, childlike color scheme. We’ve been slowly purchasing new school supplies for my kiddos all summer and I definitely used them as inspiration for the color palette!

To accent my colorful background, I stamped a marker and pencil from The Write Stuff using black ink and colored them using the same shades of alcohol markers to keep everything cohesive. I love that the imagery in the background stamp exactly matches the individual images in The Write Stuff! I used the coordinating dies to cut out the colored images. I also stamped some greetings from XL Student Greetings using black pigment ink and added clear embossing powder to make the sentiments nice and crisp, then die cut them with the coordinating dies.

To create the shaker portion of my shaker card, I trimmed down a panel of white A2 cardstock using my trimmer to create an interior window and leave a 1/2″ frame around the outside. (No dies needed sometimes!) I backed the frame with some clear acetate, then added some foam tape and filled it with some coordinating colors of sequins. I nestled the pencil, marker, and sentiment die cuts in the corner of the shaker, orienting them to the left to allow the school supplies in the background on the right to be visible. I adhered the writing supplies with double sided tape and the greetings with foam tape for extra height. As an afterthought, I die cut a few hearts using the smallest of the Nested Round Hearts dies from some white glitter paper, then used a red alcohol ink marker to color them red! Still so sparkly and coordinates perfectly with the colors of the card!

Well, that’s all for my project today. Now for some fun giveaway and freebie information!

Simon Says Stamp is giving away a $25 coupon to every stop on the hop, to be selected from each blog’s comment section. The winners will be selected and posted on the Simon Says Stamp blog on Wednesday, the 2nd of August. Winners must email Simon Says Stamp to claim his/her prize 🙂

Simon Says Stamp is also offering a fabulous gift with purchase to celebrate the new Just A Note release! Simply enter code: ART to receive the Handcrafted with Love stamp set free with purchase! This gift with purchase will expire 7/30 at 11:59 pm EDT.

Here’s the full hop list in case you get lost:

Simon Says Stamp Blog 
Nina-Marie Trapani
Caly Person
Debby Hughes
Amy Rysavy
Emily Midgett
Lisa Addesa
Heather Hoffman
Lea Lawson
Bobbi Lemanski
Jennifer Kotas
Sandi MacIver
Barb Engler
Allison Frazier
Maura Hibbitts

Thanks so much for stopping by today, and happy hopping!

Filed Under: simon says stamp Tagged With: just a note, layered stencils

Childhood Inspiration for Christmas with Spellbinders!

July 15, 2023

Hi friends! I have some more inspiration for you today using the new  De-Lightful Christmas Collection from the  July 2023 Spellbinders Holiday Release. Earlier this week, I posted some super saturated inspiration with a more traditional color scheme of intense, vibrant red and accents of green, but today my inspiration comes from my childhood. My mom had a couple of different themes for our Christmas trees when I was growing up, ranging from the more traditional hodgepodge of handmade and hand-me-down ornaments with colorful lights to a sophisticated and coordinated Victorian tree, complete with aqua, pink, gold, and pearl color scheme-and even pink lights! I channeled that tree when I was creating these two cards, so let’s get started with the details.

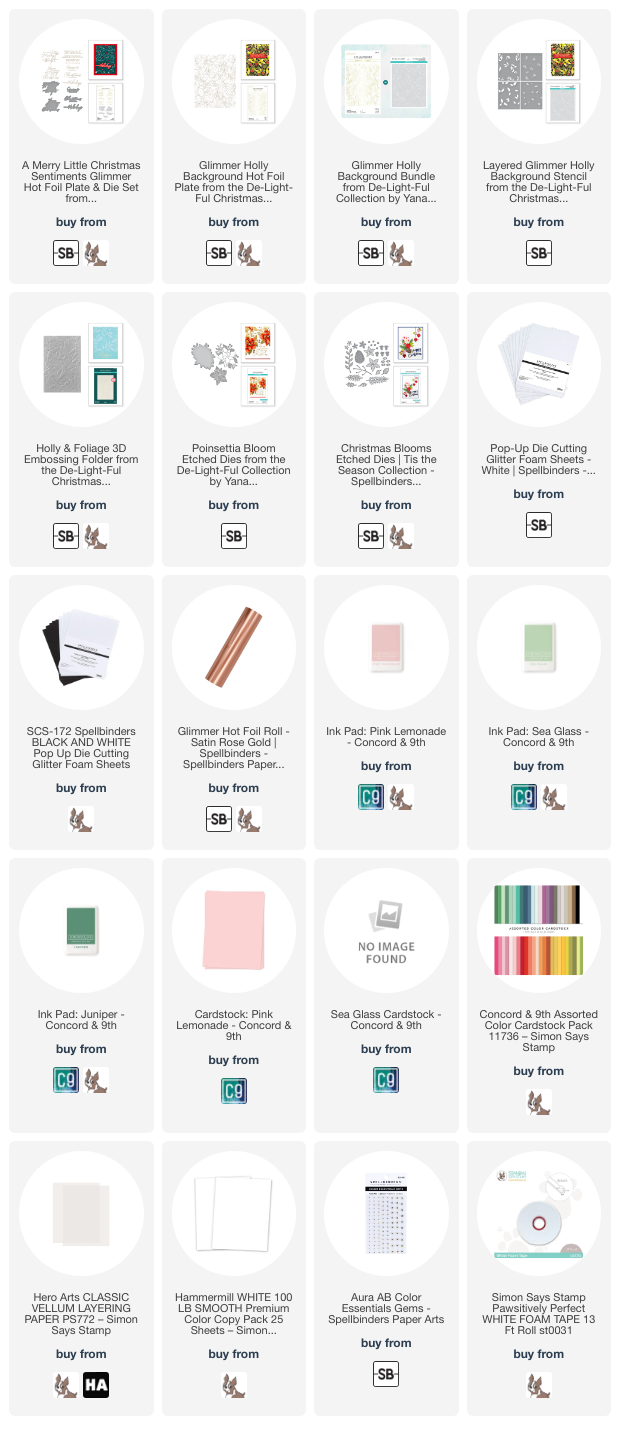
To start, I pulled out several different color elements that I wanted to incorporate into my projects, including Pink Lemonade and Sea Glass cardstock from Concord and 9th, as well as Pink Lemonade, Sea Glass, and Juniper inks, also from Concord and 9th.

For my first card, I began by hot foiling the beautiful Glimmer Holly Background on some Hammermill cardstock (super smooth and my preferred white cardstock for basically everything) using Satin Rose Gold Foil from Spellbinders. This background is so beautifully detailed, so full and rich, that it could easily stand on its own. I can’t wait to try adding watercoloring or alcohol markers!

For this card, though, I used the Layered Glimmer Holly Stencil Set with Pink Lemonade, Sea Glass, and Juniper inks from Concord and 9th, increasing the intensity of the Juniper ink for the holly leaves and decreasing it for the little spruce sprigs to get multiple colors from just one ink pad! The Layered Glimmer Holly Stencils are designed to be a bit stylized, leaving some of the images without color, some completely colored, and some with bare spots to add some highlights to the images. Such a unique look without compromising the beautiful design in the slightest! I trimmed down the full background panel and added a couple of strips of Pink Lemonade and Sea Glass cardstock to accent the colors in the stenciled panel.

The background is so lovely that I kept the card itself very simple so as to allow the background to be a main point of focus. I hot foiled one of the large sentiments from A Merry Little Christmas Sentiments using Satin Rose Gold Foil and die cut it with the coordinating die. I popped up the greeting using some foam adhesive, orienting it over the seam of the colored cardstock. The final touch was to add a few Aura AB gems for some sparkle. A simple card, but so effective!

My second card features the gorgeously detailed Poinsettia Bloom Dies. I began by die cutting the Poinsettia Bloom Dies twice from white cardstock. I removed each individual piece from the die cut and used a small blending brush to lightly blend some Pink Lemonade ink, concentrating the darkest blending towards the center of the flower. Once I had finished blending each piece, I die cut the solid outline piece from some heavyweight vellum cardstock and adhered the super detailed piece from the top layer using liquid adhesive. I then placed each blended petal in it’s appropriate spot using liquid adhesive. A bit fiddly, but replacing each piece honestly went a lot more quickly than you would think!

For the background, I ran an A2 panel of Pink Lemonade cardstock through my Platinum 6 using the Holly & Foliage 3D Embossing Folder . My matchy-matchy-loving heart adores that each element from the De-Lightful Christmas Collection coordinates perfectly together! To add a little interest to the background, I also blended some Pink Lemonade ink around the edges of the embossed panel, giving it just a touch more depth and dimension.

I popped up the blended poinsettia die cut using some foam adhesive, then added a few sprigs of pine cut using the Christmas Blooms Dies from White Glitter Foam. I love adding little individual botanical die cuts to bouquets like this; it helps to fill out the bouquets and direct your eye to the sentiment, because you can orient the direction of the bouquet based on where you place the additional sprigs. For the greeting, I used another hot foiled sentiment from the A Merry Little Christmas Sentiments using Satin Rose Gold Foil. I popped it up using a double layer of foam tape to give it a little extra height from the poinsettia. The final touch was a few more sparkling Aura AB gems!

Well, that’s all for these projects!

One last thing: the Christmas In July sale from Spellbinders is going on through July 16, and there are tons of stunning holiday products and essentials on sale for up to 50% off! (Click HERE to check it out!)

I have lots more to share with you using these beautiful new products from Spellbinders, so be sure to check back for more holiday inspiration! Thanks so much for stopping by today, and Merry Christmas in July!

Filed Under: spellbinders Tagged With: a merry little christmas, christmas, christmas blooms, christmas in july, glimmer holly background, glitter foam, holiday card, holly & foliage embossing folder, hot foil, layered stencils, poinsettia bloom

VIDEO: Using Vellum to Soften Your Background!

June 21, 2023

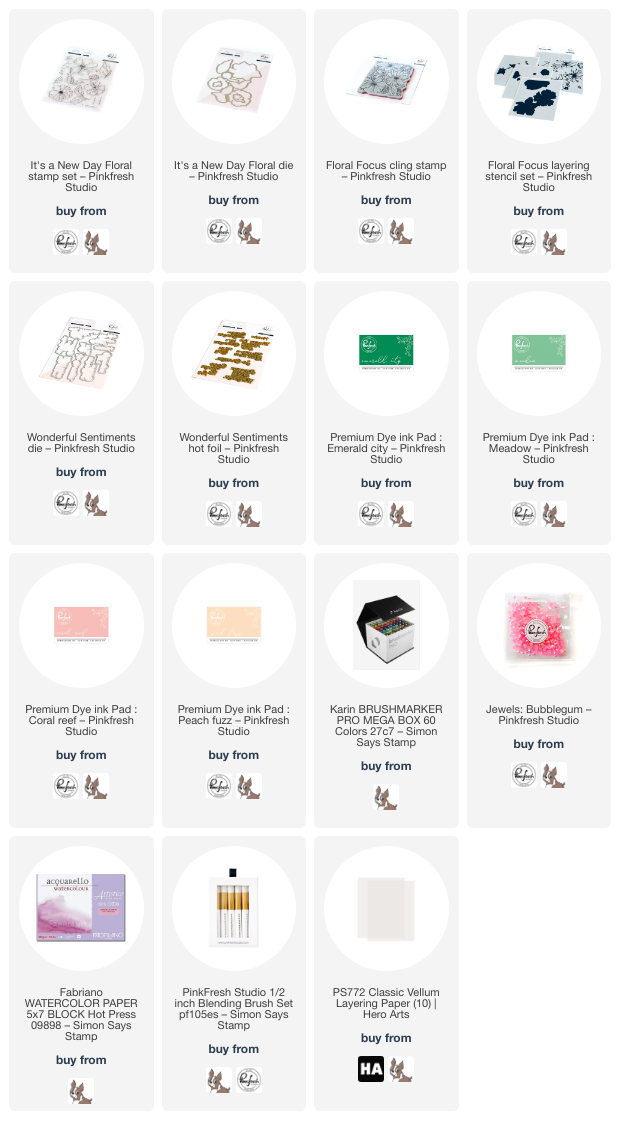
Hi friends! I am over on the Pinkfresh Studio YouTube channel today with a video using two of my illustrations: It’s A New Day and Floral Focus! When I was illustrating these two sets, I actually intended for them to be paired together; you can see that the blooms and foliage coordinate! These were released awhile ago, but I haven’t found an opportunity to pair them together until now. The Floral Focus background stamp is a very detailed image, and I love pairing super detailed images with heat embossing and vellum… it reminds me of lace. I still wanted to have some soft color, so I used the coordinating Floral Focus Stencils to add some subtle color on the panel behind the embossing.

You can watch the video above or on the Pinkfresh Studio YouTube Channel by clicking HERE.

I started by heat embossing the Floral Focus background stamp on an A2 panel of vellum using white embossing powder. I adore the effect that this technique has, creating an elegant, delicate, super feminine look. The coordinating Floral Focus Stencils are a super quick way to add color to the stamped image, but they also have very handy tick marks in the corners of the stencil which, when centered over an A2 card panel, allow you to create a colorful background without even having to stamp the image! I used Peach Fuzz, Coral Reef, Meadow, and Emerald City inks from Pinkfresh Studio with the stencils; you can see in the video that the stenciled panel alone would make a pretty background by itself! I wanted to soften those colors a bit, though, which is where the embossed vellum overlay comes in. It helps to make the colors more subtle without getting rid of them completely. I love the effect!

Next, it was time to do some watercoloring. You can see that I used this particular flower from the It’s A New Day stamp set for the Floral Focus background… I love having multiple options to create a coordinated look! I heat embossed the images from It’s A New Day onto some Fabriano Artistico Hot Press watercolor paper using white embossing powder to keep the embossing cohesive between the elements. I used my Karin Brushmarker Pro markers to add color to the images in coordinating shades of peach and emerald. (If you’ve been struggling with Karin markers, I share a few tips in my video on how to get good results with them!) Once I had finished watercoloring the butterfly ranunculus, a bud, and some foliage, I die cut the images with the It’s A New Day die.

Vellum can be a little tricky, because most adhesives will show through the semi-transparent paper, so before attempting to adhere the vellum panel, I first arranged my floral die cuts and a die cut sentiment created using the Wonderful Sentiments Hot Foil Plate and coordinating dies. I adhered the die cuts to the vellum panel using foam adhesive, then flipped over the panel and hid my super strong double sided tape behind the solid die cuts. I carefully placed the vellum panel over the top of the stenciled panel to make sure that the patterns lined up properly. The final touch was to add a few Bubblegum gems for some sparkle!

Well, that’s all for my project today! Thanks so much for stopping by, and have a marvelous day!

Filed Under: pinkfresh studio Tagged With: floral focus, hot foil, it's a new day, karin brushmarker pro, layered stencils, original illustration, vellum, video, watercolor

Altenew June 2023 Marvelous Monthly Series Release Blog Hop + Giveaway ($300 in Total Prizes!)

June 18, 2023

Hi there! Today, Altenew is hopping along to celebrate their new June Marvelous Monthly release! You should have arrived here from Seeka, and your next stop is Laura Jane. You can also start back at the beginning at the Altenew Blog. I have a pair of bold red, black, white, and gold projects to share with you today using the new Build-A-Garden Japanese Anemone and Spark Joy: Sweet Greetings sets from the June 2023 Marvelous Monthly Release, so let’s get started with the details!

I kept my color palette simple, with pops of bright red and stark black, adding some luxurious golden metallic accents here and there on both projects!

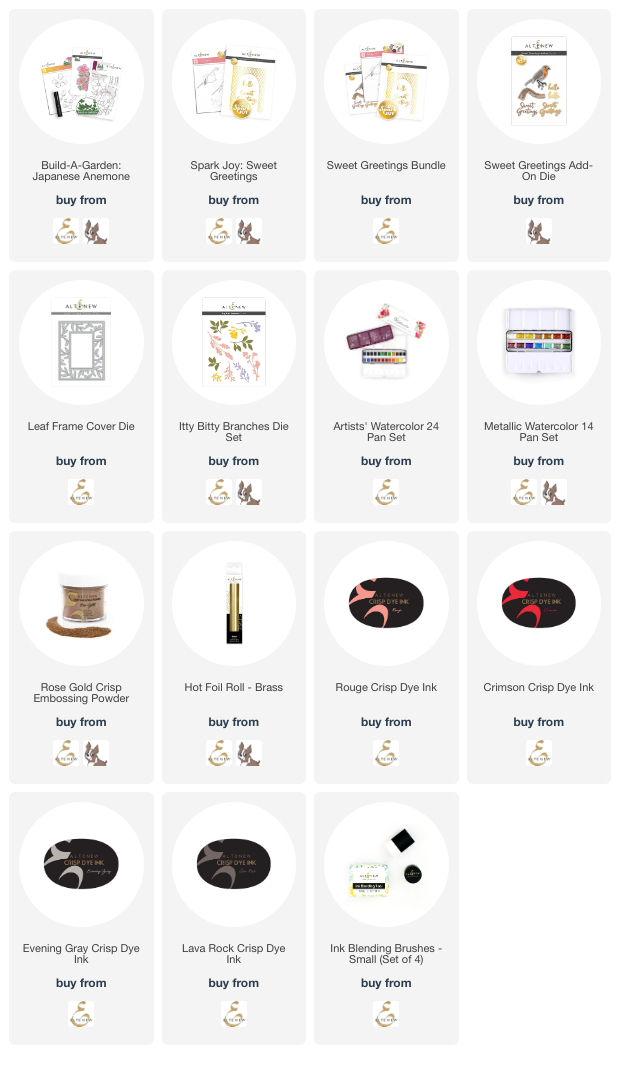
For my first project, I did some no-line watercoloring with the Build-A-Garden Japanese Anemone using my favorite Altenew Artists’ 24 Pan Watercolor Set. A friend of mine used deep red anemone flowers in her wedding bouquet, which are such uniquely beautiful flowers with their deep black centers, so I was channeling those flowers when painting this card! After watercoloring, I splattered the flowers with some deep gold metallic paint to add some artsy textural interest to the flowers. I die cut the finished painting with the coordinating die which is included with the Build-A-Garden Japanese Anemone.

To accent the black centers of the anemones, I die cut the Leaf Frame Cover Die from some black cardstock and mounted it on an A2 panel of white cardstock. I really love the contrast between the deep black and the crisp white. It looks a little exotic to me… so fun!

For the greeting, I die cut the “hello” from the Spark Joy: Sweet Greetings set using gold glitter cardstock for the detail layer, and the outline layer from more black cardstock. I also embossed a greeting from the Japanese Anemone set on a smaller rectangle of blakc cardstock using Altenew’s Rose Gold embossing powder, which worked beautifully with the metallic glitter die cut layer. I popped all of the layers up using foam adhesive for tons of dimension on this project!

My second project features the beautiful hot foiled arched frame from the Spark Joy: Sweet Greetings set and the coordinating add-on die. I used Altenew’s Brass foil to hot foil the archway onto some crisp white cardstock, as well as the “greetings” sentiment included in the Sweet Greetings set.

For the sweet bird, I used blending brushes with the layering stencils included in the Spark Joy: Sweet Greetings set with Rouge, Crimson, Evening Gray, and Lava Rock inks to create a unique warm gray and red bird reminiscent of a robin. I die cut some foliage using the Itty Bitty Branches dies, adding some Crimson and Lava Rock to some of the details on the die cuts, which creates a bit of extra interest on the white die cuts. I arranged the flowers and foliage across the bottom of the hot foiled frame, nestling the bird amongst the branches. I popped up all of the die cut pieces with foam tape, finally adding some gems for sparkle!

Well, that’s all for my projects today! Now for some fun giveaway information:

$300 in total prizes! To celebrate this release, Altenew is giving away a $100 gift certificate to 1 lucky winner and a $40 gift certificate to 5 winners! Please leave a comment on the Altenew Card Blog and/or each designer’s blog post on the blog hop list below by 06/21/2023 for a chance to win. Altenew will draw 6 random winners from the comments left on each stop of this blog hop and announce the winners on the Altenew Winners Page on 06/23/2023.
*The winner of the $100 gift certificate will be chosen from comments left on the Altenew blog. 

Here’s the full hop list:

You are invited to the Inlinkz link party!

Click here to enter

Thanks so much for stopping by today, and happy hopping!

Filed Under: altenew Tagged With: build a garden, hot foil, japanese anemone, layered stencils, marvelous monthly, no line watercolor, spark joy, sweet greetings, watercolor

  • « Go to Previous Page
  • Page 1
  • Page 2
  • Page 3
  • Page 4
  • Page 5
  • Go to Next Page »

Primary Sidebar

  • Facebook
  • Instagram
  • Pinterest
  • YouTube

Favorite Shops

Secondary Sidebar

Subscribe

Enter your email address to subscribe to this blog and receive notifications of new posts by email.

Instagram
Something is wrong.
Instagram token error.
Follow
Load More

Archives

Tags

3D embossing folder alcohol markers better press birthday birthday card blog hop card kit christmas christmas card christmas tag colored pencil copic copic coloring Daniel Smith die cutting embossing folder embroidery felt giveaway holiday holiday card hot foil ink blending karin brushmarker pro layered stencil masculine my monthly hero new release no line coloring no line watercolor OLO marker olo markers original illustration pawsitively saturated rainbow shaker card slimline stamping stamptember stencil thank you thinking of you valentine's day video watercolor

Popular Posts

Simon Says Stamp Glory to the Newborn King Holiday Kit-Part II!
Simon Says Stamp December 2026 Card Kit of the Month: Frosted Botanical!
Two Simon Says Stamp Holiday Exclusive Projects with Tim Holtz and Art Impressions!
Warmth and Love at Christmastime with New Simon Says Stamp!
Altenew July Stamp and Die Blog Hop+Giveaway!
Frozen Fractals All Around with New Simon Says Stamp Joy For You Release!
Hero Arts Partners Blog Hop: Lawn Fawn!
Simon Says Stamp Joy For You Blog Hop- Day 1!
Altenew Build-A-Flower: Tree Peony Release Blog Hop + Giveaway
Hero Arts 45th Anniversary Blog Hop+Giveaway, Day 1!

Disclosure

Some affiliate links are used in my posts. This means that, should you click on one of my links and purchase something from that company, I will receive a small portion of the sale at no extra cost to you. I use the money earned from these sales to help maintain my blog. I so appreciate you visiting and, if you do choose to use one of my affiliate links, thank you so much for your support!
Copyright © 2026 ·Brunch Pro Theme · Genesis Framework by StudioPress · WordPress · Log in
Loading Comments...