• Skip to main content
  • Skip to primary sidebar
  • Skip to secondary sidebar

Sixth Street Sundries

Emily Midgett

  • Home
  • About Me
  • Contact
  • OLO Marker Color Swatch Chart
  • Shop

loving you bouquet

Floral Holiday Inspiration with New Simon Says Stamp!

January 23, 2026


This post was sponsored by Simon Says Stamp. Thanks, Simon!

Hi friends! I am back today with some holiday inspiration using one of my new stamp sets from the Heart to Heart Release  from Simon Says Stamp (click HERE to check out the entire release!) called Loving You Bouquet. When I was originally illustrating this floral bouquet, I had envisioned it as a holiday bouquet, but Simon Says Stamp decided to accompany it with more versatile sentiments so that it could be used not just for Christmas, but for Valentine’s Day and beyond! The talented designers working with Simon Says Stamp have showcased it in a variety of beautiful colors, but I wanted to share my projects today using more traditional holiday colors, first with an embroidered ornament, then with a beautiful coordinating A7 watercolored card. It’s easy to customize floral bouquets to suit whatever your occasion might be with the appropriate colors and sentiment. Let’s get started with the details on my projects!

*I have gathered links to all of the products used at the bottom of the post for your convenience, using affiliate links at no extra cost to you. Thank you for shopping with my links! I truly appreciate your support for my work!*

An acquaintance of mine got married several years ago and shared photos of her wedding bouquet on social media, featuring utterly lush and luxurious red anemone flowers. I was instantly smitten with them and have seen them used in holiday floral arrangements all over Pinterest and the florist accounts that I follow on social media! That stunning red anemone was the inspiration for my projects today, featuring a beautifully creamy white gardenia paired with that lush scarlet anemone. I wanted to do some crewel work with needle and thread to create a holiday keepsake as well as a matching holiday card.

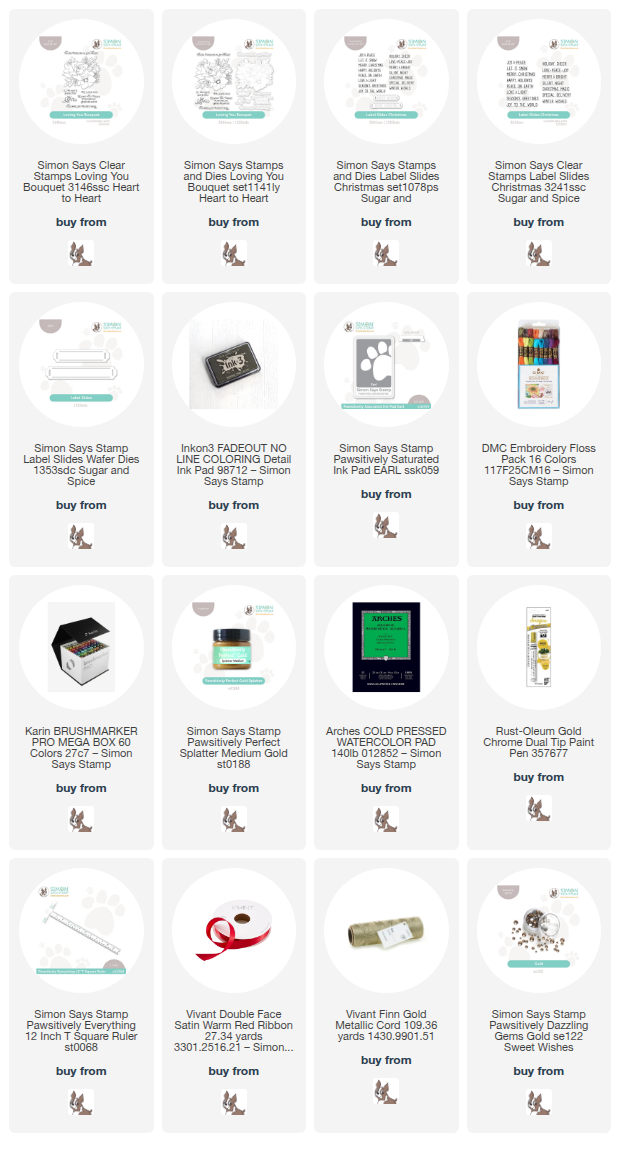
I stamped the bouquet from Loving You Bouquet onto some creamy white linen (an old cloth napkin that I found at the thrift store worked perfectly for this project!) using a light gray ink. I then placed the stamped cloth within a 5″ embroidery hoop and began my crewel work. I used what I call a “stained glass” technique, keeping each individual petal unique with one shade of thread on each petal, rather than trying to do too much elaborate shading with multiple shades of thread on each petal. Once I had finished embroidering the image, I added some metallic bronze seed beads from my stash to the flower centers and the tops of the berries. I love the additional texture and shimmer these beads add to the overall effect! I cleaned up the back of the ornament and added some ribbon to hang it from a tree, finally using my hot glue gun to add a coordinating red satin bow at the top. I think this will look so pretty on our Christmas tree next year!

For the coordinating card, I gave myself the freedom to do some detailed no-line watercoloring. When illustrating a new image, I try to add enough details and intricacies to the floral bouquets that they look lovely stamped on their own or with simple coloring, but I also love to just sit down and let my cares fall away as I become absorbed in super detailed watercoloring. I stamped the image from Loving You Bouquet onto some cold press watercolor paper using Inkon3’s Fadeout Ink, then used Karin Brushmarker Pro markers to color the images. With watercolor markers, I like to scribble the color out onto my glass craft mat or porcelain palette, then pick up the color with my damp paintbrush and apply it to the image. This technique allows me maximum control over the intensity of the color on my watercolor paper, as well as keeping the edges and contrast super clean and crisp.

Once I had finished coloring the images, I splattered the edges of the panel with some Simon Says Stamp Gold Splatter Medium. I also used my Simon Says Stamp T-Square to create a gold frame around the edges, bringing the eye towards the center of the card front. I trimmed the edges down slightly, then created a gold embossed sentiment slide using the Label Slides Christmas and coordinating Label Slides dies, through which I threaded some gold cord and adhered to the center of my card, securing the gold cord around the back of the panel. Once everything was complete, I mounted the finished panel on a piece of A7 Rainbow Splash Scarlet cardstock, giving a thin red accent frame around the exterior of the watercolored panel. Finally, I added a gold cord bow beneath the sentiment slide, then added some Gold Pawsitively Dazzling Gems for additional sparkle!

Well, that’s all for my projects today! I am always tickled when I can use the same stamp set for multiple occasions. It’s so important to be able to get as much bang for your crafting buck, and my new Loving You Bouquet definitely fits that bill! Thanks so much for stopping by today, and have a marvelous day!
Filed Under: simon says stamp, Uncategorized Tagged With: A7 card, christmas card, die cutting, embroidery, holiday card, label slides, label slides christmas, loving you bouquet, no line coloring, no line watercolor, ornament, t square, watercolor

New Illustration- Loving You Bouquet from Simon Says Stamp!

January 8, 2026

This post was sponsored by Simon Says Stamp. Thanks, Simon!

Hi friends! The new Heart to Heart Release (click HERE to check out the entire release!) is filled with great transitional products, and I have two new floral stamp sets that I’ve illustrated, called Loving You Bouquet and Make My Heart Flutter. Due to the holidays and lots of germs at my house, I am a little behind on creating with these pretty new 4×6 sets, but I have a couple of somewhat simple samples to share with you using these pretty florals. For my card today, I used a pleasantly springy color palette with the new  Loving You Bouquet, with lilac in two different intensities, along with some crisp black lines and a touch of sparkle. Let’s get started on the details for my project!

*I have gathered links to all of the products used at the bottom of the post for your convenience, using affiliate links at no extra cost to you. Thank you for shopping with my links! I truly appreciate your support for my work!*

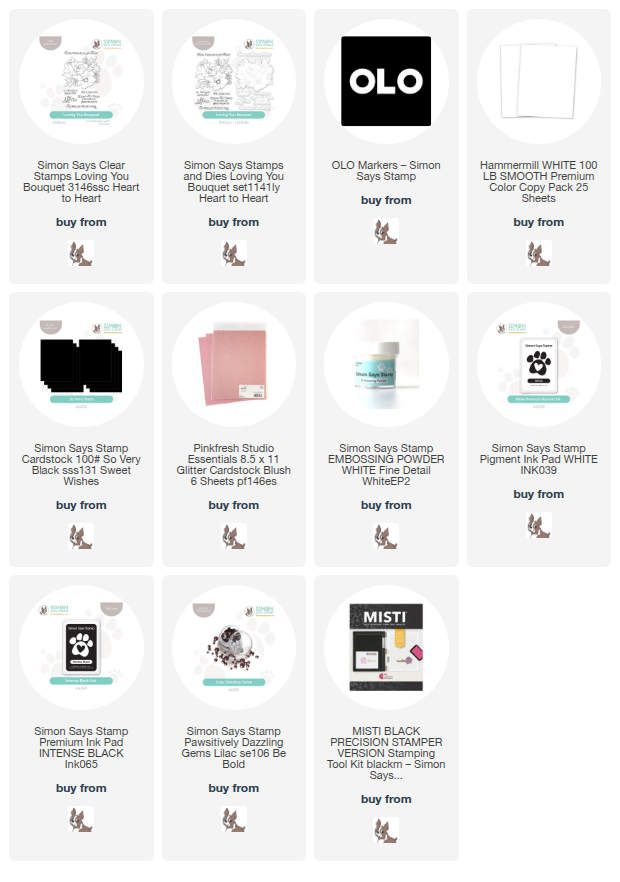
To create this full A2 floral background, I stamped my new Loving You Bouquet illustration twice on a panel of white A2 cardstock using my MISTI. I stamped the image once in my MISTI using Intense Black ink, then rotated the white cardstock 180* and stamped it again. There was a touch of overlap between the two stamped images, but I knew that I wanted to cover that up with a sentiment strip in the center of the card, so I wasn’t bothered by it. I then used OLO Markers to add subtle lilac in varying intensities to the gardenia bloom and berries, adding a touch of soft green to the leaf peeking out from behind the gardenia. I kept the large gardenia bloom very pale by making good use of my zero marker, basically a colorless blending marker that softens the lines of the alcohol marker already on the cardstock. It helps keep those super pale petals looking soft and pastel while also allowing shadows and depth to create shape!

After I had finished coloring the images, I trimmed down a strip of So Very Black cardstock and placed it smack dab in the center of my colored panel, covering up the somewhat messy-looking overlapping images quite neatly. I added a couple of thin strips of Pinkfresh Studio Blush glitter cardstock, as well, creating a bit of textural interest on the card front.

After I had created the card front, I heat embossed one of the pretty sentiments from the Loving You Bouquet on some more black cardstock using white pigment ink and white embossing powder. I think this sentiment could be used for so many different occasions… so versatile. The coordinating die set for Loving You Bouquet comes complete with sentiment dies, so you can create those detailed, polished sentiment die cuts in addition to the detailed bouquet die cut! I popped the sentiment die cut up in the center of my black cardstock strip using foam adhesive, then flanked it with some small Lilac Pawsitively Dazzling Gems for a tiny touch of sparkle. The pretty blooms really are the star of the show on this card, and the black cardstock picks up the crisp black lines on the stamped florals beautifully!

Well, that’s all for my project today! It’s always such a thrill to see my illustrations in the new Simon Says Stamp releases, and I can’t wait to share more inspiration with you using my newest designs. Don’t forget to come back for the two day blog hop this weekend! Thanks so much for stopping by today, and have a marvelous day!

Filed Under: simon says stamp Tagged With: alcohol markers, die cutting, loving you bouquet, olo markers, original illustration, sympathy card, thinking of you

Primary Sidebar

  • Facebook
  • Instagram
  • Pinterest
  • YouTube

Favorite Shops

Secondary Sidebar

Subscribe

Enter your email address to subscribe to this blog and receive notifications of new posts by email.

Instagram
Something is wrong.
Instagram token error.
Follow
Load More

Archives

Tags

3D embossing folder alcohol markers better press birthday birthday card blog hop card kit christmas christmas card christmas tag colored pencil copic copic coloring Daniel Smith die cutting embossing folder embroidery felt giveaway holiday holiday card hot foil ink blending karin brushmarker pro layered stencil masculine my monthly hero new release no line coloring no line watercolor OLO marker olo markers original illustration pawsitively saturated rainbow shaker card slimline stamping stamptember stencil thank you thinking of you valentine's day video watercolor

Popular Posts

Simon Says Stamp Sending Cheer Blog Hop- Day 2 + Freebie + Giveaway!
Altenew October 2026 Release Blog Hop + Giveaway!
Altenew Build A Flower Sweet Violet+Giveaway!
Floral Follies on Canvas with New Simon Says Stamp STAMPtember!
Simon Says Stamp STAMPtember Tim Holtz Collaboration: Festive Holidays!
Altenew March 2020 Release Blog Hop+Giveaway!
Honey Bee Stamps Bee Bold Release Blog Hop!
Waffleflower July Release Blog Hop!
Altenew Paint A Flower: Carnation Blog Hop+Giveaway!
Autumn Legs with Colorado Craft Company and Catherine Pooler!

Disclosure

Some affiliate links are used in my posts. This means that, should you click on one of my links and purchase something from that company, I will receive a small portion of the sale at no extra cost to you. I use the money earned from these sales to help maintain my blog. I so appreciate you visiting and, if you do choose to use one of my affiliate links, thank you so much for your support!
Copyright © 2026 ·Brunch Pro Theme · Genesis Framework by StudioPress · WordPress · Log in
Loading Comments...