This post was sponsored by Simon Says Stamp. Thanks, Simon! *I have gathered links to all of the products used at the bottom of the post for your convenience, using affiliate links at no extra cost to you. Thank you for shopping with my links! I truly appreciate your support for my work!*
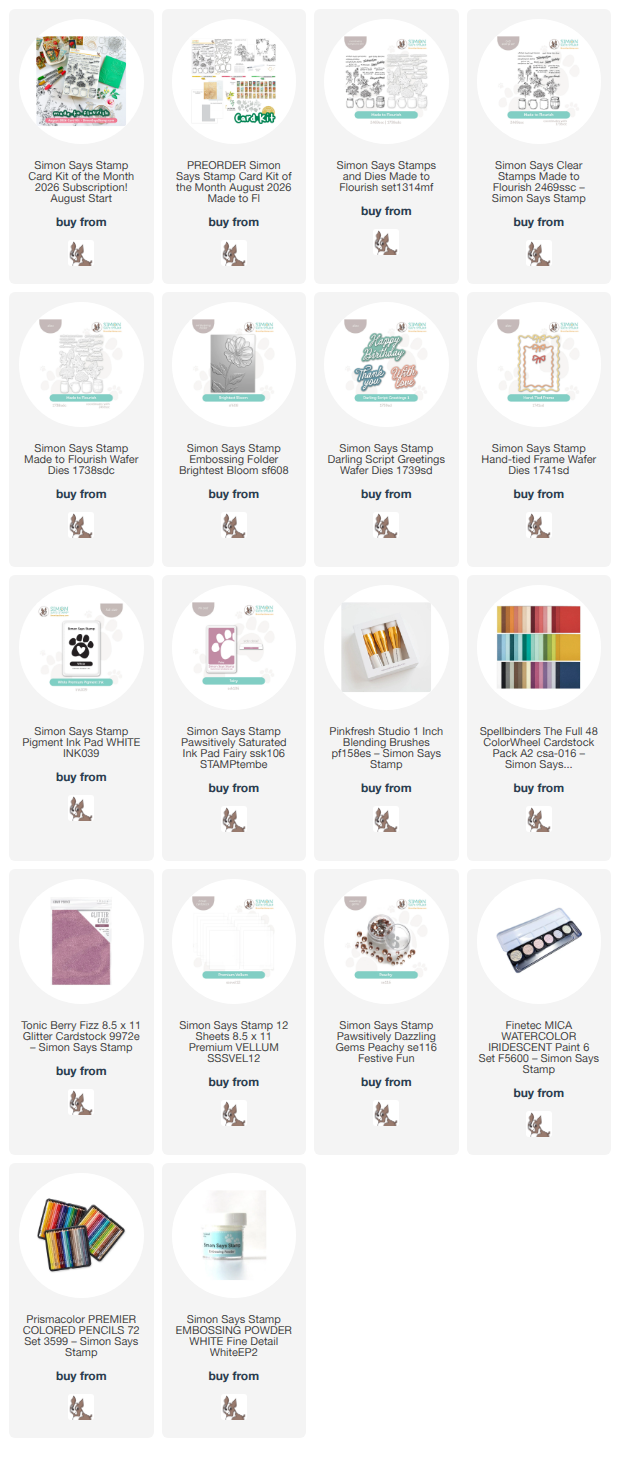
Hi friends! The new Simon Says Stamp August 2026 Card Kit is now available for preorder, and it’s such a stunner! With summertime comes verdant gardens and vibrant flowers, and the Made to Flourish kit pays homage to them so beautifully! (Click HERE to see all of the details on the kit!)
Here’s a sneak peek of the kit’s contents:
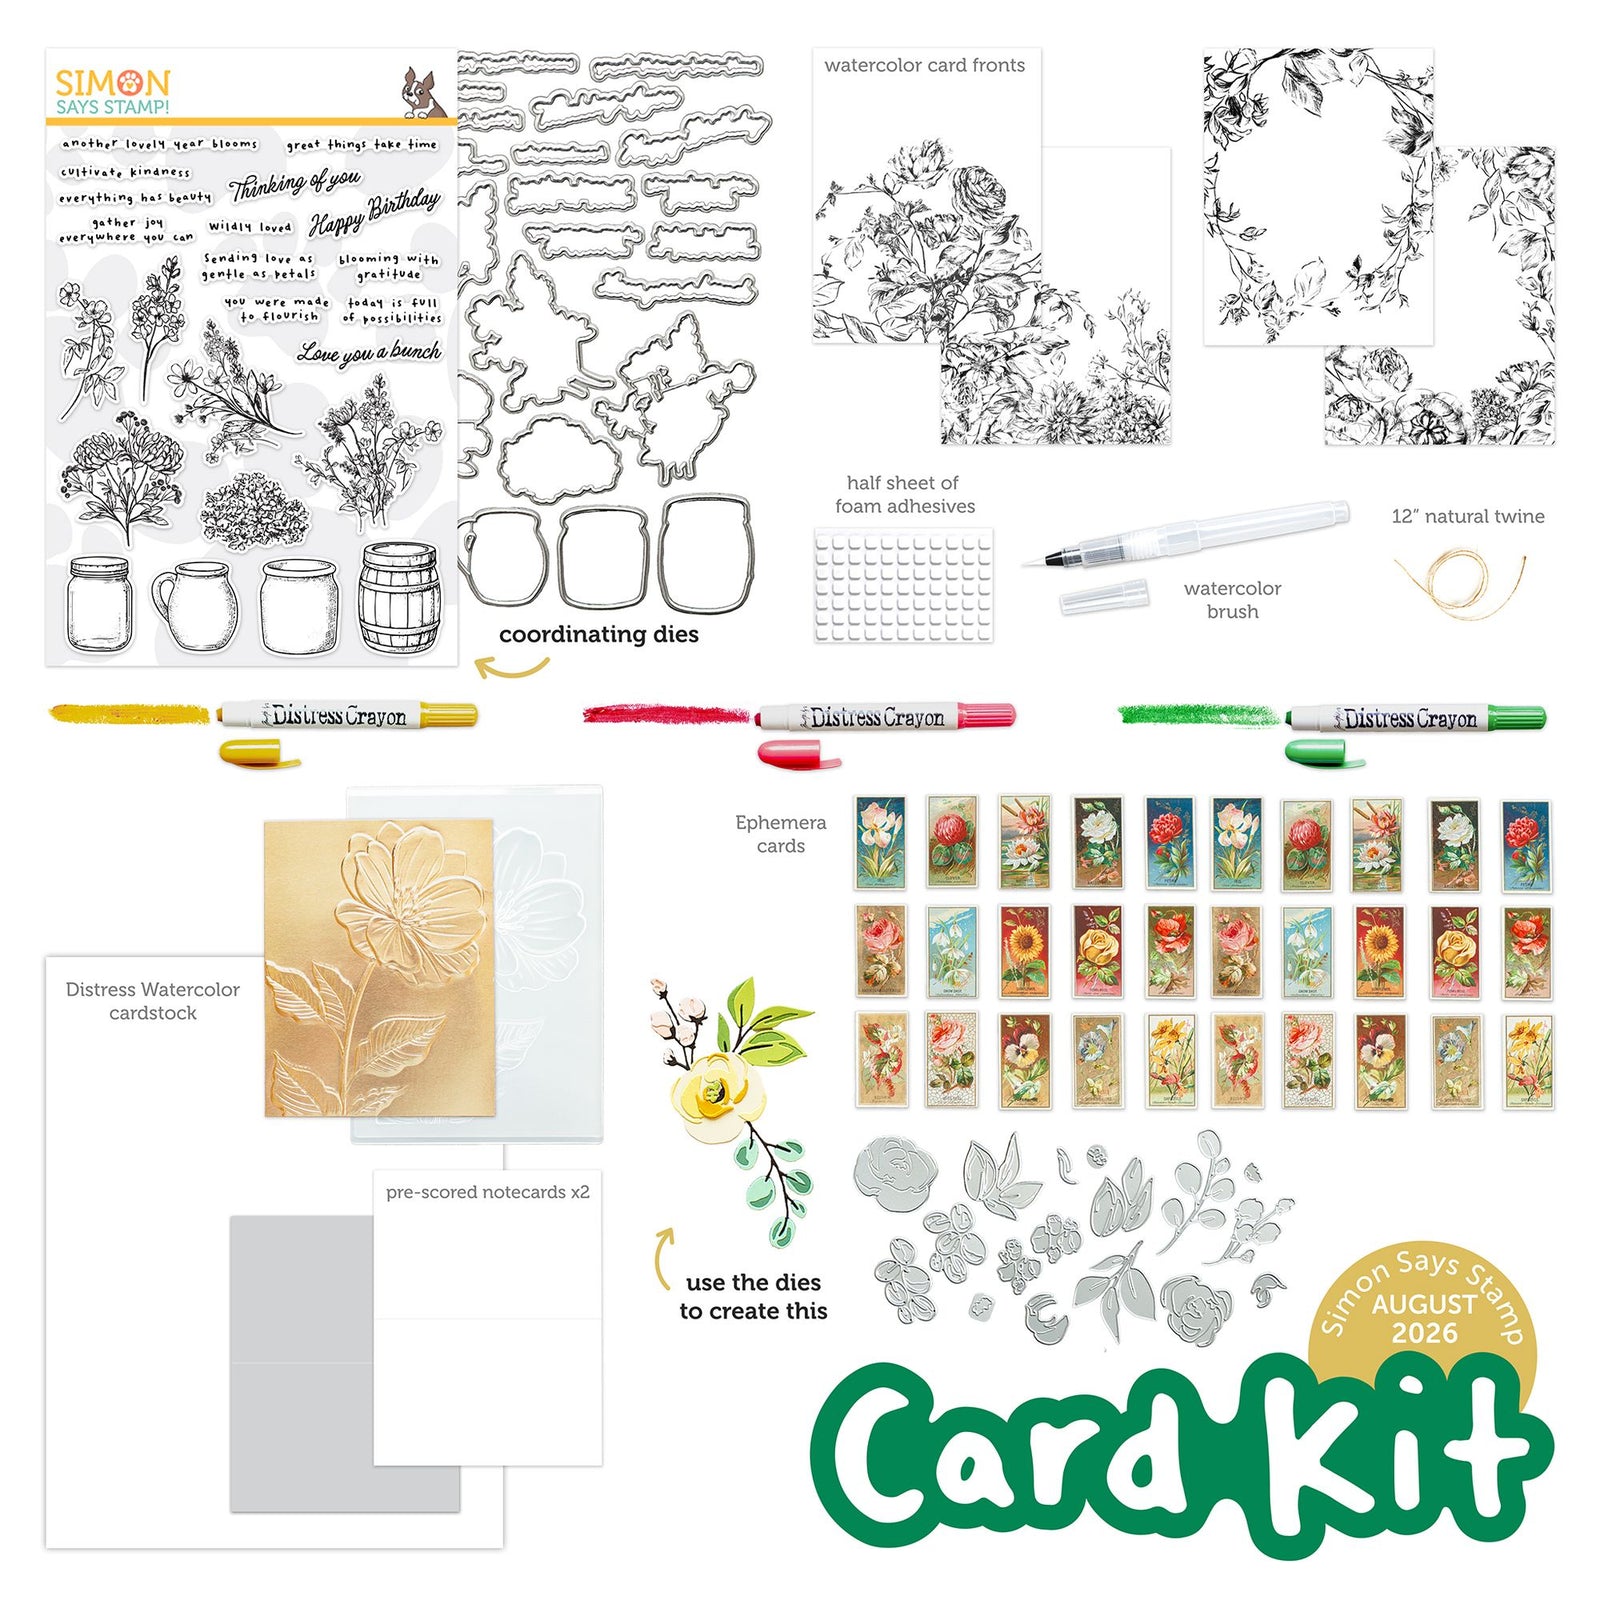
The amount of product in this kit is truly incredible; not only do you receive a fabulous new embossing folder, standalone die set, ephemera, and papers, but you also receive a gorgeous 6×8 stamp set with coordinating dies. Incredible value, right? The items retail for $125 when purchased individually, but you can purchase this amazing kit (while supplies last!) for only $44.99 (click HERE) or $39.99 for kit subscribers! (Click HERE to see how to become a subscriber!)

Sometimes, I find myself in a bit of a color rut, and when that happens, I like to pull out my Pinterest boards and look for an inspiring color palette. This orchid, peach, and blush color palette really spoke to me, so I selected several shades of colored cardstock from my stash and decided to use that as the creative kickoff point for my projects! I love pairing colored pencils with colored cardstock, so I knew that I would be pairing the florals from that gorgeous new Made to Flourish stamp set with my colored pencils and pretty pink cardstock!

For my first card, I chose to focus on that spectacular bloom from the new Brightest Blooms Embossing Folder, highlighting the details with some ink blending and sparkling watercolor gilding! I ran a panel of lavender-pink cardstock through my die cutting machine using the Brightest Blooms Embossing Folder. I then used a blending brush to lightly blend Fairy Pawsitively Saturated Ink around the edges of the embossed panel, keeping the embossed image clean.

After I had finished blending, I used iridescent glitter watercolors to “gild” the details of the flower and foliage, adding some lovely sparkle to the focal point. I also splattered some more sparkling watercolor around the blended edges, covering the main flower with a piece of scrap paper to keep the splatters from landing on the flower. Once I had finished adding the shimmering splatters, I die cut a simple greeting using the new add-on sentiment die set called Darling Script Greetings. I cut the detail layer from some orchid glitter cardstock, then backed it with a vellum shadow layer. I used thin strips of foam adhesive to pop up the sentiment, then added a pretty pink twine bow and some Peachy Pawsitively Dazzling Gems for additional sparkle!

For my second card, I kept that gorgeous orchid, peach, and blush colored cardstock palette, this time putting my colored pencils to use to create a lovely vase of flowers! I stamped a crock and one of the lovely bouquets from Made to Flourish using white pigment ink on the same lovely pale orchid cardstock used for the first card. I find that the white pigment ink works beautifully with no-line coloring using colored pencils on colored cardstock; the ink gets absorbed nicely into the colored pencil coloring! The key to coloring small images with colored pencils is a good pencil sharpener so that your points are always nice and crisp! Once I had finished coloring the crock and the bouquet, I used the included coordinating dies to cut the images out, using a pen knife to cut a slit in the crock so that I could place my bouquet within the vase itself.

After I had finished coloring the main focal point, I decided to frame the image in with one of the new Hand Tied Frame images, an add-on to the main kit. I love how whimsical these frames are; the bow at the top is designed to be part of the single die cut, but they also have included a standalone bow, as well! I die cut the large frame and the individual bow from darker orchid cardstock, pulling in more of the colors from the penciled bouquet onto my card front. I used alcohol markers to enhance some of the shadows on the standalone bow, deepening the orchid and adding some dimension.

I blended a little halo of color behind the bouquet with a blending brush and some Fairy Pawsitively Saturated Ink, splattering the background with some more iridescent glitter watercolors for more magic and whimsy. I adhered the frame with liquid adhesive, then arranged my bouquet and white embossed sentiment die cuts, grounding them with a strip of pearlescent blush cardstock. Finally, I popped up the standalone bow with some thin strips of foam adhesive and added some sparkling Peachy Pawsitively Dazzling Gems for one last touch of sparkle!
Well, that’s all for my projects today!
The Simon Says Stamp Card Kits are such an incredible value; the value of the individual elements of each kit equals far more than the $44.99 price tag, so you’re getting incredible bang for your buck. If you are consistently interested in the Simon Says Stamp Card Kit of the Month, you can sign up HERE to become a subscriber for an even bigger discount on these carefully curated products. As always, Simon also makes each individual element of the kits available a la carte, so that you can pick and choose what you would like to purchase if buying the entire kit isn’t really your thing. Options galore! Who can say no to such incredible value though, right?
Thanks so much for stopping by, and have a marvelous day!