• Skip to main content
  • Skip to primary sidebar
  • Skip to secondary sidebar

Sixth Street Sundries

Emily Midgett

  • Home
  • About Me
  • Contact
  • OLO Marker Color Swatch Chart
  • Shop

making spirits bright

Holiday Joy in Blue and White with New Simon Says Stamp!

October 22, 2025

This post was sponsored by Simon Says Stamp. Thanks, Simon!

Hi friends! I am back today with a unique blue holiday card filled with all kinds of gorgeous holiday imagery and lots of shimmer using new goodies from the Simon Says Stamp Sugar and Spice release (which you can check out HERE). I love a good blue and white moment, and I am thrilled to bits that blue and white is having a renaissance in the fashion and home decor trends, with gorgeous chintzy patterns, crisp royal blue florals on a bright white background, and all kinds of glorious textures in that timeless combination. I paired the new Twisted Branch die with some older snowflakes and lots of shimmer to create this beautiful winter scene. Let’s get started with the details!

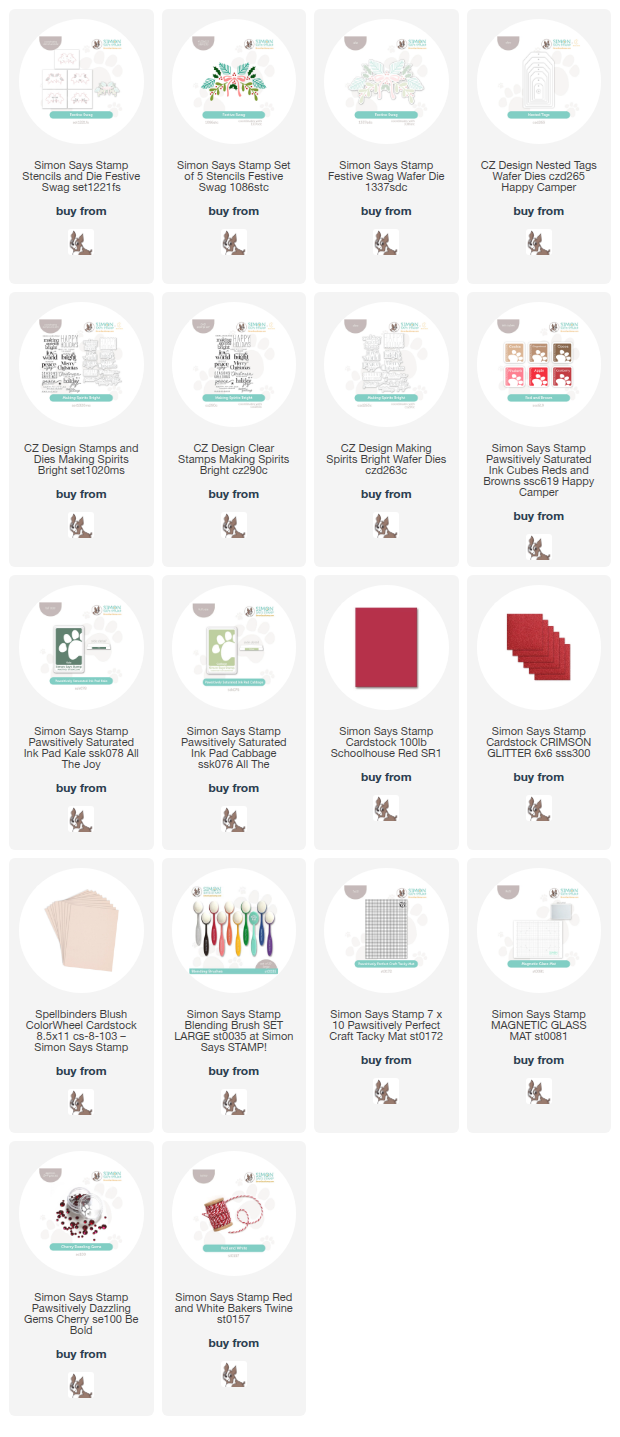
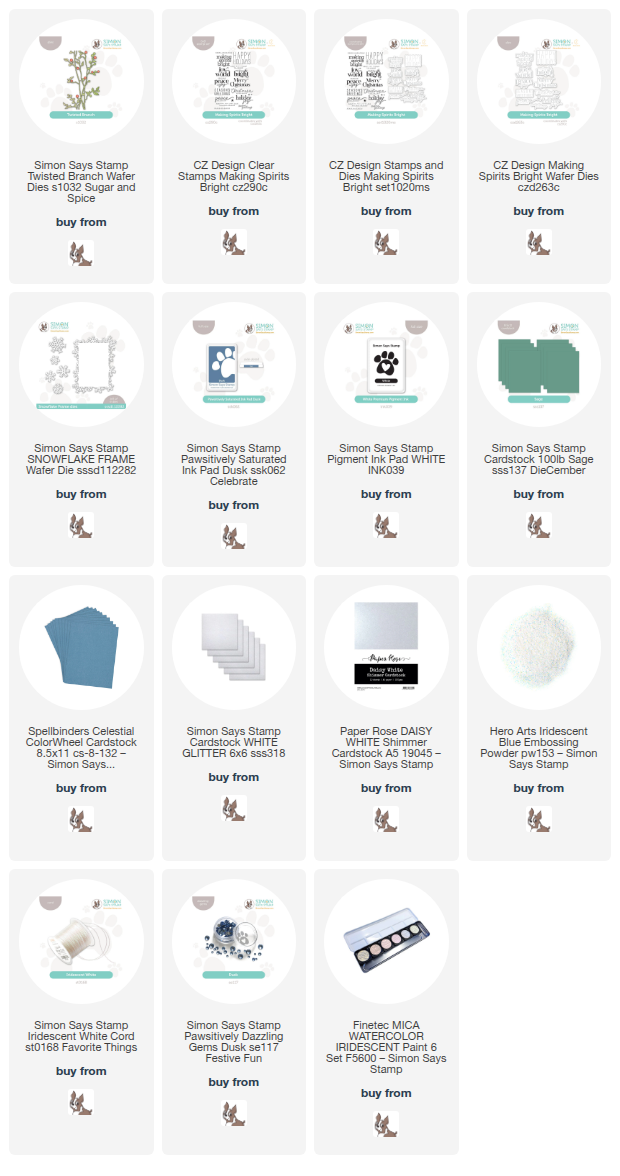
*I have gathered links to all of the products used at the bottom of the post for your convenience, using affiliate links. Thank you for shopping with my links! I truly appreciate your support for my work!*

To begin, I die cut the new Twisted Branch die set using Sage cardstock from Simon Says Stamp and cutting the berries from pearlescent white cardstock, adhering the berries to the foliage with liquid adhesive. I also die cut some beautifully sparkling snowflakes using the standalone snowflake dies from the older Snowflake Frame die set. The proportions and variety of sizes on these snowflakes work beautifully with the size of the berry branches!

For the background behind the berries, I wanted to create a subtle winter sky, choosing to blend Simon Says Stamp’s Dusk Pawsitively Saturated Ink on the left side of a cool, mid-blue A2 card front. I also used some iridescent glitter watercolors to add some added texture with splatters just along the edge of the blending. The splatters react beautifully with the ink blending on the colored cardstock, creating a unique background with ease!

After I had created my background, I stamped two different sentiments from the Making Spirits Bright stamp set, stamping both onto more of that mid-blue cardstock using Simon Says Stamp White Pigment Ink, then adding Hero Arts Iridescent Blue Embossing Powder over the top to set the pigment ink and create a luminous shimmer on my greeting. I die cut the larger finished sentiment with its coordinating die, then trimmed the smaller “sending” with my trimmer. I popped up the branch die cut with small pieces of thin foam adhesive, then tucked the die cut snowflakes behind the branch, adhering them with liquid adhesive. I popped up the greeting with a double layer of thin foam adhesive to allow it to stand out a bit from the busy background, then added an Iridescent White Cord bow and some Dusk Pawsitively Dazzling Gems for one last touch of sparkle and texture!

Well, that’s all for my project today. I feel like I should stop myself from using blue and white on every project, but it’s so pretty that I don’t want to stop! Thanks so much for stopping by today, and have a marvelous day!
Filed Under: simon says stamp Tagged With: christmas card, die cutting, ink blending, making spirits bright, snowflake, snowflake frame, twisted branch

The Holidays Are Coming with New Simon Says Stamp!

August 25, 2025

This post was sponsored by Simon Says Stamp. Thanks, Simon!

Hi friends! Can you believe that we are merely four months from Christmas? I am in shock at how quickly this year has gone! The weather is cooperating with that reminder today, as well, for the air is crisp and gorgeous. I always enjoy adding some new and beautiful holiday imagery to my stash, as well as a beautifully curated holiday sentiment set, and the new CZ Design items from the Simon Says Stamp Happy Camper release are absolute staples, in my opinion. Cathy Zielske has such a way with fonts, making the simplest fonts look completely classy and timeless with her use of different sizes and kerning… perfection! Let’s get started on the details for my holiday card with it’s matching tag!

*I have gathered links to all of the products used at the bottom of the post for your convenience, using affiliate links. Thank you for shopping with my links! I truly appreciate your support for my work!*

I kept my color palette for this pair of projects mostly traditional, with reds and greens made a bit more modern by using a pale blush cardstock rather than white cardstock. This pale blush cardstock is so pale that it works perfectly for blending, allowing the blended colors to maintain their true tones without getting muddled by the touch of pink.

For my card, I used the new Festive Swag stencil set, stenciling the greenery using Pawsitively Saturated Inks: Kale & Cabbage and adding some vibrant red from the new Red & Brown Ink Cubes. I rotated my stencil station (I keep a stencil station set up at all times using a Pawsitively Perfect Craft Tacky Mat on a Simon Says Stamp Magnetic Glass Mat so that I can do my stenciling lickety split!) and repeated the stenciling process again, creating a mirror image of the swag top and bottom on my blush card front. I trimmed the stenciled panel down 1/8″ on each side, then matted it on a deep red card front, creating a beautiful red frame around the detailed stenciled image.

For the greeting, I stamped the bold Happy Holidays sentiment from the new Making Spirits Bright using bright red ink on some more blush cardstock, then die cut it with the coordinating die. I added a few strips of the same cherry red cardstock, as well as a strip of red glitter cardstock, in the center of my stenciled panel, adding a bit more intentionality with the design as well as some additional texture and sparkle. I popped up the sentiment with some foam adhesive, then added Cherry Pawsitively Dazzling Gems to the holly berries on the stenciled images for another touch of shine! Even with the addition of the blush cardstock, I think this card exudes holiday imagery and spirit!

I continued the same color palette with my matching tag, this time taking advantage of the detailed coordinating die from the Festive Swag product suite. I stenciled the image using the same ink colors and blush cardstock, the die cut the finished image. I also stamped the “peace and joy” sentiment from Making Spirits Bright using vibrant red ink, as well as a sentiment strip, cutting the strip with my trimmer and the larger sentiment with the coordinating die. I die cut a large tag from more blush cardstock using the new Nested Tags dies, adding some strips of red and red glitter cardstocks to the bottom with liquid adhesive before adding the rest of the die cuts above with a double and single layer of foam adhesive. Finally, I finished the tag off with a red and white twine loop, all ready to add to a pretty holiday package!

Well, that’s all for my projects today! Let the holiday cardmaking begin! (that is, if you haven’t already begun…. I’m so behind!) Thanks so much for stopping by today, and have a marvelous day!

Filed Under: simon says stamp Tagged With: christmas card, christmas tag, die cutting, festive swag, holiday card, ink blending, layered stencil, making spirits bright

Christmas in July Finale: Christmas Tree Trio with Simon Says Stamp + SALE!

July 25, 2025

This post was sponsored by Simon Says Stamp. Thanks, Simon!

Hi friends! For my last Christmas in July post, I thought I would share a pretty Christmas Tree Trio made using three different Christmas tree stamp sets from Simon Says Stamp! Nothing screams “Christmas” quite like a Christmas tree, right? Each of the stamp sets that I’ve chosen to use today have very different styles, and I paired them with a beautifully traditional green, gold, and white color palette to create this trio of projects that work nicely as a set or as individual pieces. Let’s get started with the details!

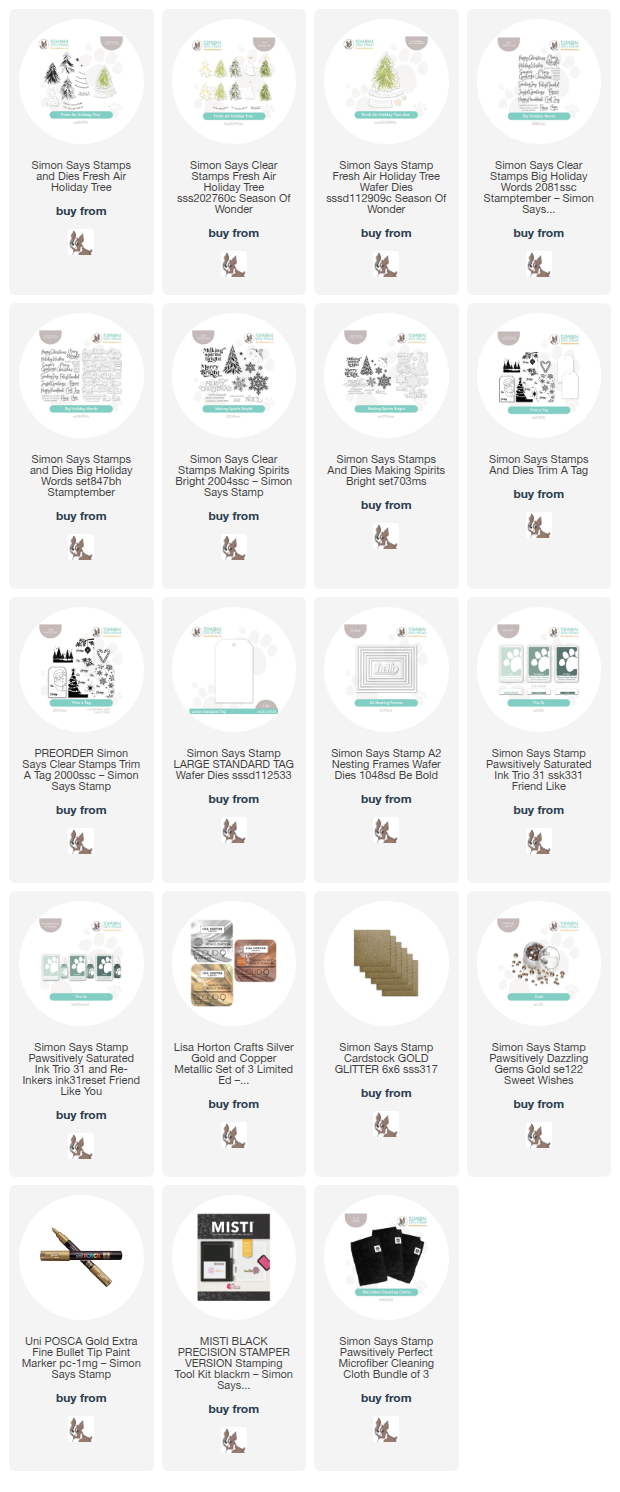
*I have gathered links to all of the products used at the bottom of the post for your convenience, using affiliate links. Thank you for shopping with my links! I truly appreciate your support for my work!*

For all of my projects today, I use the gorgeous, muted greens from the Simon Says Stamp Ink Trio 31. This trio of muted greens is utterly luscious, and they are each as beautiful alone as they are when they are all working together! I added some glitzy gold accents to each project for an elegant touch, leaving lots of crisp white to make these tags and card as clean and elegant as possible.

To begin, I stamped the Fresh Air Holiday Tree using the lovely greens in Ink Trio 31: Jade, Eucalyptus, and Juniper. I did find it easier to stamp the three layers if I used the negative space of the die cut as my guide. I simply die cut a blank panel of white cardstock using the Christmas tree die from Fresh Air Holiday Tree, then placed the negative (the area around the tree die cut) in my MISTI, and used the negative space to line up each layer perfectly! The color guide on the back of the stamp packaging was also super helpful to know which color worked best with which layer, but honestly, the sketchy, simplistic nature of the finished image is super user-friendly. The first tree that I stamped ended up not being quite right with the die, but it still looked lovely, so I fussy cut it with scissors and then created a second tree using the method that I described above. If you have difficulty lining up your dies to stamped images, sometimes it can be very helpful to die cut first and stamp after!

To add some pretty shimmering accents to the card, I die cut the A2 Nesting Frames from some gold glitter cardstock and layered one on my A2 card front. I also stamped the star and sentiment banner from Fresh Air Holiday Tree using Lisa Horton Metallic Gold Pigment Ink, die cutting them with their coordinating dies. I added some touches of gold paint pen for baubles on the tree, as well as some Gold Pawsitively Dazzling Gems. I popped up the tree in the center of the glittery gold frame using foam adhesive, then added the sentiment banner over the top and the star with a double layer of foam adhesive! A simple but oh-so-elegant holiday card that I think would be super easy to mass produce!

To create my little trio, I also decided to create two coordinating tags using two more completely different tree images from Simon Says Stamp’s holiday collection. For the first tag, I stamped the elegant stylized tree image from Making Spirits Bright using an ombrĂ© stamping method. I inked up the top part of the tree with Jade ink, tapping the edges of the inked area with my microfiber cloth to blur them a bit and make the edge a bit less harsh, stamped it with my MISTI, then again to make sure that the top of the tree had great coverage. I cleaned the top 1/3 of the tree, then inked up the middle section with Eucalyptus ink, again blurring the harsh edges with my cloth to make the transition to each color smoother. Finally, I finished inking the entirety of the image with Juniper ink. I also stamped a gold sentiment from Big Holiday Words. I die cut each image with it’s coordinating die, then added some gold paint dots and gold gems for sparkle. I popped the tree and sentiment up with foam adhesive on a white pearlescent tag, cut using the Large Standard Tag die, then added some twine for a loop and bow!

For the simpler tag, I began by die cutting the Large Standard Tag from plain white cardstock. I used Juniper ink to stamp the tree from Trim A Tag, doing some creative masking to stamp the tree in green and the to/from in gold. I also added some Jade stars in the corner, adding subtle interest behind the tree. To add some sparkle, I used the gold paint pen for the baubles and added some small Gold Pawsitively Dazzling Gems for a little extra texture and shimmer! Finally, I finished everything off with a simple twine loop.

Well, that’s all for my projects today and for my Christmas in July series. It’s such fun to be able to pull out my holiday goodies after them sitting forlornly in my bins for months!

Now for the fun sale part!! Simon Says Stamp is running an absolutely fabulous sale on tons of holiday and non-holiday goodies in their Steals and Deals category. All you have to do is add items from this category into your cart and input code DEALZ at checkout to receive 50% off everything from that catgory! I just checked, and there are so many fantastic holiday crafty items left, but things are moving quickly, so don’t hesitate if you see something that you want! You can click on the graphic to go directly to the sale page or click HERE to see what’s left!

Thanks so much for stopping by today, and have a marvelous day!

Filed Under: simon says stamp, Uncategorized Tagged With: A2 nesting frames, big holiday words, christmas card, fresh air holiday tree, holiday card, making spirits bright, pawsitively saturated ink, tag, trim a tag

Peaceful Chickadees with Simon Says Stamp!

December 31, 2024

This post was sponsored by Simon Says Stamp. Thanks, Simon!

Hi friends! As 2024 comes to a close, I wanted to share one final card with you featuring these sweet chickadees from the new To Love release, which is Simon’s final release for the year. I am still solidly in winter and holiday mode, as we have only had a few weeks of wintry weather these last months, and so I’m not quite ready to look towards springtime yet. I thought I would adapt these sweet birdies to winter with some snowflakes and sparkling snow. Let’s get started with the details!

*I have gathered links to all of the products used at the bottom of the post for your convenience, using affiliate links. Thank you for shopping with my links! I truly appreciate your support for my work!*

To start, I ran an A2 panel of Arches Cold Press watercolor paper through my die cutting machine with the new Chickadee Gathering 3D embossing folder. This embossing folder comes equipped with coordinating dies for the birds, so that you can create even more dimension with the addition of some foam adhesive, but I wanted to do some watercoloring on the panel, so I didn’t use them for this project. I taped the panel down to my watercolor board with some painter’s tape and used my Daniel Smith watercolors to add some beautiful, saturated neutral blues and greens to the background and foliage, of course using some creamy neutrals and black for the chickadees themselves. In order to minimize warping on my heavily-saturated watercolor panel, I allowed the piece to dry while still taped to my board.

After I had finished watercoloring the image and allowed it to dry completely, I used undiluted white gouache to add some snow to the leaves, then used some water to dilute the remainder of the gouache and splattered that diluted white paint on my background, creating the look of snow softly falling around the chickadees. I also used the fine tip of my paintbrush to paint a few tiny snowflakes here and there on the background. Once I had finished painting the snow, I removed the panel from my watercolor board and trimmed the long sides down by 1/8″. I tucked some thin strips of Midnight Navy glitter cardstock from Pinkfresh Studio on either side of the watercolored panel to add a bit of shimmer and sparkle to the card.

For the greeting, I used the beautiful sentiments from Making Spirits Bright, stamping each component onto some deep navy cardstock using Simon Says Stamp’s white pigment ink, then adding Iridescent Blue embossing powder from Hero Arts over the top to create a lovely iridescent sheen on the deep navy cardstock. I used the super detailed coordinating dies to cut out the “love & peace” sentiments, trimming the strip down with my guillotine trimmer, then popping all of the pieces up with some thin foam adhesive squares. The deep blue looks lovely on the watercolored blue background, creating contrast for visibility while still being slightly muted and not overpowering the bird focal point. Finally, I added some Fresh Snowfall glitter accents over the white gouache on the leaves and a few Gunmetal Pawsitively Dazzling Gems to the birds’ eyes, adding the tiniest hint of sparkle to this card!

Well, that’s all for my projects today. I am in disbelief that it 2025 is already upon us; in some ways, I am still processing 2019!! I am so grateful for all of the good things that have happened this year, including the incredibly kind and supportive friends and followers here on my blog. I truly could not do this without your support, and I thank you from the bottom of my heart for being here. I can’t wait to see what creativity 2025 will bring! Thanks so much for stopping by today, and Happy New Year!

Filed Under: simon says stamp Tagged With: chickadee gathering, christmas card, Daniel Smith, daniel smith watercolor, die cutting, embossing folder, holiday card, making spirits bright, no line coloring, watercolor

Snowflake Two-fer Using Simon Says Stamp DieCember Dies + SALE!

December 30, 2024

This post was sponsored by Simon Says Stamp. Thanks, Simon!

Hi friends! I am back today with a pair of super vibrant and dramatic projects using some new goodies from DieCember. The new Snowflake Sensation die set features some beautiful frames that also happen to die cut some gorgeous standalone snowflakes, making it super easy to create multiple projects with minimal die cutting! I paired these intricate dies with some beautiful foil cardstock. Let’s get started with the details!

*I have gathered links to all of the products used at the bottom of the post for your convenience, using affiliate links. Thank you for shopping with my links! I truly appreciate your support for my work!*

One of my secrets for die cutting is pairing intricate dies with coated cardstock, like foil, pearlescent, or vellum cardstock. The less fibrous the cardstock, the more easily the intricate design on your dies will cut! I paired the Snowflake Sensation die set with the absolutely lush Simon Says Stamp Rose Gold Metallic cardstock. This shiny cardstock die cuts superbly, making it perfect for use with these intricate dies. I also die cut the Snowflake Sensation dies from some Pinkfresh Studio Rose Gold Glitter Cardstock to add some contrasting texture to the super smooth and shiny metallic foil cardstock.

After die cutting a few different Snowflake Sensation patterned brackets, I reserved the snowflake die cuts and arranged the brackets in a symmetrical arrangement on my A2 Simon Says Stamp Rainforest Cardstock. Before adhering the foil die cuts, I used a blending brush to blend Raindrop Pawsitively Saturated Ink around the edges of the card front, adding a touch of contrast and interest to the areas behind the die cuts. I adhered the foil die cuts to the blended card front using liquid adhesive.

For the greeting, I stamped a sentiment from Making Spirits Bright on more Rainforest cardstock using embossing ink, then added rose gold embossing powder. The contrast between the pale metallic embossing powder and the deep teal cardstock is magnificent! I die cut the greeting with its coordinating die, then added a strip of vellum cardstock directly over the center of the card front, adhering the edges to the back of the card with some super strong double sided tape to keep the vellum nice and clean. I popped up the greeting with some foam adhesive, then decided to add some further metallic embellishment to the card front with some Peachy Pawsitively Dazzling Gems and a few dots of my Blush paint pen. So much sparkle and shine on this card, and it’s so easy because the die cuts do so much of the work for you!

I used the same basic technique to create my second project, this time using a chalkboard frame from the dollar store to create a piece of home decor! I used some coordinating teal paint on the frame itself, which I think is a beautiful, wintry pop of color for those bleak days after Christmas. I trimmed down a panel of Rainforest cardstock to fit within the frame, the again blended some Raindrop ink around the edges to add extra dimension behind my focal point. I used the leftover rose gold Snowflake Sensation die cuts and a couple of extra corner brackets to create the pattern on this little frame, adhering them all to the cardstock with liquid adhesive. I added a few more Peachy gems and metallic Blush dots, then used super sticky tape to adhere the cardstock piece inside the frame! It’s so difficult to pick up the shimmer and sparkle on these projects in the photos, but they’re really magical in person.

Well, that’s all for my projects today! Now, to celebrate the close of DieCember, Simon Says Stamp is running a fabulous sale:

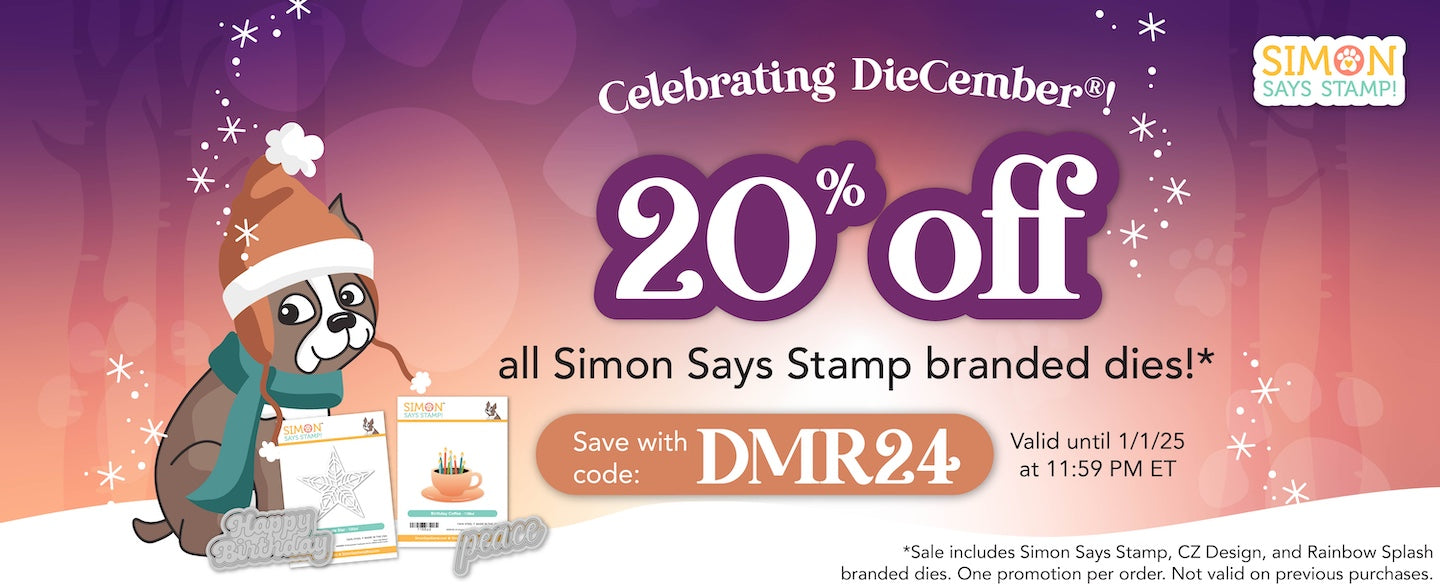
From now through 1/1/2025, you can take 20% off all Simon Says Stamp branded dies!!! This is an incredible deal, and a great way to stock up on those dies that you’ve had your eye on. You can click HERE to see all of the dies included in the sale! Simply add your selections to your cart, then add code DMR24 at checkout to receive 20% off of all of your Simon dies. Such a great way to close out 2024 and get some new goodies to play with in the coming winter months.

Thanks so much for stopping by today, and Happy New Year!

Filed Under: simon says stamp, Uncategorized Tagged With: christmas card, die cutting, holiday card, home decor, ink blending, making spirits bright, snowflake sensation, winter

  • Page 1
  • Page 2
  • Go to Next Page »

Primary Sidebar

  • Facebook
  • Instagram
  • Pinterest
  • YouTube

Favorite Shops

Secondary Sidebar

Subscribe

Enter your email address to subscribe to this blog and receive notifications of new posts by email.

Instagram
Something is wrong.
Instagram token error.
Follow
Load More

Archives

Tags

3D embossing folder alcohol markers better press birthday birthday card blog hop card kit christmas christmas card christmas tag colored pencil copic copic coloring Daniel Smith die cutting embossing folder embroidery felt giveaway holiday holiday card hot foil ink blending karin brushmarker pro layered stencil masculine my monthly hero new release no line coloring no line watercolor OLO marker olo markers original illustration pawsitively saturated rainbow shaker card slimline stamping stamptember stencil thank you thinking of you valentine's day video watercolor

Popular Posts

Simon Says Stamp Sending Cheer Blog Hop- Day 2 + Freebie + Giveaway!
Altenew October 2026 Release Blog Hop + Giveaway!
Rustic Monochromatic Stars for Christmas with Rainbow Splash!
Waffleflower July Release Blog Hop!
Hero Arts Partners Blog Hop: Lawn Fawn!
March 2020 Essentials By Ellen Blog Hop+Giveaway!
December 2018 My Monthly Hero Blog Hop + Giveaway!
The Ton Stamps Summer Release: Day 1
The Ton Anniversary Release: Day 1!
Altenew Paint A Flower: Carnation Blog Hop+Giveaway!

Disclosure

Some affiliate links are used in my posts. This means that, should you click on one of my links and purchase something from that company, I will receive a small portion of the sale at no extra cost to you. I use the money earned from these sales to help maintain my blog. I so appreciate you visiting and, if you do choose to use one of my affiliate links, thank you so much for your support!
Copyright © 2026 ·Brunch Pro Theme · Genesis Framework by StudioPress · WordPress · Log in
Loading Comments...