• Skip to main content
  • Skip to primary sidebar
  • Skip to secondary sidebar

Sixth Street Sundries

Emily Midgett

  • Home
  • About Me
  • Contact
  • OLO Marker Color Swatch Chart
  • Shop

man card monday

Man Card Monday with July 2026 Simon Says Stamp Card Kit of the Month!

June 15, 2026

This post was sponsored by Simon Says Stamp. Thanks, Simon! *I have gathered links to all of the products used at the bottom of the post for your convenience, using affiliate links at no extra cost to you. Thank you for shopping with my links! I truly appreciate your support for my work!*

Hi friends! I have a fun Man Card Monday project to share with you today using the brand new July 2026 Card Kit of the Month from Simon Says Stamp, called Pop Art! This kit is chock full of fantastic basics that you can use to create such an enormous variety of projects. Here’s a peek at the contents of the kit:
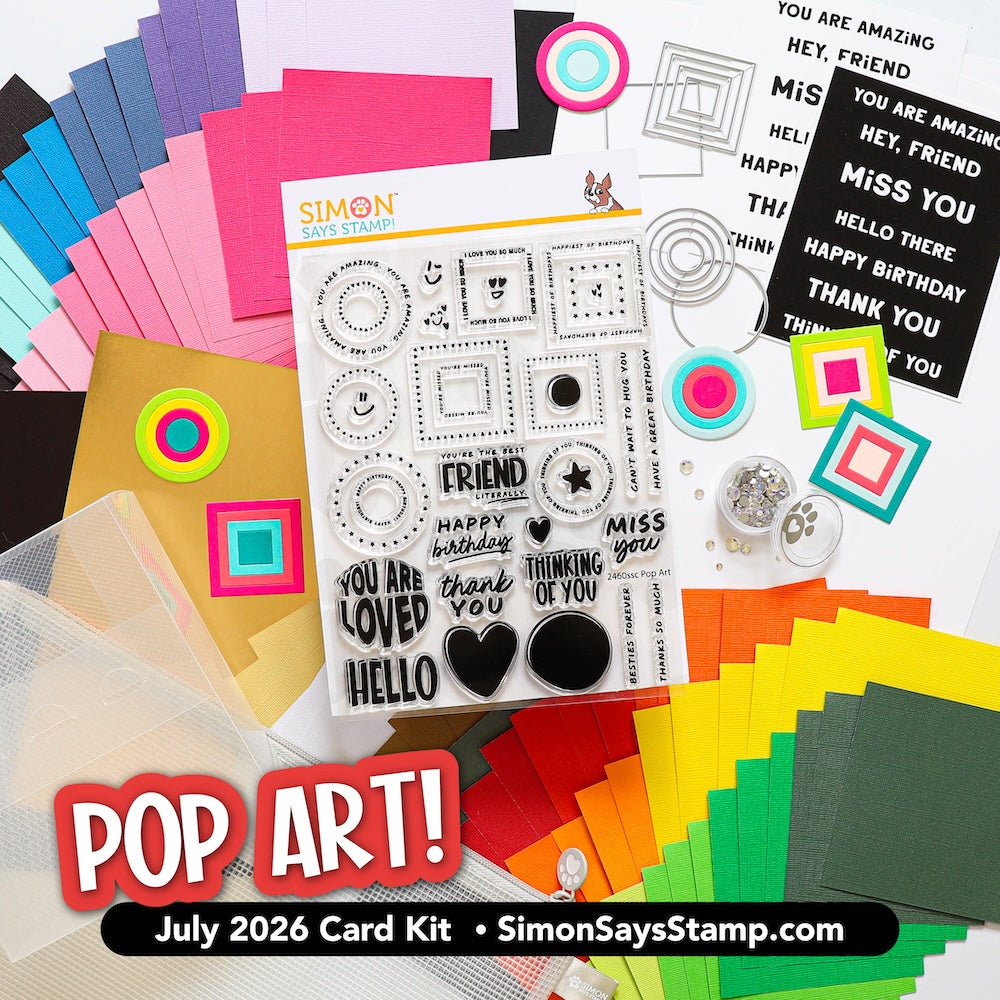
These kits are always incredible value; the individual components of this kit retail for over $70, but you can preorder this kit for only $44.99! Click HERE to purchase your own kit! You can save even more by becoming a kit subscriber (click HERE to see the subscription details!). If you love receiving this type of curated kit filled to the brim with goodies to make your cardmaking even more simplified and enjoyable, you definitely want to hit that subscribe button!

I used the stamps included in the kit with a fun technique involving black cardstock, white pigment ink, and colorful inks, creating this dramatic bokeh-inspired background that’s perfect for a guy! Let’s get started on the details for my project!

I began by stamping a cascade of solid circle stamps from the Pop Art set using white pigment ink. This ink sits atop the cardstock without sinking down into it, creating a barrier that is perfect for allowing the colorful ink to shine on this black cardstock! Once I had stamped all of the circles (large and small) with white pigment ink, I stamped directly over the top of the solid cirlces using Pawsitively Saturated Inks in shades of Limelicious, Tidepool, and Surf, creating a subtly colorful background! I know there is a name for this technique, but I can’t recall it right now!)

To add a bit of extra interest to the background, I stamped directly over the top of the colorful bubbles using the circle frame stamp included with Pop Art. Such a fun way to add texture to the card!

After I had stamped the background, I splattered the panel with some shimmering, iridescent watercolors for an artistic flair.

For the greeting, I kept things simple, die cutting the Reverse XL EZ Strips Banners panel included with the kit using the Big Bold Headlines XL EZ Strips. I also stamped one of the sentiment strips from the Pop Art stamp set using white pigment ink and added white embossing powder over the top to create a crisp white sentiment on the black cardstock. I popped both sentiment pieces up in the center of the bokeh-inspired background using foam adhesive squares, then finished the project off with some sparkling Prism Pawsitively Dazzling Gems included with the kit!

Well, that’s all for my project today!

The Simon Says Stamp Card Kits are such an incredible value; the value of the individual elements of each kit equals far more than the $44.99 price tag, so you’re getting incredible bang for your buck. If you are consistently interested in the Simon Says Stamp Card Kit of the Month, you can sign up HERE to become a subscriber for an even bigger discount on these carefully curated products. As always, Simon also makes each individual element of the kits available a la carte, so that you can pick and choose what you would like to purchase if buying the entire kit isn’t really your thing. Options galore! Who can say no to such incredible value though, right?

Thanks so much for stopping by today, and have a marvelous day!
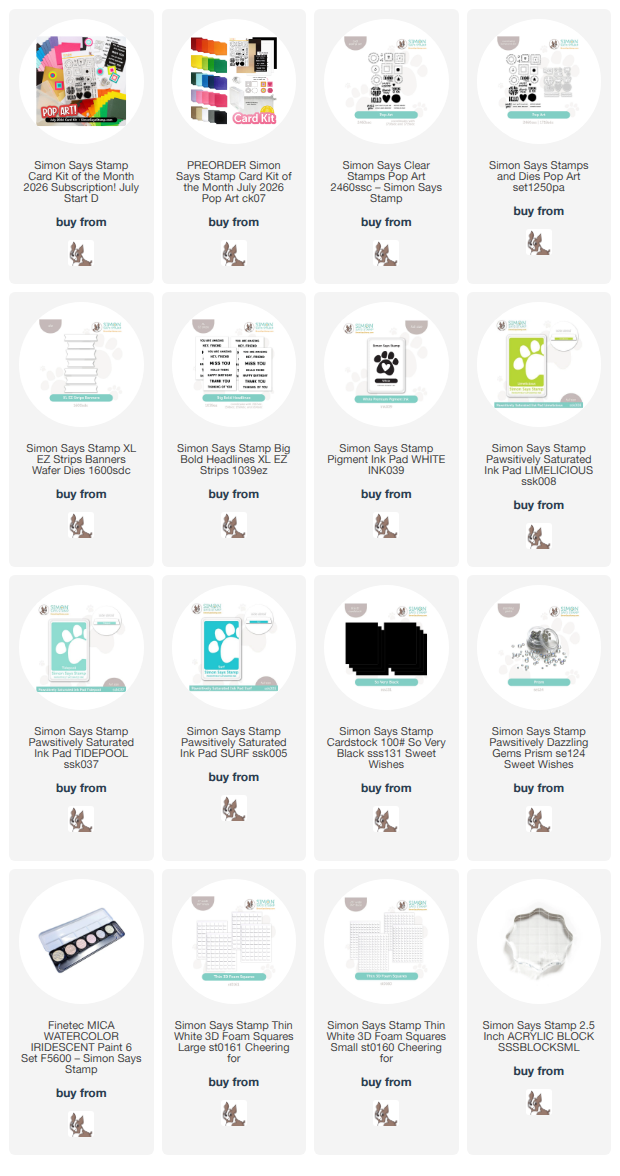
Filed Under: simon says stamp, Uncategorized Tagged With: birthday card, man card monday, masculine, pop art, xl ez strips banners, xl ez strips bold headlines

Man Card Monday: Baby Boy Style!

May 19, 2025

This post was sponsored by Simon Says Stamp. Thanks, Simon!

Hi friends! I am back with another installment of Man Card Monday, this time in the form of a baby card that is perfectly neutral for a boy or a girl! It’s been a few months since I had a project for Man Card Monday… It’s been several stressful months between my mom’s health issues, surgeries for my husband and daughter, some health difficulties of my own, and then the regular stress that comes with having four kids with tons of activities and strong personalities… so I’ve been “comfort crafting.” Sometimes, it’s challenging for me to work with cute images; I find myself naturally gravitating towards floral images, but those don’t really work for guy cards, do they? With everything going on, I have found myself in a “comfort crafting” zone, just working with images that fed my creative soul. (Not to say I don’t enjoy making masculine cards… they just require more mental and creative energy than I’ve had available to me lately!) I couldn’t resist the adorable momma and baby images in the new Love You, Mama stamp set, and I thought they’d be perfect for a gender-neutral baby card since we’re past Mother’s Day! Let’s get started with the details on my card!

*I have gathered links to all of the products used at the bottom of the post for your convenience, using affiliate links. Thank you for shopping with my links! I truly appreciate your support for my work!*

I knew that I wanted to do some detailed pencil coloring with these sweet storybook images, so I stamped the momma bear with her baby bear from Love You, Mama on some Simon Says Stamp Lemon Chiffon cardstock using Simon Says Stamp White Pigment Ink, then used my favorite colored pencils to add some detailed coloring to the image on the yellow cardstock. I love using colored pencils for these tone-on-tone cards; they allow me to keep the colored cardstock completely consistent throughout the project! After I had finished adding all of the color, I used the coordinating die from the Love You, Mama set to die cut the super detailed image. I think it’s super cute!

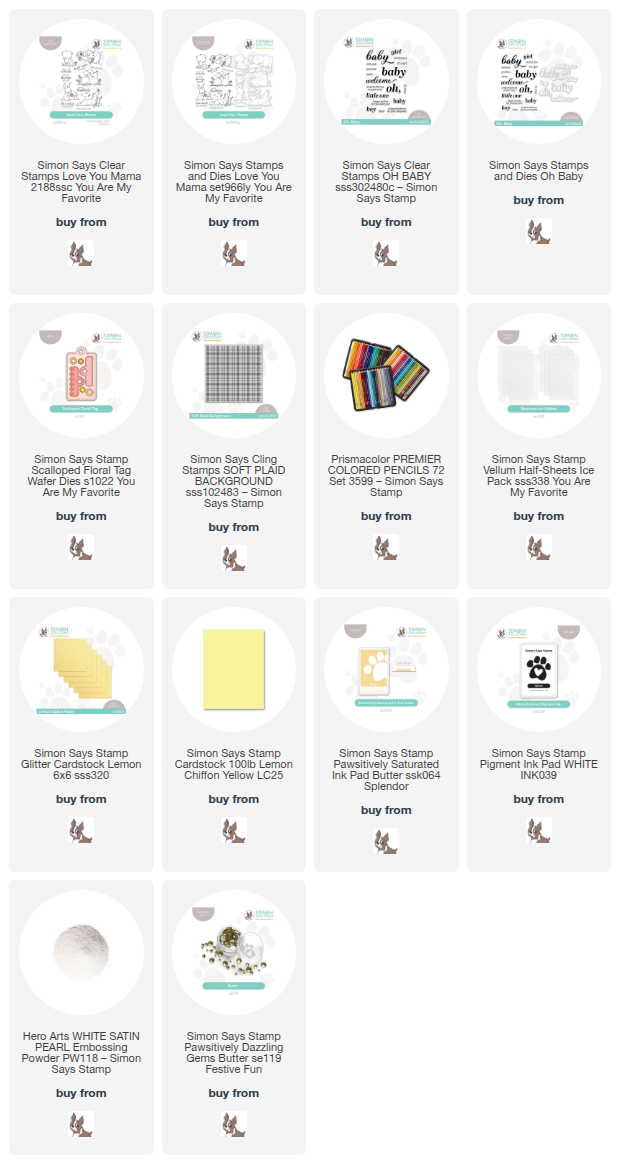
After I had finished coloring and die cutting the main focal point image, I decided to ground it with a Scalloped Floral Tag from the You Are My Favorite release. I die cut the main tag image from some Simon Says Stamp Ice Vellum and added the scalloped topper from some more Lemon Chiffon cardstock, then adhered the pencil die cut momma and baby with some liquid adhesive. I also heat embossed a greeting from Oh, Baby on some more Lemon Chiffon cardstock, stamping it first with more White Pigment Ink, then adding some White Satin Pearl embossing powder. I love the pearlescent white effect that this combination has on colorful cardstock! I used the coordinating dies from Oh, Baby to die cut the sentiment pieces.

For the background, I stamped the Soft Plaid Background on an A2 panel of Lemon Chiffon cardstock using Butter Pawsitively Saturated Ink, creating a soft, tone-on-tone plaid. I trimmed 1/2″ from the bottom of the panel, then tucked a strip of Simon Says Stamp Lemon Glitter cardstock to complete the A2 card front, adding a touch of texture and shimmer to the background. I mounted the die cut pieces to the card front using thin foam adhesive squares, then added a sweet white silk bow and some Butter Pawsitively Dazzling Gems to finish the project off! Such a sweet card, perfect for a baby shower for either gender!

Well, that’s all for my project today. My little boys just had their last day of preschool… they’re kindergarteners now, which doesn’t seem possible to me! Mentally, I am still in 2020. Ha! My big kids finish school in the next couple of weeks, so I will be trying to work amongst with everybody at home… hopefully my cards don’t reflect the chaos that will be swirling around me like a cyclone!! Thanks so much for stopping by today, and have a marvelous day!

Filed Under: simon says stamp Tagged With: baby card, colored pencils, die cutting, love you mama, man card monday, no line coloring, oh baby, scalloped floral tag, soft plaid background

Man Card Monday Returns!

February 3, 2025

This post was sponsored by Simon Says Stamp. Thanks, Simon!

Hi friends! I am back today with a fresh installment for Man Card Monday! In case you are new here, I tend to gravitate towards all things feminine: flowers, pink, lace, sparkle, etc. I struggle to create cards that would work for more masculine recipients, so I decided to challenge myself to create cards that are decidedly masculine or at the very least gender neutral. I took a hiatus during the holidays, because I wanted to soak up as much festive goodness as possible in my craft room, but now I am back to my regularly scheduled series projects, starting with February’s edition of Man Card Monday! To ease back into this series, I decided to pull out some birthday products that had been sitting alone for awhile while I focused my energies on all things Christmas, pairing them with a masculine color palette of blues, gray, and black for a super masculine card. Let’s get started with the details!

*I have gathered links to all of the products used at the bottom of the post for your convenience, using affiliate links. Thank you for shopping with my links! I truly appreciate your support for my work!*

To start, I ran a panel of white cardstock through my die cutting machine using the Party Balloons embossing folder + die set, then flipped the panel over so that the images were debossed down into the cardstock, rather than creating the raised images that have been embossed into the cardstock. I used blending brushes to blend Charcoal, Morning, and Dusk Pawsitively Saturated Ink on the entirety of the card, creating a gray-to-blue ombré. After I had finished blending the entire background, I put the Simon Says Stamp Nocturne Ink directly onto the raised areas of the cardstock, emphasizing the debossed pattern on the cardstock and multiple colors for the balloons on a black background. I splattered the entire background with silver glitter watercolors for additional texture and shimmer.

To further enhance the festive birthday theme, I used the coordinating die included with the Party Balloons embossing folder + die set to die cut three balloons in coordinating cardstock colors of silver glitter, black, and light blue, running them through the die cutting machine in their appropriate spots on the embossing folder to add extra shape and dimension. I added some thin white thread to the back of each and pulling them together to create a bunch of balloons. I also die cut the components from Party Hat Die from the same blue, black, and silver glitter cardstock, adding black dots to the blue stripes with my black pigment pen.

Before I began assembling, I heat embossed a couple of birthday greetings from Big Old Birthday onto some black cardstock using silver embossing powder, then die cut the larger sentiment with the coordinating die. I added some foam adhesive squares to the back of all of the die cuts and arranged them on the festive balloon backdrop, finally adding a few Dusk Pawsitively Dazzling Gems for added sparkle!

Well, that’s all for my project today! After several months of craziness with lots of challenging things happening, I am happy to be getting back into a little bit better routine. I hope your new year is off to a great start! Thanks so much for stopping by today, and have a marvelous day!

Filed Under: simon says stamp Tagged With: 3D embossing, big old birthday, birthday, die cutting, embossing folder, ink blending, ink swiping, man card monday, party balloons, party hat wafer dies

Man Card Monday: Papa Birdie!

May 20, 2024

This post was sponsored by Simon Says Stamp. Thanks, Simon!

Hi friends! I have a Man Card Monday project to share with you today featuring some new and old products from Simon Says Stamp. With Father’s Day coming up, my thoughts invariably turn to my sweet grandfather, my Papa, whose patient, loving manner, sweet smiles, and constant support were one of the best parts of my childhood. He passed away suddenly right before I turned 17 years old, and I often wonder what he would think of my family and what words of wisdom he might have for me as I navigate parenthood. I frequently see traits of my Papa in my husband, in his tireless efforts to care for our family and his gentle and loving care and support of me, in the way he knows how to fix just about everything, and in the way he will always sacrifice his own comfort to help someone else.

One of the things I remember most clearly about my Papa was the care he took in cultivating the backyard of their house. Grammy and Papa had a huge backyard with enormous shade trees that, while providing lovely cool breezes in the hot Midwestern summers, also gave him no end of grief because their shade prevented grass from growing in the majority of the yard. His solution was to cultivate ivy plants in the sparse spots, creating a lush green visage while also providing haven for huge amounts of mosquitoes. As usual, one solution begat another problem! Their backyard was always a flurry of activity with critters, and he and my Grammy both loved sitting in the screened-in back porch (a necessity thanks to the mosquitoes) to watch the birds visiting the bird feeder (and thankfully eating mosquitoes!). I pulled out some graphic foliage pieces along with the Standing Whirl Bird die to create this little bird in a “garden.” Let’s get started with the details!

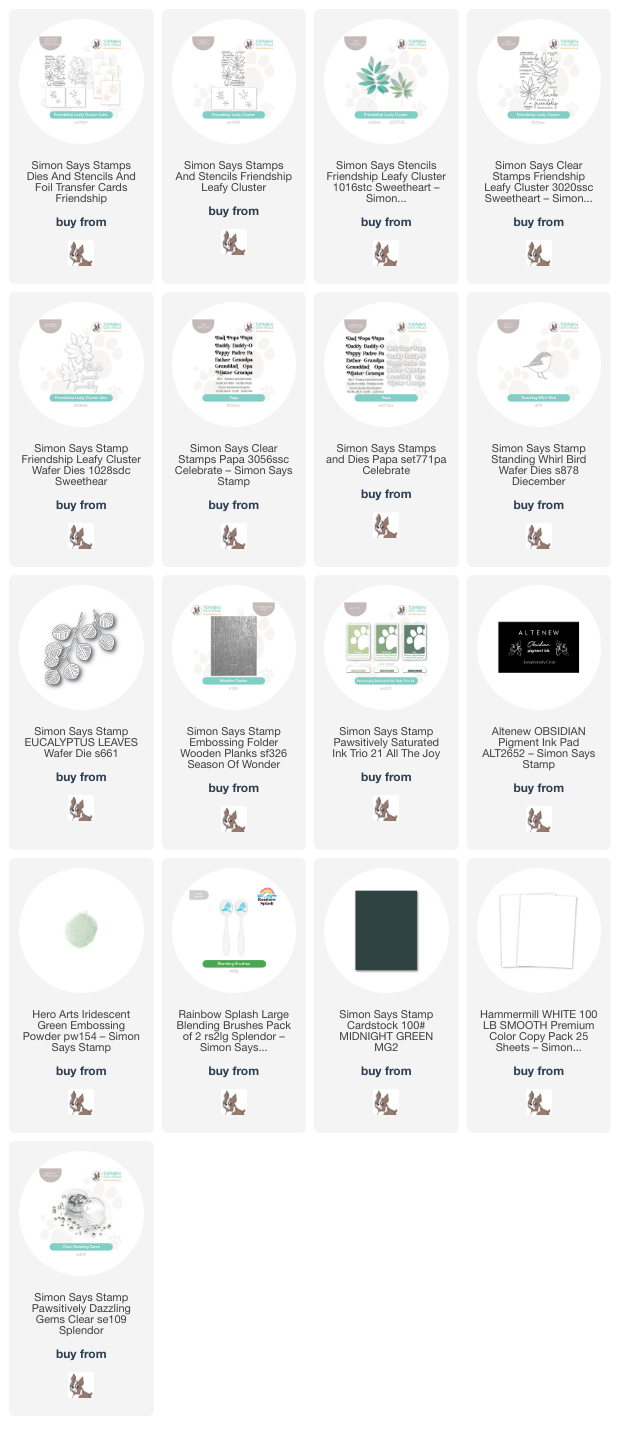
I started my project by stamping the images from the Leafy Cluster product suite using Altenew Obsidian black pigment ink, then sprinkling those sticky black images with Hero Arts Iridescent Green embossing powder. The iridescent green embossing becomes a deep hunter green when paired with the black embossing. I then used blending brushes to blend Artichoke and Cabbage from Pawsitively Saturated Ink Trio 21 using the stencils from the Leafy Cluster product suite. I also die cut a few sprigs of “ivy” with the Eucalyptus Leaves die and Simon Says Stamp’s Midnight Green cardstock.

For the background, I ran a panel of Hammermill white cardstock through my die cutting machine using the Wooden Planks embossing folder. I also die cut the Standing Whirl Bird die from some pearlescent white cardstock. I popped up the wooden plank background with some foam adhesive, then arranged the foliage around the little bird, adhering everything with liquid and foam adhesive to add varied heights to my card front.

For the greeting, I stamped a couple of the sentiments from the Papa stamps and dies (I adore the multitude of possible names in the Papa and Mamacita sets!) using the same Obsidian and Hero Arts Iridescent Green embossing powder combination that I used on the foliage stamps. I die cut the “Papa” with the coordinating die, then trimmed the strip using my trimmer and tucked it next to the bird die cut. Finally, I added a bit of sparkle with a few Clear Pawsitively Dazzling Gems!

Well, that’s all for my Man Card Monday project today! Thanks so much for stopping by today, and have a marvelous week!

Filed Under: simon says stamp Tagged With: eucalyptus leaves, father's day, friendship leafy cluster, ink blending, leafy cluster, man card monday, papa, standing whirl bird, stencil, wooden planks

Man Card Monday April 2024: Do You Play Pickleball?

April 16, 2024

This post was sponsored by Simon Says Stamp. Thanks, Simon!

Hi friends! I’m back for the April edition of Man Card Monday, a bit delayed because of one of my 4 year old twin boys fracturing his tibia. (On his birthday, no less. Sad face!) It made life a little hectic, to say the least, so my Man Card Monday post featuring the new Pickleball set from the Be Bold release is a bit later than I planned. I’ve never played pickleball myself, but I know that it’s hugely popular and it looks like tons of fun! Kind of like table tennis on steroids, if I understand it correctly? I thought the set would make a perfect project (or two) for Man Card Monday with some bold colors and subtle plaid background. Let’s get started with the details!

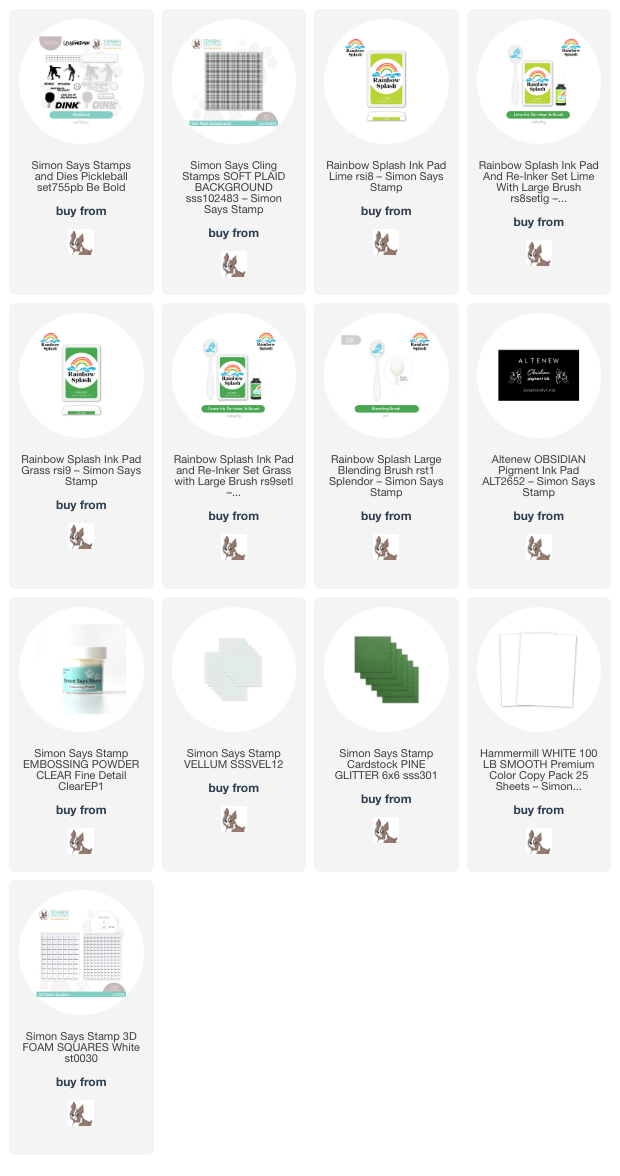
The new Pickleball set features some silhouettes of the players in different positions, a net, some paddles, and, of course, a ball, all accompanied by some clever and creative sentiments! I guess I had tennis in my mind’s eye when I was creating these cards, and so thought that a crisp, almost neon green, black, and white color palette would suit these bold images, and I’m super pleased with the results. I always equate tennis courts with being “preppy” and so channeled that imagery by pairing these images with the Soft Plaid Background and the Rainbow Splash Lime and Grass inks for some vivid and bold color.

I started my first card by stamping the silhouette images of the players onto some Hammermill white cardstock using black pigment ink and embossing them with clear embossing powder. I think that clear embossing the black silhouettes makes them super crisp and bold! I also heat embossed the net on some vellum so that the die cut would almost “float” like a real net would!

For the background, I stamped the Soft Plaid Background on some more white cardstock, inking up only the center of the stamp and dabbing the edges of the inked up area using my microfiber cloth so that they would fade smoothly away. After stamping the image with the Rainbow Splash Grass ink, I used a blending brush to blend a spotlight area with Rainbow Splash Lime ink in the center of the plaid panel. This spotlight helps to ground my scene so that the players were not just floating in midair, ha! I trimmed the panel down, taking 1/4″ off of each side, and mounted it in the center of a white A2 panel of cardstock.

I popped up the embossed images using foam adhesive, arranging the solid die cuts to overlap the vellum net and hiding the foam squares behind the solid die cuts to keep my vellum net nice and clean! I also added some coordinating lime green alcohol marker coloring to the paddles to help keep the color palette cohesive. I embossed and die cut a greeting, then tucked it next to one of my players’ feet with some foam squares.

For the second card, I wanted to focus on the larger scale “dink” sentiment and the accessories included in the Pickleball set. I started by stamping the sentiments and ball with more black pigment ink and embossing them with clear embossing powder. Next, I stamped the paddles, first stamping them completely with Lime ink, then doing some partial stamping around the edges of the paddles with Grass ink, dabbing the center of the stamp with my microfiber cloth to create some color gradient. I used a black fineliner pen on the wrapped handles, so that the images coordinated with the black outline for the ball. (I don’t love mixing solid stamps with outline stamps on the same project, so that black fineliner pen was just the ticket!)

For the background, I stamped the Soft Plaid Background on some more white cardstock using Lime ink, then trimmed the panel down 1/4″ on all sides and blended more Lime ink around the edges, creating a vivid green halo. I centered the plaid panel on an A2 panel of green glitter cardstock, then added my die cut pickleball elements using more foam squares for lots of dimension!

Well, that’s all for this month’s edition of Man Card Monday (on Tuesday, whoops!). Be sure to check back here later this week for tons and tons of new inspiration using the upcoming Simon Says Stamp release…. it’s a really good one!

Thanks so much for stopping by today, and have a marvelous day!

Filed Under: simon says stamp Tagged With: birthday, man card monday, masculine, pickleball, rainbow splash, soft plaid, soft plaid background

  • Page 1
  • Page 2
  • Page 3
  • Page 4
  • Go to Next Page »

Primary Sidebar

  • Facebook
  • Instagram
  • Pinterest
  • YouTube

Favorite Shops

Secondary Sidebar

Subscribe

Enter your email address to subscribe to this blog and receive notifications of new posts by email.

Instagram
Something is wrong.
Instagram token error.
Follow
Load More

Archives

Tags

3D embossing folder alcohol markers better press birthday birthday card blog hop card kit christmas christmas card christmas tag colored pencil copic copic coloring Daniel Smith die cutting embossing folder embroidery felt giveaway holiday holiday card hot foil ink blending karin brushmarker pro layered stencil masculine my monthly hero new release no line coloring no line watercolor OLO marker olo markers original illustration pawsitively saturated rainbow shaker card slimline stamping stamptember stencil thank you thinking of you valentine's day video watercolor

Popular Posts

Simon Says Stamp Sending Cheer Blog Hop- Day 2 + Freebie + Giveaway!
Altenew October 2026 Release Blog Hop + Giveaway!
Rustic Monochromatic Stars for Christmas with Rainbow Splash!
Hero Arts Partners Blog Hop: Lawn Fawn!
Waffleflower July Release Blog Hop!
December 2018 My Monthly Hero Blog Hop + Giveaway!
March 2020 Essentials By Ellen Blog Hop+Giveaway!
The Ton Anniversary Release: Day 1!
The Ton Stamps Summer Release: Day 1
Autumn Legs with Colorado Craft Company and Catherine Pooler!

Disclosure

Some affiliate links are used in my posts. This means that, should you click on one of my links and purchase something from that company, I will receive a small portion of the sale at no extra cost to you. I use the money earned from these sales to help maintain my blog. I so appreciate you visiting and, if you do choose to use one of my affiliate links, thank you so much for your support!
Copyright © 2026 ·Brunch Pro Theme · Genesis Framework by StudioPress · WordPress · Log in
Loading Comments...