• Skip to main content
  • Skip to primary sidebar
  • Skip to secondary sidebar

Sixth Street Sundries

Emily Midgett

  • Home
  • About Me
  • Contact
  • OLO Marker Color Swatch Chart
  • Shop

miss your smile

Creating a Vintage Color Palette with Neutrals!

July 20, 2022

Hi there! Today, I’m up on the Pinkfresh Studio YouTube channel with a video using my oldie-but-still-a-goodie Miss Your Smile stamp set, which was one of the very first sets that I illustrated for Pinkfresh Studio! Miss Your Smile may be a bit older, but coloring it gets even more fun with each use, and today I share some tips on how to get more from your watercolors by mixing neutrals with your super bright colors to create a more vintage-y color palette. You can watch the video below or click HERE to watch on YouTube.

In case you can’t watch the video, I’ll do a quick rundown of how I made this project with some still photos. Let’s get started with the details!

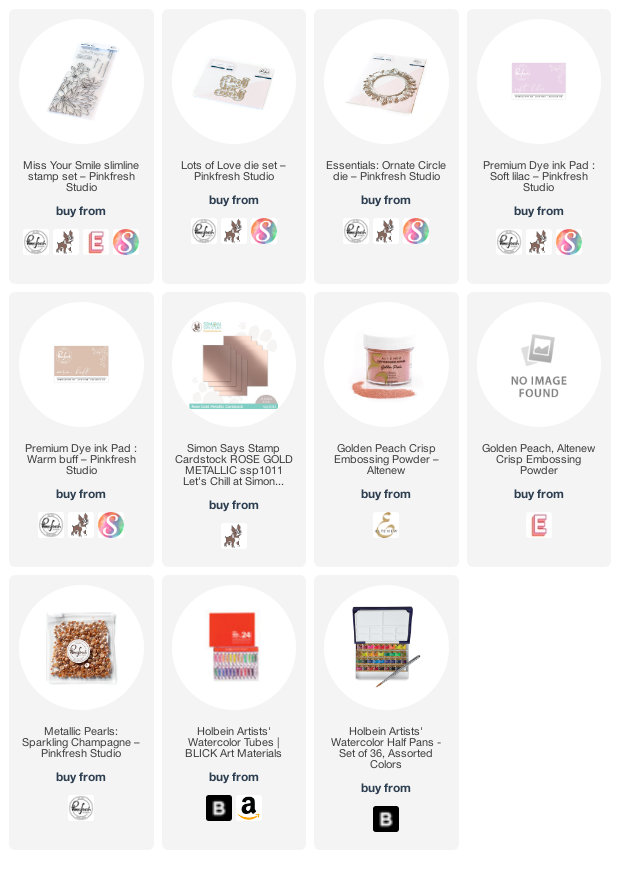
I began by heat embossing the large floral image from Miss Your Smile using some metallic peach embossing powder onto a full size slimline card base created from Arches Cold Press watercolor paper. The metallic peach embossing powder is a lovely, soft alternative to the traditional gold or black stamping! Next, I used my Holbein watercolors to do some watercoloring on this huge image. I wanted to create a more muted, vintage color scheme, so I chose some of the brightest shades of fuchsia and hot pink in my watercolor palette and mixed them with a deep, plummy chocolate brown. Mixing the bright colors with the very dark neutral brown helped to tone down the colors without making them lose their vibrancy.

Once I had finished watercoloring, I felt like the top corner was a bit too open and starkly white to match the soft, muted color palette of the flowers, so I very lightly blended some Soft Lilac ink in the corner opposite the flowers, muting the cool lilac by lightly blending some Warm Buff ink over the top of it. Pairing the two unlikely ink shades is such a fun way to create a wider color palette using the inks and watercolors that you already have!

Once I had finished my card base, I die cut a beautiful Ornate Circle die cut from some coordinating metallic peach foil cardstock. I created a greeting by simultaneously die cutting both pieces of the Lots of Love die set from some coordinating deep plum cardstock. I made sure to keep the interiors of the letters safe (such as on the “o” and “e”), then adhered them in the center of the die cut. I love how the negative space in the greeting still allows you to see the watercoloring without feeling clunky or overbearing on the watercolored panel! The final touch was to add a few Sparkling Champagne pearls to finish it off.

Well, that’s all for my project today! I hope that you enjoyed that project. I encourage you to try mixing in some neutrals to your bright watercolors or ink blending… it’s such fun to see how the colors can be manipulated to create totally new color palettes from the colors that you already have! Thanks so much for stopping by today, and have a marvelous day!
Filed Under: pinkfresh studio Tagged With: holbein, ink blending, miss your smile, slimline, video, vintage, watercolor

Pinkfresh Studio April Release+Giveaway!

April 29, 2021

Hi there! I am so very excited to be a part of the Pinkfresh Studio April Release Blog Hop today, as I have illustrated two new stamp sets debuting in today’s release: Miss Your Smile (and coordinating stencils) and It’s A New Day (plus coordinating dies and stencils). I have two projects to share with you today, so let’s get started with the details!

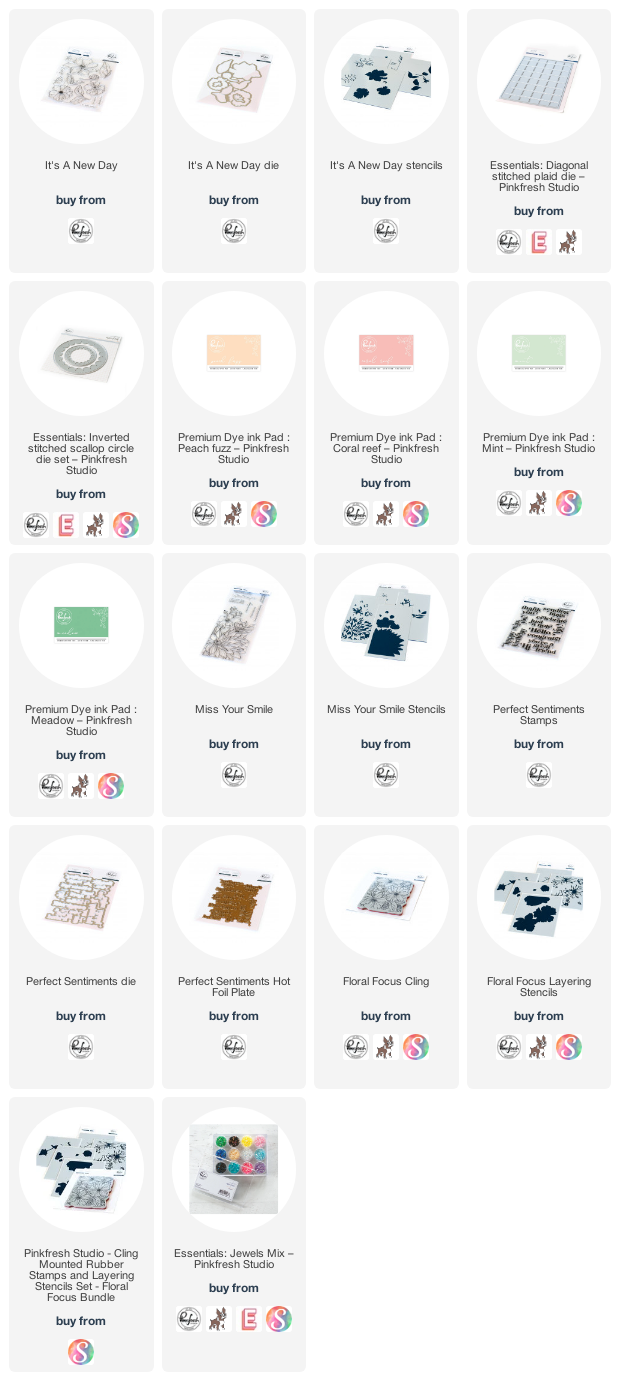
For my first project, I wanted to show the details and fun stencils in the It’s A New Day stamps, coordinating dies, and stencils. I follow several florists on Instagram, and from their beautiful photos I get lots of inspiration. One of the photos featured some beautiful, fluffy blooms whose name I didn’t know; I asked the florist and was told that they were butterfly ranunculus. Well, my head kind of exploded with inspiration, and I used these beautiful flowers as the inspiration for both my Floral Focus background stamp and today’s new It’s A New Day stamp set. (I tried to make it so that they coordinate with each other as kind of a “set.”) While the Floral Focus set is a background, the It’s A New Day set features individual blooms and foliage so that you can build your own bouquets and wreaths. The stamps and dies are super user-friendly; they are all grouped together as one piece, so that you can stamp and die cut all of the images in one pass! I began by heat embossing the images from It’s A New Day on some white cardstock using platinum embossing powder.

Next, I used the It’s A New Day stencils with some Peach Fuzz, Coral Reef, Meadow, and Mint inks from Pinkfresh Studio to add shading and details. (The stencils are conveniently grouped in the same formation as the stamps and dies. Love the ease of these new products!) I die cut the individual images in one pass through my die cut machine with the coordinating die. The geniuses over at Pinkfresh Studio used the same “one pass” concept for the new Perfect Sentiments stamps and die (and even an awesome hot foil plate if you have a hot foil machine!)-one large stamp with tons of sentiments on it and one large die to cut them all out in one pass through your machine! I heat embossed the sentiments again using Platinum embossing powder and die cut them with the coordinating die.

I also die cut a Essentials: Diagonals Stitched Plaid cover plate die from some more white cardstock, then cut the Essentials: Inverted Scallop Circle die from another piece of white cardstock to create a frame upon which I could arrange my stenciled blooms. I adhered the blooms and circular frame using foam adhesive, then added the greeting with a double layer of foam adhesive to make it pop up even further from the floral arrangement. The final step was to add a few Essentials: Jewels in some iridescent, creamy yellow for a bit of sparkle.

For my second project today, I used just the new Miss Your Smile stamps to do some no-line Copic coloring. I designed this stamp set to be huge to fit on a slimline card front… and I don’t know about you, but I just adore coloring massive, gigantic, oversized blooms. It’s just fun for me to get down into the nooks and crannies and really dig in to get as much depth and shadows as I can.

I stamped the image from Miss Your Smile onto some white Copic-friendly cardstock using no-line coloring ink, then used Copic markers to color the images. (I’ve shared the swatches above so that you can use the color combinations, if you wish!) Bonus: if coloring isn’t your thing, there are some fabulous coordinating layered stencils available so that you can add lots of color and details with your favorite inks and blending brushes!

One of my Copic tricks is similar to my watercoloring techniques: add multiple layers. Copic markers react with each other differently depending on which color you lay down first. You can create an entirely different overall blend if you lay down one color vs another, then use that as the base to blend your colors. For detailed coloring like this, I like to start out with the lightest three shades in my quartet of Copic colors, coloring all of the petals using only those three colors. I then go back in with the darkest shade to add just hints of deep shadow in what I think would be the darkest areas and blend that out with the lightest three shades. I try to keep the top petals as light as possible, usually keeping them the “original” three shades and not adding any extra shadows.

After I’d finished my coloring, I used a black fineliner pen and my T-square to add a frame around the edge of the card front, as well as the stamens on my cherry blossoms. I heat embossed a greeting from Miss Your Smile (how perfect is the “I just miss you” sentiment for these strange Covid times?) using white embossing powder onto a strip of black cardstock, popping it up and adding a few black jewels to add of sparkle and make the black accents look intentional.

Well, that’s all for my projects today! I am so very excited for these latest designs that I illustrated for Pinkfresh. I’d love to know what you think of them!!

Now for some fun giveaway information!

Pinkfresh Studio will be giving away the full release on the Pinkfresh blog & YouTube channel! They will also be giving away a total of TEN $25  gift cards along the hop. As per usual with blog hops – the winners will be picked from the comments. The winners will be posted on May 6 , 2021 on the GIVEAWAY PAGE. You must check that page & claim your prize within 2 weeks of the winner’s announcement.

The more comments you leave, the more chances you have to win! Thanks so much for stopping by, and have a marvelous day!

You are invited to the Inlinkz link party!

Click here to enter

Filed Under: pinkfresh studio Tagged With: copic coloring, ink blending, it's a new day, miss your smile, no line coloring, no line copic coloring, perfect sentiments, stencils

Primary Sidebar

  • Facebook
  • Instagram
  • Pinterest
  • YouTube

Favorite Shops

Secondary Sidebar

Subscribe

Enter your email address to subscribe to this blog and receive notifications of new posts by email.

Instagram
Something is wrong.
Instagram token error.
Follow
Load More

Archives

Tags

3D embossing folder alcohol markers better press birthday birthday card blog hop card kit christmas christmas card christmas tag colored pencil copic copic coloring Daniel Smith die cutting embossing folder embroidery felt giveaway holiday holiday card hot foil ink blending karin brushmarker pro layered stencil masculine my monthly hero new release no line coloring no line watercolor OLO marker olo markers original illustration pawsitively saturated rainbow shaker card slimline stamping stamptember stencil thank you thinking of you valentine's day video watercolor

Popular Posts

Simon Says Stamp Joy For You Blog Hop- Day 1!
Simon Says Stamp Joy For You Release-Now Available!
Frozen Fractals All Around with New Simon Says Stamp Joy For You Release!
Shaped Holiday Shaker Card with New Simon Says Stamp Jolly Season Card Kit of the Month!
Holiday Postage with New Simon Says Stamp!
Simon Says Stamp Glory to the Newborn King Holiday Kit-Part II!
Altenew Build A Flower: Fuchsia Blog Hop+Giveway!
Holiday Joy in Pink and Green with New Simon Says Stamp DieCember!
Pinkfresh Studio 5th Birthday!
Honey Bee Stamps September Release Blog Hop!

Disclosure

Some affiliate links are used in my posts. This means that, should you click on one of my links and purchase something from that company, I will receive a small portion of the sale at no extra cost to you. I use the money earned from these sales to help maintain my blog. I so appreciate you visiting and, if you do choose to use one of my affiliate links, thank you so much for your support!
Copyright © 2026 ·Brunch Pro Theme · Genesis Framework by StudioPress · WordPress · Log in
Loading Comments...