• Skip to main content
  • Skip to primary sidebar
  • Skip to secondary sidebar

Sixth Street Sundries

Emily Midgett

  • Home
  • About Me
  • Contact
  • OLO Marker Color Swatch Chart
  • Shop

misti

Sunflower Swags with New Simon Says Stamp!

August 5, 2026

This post was sponsored by Simon Says Stamp. Thanks, Simon! *I have gathered links to all of the products used at the bottom of the post for your convenience, using affiliate links at no extra cost to you. Thank you for shopping with my links! I truly appreciate your support for my work!*

Hi friends! I am back with another sunflower project, this time using a brand new floral set from the Simon Says Stamp Every Happiness release! (click HERE to check out the entire release!) Solid stamped images sometimes are a little tricky for me, creatively, but the simplicity of these images works beautifully with a clean and simple style, and the abundance of individual flowers, foliage, and small bouquet arrangements made it super fun to create a gorgeous and unique card. I kept this project clean and crisp, with plenty of white space and pops of pretty yellow, topped off with a contrasting custom sentiment. Let’s get started with the details!

To begin, I die cut all of the images included with the Sunflower Meadow product suite. I find that die cutting *before* stamping pre-designed bouquets helps me to get the placement just right within my MISTI. To do this, I die cut all of the images from one panel of cardstock, then remove the positive die cuts and place that leftover negative piece inside my MISTI. I then place the stamps in their coordinating opening, which gives me an opportunity to have perfect placement in the center of each opening. I then replace the positive die cuts and stamp as normal!

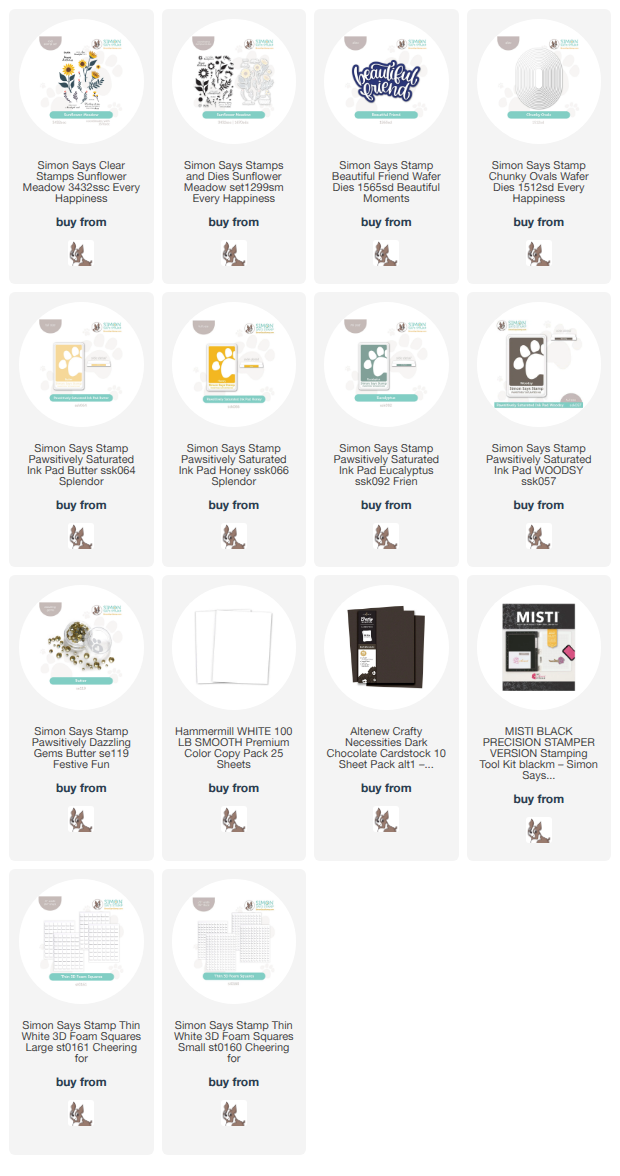
For all of these images, I used Pawsitively Saturated Inks in shades of Butter, Honey, Eucalyptus, & Woodsy. I used the “stamping off” technique to achieve multiple levels of intensity with the Woodsy ink, using a piece of scrap paper to take off the first layer of ink before stamping on the actual die cut itself for the center of each flower. This allows me to use one shade of ink for two different stamps to achieve definition between the layers! After I had stamped all of the images, I set them aside to work on the greeting.

I used Woodsy ink at full intensity to stamp a greeting from Sunflower Meadow and die cut it with the coordinating die. I also die cut only the “friend” standalone die cut word from the Beautiful Friend die set, cutting it three times from some deep chocolate brown cardstock. I layered the die cuts together to create a dimensional die cut greeting, which paired beautifully with the message on the stamped sentiment. I arranged the flowers and sentiment on a large Chunky Ovals die cut, using the shape of the unique, elongated oval as a guide for my floral swag. I tucked the greeting amongst the blank space on the oval and then added a few leftover blooms and sprigs of greenery beneath it, adhering everythign with liquid and foam adhesive. Finally, I added several Butter Pawsitively Dazzling Gems for additional sparkle!

Well, that’s all for my project today! While not traditionally “clean and simple,” I think the clean white spaces and crisp stamped die cuts are so clean and elegant. I just love a well-designed, simple stamp set! Thanks so much for stopping by today, and have a marvelous day!
Filed Under: simon says stamp Tagged With: beautiful friend, chunky ovals, die cutting, misti, stamping, sunflower, sunflower meadow

Blended Dahlia Thank You and Iridescent Embossing with Simon Says Stamp + SALE!

May 8, 2026

This post was sponsored by Simon Says Stamp. Thanks, Simon! *I have gathered links to all of the products used at the bottom of the post for your convenience, using affiliate links at no extra cost to you. Thank you for shopping with my links! I truly appreciate your support for my work!*

Hi friends! When I find a color palette that speaks to me, I tend to get a bit of tunnel vision and create lots of different projects using similar shades, pulling out similar colors of cardstock, inks, embellishments, and specialty cardstock. The color palette for the striped background from THIS post inspired me so much that I couldn’t resist creating an ink blended background using a similar color palette. My Dahlia Background stamp is super detailed, making it great for an intense coloring session or to use as a background. I chose to do some fun ombré stamping, embossing, and blending to create this pretty sunset-inspired background. Let’s get started with the details on my project!

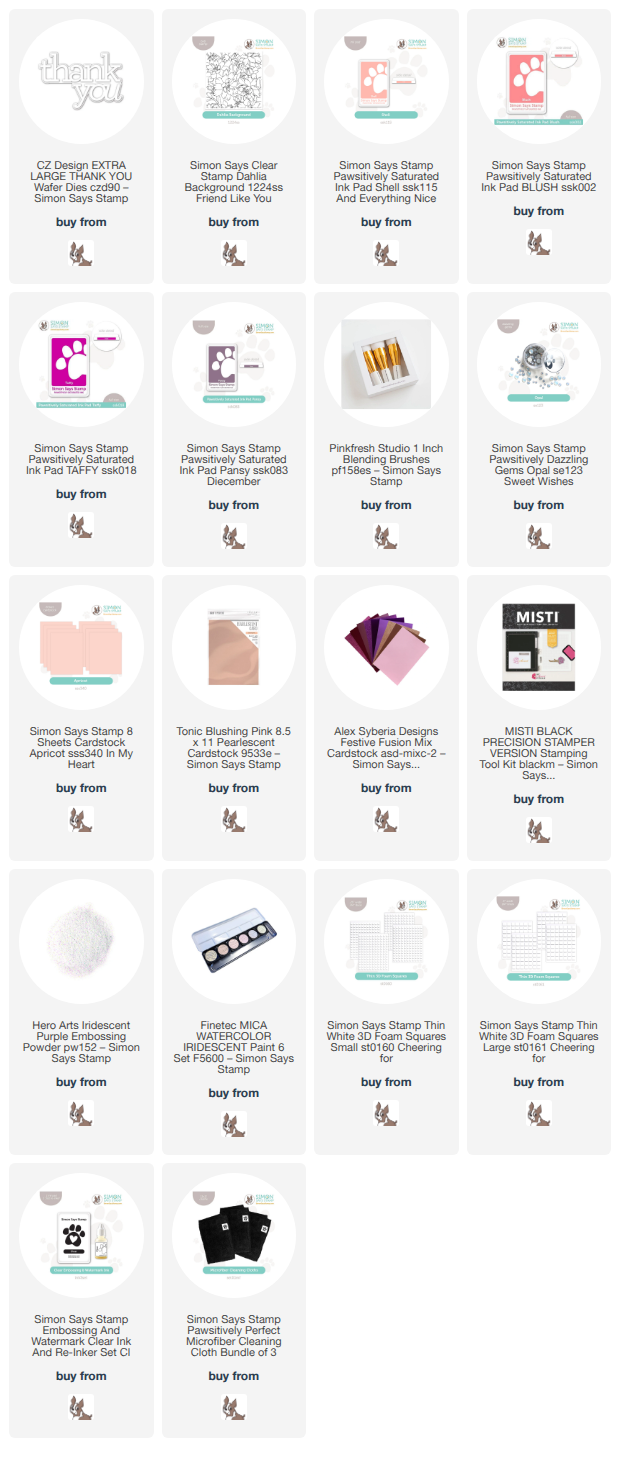
To begin, I placed my Dahlia Background in my MISTI to do my stamping. This project is unique, because it layers the ombré stamped and embossed background with ink blending directly over the embossed images. The MISTI is very important for this technique; not only is it indispensable for creating the stamped ombré image, but it also allows you to stamp the image again with embossing ink so as to create the perfect background for emboss/resist! To create the ombré stamped image, I used Pawsitively Saturated Inks in shades of Shell, Blush, Taffy, and Pansy, first applying the Shell ink to the top of the stamp, softening the inked edge with a microfiber cloth, then closing the lid of my MISTI, repeating the process to ensure good coverage. I repeated the process with the second color on the section of stamp below the first, softening the edges of the top and bottom of the inked area with the cloth. Softening the edges of the inked area helps to create a smooth transition between colors!

Once I had finished stamping the background with the colorful inks, I stamped it once more with sticky embossing ink and added some sheer iridescent embossing powder over the top to protect the colorful stamped background for some emboss/resist blending. Once my embossing powder had been heated, I blended the same ink shades over the top in a smooth ombré, creating a tone-on-tone effect. I also splattered some iridescent glittering watercolors for more sparkle and texture.

After I had created the background, I trimmed the edges off and placed it in the center of an Apricot A2 card front, adding some thin rose gold foil strips at the edges of the blended panel to add some additional contrast between the different pieces of cardstock. I also die cut the generously-sized Thank You XL detail layer from some pearlescent blush cardstock and popped it up at the bottom of the card front with thin strips of foam adhesive. Finally, I added some Opal Pawsitively Dazzling Gems for additional sparkle!

Well, that’s all for my project today. I think the multiple layers of tone-on-tone color is so pretty with the addition of the sparkling accents!

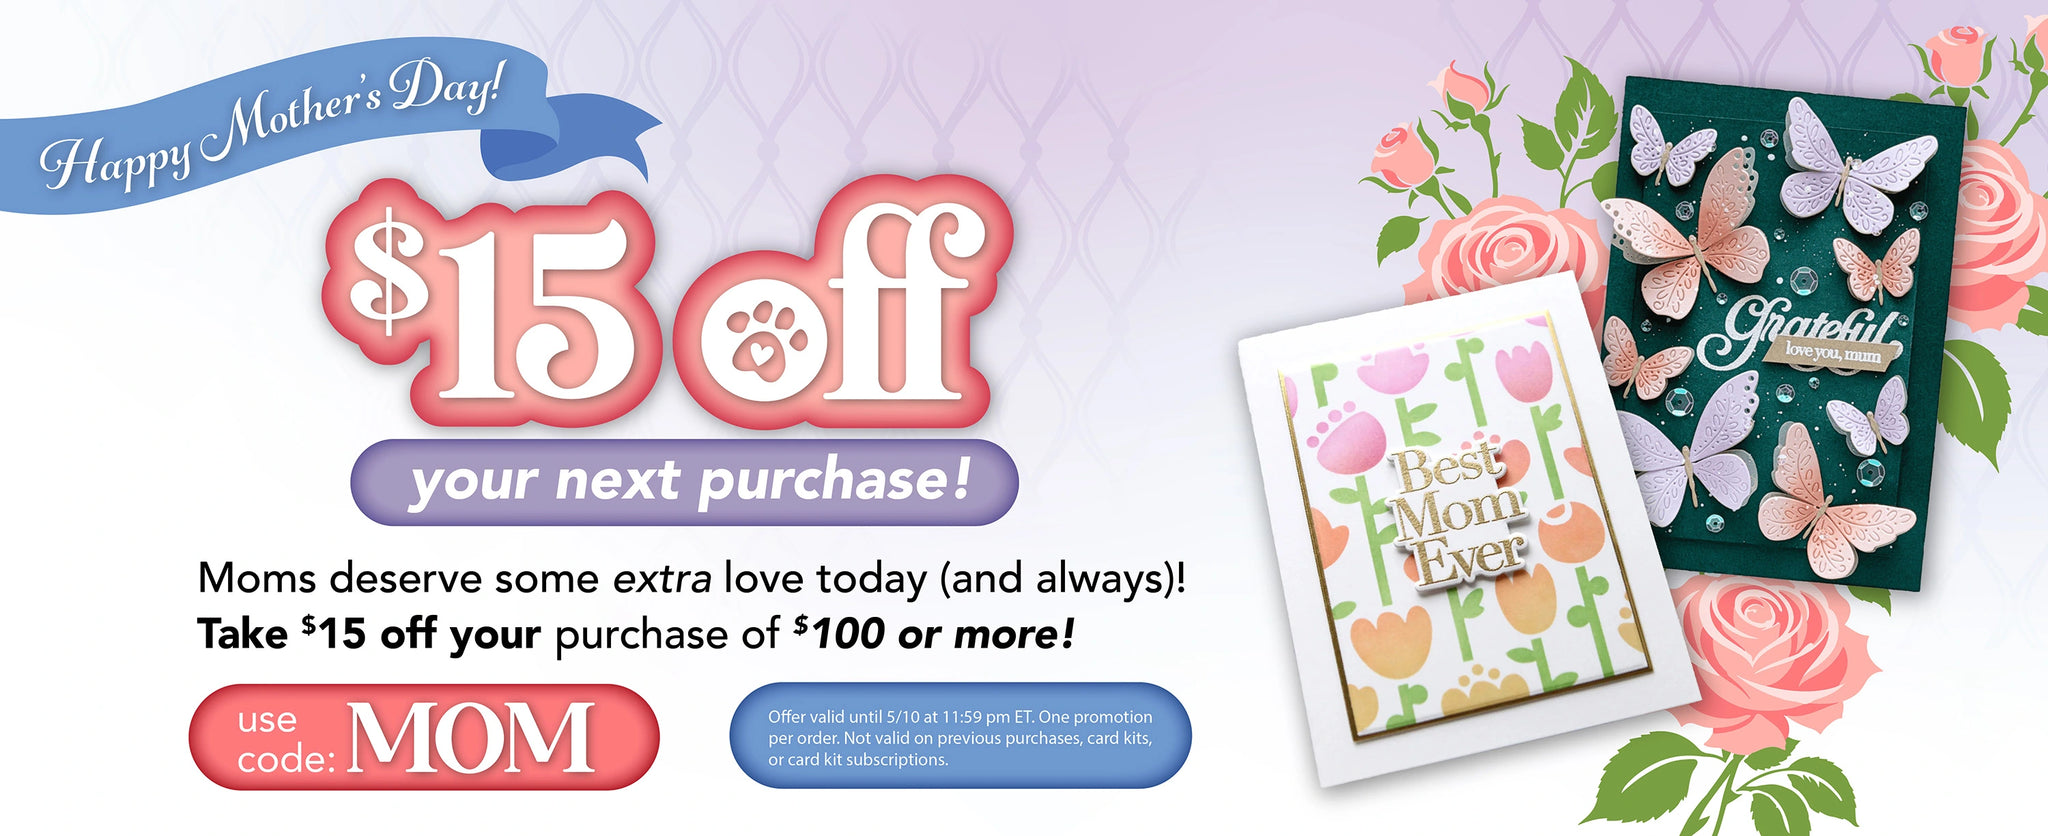
Now for some fun sale information! Simon Says Stamp is showering moms with love with $15 off your $100 purchase! Simply fill your cart and add code MOM at checkout to receive your discount!

Thanks so much for stopping by today, and have a marvelous day!

Filed Under: simon says stamp Tagged With: dahlia background, extra large thank you, ink blending, misti, ombré emboss/resist, thank you XL

VIDEO: Using Cardmaking Dies and Inks for Easy Custom Tags with Pinkfresh Studio!

October 11, 2023

Hi friends! I am up on the Pinkfresh Studio YouTube channel today with some holiday tag inspiration using a ton of dies and the new Pinkfresh Studio Inks from the September 2023 release.

Watch the video below or HERE on YouTube.

Not everybody has the room or the budget to have an extensive stash of colorful cardstock, so being able to make custom colored cardstock using white cardstock, your inks, and blending brushes opens up a whole new host of possibilities! The new ink colors are exceptionally unique and beautiful, and I used some of them to create these festive tags that you won’t feel too guilty about tossing in the trash on Christmas morning. Let’s get started with the details!

To start, I die cut 6 of the large tags from the Shaker Tag Book dies set. Two tags fit on one panel of A2 cardstock. I don’t know about you, but my die cutting plates are very well-used, which makes the back of my die cuts look a little rough. Cutting two tags and putting the scratched back sides against each other helps to keep your tags nice and clean on both sides!

This first tag features some light Waterfall ink blending around the edge of my top tag, which I die cut using the Snowflakes Cover Plate die . This die features both a stitching detail and cut outs to create this lovely, textured background pattern. I die cut some of the smaller snowflakes from white glitter cardstock using the Large Snowflakes dies and layered them directly over the die cut background tag. I stamped a sentiment from the Holiday Large Sentiments stamp set and sandwiched both the back and front together with liquid adhesive, adding a white paper twine loop and Aqua Glitter Drops for some more sparkle!

For my second tag, I used a blending brush to blend Paradise ink from the bottom up, fading away to white as the ink reach the top of the tag. I created some custom coordinating Curvy Leaves dies foliage using Paradise and Atlantis inks, as well as a pretty pink bow by blending Peony ink on some white cardstock and die cutting it with the Artistic Bows dies. I arranged all of the die cuts on my blended tag and added some Blush Glitter Drops for “berries” amongst my holiday foliage.

For my final tag, I blended Waterfall, Turquoise, and Paradise inks down the front of my blank tag die cut. I then die cut the large and medium sizes of the gorgeous Large Snowflakes dies from some more sparkling white glitter cardstock. I layered the two snowflakes together, adhering the smaller snowflake to the center of the larger snowflake with a small square of foam adhesive.

Each tag has a different greeting from the Holiday Large Sentiments stamp set stamped on the back in Atlantis ink. You could totally make this simpler by using your MISTI and one sentiment for all of your tags!! I am in love with the beautiful sentiments and fonts in the Holiday Large Sentiments stamp set.

Well, that’s all for my projects today! I encourage you to try making your own custom colored cardstock using your inks and blending tools. You can create such a huge rainbow of cardstocks with your inks and a little elbow grease! Thanks so much for stopping by today, and have a marvelous day!

Filed Under: pinkfresh studio Tagged With: amalfi coast, artistic bows, christmas tag, curvy leaves, holiday large senitments, holiday large sentiments, holiday tag, large snowflakes, misti, peony ink, shaker tag book die, snowflakes cover plate

Primary Sidebar

  • Facebook
  • Instagram
  • Pinterest
  • YouTube

Favorite Shops

Secondary Sidebar

Subscribe

Enter your email address to subscribe to this blog and receive notifications of new posts by email.

Instagram
Something is wrong.
Instagram token error.
Follow
Load More

Archives

Tags

3D embossing folder alcohol markers better press birthday birthday card blog hop card kit christmas christmas card christmas tag colored pencil copic copic coloring Daniel Smith die cutting embossing folder embroidery felt giveaway holiday holiday card hot foil ink blending karin brushmarker pro layered stencil masculine my monthly hero new release no line coloring no line watercolor OLO marker olo markers original illustration pawsitively saturated rainbow shaker card slimline stamping stamptember stencil thank you thinking of you valentine's day video watercolor

Popular Posts

Simon Says Stamp Sending Cheer Blog Hop- Day 2 + Freebie + Giveaway!
Altenew October 2026 Release Blog Hop + Giveaway!
Rustic Monochromatic Stars for Christmas with Rainbow Splash!
December 2018 My Monthly Hero Blog Hop + Giveaway!
March 2020 Essentials By Ellen Blog Hop+Giveaway!
The Ton Stamps Summer Release: Day 1
Hero Arts Partners Blog Hop: Lawn Fawn!
Waffleflower July Release Blog Hop!
Simon Says Stamp STAMPtember Tim Holtz Collaboration: Festive Holidays!
Honey Bee Stamps Autumn Blessings Blog Hop-Day 2!

Disclosure

Some affiliate links are used in my posts. This means that, should you click on one of my links and purchase something from that company, I will receive a small portion of the sale at no extra cost to you. I use the money earned from these sales to help maintain my blog. I so appreciate you visiting and, if you do choose to use one of my affiliate links, thank you so much for your support!
Copyright © 2026 ·Brunch Pro Theme · Genesis Framework by StudioPress · WordPress · Log in
Loading Comments...