• Skip to main content
  • Skip to primary sidebar
  • Skip to secondary sidebar

Sixth Street Sundries

Emily Midgett

  • Home
  • About Me
  • Contact
  • OLO Marker Color Swatch Chart
  • Shop

nested round hearts

Colorful Thank You, Teacher with New Simon Says Stamp!

June 4, 2025

This post was sponsored by Simon Says Stamp. Thanks, Simon!

Hi friends! I am back with another project today featuring some new goodies from the latest Simon Says Stamp Moments In Time release, paired with some older products to create this colorful teacher thank you card. My kiddos have all finished school for the year (let the summertime chaos begin! At least we get to sleep in in the mornings… ish.), but I know that schools on the East Coast typically attend school well into June, so I thought this might still be appropriate for those outside the Midwest. Let’s get started on the details for my project!

*I have gathered links to all of the products used at the bottom of the post for your convenience, using affiliate links. Thank you for shopping with my links! I truly appreciate your support for my work!*

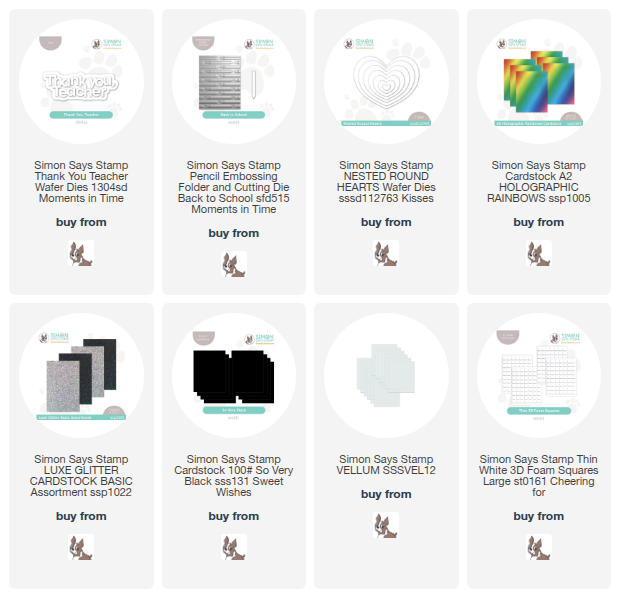
The new Thank You Teacher die set features a detailed top layer that cuts out the letters in a whimsical font, and it also features a shadow layer to add extra dimension and interest to the die cut sentiment. I originally planned to use each die cut piece as intended and create a dimensional die cut greeting, but I decided to use the negative detailed image instead, creating the sentiment in the middle of a die cut heart. I cut one of the Nested Round Hearts from Simon Says Stamp’s So Very Black cardstock, then placed the detail layer from the Thank You Teacher die set in the center of the die cut heart and ran it through my die cutting machine, making sure to reserve all of the die cut pieces so that I could add the centers of the a, o, e, and c. I backed the die cut opening on the heart with some vellum, then adhered the reserved centers of the letters with liquid adhesive to create this fun die cut sentiment.

Behind my heart sentiment, I decided to take advantage of the vibrancy and foil coating on the Simon Says Stamp Holographic Rainbows Mirror Foil to add some gorgeous textured embossing. I ran a panel of Holographic Rainbows Mirror Foil through my die cutting machine with the new Back to School embossing folder, which features delicately textured and detailed pencils that are highlighted perfectly with the foil coating of the cardstock.

To create the card, I trimmed the sides of the embossed panel down by 1/4″ on the long sides and tucked a couple of strips of Holographic Black Luxe Glitter Cardstock from Simon Says Stamp. The colorful iridescent coating works beautifully with the rainbow colors on the foil cardstock and ties in the black cardstock on the heart. I used some thin foam adhesive squares to pop up the black sentiment heart; the semi-transparent vellum allows the colorful background to show through, though slightly more muted. This would also make a fun shaker design if you swapped out the vellum for acetate!

Well, that’s all for my project today. As we head into summer break, I am looking for all of the ideas on how to entertain my kiddos so that I can get some work done. We unfortunately don’t have a ton of summer camps available in our rural area, so I am looking for things that they can do around the house that don’t involve watching TV. (We are big Bluey and Lion Guard fans around here….) Any and all suggestions welcome! Thanks so much for stopping by today, and have a marvelous day!
Filed Under: simon says stamp Tagged With: 3D embossing folder, back to school, die cutting, embossing folder, holographic rainbows, nested round hearts, teacher, thank you teacher

Adore Frame for Valentine’s Day with Simon Says Stamp!

February 14, 2025

This post was sponsored by Simon Says Stamp. Thanks, Simon!

Hi friends, and Happy Valentine’s Day! As a busy mom, sometimes it’s hard to get organized enough to decorate for each holiday. I am usually able to do some major Christmas decorating, and some autumnal switches, but outside of that… our decor remains pretty neutral throughout the year. I have ambitions to change that, and so have been trying to create more home decor items with my crafting supplies. I went to my local dollar store and found the most adorable wooden frames that are perfect for customizing based on the season! I want to make a series of them that we can easily switch out for each mini-holiday, starting with Valentine’s Day. I covered this frame with pink, hearts, and lots of sparkle, so let’s get started with the details!

*I have gathered links to all of the products used at the bottom of the post for your convenience, using affiliate links. Thank you for shopping with my links! I truly appreciate your support for my work!*

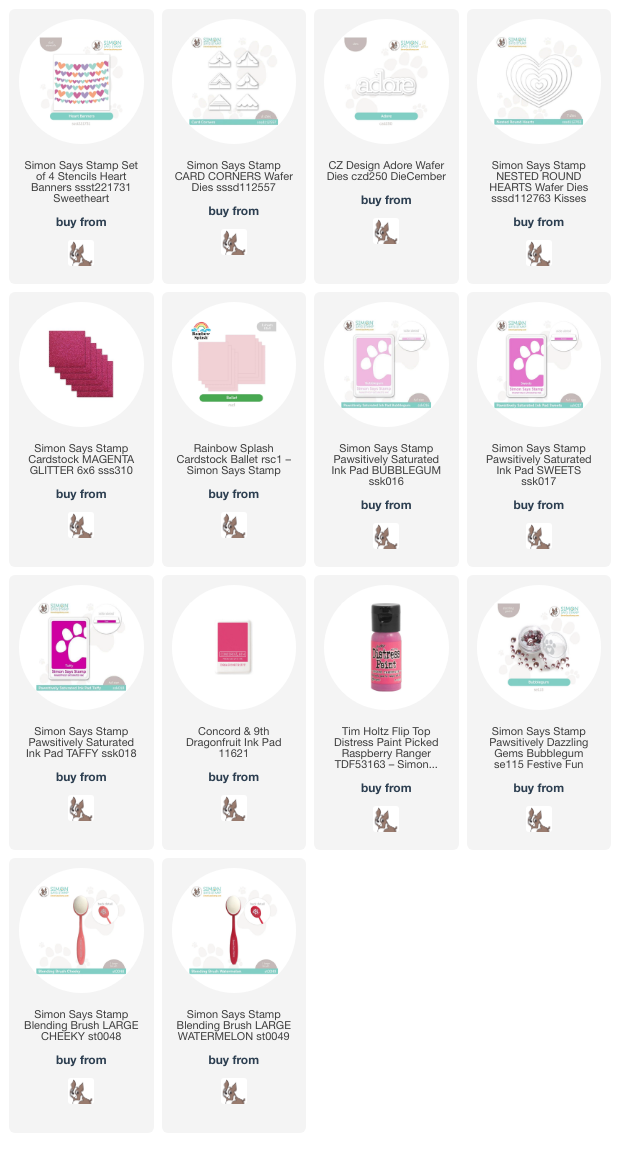
To begin my project, I painted the wooden frame with Tim Holtz Distress Picked Raspberry Distress Paint, creating a perfectly pink base on which to decorate with my stencils and dies! As it was drying, I used Bubblegum, Taffy, and Sweets Pawsitively Saturated Inks with Dragonfruit ink from Concord and 9th to blend the sweet pattern from the Heart Banners Stencil set onto some pale pink cardstock. I love the variated shades of pink on this background!

After my frame had finished drying, I adhered the stenciled heart background panel inside (the original frame comes with a little chalkboard, but that’s easy enough to cover up with some Tear-rifically Tacky Tape!), then die cut the detail layer of the Adore die from some Magenta Glitter Cardstock and the shadow from a leftover piece of the same pale pink used for the background. I popped the sentiment up with foam adhesive, then “framed” it in with the adorable Card Corners dies cut from deep pink and more Magenta Glitter Cardstock. I adorned the wooden frame’s corners with some glittery pink Nested Round Hearts die cuts and some Bubblegum Pawsitively Dazzling Gems for extra sparkle.

Well, that’s all for my project today. This 4×6 frame is just the right size to put on a mantle or even on your desk at work! I am having so much fun customizing these simple wooden frames, and super inexpensively, too! Thanks so much for stopping by today, and Happy Valentine’s Day!

Filed Under: simon says stamp Tagged With: card corners, distress paint, heart banners, home decor, ink blending, layered stencil, nested round hearts, valentine's day

I Wuff You So Much with New Simon Says Stamp To Love Release!

January 7, 2025

This post was sponsored by Simon Says Stamp. Thanks, Simon!

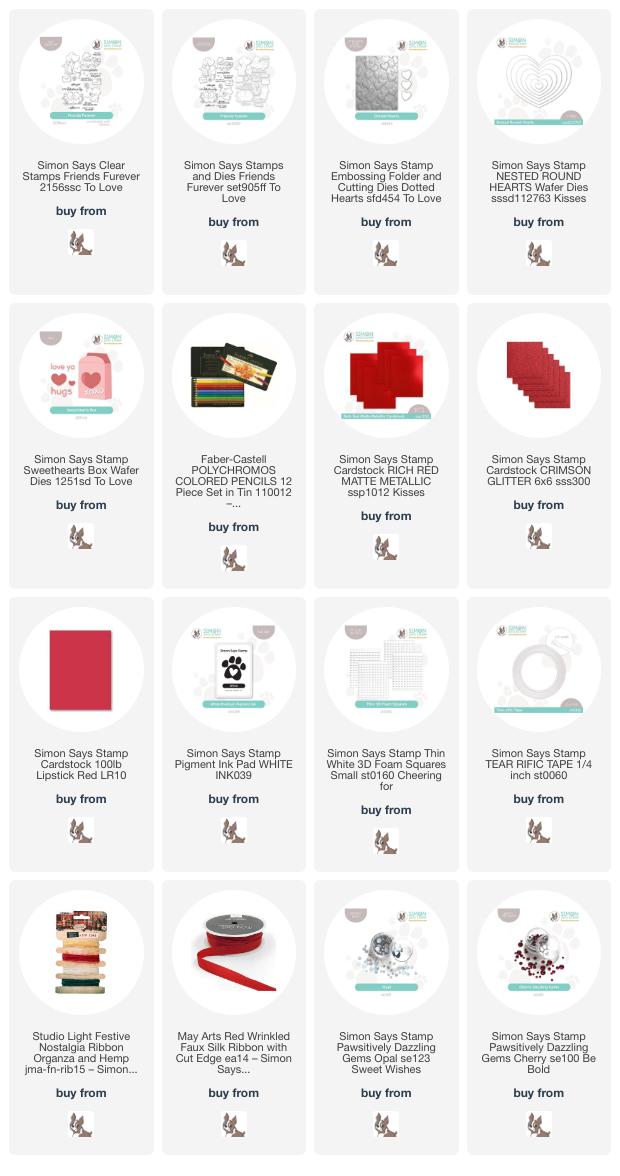
Hi friends! Valentine’s Day prep is in full swing here on my blog, and I have some super cute, vibrant red projects to share with you today featuring some adorable new goodies from the new Simon Says Stamp To Love release! I typically tend to reserve this vibrant cherry red for holiday projects, but I couldn’t resist pairing the luxurious Rich Red Matte foil cardstock from Simon Says Stamp with the gorgeously detailed Dotted Hearts Embossing Folder. Foil cardstock embosses so beautifully with these intricate embossing folders, and the results do not disappoint. Let’s get started with the details!

*I have gathered links to all of the products used at the bottom of the post for your convenience, using affiliate links. Thank you for shopping with my links! I truly appreciate your support for my work!*

For both of my projects today, I used my “color drenching” technique, pulling out all kinds of red eleemnts with different textures: metallic, glitter, and solid cardstock, gems, ribbons, etc. These differently textured-but still monochromatic- elements all work together to keep things as visually interesting as possible! I embossed one full A2 panel of Rich Red Metallic cardstock using the Dotted Hearts Embossing Folder and was able to trim it down to use it on this card and gift box pair.

For the card, I began by stamping the adorable little puppy with his chocolate box (naughty puppy getting into those chocolates, ha! He’s going to get a tummyache!) from Friends Furever using white pigment ink onto some Lipstick Red cardstock. I then used colored pencils to do some no-line coloring on the little guy, adding some final accents with a black pigment pen and a white gel pen. I think this turned out so, so cute! I used the coordinating die to die cut the finished image, as well as a white embossed sentiment from the Friends Furever set.

For the background, I trimmed a slim strip of the Dotted Hearts Embossing Folder embossed foil cardstock down and adhered it to the right side of an A2 Lipstick Red card front, adding a bit more texture with a thin strip of Crimson glitter cardstock. I also die cut a medium-sized heart from more Lipstick Red cardstock using the Nested Rounded Hearts die, adhering the heart to the card base with some thin foam adhesive squares. I added the penciled image and sentiment over the to pof the heart with some more foam adhesive, then tucked a red twine bow beneath the focal point and added a few Cherry Pawsitively Dazzling Gems for added sparkle. This would be such a cute Valentine for a little boy, I think! What little guy doesn’t like a punny Valentine?

For my second project, I used the remainder of the Rich Red Metallic foil Dotted Hearts embossed panel to adorn my gift box, created using the new Sweethearts Box die. I die cut the box itself from some white cardstock, adhering the pieces together using some Tear-rific Tape. I added the foil embossed panel, then used some red ribbon to securely close the box with a fluffy bow.

To further adorn the front of the gift box, I die cut some more Nested Rounded Hearts from both red glitter and Lipstick Red cardstock. I also die cut the “xoxo” sentiment included with the new Sweethearts Box die set, cutting the letters from white cardstock and adhering them onto some vellum cardstock. I used tiny dots of liquid adhesive and thin strips of foam adhesive to add the sentiment over the glitter heart, finally finishing everything off with some Opal Pawsitively Dazzling Gems for added sparkle!

Well, that’s all for my projects today! I am still mentally in Christmas mode, but the crafting world has moved on from Christmas, and so must I. I will cling to my twinkly lights as long as I can, though! Do you still have your holiday decorations up? Be sure to come back later this week for some more inspiration and a new release! Thanks so much for stopping by today, and have a marvelous day!

Filed Under: simon says stamp Tagged With: colored pencils, die cutting, dotted hearts, friends furever, nested round hearts, no line coloring, sweethearts box, valentine, valentine's day

Love You Shake-Shake-Shaker Card with New Simon Says Stamp!

January 6, 2025

This post was sponsored by Simon Says Stamp. Thanks, Simon!

Hi friends! Happy New Year to you! While I still have my Christmas decorations up (a combination of not having time to take them down and not really wanting to be without the glow of the Christmas lights just yet!), the cardmaking world is moving on from the holidays to all things Valentine’s Day and even some spring! Simon Says Stamp had a new release go live on December 19, called the To Love release, which celebrates all things love and romance! I took a break from my holiday crafting to work with pinks, reds, and hearts, and I can’t wait to share all of the projects that I created with you. I am starting things off with this in-your-face-magenta shaker card, so let’s get started with the details!

*I have gathered links to all of the products used at the bottom of the post for your convenience, using affiliate links. Thank you for shopping with my links! I truly appreciate your support for my work!*

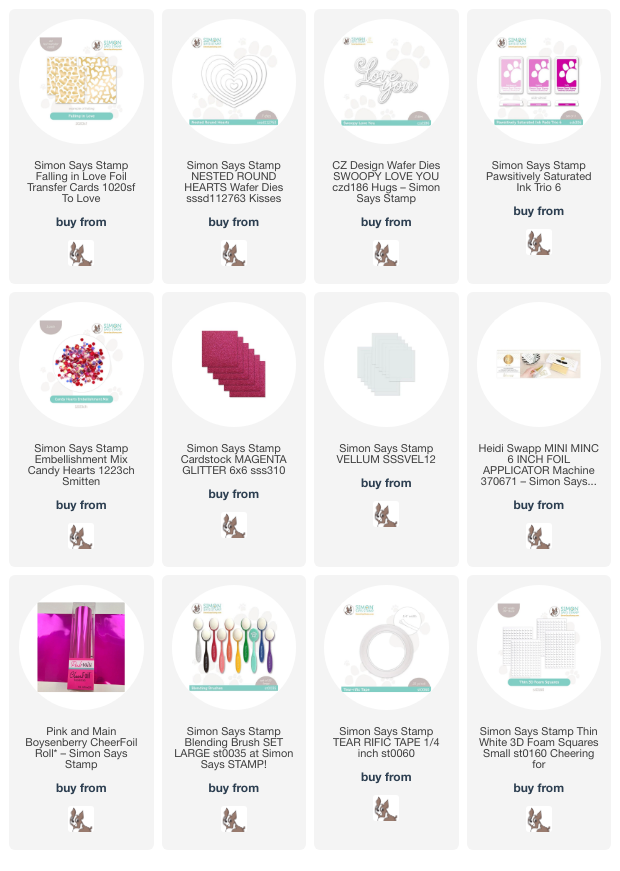
I absolutely love the foil transfer cards from Simon Says Stamp. They create the quickest, most fabulous backgrounds lickety split, and the new Falling In Love Foil Transfer Cards feature the loveliest whimsical heart designs! I used my Minc machine with some gorgeous magenta toner transfer foil to foil this whimsical heart background, then used blending brushes to blend Pawsitively Saturated Ink Trio 6-Bubblegum, Sweets, Taffy inks in a dark-to-light ombré. I trimmed down the finished panel slightly, then used some leftover stamp packaging to create a flat shaker pocket, adding strips of super sticky Tear-rific Tape to the back to create my flat shaker pocket. I filled the pocket with Candy Hearts Sequins and mounted it in the center of a full sized A2 panel of coordinating magenta cardstock, creating a thin hot pink frame around the edges of my shaker card front.

For the greeting, I die cut the detail layer of the Swoopy Love You sentiment die set from some coordinating hot pink glitter cardstock, then die cut the shadow layer from some Simon Says Stamp vellum. I used tiny dots of liquid adhesive behind the solid die cuts to the adhere the layered sentiment die cut at an angle to the bottom of my shaker card front.

After adhering the sentiment, I decided to embellish the card front with a visual cascade of hearts, so I die cut a couple of sizes of Nested Round Hearts from some more of the same magenta cardstock used for the card base. I used a blending brush to blend some more hot pink ink around the edges of the hearts, then popped them up on the card front using some thin foam adhesive squares!

Well, that’s all for today’s project. Those foil transfer cards really make quick work of your card, creating such beautiful and detailed backgrounds and focal points for you with minimal effort. Some sequins and a glittery sentiment to finish everything off made this card come together super quickly. Thanks so much for stopping by today, and have a marvelous day!
Filed Under: simon says stamp Tagged With: die cutting, falling in love foil transfer cards, foil transfer card, hot foil, ink blending, minc, nested round hearts, shaker card, swoopy love you, toner foil, valentine's day

New Release: Simon Says Stamp Sweetheart!

January 10, 2024

This post was sponsored by Simon Says Stamp. Thanks, Simon!

Hi friends! It’s Sweetheart release night over at Simon Says Stamp, and this month’s release is the “sister” to last month’s Smitten release, filled with gorgeous new goodies perfect for creating those handmade Valentines and other non-seasonal cards alike! (Also, *new teal inks.* Need I say more?!) We will be hopping along on Friday and Saturday of this week to celebrate not one, but both releases, so be sure to check back later this week for tons of phenomenal inspiration! I have a fun project using some of the new goodies from the Sweetheart release, including the fabulous new Heart Banners stencils. Let’s get started with the details!

I began by ink blending Cherry, Cheeky, Rose, and the new Dew Pawsitively Saturated Inks on some white cardstock using the new Heart Banners stencils. I love the shape of these hearts; they’re classic, but with a slightly unique curvature at the top, and the seemingly random order of the colors makes it so much fun! I used Simon Says Stamp’s blending brushes to blend these colors smoothly and evenly. Those brushes are so darn soft and easy to use! After I had finished blending my background, I trimmed off the top and bottom and added some strips of turquoise glitter paper peeking out on my A2 card base. A little extra sparkle never hurt anybody!

For the greeting, I die cut the generously-sized Hugs and Kisses die from some Aqua Holographic cardstock from Simon Says Stamp. To help the shiny sentiment stand out amongst the busy background, I also die cut a vellum heart using the Nested Round Hearts dies and some Simon Says Stamp vellum. I layered the sentiment over the top of the heart die cut with liquid adhesive, then added foam tape behind the solid die cuts to hide the adhesive and popped it up on the heart background, offsetting it slightly to the left.

To adorn my card, I added a few new Mist Sequins, which coordinate perfectly with the shades of teal in the new teal ink trio. Finally, I tied a pristine white bow using faux silk ribbon and tucked it up against the greeting. I think a bow is just perfect for a valentine, but the graphic stenciled background and modern color palette make it fun and not fussy!!

Well, that’s all for my project today. I have several more fun pieces to share with you, but in the meantime, you can check out the entirety of the Sweetheart release HERE. Be sure to come back later this week for the fabulous blog hop! Thanks so much for stopping by today, and have a marvelous day!

Filed Under: simon says stamp Tagged With: heart banners, hugs & kisses, ink blending, layering stencil, nested round hearts, valentine

  • Page 1
  • Page 2
  • Go to Next Page »

Primary Sidebar

  • Facebook
  • Instagram
  • Pinterest
  • YouTube

Favorite Shops

Secondary Sidebar

Subscribe

Enter your email address to subscribe to this blog and receive notifications of new posts by email.

Instagram
Something is wrong.
Instagram token error.
Follow
Load More

Archives

Tags

3D embossing folder alcohol markers better press birthday birthday card blog hop card kit christmas christmas card christmas tag colored pencil copic copic coloring Daniel Smith die cutting embossing folder embroidery felt giveaway holiday holiday card hot foil ink blending karin brushmarker pro layered stencil masculine my monthly hero new release no line coloring no line watercolor OLO marker olo markers original illustration pawsitively saturated rainbow shaker card slimline stamping stamptember stencil thank you thinking of you valentine's day video watercolor

Popular Posts

Simon Says Stamp Sending Cheer Release: Now Available!
Joyful Snowman with New Simon Says Stamp Sending Cheer Release!
Autumn Legs with Colorado Craft Company and Catherine Pooler!
February 2018 My Monthly Hero Blog Hop!
Altenew Paint A Flower: Carnation Blog Hop+Giveaway!
Altenew March 2020 Release Blog Hop+Giveaway!
Special Release: Simon Says Stamp Limited Edition STAMPtember Christmas Card Kit!
Pinkfresh Studio 5th Birthday!
Pinkfresh Studios June Washi and Stamp Release Blog Hop!
Studio Katia September Release Blog Hop!

Disclosure

Some affiliate links are used in my posts. This means that, should you click on one of my links and purchase something from that company, I will receive a small portion of the sale at no extra cost to you. I use the money earned from these sales to help maintain my blog. I so appreciate you visiting and, if you do choose to use one of my affiliate links, thank you so much for your support!
Copyright © 2026 ·Brunch Pro Theme · Genesis Framework by StudioPress · WordPress · Log in
Loading Comments...