This post was sponsored by Simon Says Stamp. Thanks, Simon!

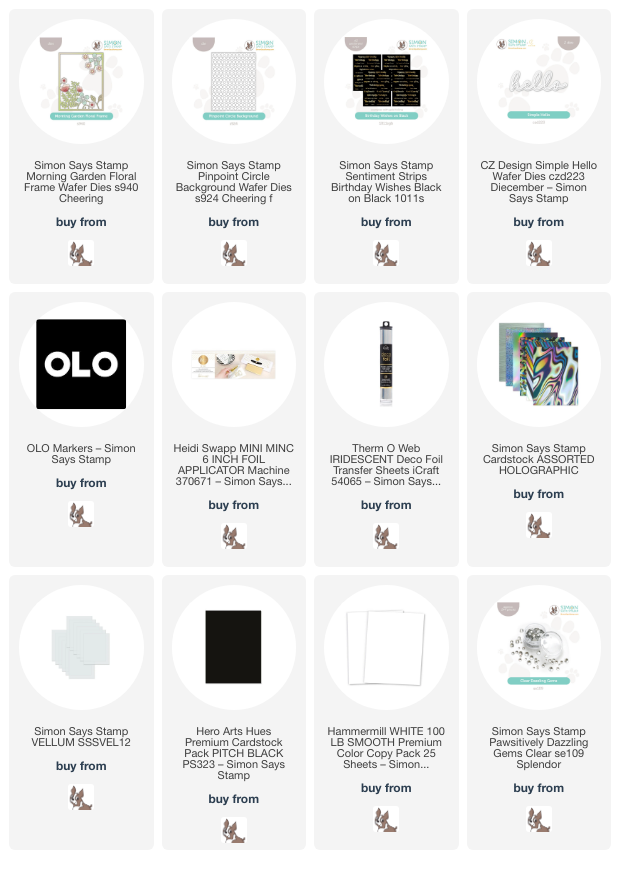
Hi friends! I am so excited to share some inspiration using new goodies from the brand spanking new Simon Says Stamp Cheering For You release! This release is so, so good, and features lots of beautiful summery stamps and dies, as well as some great options to start your autumn crafting! I am a sucker for a beautiful floral cover plate die, and the new Morning Garden Floral die is just gorgeous! I couldn’t resist coloring it up with my OLO markers to create a vibrant, detailed floral background. Let’s get started with the details!

I began my card by die cutting each of the elements of the new Morning Garden Floral die from some plain white cardstock. This die set cuts both the cover plate background with the foliage as well as individual flowers so that you can cut the different elements from unique colored or textured cardstocks, and when assembled, creates a lovely background with floral arrangements in each corner. I then used OLO markers in some lovely cool shades of lilac, orchid, and deep teal to add color to each individual image and assembled the finished pieces with liquid adhesive!

I wanted to create a dramatic and bold background, and so ran a panel of Pitch Black cardstock through my die cut machine using the new Pinpoint Circle BG. This cover plate die creates a lovely, subtly textured pattern, which was a great backdrop for the vibrant floral die cuts! Before adhering my colored florals, I splattered the background with some glittery holographic watercolors to add extra shimmer and texture behind the focal points. I used liquid adhesive to add the floral die cut frame on the black textured background and added some Clear Pawsitively Dazzling Gems to the center of each flower.

For the greeting, I die cut the detail layer of the older Simple Hello die from silver holographic foil cardstock and cut the shadow layer with vellum, adhering the two together with liquid adhesive. I used Minc machine with the new Birthday Wishes Strips and some iridescent toner foil. The shiny iridescent foil shows up beautifully on the black cardstock. I used a trimmer to trim out the pieces of the sentiment that coordinated with my “hello” die cut, then adhered the sentiment components using foam adhesive for extra dimension.
Well, that’s all for my projects today! I have lots more inspiration to share with you using these new products, so be sure to come back again, especially for the blog hop later this week. You can check out the full Cheering For You release HERE. Thanks so much for stopping by today, and have a marvelous day!