• Skip to main content
  • Skip to primary sidebar
  • Skip to secondary sidebar

Sixth Street Sundries

Emily Midgett

  • Home
  • About Me
  • Contact
  • OLO Marker Color Swatch Chart
  • Shop

OLO marker

Festive Bouquets in Technicolor!

November 1, 2023

This post was sponsored by Simon Says Stamp. Thanks, Simon!

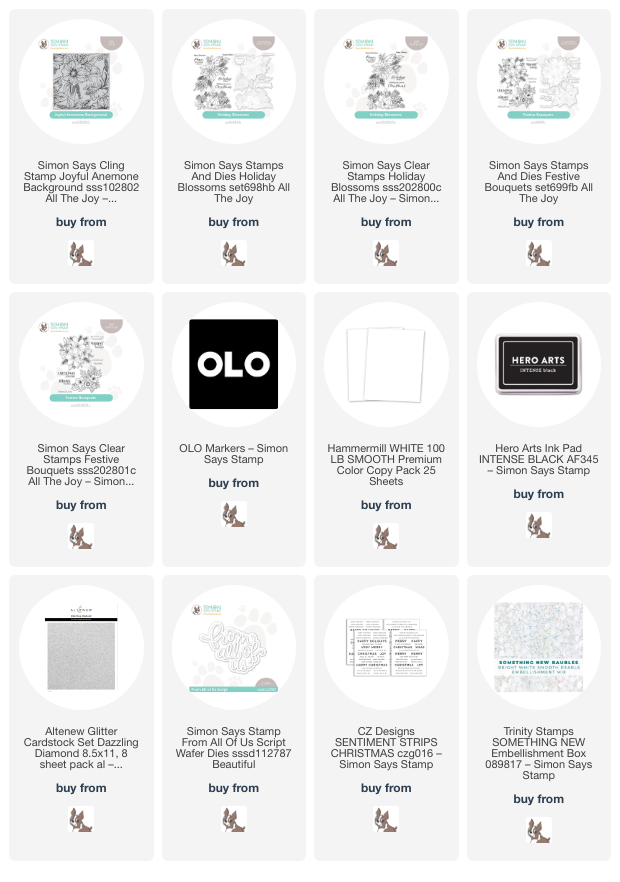
Hi friends! The utterly amazing new All the Joy release from Simon Says Stamp is live and I have so many cards to share with you. I was incredibly inspired with nearly everything in this release, but I was so excited to work with my newest stamp designs that I want to share those with you first! Last night, I shared a project using my new Joyful Anemone background stamp, and today I have a pair of technicolor projects using one of the bouquet images from the Festive Bouquets stamp set. This stamp set comes with two different floral arrangements using some traditional and non-traditional holiday florals, as well as a ton of different sentiments. (Did you see that the coordinating die set cuts out the sentiments as well as the large floral bouquets? SO awesome!)

When I was at my crafty retreat a few weeks ago, I stamped and colored these two floral bouquets from Festive Bouquets using my OLO Markers, drawing the vivid color palette from Shiny Brite vintage ornaments, featuring candy apple red anemones, deep royal purple hellebores, cotton candy pink berries, and three different shades of vivid green foliage. The colorful slimline bokeh background from THIS post actually was originally created to use these two floral bouquets, but I couldn’t quite get the arrangement right, so I decided to use that background for a different project and instead create two different coordinating cards, each with that same vibrant color palette!

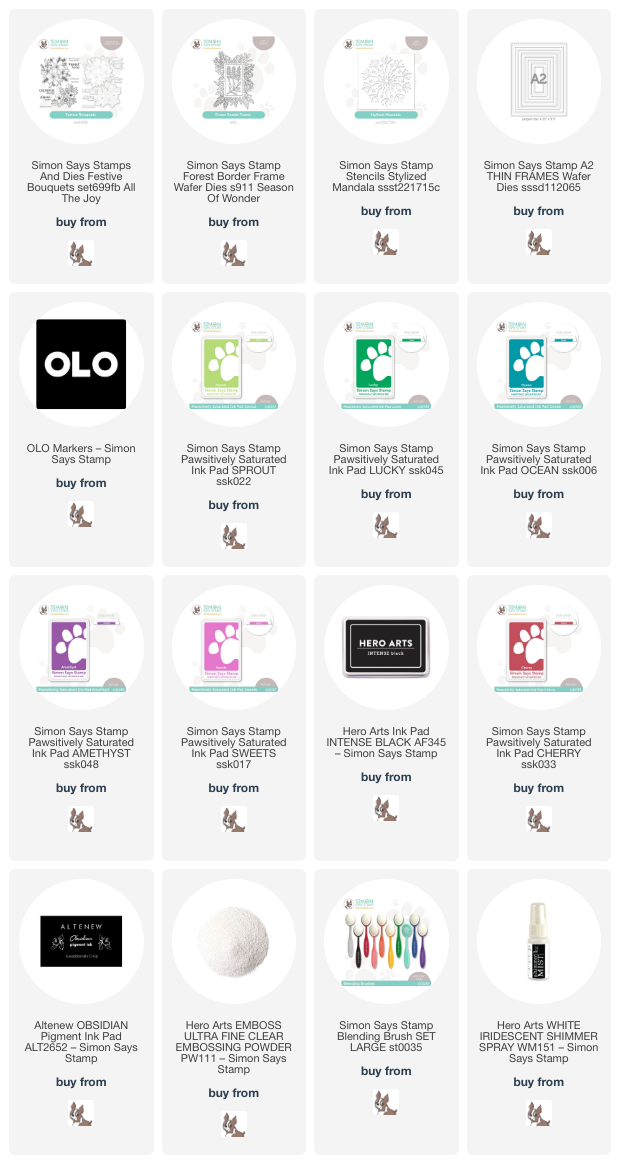
To coordinate perfectly with the super colorful floral bouquets, I searched amongst my Pawsitively Saturated ink collection and pulled Sprout, Lucky, Ocean, Amethyst, Sweets, Cherry inks. For this first card, I wanted to create an intensely colorful blended background to accent the beautiful colors in the bouquet, so I blended the colors in ROYGBIV order down the front of my A2 card front using blending brushes. I am so in love with how this turned out and am just itching to use the color scheme on another project!!

To accent the floral corner and draw the eye towards the greeting, I die cut some white glitter A2 Thin Frames dies, two of which I layered on a slightly larger piece of vellum. The vellum allows the colors of the background to still be somewhat visible without adding bulk or any additional color to the card. I placed the colorful bouquet in the corner of the die cut rectangles, accenting the arrangement with some iridescent white foil die cuts created using the Forest Border Frame die. You know how those white edges on the die cuts bother me, but the white accents (frame, leaf die cuts) help to counter act that visual annoyance. I stamped and embossed some greeting pieces from the Festive Bouquets using Obsidian pigment ink and clear embossing powder, then popped them up using some foam tape. The final touch was to add a few super sparkly iridescent gems!

My second project uses the same ink colors, this time using the residual ink left over on the ink blending brushes to create this super soft, almost glowing background for my colorful floral arrangement! I simply blended the Sprout, Lucky, Ocean, Amethyst, Sweets, and Cherry ink that was left over on my blending brushes from the previous project. I tried to keep the colors that would blend nicely together near each other so as not to create a muddy mess (think of your color theory). After I had finished blending the background, I spritzed some Iridescent White Shimmer Spray from Hero Arts over the new Stylized Mandala Stencil. It’s difficult to capture the subtle sparkle in photos, but it looks so lovely in real life!

I arranged the floral bouquet and some more iridescent white die cuts from the Forest Border Frame die over the top of the blended and stenciled background, popping the bouquet up with some foam adhesive for extra dimension. I stamped and heat embossed some more greetings from the Festive Bouquets set using Obsidian pigment ink and clear embossing powder, then cut them out with the coordinating dies. (I absolutely love the sentiment dies included in these new sets… they make the finished card look so polished and neat!) A few more iridescent gems finished it off!!

Well, that’s all for today’s projects. I am working my way through the huge pile of cards that I created for this release, so stay tuned, because I have tons more to share with you! Be sure to come back tomorrow for Day 1 of the All the Joy blog hop. We will have prizes and other fun stuff, along with a veritable smorgasbord of inspiration to jumpstart your crafting!! Thanks so much for stopping by today, and have a marvelous day!

Filed Under: original illustrations, simon says stamp Tagged With: A2 thin frames, christmas card, festive bouquets, ink blending, OLO marker, stylized mandala

Simon Says Stamp All the Joy Release + New Illustrations!!

October 31, 2023

This post was sponsored by Simon Says Stamp. Thanks, Simon!

Hi friends! Tonight is release night for Simon Says Stamp’s new All the Joy collection, and it’s an utterly amazing release filled with so many holiday crafting goodies that you’re going to want the whole darn release! I am extra excited for and proud of this release, because three of the new sets feature my illustrations. Some of them you might have seen in my coloring panel sets, and now you can have them in stamp form!! The new Festive Bouquets, Holiday Blossoms, and Joyful Anemone sets all feature illustrations of which I am super proud. It’s such a surreal feeling to be using my own drawings for holiday cards! I am so darn excited about these, and this Joyful Anemone background is probably one of my most favorite illustrations that I’ve ever done. Ever since I discovered jewel-bright red anemones with black centers, I’ve always thought that they were such a dramatic addition to a holiday bouquet, and this background stamp pays homage to them. Let’s get started with the details!

I recently was at a weekend crafting retreat with some wonderful friends, and all I brought with me were a bunch of coloring mediums and my new stamps for this release. I began by stamping the Joyful Anemone background stamp onto some white Hammermill cardstock using alcohol marker-friendly black ink. I then used my OLO markers to add lots of vivid color to the image in shades of traditional red and green. I am in love with how vibrant and yet still traditional this colored background is!

To add some sparkle to the card front, I die cut the All of Us Script die once from Dazzling Diamond glitter cardstock (which now comes in full size 8.5×11″ sheets!) and twice more from white cardstock scraps, adhering all three die cuts together using liquid adhesive to create a dimensional die cut sentiment. The incredible vibrancy of the colored background lets the die cut shine (literally, ha). I love the idea of a card being from “all of us,” because my house has 6 people in it and sometimes you just want one card to speak for everyone. Easy peasy!

To accent the die cut greeting, I trimmed out one of the greetings from the CZ Designs Sentiment Strips Christmas sentiment cards. I trimmed down the colored panel a little and matted it on a piece of black cardstock, allowing the black frame to peek out from all sides. I adhered the dimensional die cut sentiment with some liquid adhesive, then popped up the sentiment strip with some foam tape. For textural interest, I added a sparkling silver twine bow and scattered a few white pearls! Simple, but elegant and so vivid.

I can’t wait to try more techniques with this stamp set! I tried to make the Joyful Anemone background stamp detailed enough that you could certainly use it as a standalone image without it feeling too bare, but also make the images large enough that they’re fun to color. The entire All the Joy release is now live, and you can check it out HERE. (Trust me, you will want to take a look. SO many amazing new products.) Be sure to check back here tomorrow and Thursday for even more inspiration using lots of new products from the release! Thanks so much for stopping by today, and happy release day!

Filed Under: original illustrations, simon says stamp Tagged With: christmas card, from all of us, holiday card, joyful anemone, OLO marker, original illustration

Hero Arts Summer 2023 Catalog Release Blog Hop + Giveaway!

May 22, 2023

Hi there! Today, Hero Arts is officially releasing their Summer 2023 catalog, and it’s full of a huge variety of beautiful new products perfect for traditional cardmakers and mixed media lovers alike! You should have arrived here from Dana Joy, and your next stop is Ilina Crouse. I have a pair of cards for you today, both totally unique in both color scheme and composition. Let’s get started with the details!

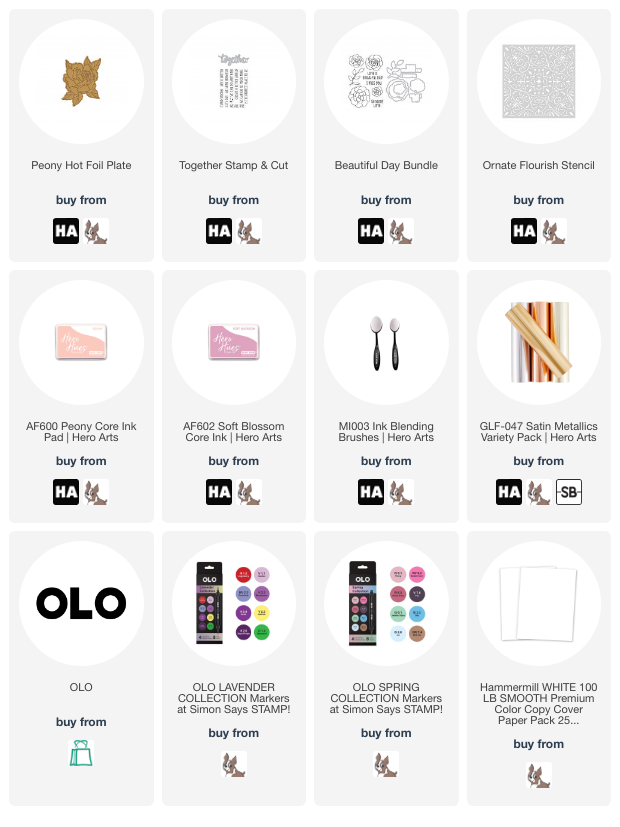
My first card uses my favorite product from the catalog, hands down: Peony Hot Foil Plate. You might recognize this image from the Artistic Peony stencil that Hero Arts released a few months ago; this hot foil plate takes that main image and turns it into an enormous floral focal point rather than a full background pattern. I adore pairing hot foiling with different coloring mediums, and felt moved to color this giant peony bloom a vivid magenta like my favorite real peonies! I hot foiled the image onto some Hammermill cardstock (my preferred cardstock for hot foiling) using some satin platinum hot foil.

I colored the image using my OLO Markers. When working with large floral images like this, I like to use at least four markers to ensure a large contrast of colors and shadows, creating great dimension and shape on the images. I also like to add a dark gray or black to the deepest crevices of the flower petals; this helps to enhance the shadows and make it pop off of the page that much more! I also don’t have to worry about the alcohol marker reacting badly with the foil. I find that the alcohol marker glides off of the hot foil quite nicely with the use of a colorless blender.

After I had finished coloring the incredibly vibrant image, I wanted to keep the rest of the card simple. For the greeting, I used the new Together Stamp & Cut, cutting the “together” die cut three times from some more crisp white cardstock and adhering them together to create a dimensional die cut sentiment. I also heat embossed the coordinating greeting onto a strip of white cardstock using some coordinating platinum embossing powder. I adhered the dimensional die cut greeting down with liquid adhesive, then added the greeting strip with some foam tape. No additional gems or sequins needed… I just wanted that giant pink peony to be the star of the show!! That sentiment is perfect for a wedding card, don’t you think?

My second card features the pretty new Beautiful Day stamps, as well as the lovely new Ornate Flourish Stencil. I began by stamping the floral images from Beautiful Day onto some white cardstock using Intens-ified Black ink, then used my Copic markers to color them in a pretty combination of warm pink, coral, and peach, with some minty green leaves for good measure. I die cut the finished images using the coordinating dies included in the Beautiful Day bundle.

For the card base, I began by blending the edges of a white card panel with Peony ink using a blending brush. This super pale pink ink creates an almost antiqued look on the white cardstock. I then laid Ornate Flourish stencil over the top of this blended panel and blended Soft Blossom ink over the stencil, creating this pretty, feminine pattern for the background of my card front.

I arranged the flowers in a swag on the left side of my stenciled card front and adhered them with foam adhesive. I stamped a greeting from Beautiful Day onto some more white cardstock using black ink, then popped it up with some more foam tape. Such a pretty, feminine card with some simple flowers and a softly patterned background!

Well, that’s all for my projects today! Now for some fun giveaway information:

We’ll be giving away two $50 gift cards, drawn from the comments left along the hop. Comment on all the blogs for more chances to win! You have until Sunday, May 28 at 11:59pm to enter. The winners will be announced on the Hero Arts blog.

Your next stop is Ilina Crouse. You can also start back at the beginning at the Hero Arts blog. Thanks so much for stopping by today, and happy hopping!

Filed Under: Hero Arts Tagged With: beautiful day, hot foil, OLO marker, ornate flourish, peony hot foil, stencil, together stamp & cut

Simon Says Stamp Beautiful Days Blog Hop- Day 2!

April 8, 2023

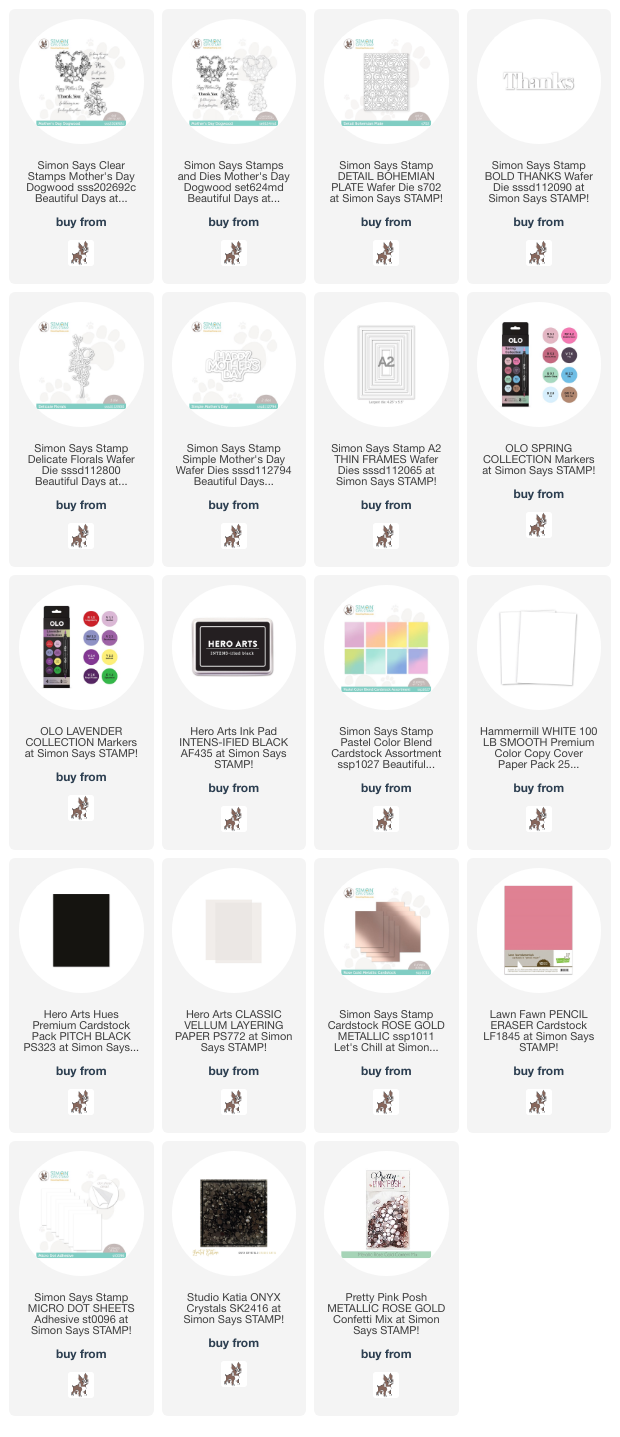
Good morning! Today is Day 2 of the Simon Says Stamp Beautiful Days release blog hop, and I am so excited to be a stop on the hop! You should have arrived here from Amy Rysavy, and your next stop is Maura Hibbitts. You can also start at the beginning at the Simon Says Stamp Blog. The new Beautiful Days collection is filled with gorgeous, springy products, many of which are utterly perfect for creating handmade Mother’s Day cards. Nobody appreciates a handmade card like a momma appreciates a handmade card, right? I am extra excited to have one of my own illustrations included in this release: Mother’s Day Dogwood. I designed this set to feature a simple dogwood branch (which you can see in action HERE) and a detailed dogwood heart, featuring large dogwood blooms, lush foliage, and sweet filler flowers. I also included a wide variety of sentiment-building stamps, so that you can create unique, heartfelt sentiments for your Mother’s Day cards, but they aren’t limited only to Mother’s Day! I have two projects to share with you today using new goodies from the Beautiful Days collection, so let’s get started with the details.

My first card features the large heart illustration in my Mother’s Day Dogwood stamp set. I began by stamping the image on some Hammermill cardstock using Intens-ified Black ink from Hero Arts. After ample drying time to ensure that the ink was set completely, I used OLO markers to add delicate pink, lilac, and turquoise color to the images, also coloring the edge of the die cut a super pale shade of aqua to coordinate with the colorful background. I wanted to keep the color palette light and feminine, and the lovely pale pink dogwoods shine amongst the bright accent images. I die cut the finished image with the coordinating die, which doesn’t just cut the outline, but also the interior of the heart, which I think adds such a polished look.

To accent the detailed image, I wanted to add some subtle texture to the background, but didn’t want to overwhelm the main focal point. Enter the Detail Bohemian Plate! I ran this beautifully pierced background through my machine using some of the new Color Blend Pastel cardstock, using the lovely aqua ombré piece that coordinated beautifully with my dogwood heart wreath. I also die cut another heart wreath from a scrap of vellum, making sure that just the center was intact. I wanted to draw the eye towards the floral wreath and accent it even further, so adding the vellum center softens the pattern behind that center area.

I designed the sentiments in the Mother’s Day Dogwood set to be individual elements that would work together or to complement other stamps and dies. Versatility is important! I paired the “for believing in me” sentiment with the previously-released Bold Thanks die. I die cut it three times from some Pitch Black cardstock and layered them together, creating a dimensional die cut sentiment. I adhered the colorful wreath to the pierced, textured background using foam tape, then added the two sentiment pieces with a double layer of foam tape to add extra height. A few black jewels finished it off and added one last black accent (completing my “rule of three” for black accents!).

My second card features the new Delicate Florals, using it to create a shaker window! I die cut the Delicate Florals from some Simon Says Stamp Rose Gold Metallic cardstock, as well as from a panel of pale blush cardstock, reserving the negative space to create a shaker window by backing the panel with some clear acetate! I added the detailed rose gold die cut over the top of the acetate window, avoiding clumps of glue splurting out the sides of this super delicate die cut by adding Micro Dot Adhesive to the back. I love the textural contrast between the shiny foil die cut and the matte blush background.

For the greeting, I die cut the detail layer of the Simple Mother’s Day from some Pencil Eraser cardstock three times and layered them together. The darker shade of warm pink pops beautifully from the blush cardstock. I filled the shaker portion with some rose gold confetti from Pretty Pink Posh and backed it with some more of the warm pink cardstock to add a little contrast behind the shiny rose gold die cut.

Once I had the shaker card assembled, I added a bit of textural accent to the bouquet with a warm pink twine bow. (This is why I save everything! I bought that twine probably 10 years ago haha, and the color worked perfectly with the overall color scheme of the card!) As an afterthought, I added a super thin rose gold frame, cut using the A2 Thin Frames, around the edge. It helps to frame the images and adds a bit of interest to that wide expanse of open space around the floral focal point.

Well, that’s all for my projects today! To celebrate the new Beautiful Days collection, Simon Says Stamp is offering a Gift With Purchase! Simply use code: BUD at checkout to receive the Flower Garden emboss and cut folder FREE with a purchase of $30 or more!

Simon Says Stamp is also giving away a $25 coupon to every stop on the hop from your blog comment section. Winners will be selected and posted on the Simon Says Stamp blog on Wednesday the 12th of April. Winners can email Simon Says Stamp to claim your prize, so be sure to check out the Simon Says Stamp blog next week to see if you’re the winner!

Your next stop is Maura Hibbitts. Here’s the full hop list:

Simon Says Stamp Blog  

Nina-Marie Trapani

Caly Person

Debby Hughes

Suzy Plantamura

Bibi Cameron

Yana Smakula

Lisa Addesa

Amy Rysavy

Emily Midgett

Maura Hibbitts

Jean Doeringsfeld

Thanks so much for stopping by today, and happy hopping!

Filed Under: simon says stamp Tagged With: A2 thin frames, bold thanks, delicate florals, detail bohemian plate, mother's day, mother's day dogwood, OLO marker, pastel color blend, rose gold metallic cardstock, shaker card, simple mother's day, thank you

Movie Inspiration with Colorado Craft Company + Anita Jeram!

September 10, 2022

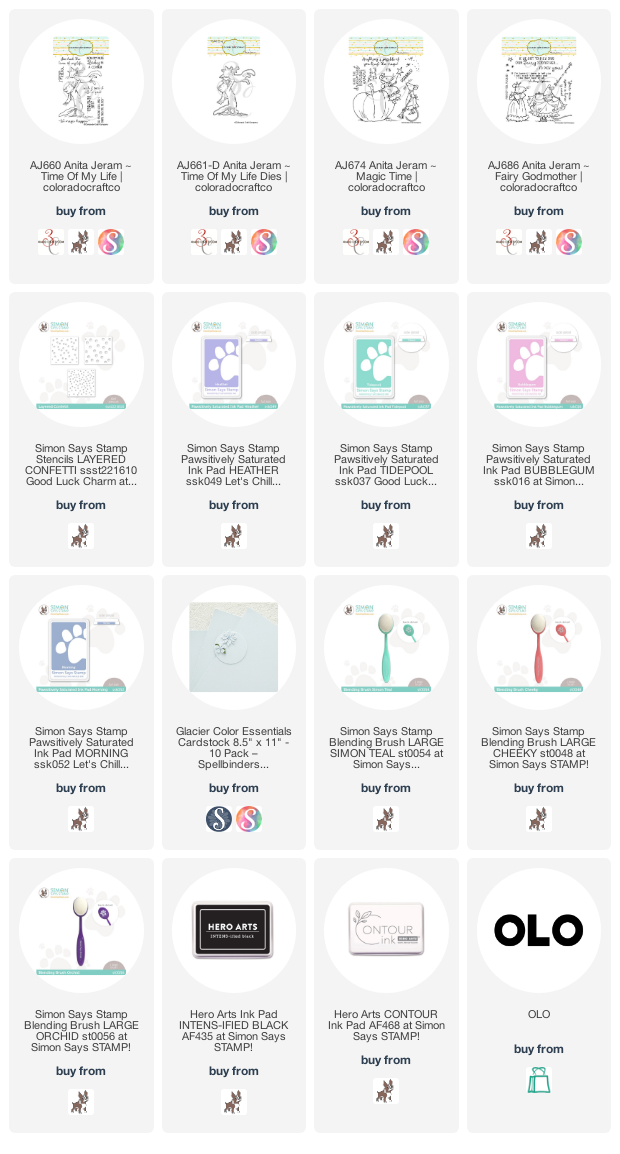
Hi there! With summer coming to an end, I have realized how many cards I made over the last few weeks that I have just been too tired to blog at the end of the day. Colorado Craft Company has had some really beautiful Anita Jeram releases over the last couple of months, and I was excited to get the chance to play with them! I have two cards using the Time of My Life stamps and coordinating dies, and another using the more recently-released Magic Time and Fairy Godmother stamps. Let’s get started with the details!

This first card features the darling Dirty Dancing-inspired dancing kitties from Time of My Life. In my head, anytime I’m drawing a “couple,” they always have the coloring of my husband and I, even in feline form. (haha!) I stamped the dancing duo onto some white cardstock using alcohol-friendly black ink, then used OLO markers to color the images. (Patrick Swayze had reddish hair, didn’t he? Maybe I’m making that up 😉 ) I used the coordinating dies to cut out the finished images.

For the background, I wanted to create a subtle, but still magical, backdrop, so I used the Layered Confetti stencils from Simon Says Stamp. I began by lightly blending Heather, Tidepool, and Bubblegum Pawsitively Saturated inks around just the edges of my white A2 card base, then layered the stencils over the top of that subtle blending. The finished product looks like a romantic bokeh effect. It reminds me of 16 Candles or Pretty In Pink or another classic 80’s movie that culminates at a high school dance haha!

I adhered the dancing kitties on my blended card front using foam adhesive, then stamped some sentiments from the Time of My Life set on some strips of white cardstock. I popped them up on the card front with some more foam adhesive. I can’t wait to give this card to my ginger husband!!

For my second project, I did some no-line coloring using the recently-released Magic Time and Fairy Godmother stamps. I began by stamping a little scene on my card front using Contour Ink from Hero Arts. I again used my OLO markers to do some no-line coloring with these sweet mice! I couldn’t resist giving Cinderella a blue dress, and these shades of muted silvery blue were perfect for my pale gray mouse. I kept the rest of the colors muted, as well, giving the fairy godmother a cocoa brown and pink dress, and that pumpkin…. those shades blended together like butter, and I love how simultaneously bright and vibrant but still somewhat muted they are! I blended some Morning Pawsitively Saturated ink around the top, just to add a hint of color to the background.

The details on the dresses were covered up with the marker coloring, so I used handmade metallic watercolors from IUILE to add sparkling details to the dresses, the fairy godmother’s wand, and the little shower of sparkles from Cinderella’s transformation from servant to princess. I was afraid that the watercolor would warp the white cardstock, but it didn’t affect it at all! I just love the incredible sparkle this adds to the cards; watching them in real life is breathtaking!

Finally, I added a sentiment from the Fairy Godmother, which I heat embossed on a strip of Glacier cardstock from Spellbinders. It was the perfect shade of pale blue to coordinate with Cinderella’s dress and the ink blended background!

Well, that’s all for these projects today! I hope you’ll check out the Anita Jeram line from Colorado Craft Company. So many darling stamps that fit so many occasions! They are whimsical, but still maintain an element of elegance. Thanks so much for stopping by today, and have a marvelous day!

Filed Under: colorado craft company, OLO markers Tagged With: alcohol markers, anita jeram, cinderella, fairy godmother, magic time, no line coloring, OLO marker

  • « Go to Previous Page
  • Page 1
  • Interim pages omitted …
  • Page 3
  • Page 4
  • Page 5

Primary Sidebar

  • Facebook
  • Instagram
  • Pinterest
  • YouTube

Favorite Shops

Secondary Sidebar

Subscribe

Enter your email address to subscribe to this blog and receive notifications of new posts by email.

Instagram
Something is wrong.
Instagram token error.
Follow
Load More

Archives

Tags

3D embossing folder alcohol markers better press birthday birthday card blog hop card kit christmas christmas card christmas tag colored pencil copic copic coloring Daniel Smith die cutting embossing folder embroidery felt giveaway holiday holiday card hot foil ink blending karin brushmarker pro layered stencil masculine my monthly hero new release no line coloring no line watercolor OLO marker olo markers original illustration pawsitively saturated rainbow shaker card slimline stamping stamptember stencil thank you thinking of you valentine's day video watercolor

Popular Posts

Simon Says Stamp October 2026 Card Kit of the Month: Homespun Gratitude!
February 2018 My Monthly Hero Blog Hop!
Altenew Craft A Flower: Poppy Blog Hop+Giveaway!
Felted Gourd Wall Hanging with Simon Says Stamp!
Sunflower Home Decor with Simon Says Stamp!
Craft Your Life Project Kit: Feathered Lilies Blog Hop+Giveaway!
Simon Says Stamp October 2025 Card Kit of the Month!
Altenew Standalone Die Blog Hop+Giveaway!
The Ton Anniversary Release- Day 2
Honey Bee Stamps Cheerful Love Blog Hop!

Disclosure

Some affiliate links are used in my posts. This means that, should you click on one of my links and purchase something from that company, I will receive a small portion of the sale at no extra cost to you. I use the money earned from these sales to help maintain my blog. I so appreciate you visiting and, if you do choose to use one of my affiliate links, thank you so much for your support!
Copyright © 2026 ·Brunch Pro Theme · Genesis Framework by StudioPress · WordPress · Log in
Loading Comments...