• Skip to main content
  • Skip to primary sidebar
  • Skip to secondary sidebar

Sixth Street Sundries

Emily Midgett

  • Home
  • About Me
  • Contact
  • OLO Marker Color Swatch Chart
  • Shop

olo markers

Alstroemeria Blooms, Chocolate Brown, and Opulent Thanks with New Simon Says Stamp!

August 7, 2026

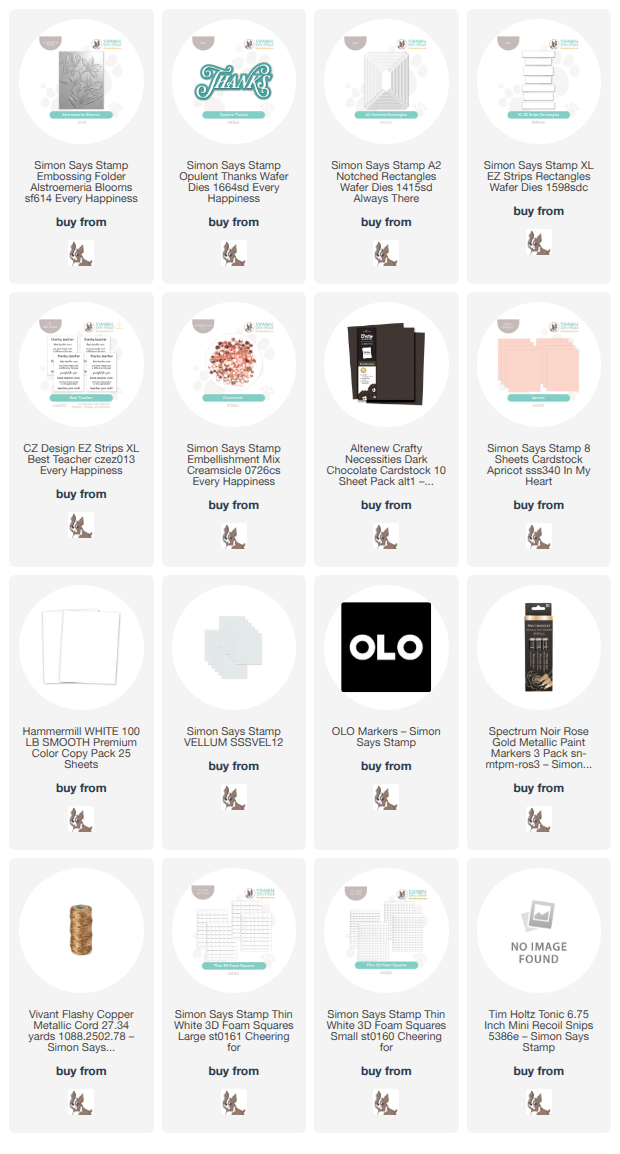
This post was sponsored by Simon Says Stamp. Thanks, Simon! *I have gathered links to all of the products used at the bottom of the post for your convenience, using affiliate links at no extra cost to you. Thank you for shopping with my links! I truly appreciate your support for my work!*

Hi friends! I am back today with a lush A7 card to share using tons of new goodies from the Simon Says Stamp Every Happiness release! (click HERE to check out the entire release!) As per usual, I was immediately intrigued by the gorgeous, substantial, super detailed floral embossing folders. The new Alstroemeria folder reminded me of my senior prom; my high school bestie had these pretty blooms in her corsage, and I’ve always loved them since then! I couldn’t wait to dive in with some coloring and maybe take it a little far with some super detailed fussy cutting to create this super-sized A7 card. Let’s get started with the details!

To begin, I ran an A2 panel of white cardstock through my die cutting machine using the new Alstroemeria Blooms embossing folder, and when I say that the details are exquisite, I am not exaggerating! I used my prettiest blushy-coral and olive green OLO markers to add detailed color to the image, then added some metallic paint pen on the interior details of the petals, trying to mimic the realistic details of an alstroemeria bloom. Once I had finished coloring the entire image, I used my favorite Recoil Snips to do some elaborate fussy cutting, finishing off the middle sections with a super sharp craft knife to trim as much detail as possible!

After I had finished cutting the image, I decided that it was too lovely to go on a simple A2 card, so I decided to create an A7 card and flip it on it’s side, creating a horizontal finished project. I trimmed down a panel of deep chocolate brown cardstock, coordinating with the pretty brown metallic accents on the blooms themselves, and then die cut an Apricot A2 Notched Rectangles die cut. I love the simplicity of these notched rectangles; they add a touch of elegance and refinement to the card without adding much fussiness. I popped the notched rectangle up on the chocolate brown card front with thin foam adhesive, then arranged the floral image in the corner, allowing some of the bouquet to spill over the edge. Yes, this does make it a bit more difficult to mail, but using an A9 envelope or hand-delivering this project would solve that issue!

For the greeting, I die cut the detail layer of gorgeous new Opulent Thanks from some deep chocolate brown pearlescent cardstock and the shadow layer from some Simon Says Stamp Vellum cardstock, layering them with liquid adhesive. I also die cut the new Best Teacher XL EZ Strips using the XL EZ Strips Rectangles die, cutting all of the sentiment strips in one fell swoop. I used some residual Blush ink from my blending brush to add a subtle bit of blush color to the strip, then tucked both sentiment pieces on my card front using more foam adhesive. Lots of dimension and height on this project! I added a few Creamsicle Embellishments and a sparkling coppery twine bow for good measure. So many textures and metallic touches on this project. I am so pleased with how it came out!

Well, that’s all for my project today! I hope this card shows you that even if an embossing folder is intended for an A2 card, all you need to do to make it work for a larger card is a bit of time and some sharp scisssors. Totally worth it, in my opinion! Thanks so much for stopping by today, and have a marvelous day!
Filed Under: simon says stamp Tagged With: 3D embossing folder, a2 notched rectangles, A7 card, alstroemeria blooms, die cutting, embossing folder, no line coloring, olo markers, opulent thanks, thank you, xl ez strips best teacher, xl ez strips rectangles

Simon Says Stamp Every Happiness Blog Hop Day 2 + Freebies + Prizes!

July 25, 2026

This post was sponsored by Simon Says Stamp. Thanks, Simon! *I have gathered links to all of the products used at the bottom of the post for your convenience, using affiliate links at no extra cost to you. Thank you for shopping with my links! I truly appreciate your support for my work!*

Hi friends! We are hopping along today for Day 2 of the Simon Says Stamp Every Happiness Blog Hop! You should have arrived here from Nina-Marie Trapani, and your next stop is Cathy Zielske. You can also start at the beginning at the Simon Says Stamp Blog. We are hopping to celebrate the new Every Happiness release (click HERE to check out the entire release!), with lots of gorgeous inspiration, prizes, and freebies throughout this two-day hop! I have a magical, Tinkerbell-inspired project to share with you today using the beautiful new Leafdance Flowers & Frame. Let’s get started with the details!

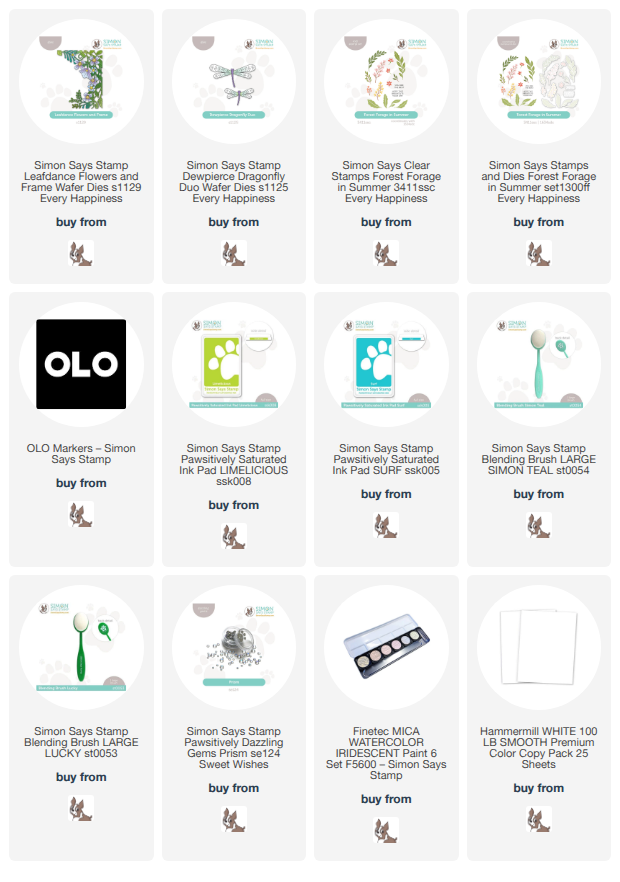
When I want to create super vibrant and detailed scenes like this, I like to start with plain white cardstock and embellish with my alcohol markers. I die cut the new Leafdance Flowers & Frame die set from plain white cardstock, then used my OLO Markers to add lots of super vibrant, almost neon color to the images. I kept the foliage a verdant neon green and the blooms super vivid fuchsia and pink. I also die cut one of the new Dewpierce Dragonfly Duo images, cutting the wings from some iridescent white foil cardstock, trying to capture the magnificent shimmer of dragonfly’s wings.

I wanted to create a whimsical, magical background inspired by the vibrant colors of the Tinkerbell movies that I watched with my daughter as a little girl, evoking water, sky, and flora by blending Surf & Limelicious Pawsitively Saturated Inks on a plain white card front. I think that those two colors match the vibrancy of the colored die cuts beautifully! I also splattered the background with some shimmering iridescent watercolors, adding to the magic and ethereal nature of the aesthetic.

After I had created the background, I used thin foam adhesive to add the colored die cuts to the card front, creating a lovely swag along the side of my A2 card front. I popped up the dragonfly in the curve of the foliage’s arch, as well as a greeting from Forest Forage in Summer, which I stamped using Surf ink on white cardstock and cut with the coordinating die. Once I had added all of the die cut and colored elements to the card front, I used liquid adhesive to add some Prism Pawsitively Dazzling Gems, creating even more sparkle and adding some “dew drops” to the scene!

Well, that’s all for my project today! Now for some fun freebie and giveaway information!

Simon Says Stamp is giving away a $25 coupon to every stop on the hop from your blog comment section. Winners will be selected and posted on the Simon Says Stamp blog where they can find out how to redeem their prize.

You can also receive a fun, not-yet-released freebie with any purchase from the Every Happiness collectiong (click HERE to check out the entire release!)! See the graphic above for all of the details.

Your next stop is Cathy Zielske. You can also check out Day 1 of the hop (for even more prizes!) by clicking HERE. Thanks so much for stopping by today, and happy hopping!

Filed Under: simon says stamp Tagged With: dewpierce dragonfly, die cutting, forest forage, forest forage in summer, ink blending, leafdance flowers, no line coloring, olo markers

Gorgeous Sunflowers from Simon Says Stamp Every Happiness Release!!

July 24, 2026

This post was sponsored by Simon Says Stamp. Thanks, Simon! *I have gathered links to all of the products used at the bottom of the post for your convenience, using affiliate links at no extra cost to you. Thank you for shopping with my links! I truly appreciate your support for my work!*

Hi friends! I have another project to share with you using new goodies from the Every Happiness release (click HERE to check out the entire release!). One of my favorite parts of each Simon Says Stamp release is the plethora of standalone dies, perfect for customizing with coloring mediums, blending, or colored cardstock. I chose to use the beautiful new Sunflower Blooms dies to create this pretty framed home decor piece using an inexpensive frame from the dollar store. Let’s get started on the details for my project!

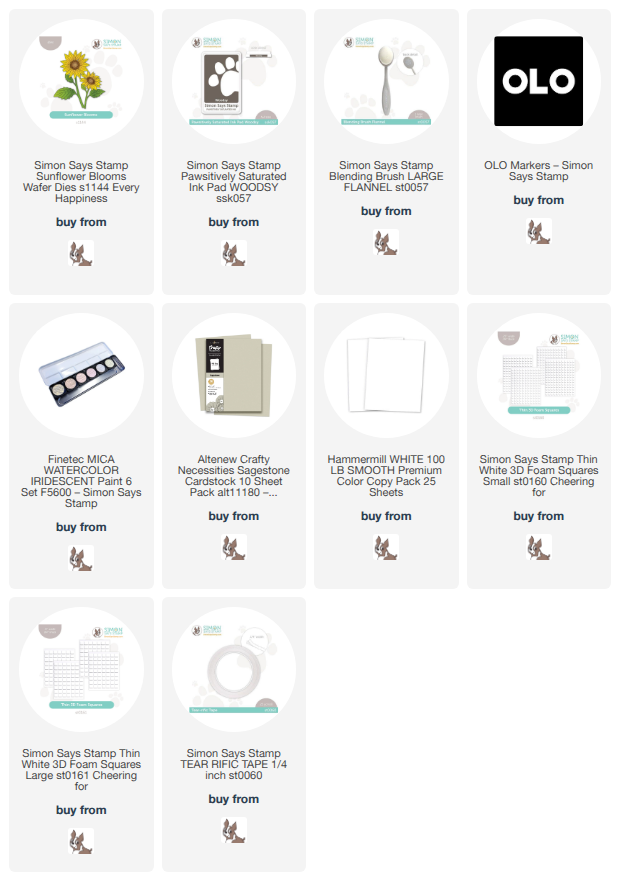
To begin my project, I die cut all of the elements from the new Sunflower Blooms die set twice from plain white cardstock. I then used my OLO Markers to do some custom coloring on the blooms, taking care to color the back layer a bit darker than the top layer to help improe the amount of depth and shadow on these standalone dies. I kept the color palette very warm, selecting pale buttery yellow for the blooms themselves and deep olive green for the foliage. Once I had finished coloring all of the images, I used tiny strips of thin foam adhesive to adhere the flower centers and petals to create the larger blooms.

In keeping with the warm tones from the blooms and foliage, I selected a warm gray cardstock and traced the glass from the arched frame, then used my sharp scissors to cut the shape out. This creates the background for my field of sunflowers that will fit perfectly within the confines of the frame itself. Once I had cut out the arched background, I used a blending brush to lightly blend Woodsy Pawsitively Saturated Ink around the edges of the arched backdrop. I also splattered the background with some sparkling iridescent watercolors to add a little extra shimmer and texture.

Finally, I used some super strong double sided tape to adhere the blended arch panel to the glass for the frame, covering it completely. I placed it within the frame itself and put the back on, then used more thin foam adhesive and liquid adhesive to adhere the floral arrangement on the splattered background. I trimmed off the extra leaves from the stem that I did not use, then tucked them behind the flowers to create a lush, full arrangement.

Well, that’s all for my project today! I love being able to customize standalone die cuts to create pretty decor for my home. It makes our papercrafting supplies so much more versatile! Thanks so much for stopping by today, and don’t forget to come back tomorrow for the Simon Says Stamp Every Happiness blog hop!! Have a marvelous day!

Filed Under: simon says stamp Tagged With: die cutting, home decor, ink blending, no line coloring, olo markers, sunflower blooms

Framed Gift with New Simon Says Stamp!

July 21, 2026

This post was sponsored by Simon Says Stamp. Thanks, Simon! *I have gathered links to all of the products used at the bottom of the post for your convenience, using affiliate links at no extra cost to you. Thank you for shopping with my links! I truly appreciate your support for my work!*

Hi friends! I have another gift-y project to share with you today, featuring a gorgeous new floral embossing folder from the Simon Says Stamp Shine On release! (click HERE to see the full release!) Embossing folders are one of the low-cost heroes in my craft room; you can do so much with them without having to invest much money. I particularly love adding detailed coloring to embossed images, adding an incredible amount of depth to the already detailed and dimensional images. I chose to use this sunny yellow flower as a beautiful focal point for a framed gift. Let’s get started on the details for my project!

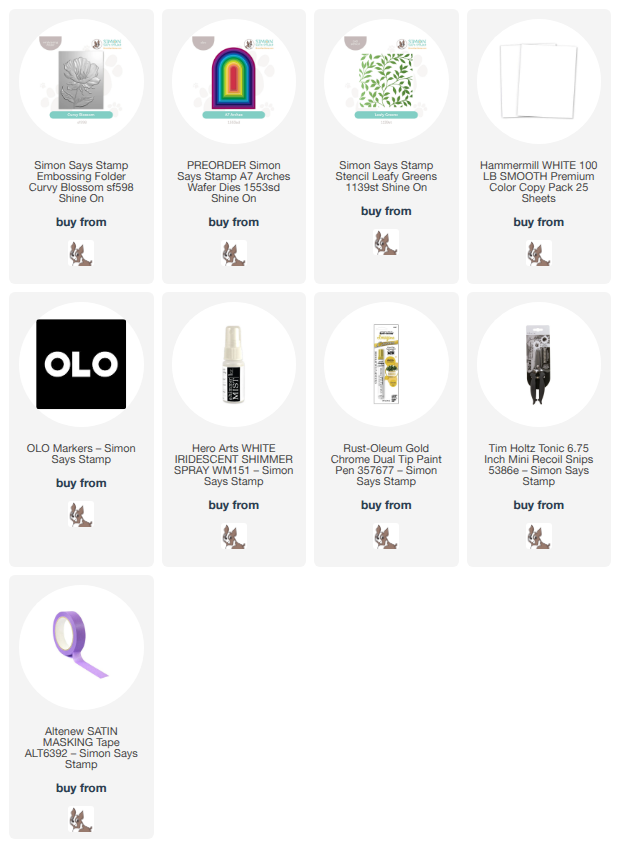
I am always on the lookout for inexpensive items that I can embellish with my papercrafting supplies, and this simple white 5×7 frame from the dollar store became the perfect background for my colorful Curvy Blossom bloom. I started by running a panel of white cardstock through my die cutting machine using the Curvy Blossom folder. I then selected some gorgeous, sunny yellow OLO markers to add detailed coloring to the image. The combination of the detailed coloring with the incredibly dimensional embossed image is such a winner in my opinion! Once I had finished coloring the image, I used my super sharp scissors to fussy cut the embossed flower.

After I had created the main focal point for the project, I decided to add a bit of shimmer and texture behind the sunny bloom using the new Leafy Greens Stencil. I used masking tape to cover the edges of a panel of white 5×7 cardstock, then placed the new Leafy Greens Stencil over the center and spritzed it with iridescent shimmer spray. The result is an elegant, tone-on-tone backdrop for my pretty bloom!

Before adhering my bloom, I decided to add a frame using the new A7 Arches dies. Arches are everywhere these days, and adding one to help draw the eye to the vibrant bloom seemed like the perfect way to enhance it! I love the larger sizes that are available too; perfect for larger scale projects like this one. I cut the arch from more white cardstock, allowing that vivid yellow and green flower to be the only color on the decorative project. I popped everything up with foam adhesive, using a double layer for the bloom itself, then backed the panel with the glass that came with the frame so that the project would be as dimensional as possible.

Well, that’s all for my project today! I love when I can use my papercrafting products to create home decor and gifts, don’t you? Thanks so much for stopping by, and have a marvelous day!

Filed Under: simon says stamp Tagged With: 3D embossing folder, a7 arches, curvy blossom, die cutting, embossing folder, home decor, leafy greens, no line coloring, olo markers, stencil, stencil station

Bold Peonies to Celebrate an Anniversary with Simon Says Stamp!

June 29, 2026

This post was sponsored by Simon Says Stamp. Thanks, Simon! *I have gathered links to all of the products used at the bottom of the post for your convenience, using affiliate links at no extra cost to you. Thank you for shopping with my links! I truly appreciate your support for my work!*

Hi friends! I am back with another gorgeous floral today, this time featuring the stunning Peony & Bells embossing folder on it’s own. I never can resist a gorgeous floral embossing folder to bust out my alcohol markers, and the giant peony bloom on this gorgeous embossing folder was just begging to be colored with vibrant colors. I think flowers are always appropriate imagery for a wedding or anniversary card, so I decided to create a colorful anniversary card with lots of sparkling details and a simple sentiment with those flowers as the focal point. Let’s get started with the details on my project!

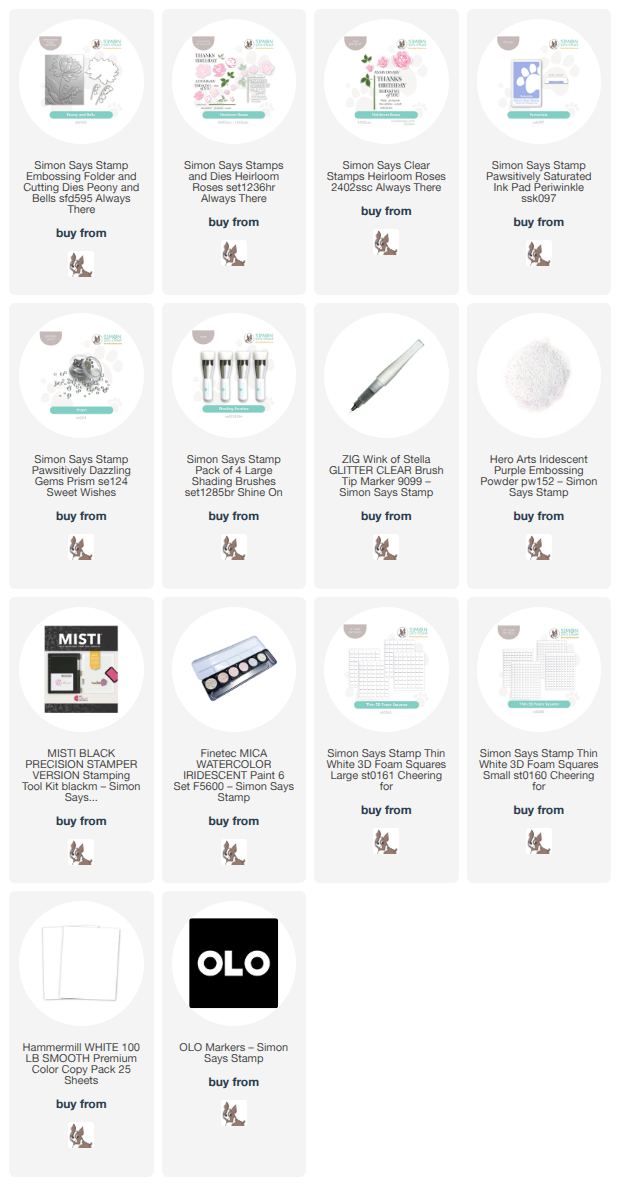
To begin, I embossed an A2 panel of white cardstock using the beautiful Peony & Bells. The details on these embossing folders are just exquisite!! I used my OLO Markers to color the blooms and foliage, adding deep, jewel-toned fuchsia to the peony and lavender-gray shadows to the interiors of the lilies of the valley blooms. Once I had finished coloring all of the images, I brushed some Wink of Stella sparkle pen on the edges of the petals and leaves to add some extra special sparkle!

After I had finished coloring and embellishing the embossed panel, I used blending brushes to blend Pawsitively Saturated Inks in shades of Periwinkle + Crocus around the edge of the panel. While I am careful with my blending, one of the advantages of having such saturated colored images is that the blended color doesn’t alter the vibrant peony even if I get a little blending-crazy! After I had added the blurple glow around the colored images, I splattered the background with some iridescent glittering watercolors!

For the greeting, I stamped the anniversary sentiment from Heirloom Roses onto some more white cardstock using Crocus ink, then stamped again directly over the top with embossing ink and added iridescent embossing powder over the top to create a spectacular sheen on the greeting. Once I had finished melting the embossing powder, I used the detailed dies to cut the sentiment out, then used thin foam adhesive squares to pop it up on the card front. Finally, I added a few Prism Pawsitively Dazzling Gems for some extra special sparkle for an extra special anniversary card!

Well, that’s all for my project today! I love creating special cards like this… adding the little extra details to increase the celebratory aesthetic makes my heart happy! Thanks so much for stopping by today, and have a marvelous day!

Filed Under: simon says stamp Tagged With: 3D embossing folder, alcohol markers, anniversary card, die cutting, embossing folder, heirloom roses, ink blending, no line coloring, olo markers, peony and bells

  • « Go to Previous Page
  • Page 1
  • Page 2
  • Page 3
  • Page 4
  • Page 5
  • Interim pages omitted …
  • Page 26
  • Go to Next Page »

Primary Sidebar

  • Facebook
  • Instagram
  • Pinterest
  • YouTube

Favorite Shops

Secondary Sidebar

Subscribe

Enter your email address to subscribe to this blog and receive notifications of new posts by email.

Instagram
Something is wrong.
Instagram token error.
Follow
Load More

Archives

Tags

3D embossing folder alcohol markers better press birthday birthday card blog hop card kit christmas christmas card christmas tag colored pencil copic copic coloring Daniel Smith die cutting embossing folder embroidery felt giveaway holiday holiday card hot foil ink blending karin brushmarker pro layered stencil masculine my monthly hero new release no line coloring no line watercolor OLO marker olo markers original illustration pawsitively saturated rainbow shaker card slimline stamping stamptember stencil thank you thinking of you valentine's day video watercolor

Popular Posts

Simon Says Stamp Sending Cheer Blog Hop- Day 2 + Freebie + Giveaway!
Altenew October 2026 Release Blog Hop + Giveaway!
Altenew Build A Flower Sweet Violet+Giveaway!
Floral Follies on Canvas with New Simon Says Stamp STAMPtember!
Simon Says Stamp STAMPtember Tim Holtz Collaboration: Festive Holidays!
Altenew Paint A Flower: Carnation Blog Hop+Giveaway!
Autumn Legs with Colorado Craft Company and Catherine Pooler!
Hero Arts Partners Blog Hop: Lawn Fawn!
Rustic Monochromatic Stars for Christmas with Rainbow Splash!
Altenew March 2020 Release Blog Hop+Giveaway!

Disclosure

Some affiliate links are used in my posts. This means that, should you click on one of my links and purchase something from that company, I will receive a small portion of the sale at no extra cost to you. I use the money earned from these sales to help maintain my blog. I so appreciate you visiting and, if you do choose to use one of my affiliate links, thank you so much for your support!
Copyright © 2026 ·Brunch Pro Theme · Genesis Framework by StudioPress · WordPress · Log in
Loading Comments...