Hi friends! The new limited edition Pinkfresh Studio STAMPtember-Edged Floral stamp set is now available, and it’s a stunner! This 6×6 set features a large botanical corner stamp perfect for creating a lovely textural adornment on your background or as a corner focal piece! I used both techniques with some of Pinkfresh Studio’s vibrant, unique inks to create a pair of pretty-in-pink cards. Let’s get started with the details on my projects!

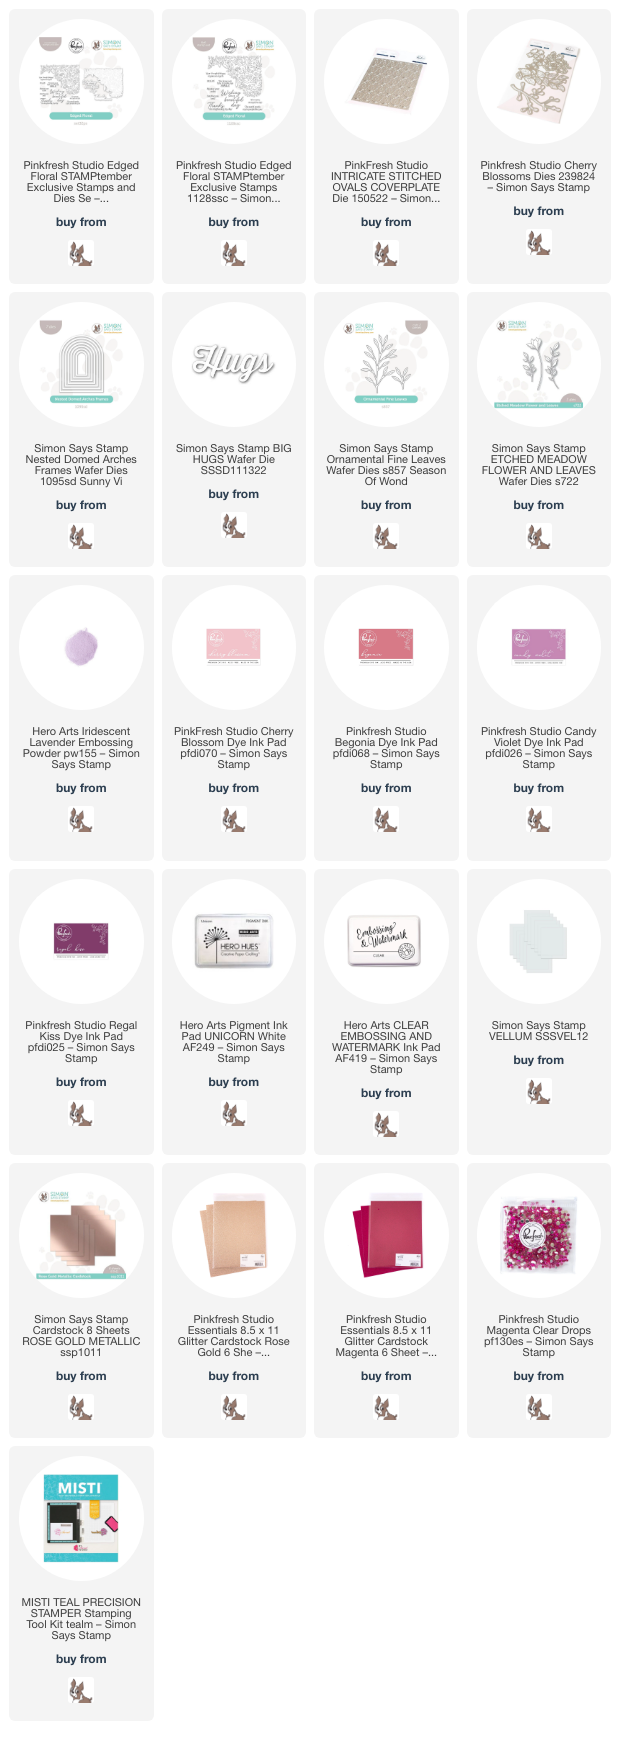
Both of my projects features the gorgeous Pinkfresh Studio STAMPtember-Edged Floral heat embossed with Iridescent Lavender embossing powder from Hero Arts; these iridescent embossing powders are so unique and versatile, and I love using them with intricate stamps like these! I pulled from the lovely shades in the iridescent embossing powder to select Cherry Blossom, Begonia, Candy Violet, and Regal Kiss Pinkfresh Studio inks to create a gorgeous sunset-inspired ombré.

For my first project, I heat embossed the main image from the Edged Floral set onto some vellumusing the Iridescent Lavender embossing powder, then used sharp scissors to fussy cut the image (but you have the option of using the coordinating dies to save your wrists and quite a bit of time!). From straight on, the embossing on the vellum looks like delicate texture, but from certain angles, the iridescent embossing powder shows off so beautifully, as you can see in the photo below. I wanted to create some contrast behind the embossed vellum piece, so I blended Cherry Blossom, Begonia, Candy Violet, and Regal Kiss Pinkfresh Studio inks on the diagonal on a panel of white cardstock, then ran the panel through my die cutting machine with Pinkfresh Studio’s Intricate Stitched Ovals die, adding pretty texture to the blended panel.

To add some interest around my sentiment, I die cut the Cherry Blossoms dies from Pinkfresh using some coordinating bubble gum cardstock, as well as Pinkfresh Studio Rose Gold glitter cardstock. I heat embossed the greeting onto some deep magenta cardstock, stamping it first with white pigment ink, then again with sticky embossing ink, finally sprinkling the Iridescent Lavender embossing powder over the top to create a unique iridescent sentiment. The initial layer of white pigment ink helps to make the iridescent embossing powder stand out a bit better on the vibrant cardstock. I fussy cut the sentiment, (again, you could use the coordinating die-they cut out the sentiments, too!) then arranged the sentiment and flowers on my fussy cut floral vellum corner, popping some of the pieces up with foam adhesive squares and adding some with liquid adhesive. I added some more foam adhesive on the back of the vellum piece behind the solid die cuts to hide them, then adhered it to the blended background. I tucked a Nested Domed Arches Frames cut from some Simon Says Stamp Rose Gold Metallic cardstock, finally adding a few Pinkfresh Studio Clear Drops: Magenta to the flower centers for a bit more shine and color!

For my second card, I set up the Edged Floral stamp in my MISTI, stamping it once using Cherry Blossom ink, then again with sticky embossing ink, finally adding some more of the Iridescent Lavender embossing powder, then rotating it 180* and repeating the process, so that I had the floral design in each corner. Stamping the pale pink ink first and adding the iridescent embossing powder creates the prettiest effect, especially when paired with some soft, tone-on-tone ink blending using Cherry Blossom, Begonia, and Candy Violet Pinkfresh Studio inks around the edges.

The somewhat simplistic nature of the individual images themselves from Edged Floral gave me some freedom when selecting botanical dies to add to my card; I selected Ornamental Fine Leaves and Etched Meadow Flower & Leaves dies, both from Simon Says Stamp, which I die cut from pearlescent blush cardstock and Magenta glitter cardstock. I also die cut the Big Hugs die from some brushed pink foil cardstock and enhanced the large sentiment die cut with another sentiment from the Edged Floral set, stamped with white pigment and embossing inks, then heat embossed with the Iridescent Lavender embossing powder. I arranged the die cuts on a small rectangle of vellum, allowing the flowers and foliage to peek out from behind the large sentiment die cut, finally adding a few shimmering gems for added sparkle!
Well, that’s all for my projects today! These STAMPtember collaboration sets are limited edition and usually sell out very quickly, so if you’re on the fence, don’t wait too long! To sweeten the deal and make it even easier for you to shop, Heidi at Simon Says Stamp has offered free shipping for purchases over $25 for a limited time!!

This limited edition stamp set is so gorgeous, and the added option to have the coordinating dies for both the image and the sentiments makes it a must-have. Thanks so much for stopping by today, and Happy STAMPtember!