Hi friends! It is always an honor and a thrill to be asked to guest design for some of my favorite companies, and Concord and 9th is one of my most favorite companies and has been basically since they first arrived on the crafty block! Their November Release (check it out HERE) is filled with all of the things you expect from a Concord and 9th curated collection: graphic and clean, with a touch of elegance, whimsy, and modern aesthetic! I created many cards using their new collection that I want to share here on my blog (and have already shared over on Instagram- I’m @eamidgett if you haven’t seen me there!) but I wanted to focus today on the new stitching dies that were released in the November Release.
Because there are so many projects in this post, I will link the products used in a list after each project, so keep scrolling until the bottom to see all of the projects that I’ve got to share today!
*I have gathered links to all of the products used at the bottom of the post for your convenience, using affiliate links at no extra cost to you. Thank you for shopping with my links! I truly appreciate your support for my work!*

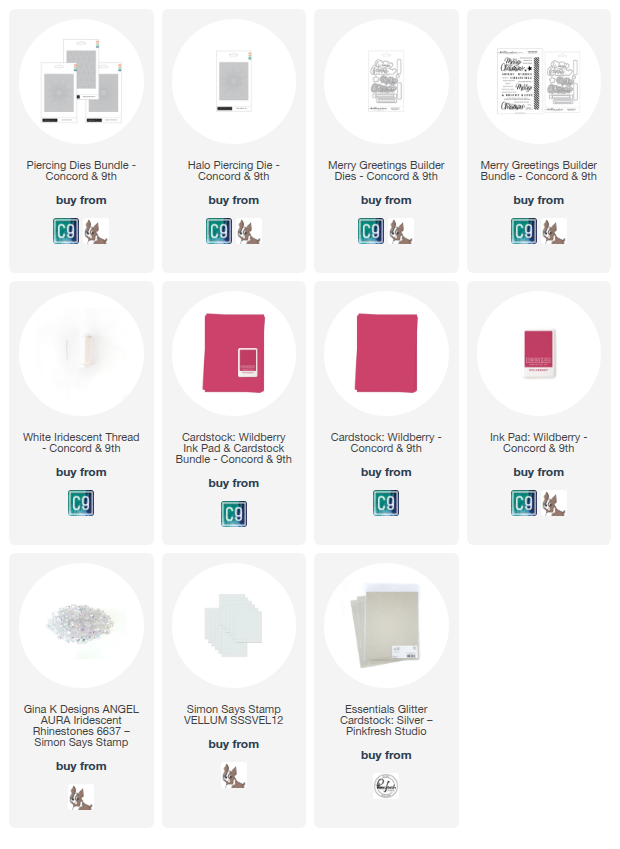
My first project was a favorite of mine for this release, putting the Halo Piercing Die to use to create this bold holiday card! I began by impressing the stitching pattern onto a panel of Wildberry Cardstock. These stitching dies don’t actually cut any shapes out; they impress small pinpoints into the cardstock so that you can easily push your needle and thread through the cardstock, creating this beautiful starburst pattern! Before I began stitching, though, I used a blending brush to blend coordinating Wildberry Ink around the edges of the card, creating even more of a halo and drawing the eye to the center of the card. I then used the silver thread from Concord and 9th to stitch the halo pattern into the cardstock.

Once I had finished stitching, I created the sentiment using the beautifully scripty “Merry” from the Merry Greetings Builder product suite, cutting the detail layer from silver glitter cardstock and the shadow layer from vellum. I also heat embossed a coordinating sentiment strip using silver embossing powder on the same Wildberry cardstock, then die cut it with a coordinating flag strip die. I popped the sentiment pieces up with foam adhesive, then finished this festive card off with some super sparkly Angel Aura Rhinestones, creating this super glam and striking holiday card filled with handmade touches!

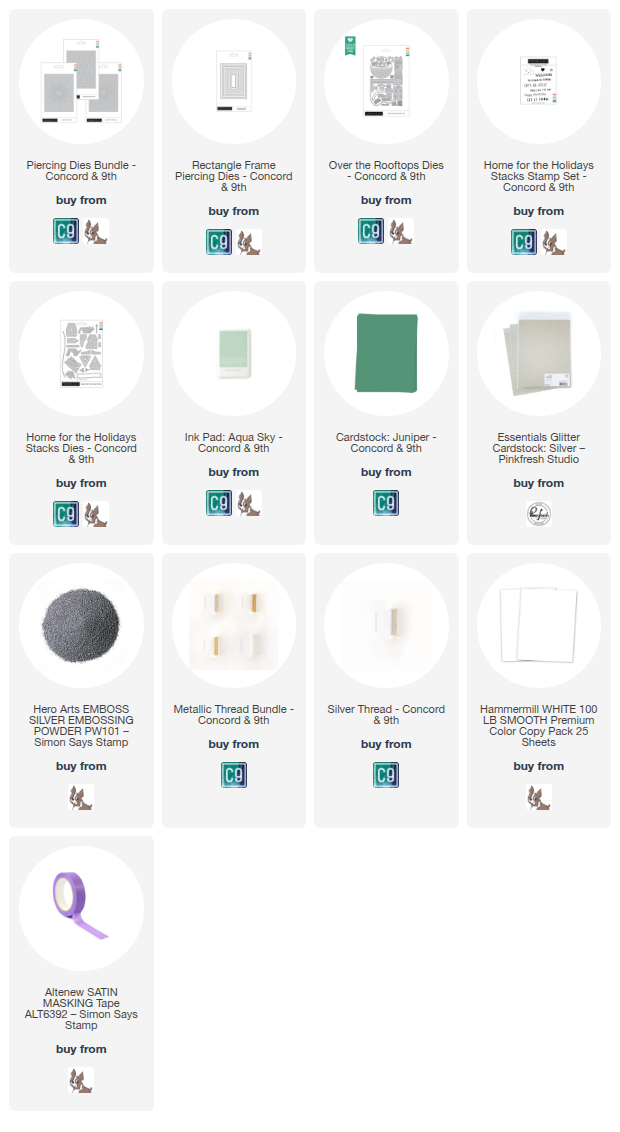
My second card is another holiday card, this time featuring the Rectangle Piercing Dies to create a frame around my wintry city scene! To begin, I impressed one of the nested Rectangle Piercing Dies into a panel of A2 white cardstock. This die set features many sizes of pierced rectangles nested together so that you can choose exactly the right size for your project! Before I began stitching, I masked around the edges of the framed area and used a blending brush to blend Aqua Sky ink towards the top of the rectangle area, creating a subtle sky for my neighborhood. I again used the silver thread from Concord and 9th to add the stitching details around the edge of the blended frame.

To create my focal point, I used plain white cardstock to die cut each element of the houses from the Over the Rooftops die set, adding some holiday details with silver glitter cardstock and Juniper cardstock. I adhered all of the components together with liquid adhesive, then popped them up in a row, similar to the row houses in older cities on the East Coast. For the greeting, I silver embossed a sentiment on a simple banner from the Home for the Holidays product suite, popping it up beneath my row homes with some more foam adhesive squares.

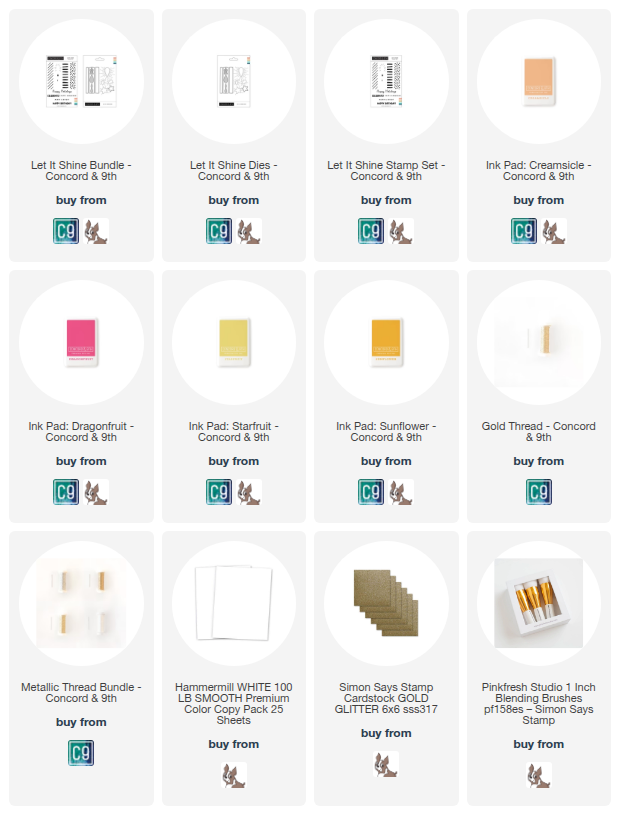
My next card is a fun birthday card using the new Let It Shine product suite! This product suite features regular cutting dies, as well as some additional stitching dies that you can use to help enhance the glow of your candles! I began my project by stamping the candle patterns from the Let It Shine product suite using Creamsicle, Dragonfruit, and Starfruit, then used the coordinating dies to cut each candle. After I had die cut the candles, I used small blending brushes to blend the same shades of ink on the edges of the candles, creating a highlight in the center to help indicate the cylindrical shape of the candles. I also used colored cardstock to die cut the flames for the candles, as well, layering two different shades of yellow for the largest candle in the center.

Before adhering the candles to my card front, I used the stitching dies included with the Let It Shine dies to impress those stitching lines creating a halo around each flame. Before I began stitching, however, I used a blending brush to blend Sunflower ink on each flame, enhancing that candle glow even more! I used gold thread from Concord and 9th to add the stitching details, then popped up the candles and flames with foam adhesive. For the greeting, I heat embossed a Happy Birthday sentiment from the Let It Shine set, trimming it down with my trimmer and adding a slightly larger gold glitter strip behind, adding a touch of sparkle to the card!

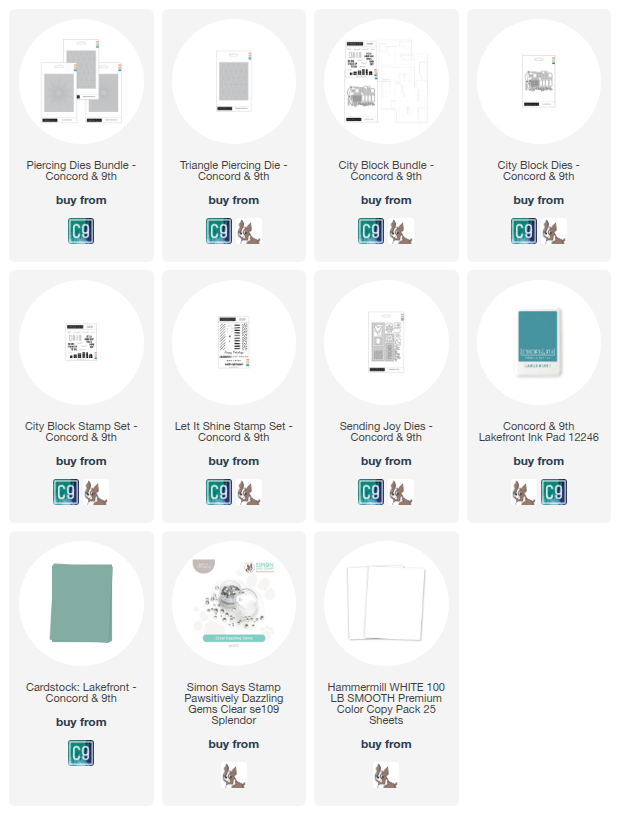
For my final project today, I decided to create a little encapsulated scene using the stamps and dies from the new City Block stamps + dies set. The product suite comes with some fabulous stencils that you can use to create an entire city block that you can embellish with windows, doors, railings, plants, and all kinds of other urban accoutrements. I chose to use just the stamps and dies to create a little front porch scene for a birthday card, adding some texture behind the scene with the Triangle Piercing Die-no stitching required! I began by stamping and die cutting the windows, door, railing, and plants, using Lakefront Ink on plain white cardstock. I die cut a long rectangle of Lakefront cardstock, mounted it on a white postage stamp die cut from the Sending Joy die set, then arranged the windows and door on the blue background, adding some plants to the stairs and a happy birthday banner at the top!

Behind the front porch scene, I used the Triangle Piercing Die to add some extra texture to the A2 Lakefront card panel. Because the die impresses a pattern into the card front, I could use this die to add some simple textured debossing behind the main focal point! I did cover up the pinpoints with some clear gems for additional sparkle. For the greeting beyond the wee happy birthday banner on the front porch, I silver embossed a sentiment from the Let It Shine stamp set and popped it up beneath my front porch with some foam adhesive.
Well, that’s all for my projects today! I have several more projects using the Concord and 9th November Release (check it out HERE), so be sure to stop back by tomorrow! Thanks so much for stopping by today, and have a marvelous day!