• Skip to main content
  • Skip to primary sidebar
  • Skip to secondary sidebar

Sixth Street Sundries

Emily Midgett

  • Home
  • About Me
  • Contact
  • OLO Marker Color Swatch Chart
  • Shop

party balloon

Happy Birthday Shaker with New Simon Says Stamp!

September 29, 2025

This post was sponsored by Simon Says Stamp. Thanks, Simon!

Hi friends! I am back from a weekend of relaxing fun with my husband, celebrating my 40th birthday! I’ve been reflecting on what this milestone “means” to me, and the main feeling is, quite simply, gratitude. Gratitude for my husband, who works so hard for me and for us as a unit, gratitude for the not-so-little family that I adore and that drives me a little nutty, gratitude for our home and our situation in life, gratitude for this work that is incredibly fulfilling in so many ways… I’m just thankful for so much. I thought for today’s post, I’d share a colorful birthday shaker card today to say “happy birthday” to myself! Let’s get started with the details.

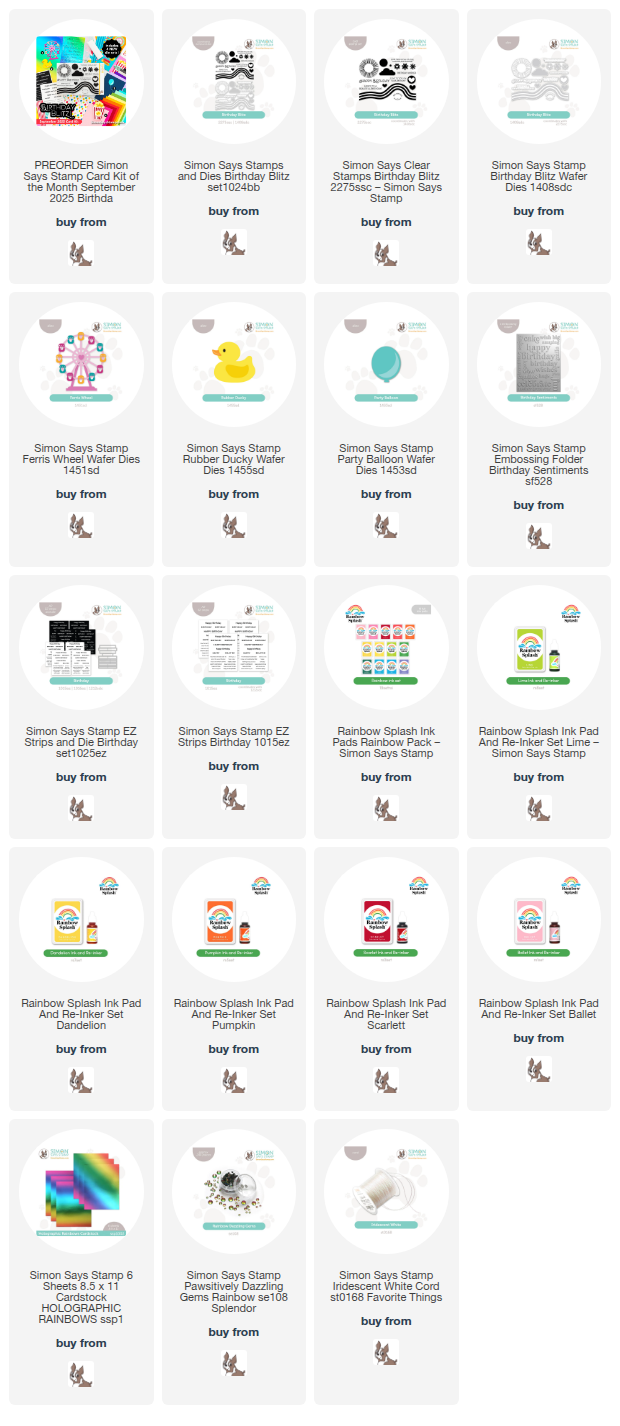
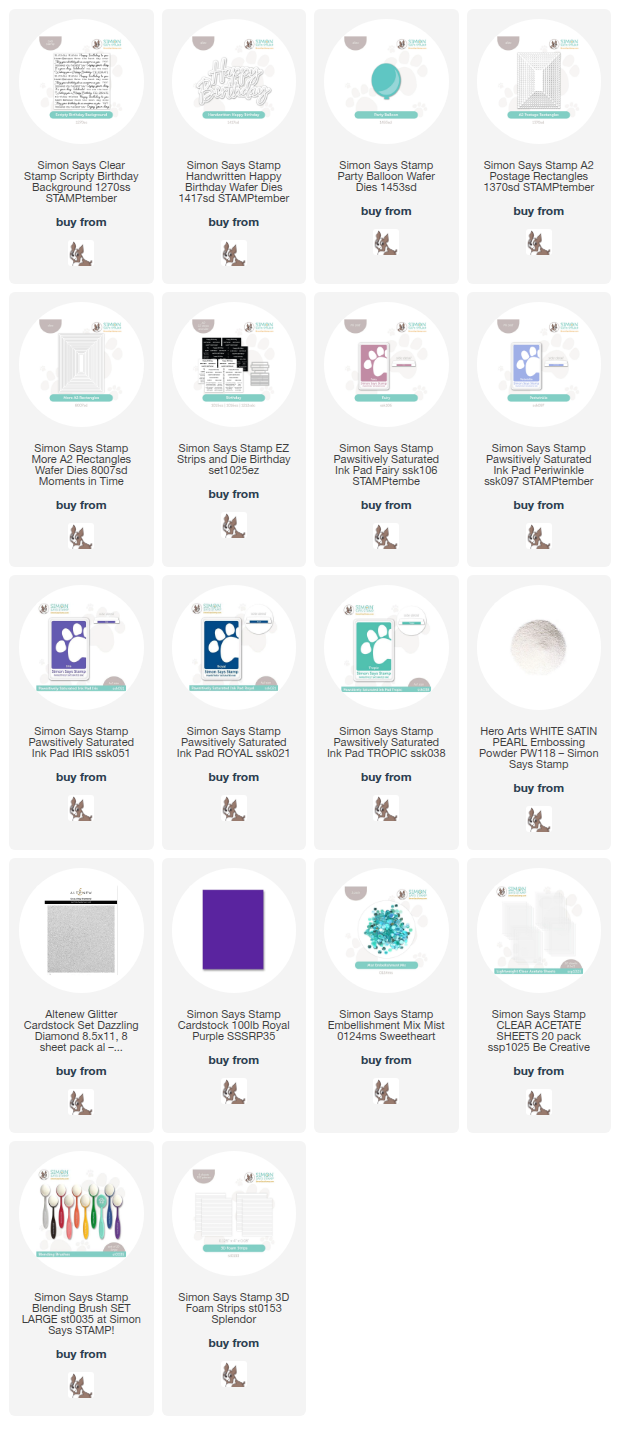
*I have gathered links to all of the products used at the bottom of the post for your convenience, using affiliate links. Thank you for shopping with my links! I truly appreciate your support for my work!*

To begin, I stamped the new Scripty Birthday Background onto a panel of white cardstock using sticky embossing ink, then added White Satin Pearl embossing powder. To create the colorful background, I used blending brushes to blend Pawsitively Saturated Inks: in shades of Fairy, Periwinkle, Iris, Royal, and Tropic, utilizing the emboss/resist technique to create a bold and colorful background. These are some of my most favorite colors in the Pawsitively Saturated Ink line, beautifully rich, with cool undertones and gorgeous vibrancy!

To create the shaker window, I began by die cutting a glittery rectangle, then cutting out the middle using the new A2 Postage Rectangles, creating a unique reverse-scalloped frame. I cut a slightly smaller panel of acetate, then used strips of foam adhesive to completely enclose the frame before filling it with Mist Sequins. I love the look of the iridescent sequins with the cool rainbow blended background!

To adorn my shaker window, I die cut the Handwritten Happy Birthday three times from Royal Purple cardstock, layering the die cuts together to create extra dimension. I placed this in the center of my shaker window, then added several balloons cut from a variety of colored cardstocks using the new Party Balloon die. I arranged the balloons on the card front in a cascade, popping them up with som added foam tape. Finally, I tucked a sentiment strip cut using the EZ Strips die and EZ Strips Birthday. Such a fun and festive card, right?

Well, that’s all for my project today! I am off to enjoy some Mexican food and homemade almond cake courtesy of my daughter and my redhead. Thanks so much for stopping by today, and have a marvelous day!
Filed Under: simon says stamp Tagged With: a2 postage rectangles, birthday, die cutting, handwritten happy birthday, ink blending, party balloon, pawsitively saturated, scripty birthday background, shaker card

Simon Says Stamp Card Kit of the Month September 2025: Birthday Blitz!

August 13, 2025

This post was sponsored by Simon Says Stamp. Thanks, Simon!

Hi friends! The new Simon Says Stamp Card Kit of the Month for September 2025: Birthday Blitz is available for preorder and let me just tell you… it’s so. dang. cute!! These card kits are always full of so many fabulous products that work beautifully in concert or individually, and I was so inspired with these products that I made a trio of birthday cards as well as an embellished gift bag in which they could be gifted! Who doesn’t need to build up their birthday card stash, right? Here’s a sneak peek of the contents of the kit:

The value on these kits is always phenomenal,

*I have gathered links to all of the products used at the bottom of the post for your convenience, using affiliate links. Thank you for shopping with my links! I truly appreciate your support for my work!*

To create this quartet of projects, I used only items included with the kit, adding in Rainbow Splash inks and a glassine bag from my stash, as well as a sparkly gold glitter clothespin to close up my bag of birthday cards! Isn’t it awesome when you can create a group of coordinating cards so easily? Let’s get started on the details for my projects!

To create this simple birthday card, I embossed an A2 panel of Holographic Rainbow Diagonal cardstock using the Birthday Sentiments Embossing Folder, both included with the kit. These specialty coated foil cardstocks are my absolute favorite way to use embossing folders; the incredible details seem to be so much more intense on foil cardstock! I also stamped a few simple flowers and a greeting from Birthday Blitz using Dandelion, Pumpkin, Scarlet, and Lime Rainbow Splash Inks, popping them up on the embossed background with some foam adhesive squares. I tucked an Iridescent White Cord bow beneath the sentiment and added a few Rainbow Pawsitively Dazzling Gems for added sparkle.

For my second card, I die cut the Ferris Wheel die combined with several colors of cardstock from the Assorted Card Panel Fronts included with the kit, which perfectly match the colors in the patterned paper from Simple Stories Fun Times, also included with the kit. I heat embossed a greeting from the Birthday Blitz stamp set using white embossing powder on black cardstock and cut it out using the coordinating dies, which you can purchase separately. So simple, but so colorful and even more fun!

My next card features the new Birthday Blitz stamp set, which I used to create this colorful rainbow scene. I stamped the rainbow stripes using Dandelion, Pumpkin, Scarlet, Ballet, and Lime Rainbow Splash Inks all down the front of my white A2 card front, trimming off the edge and adding a strip of the Rainbow Holographic Cardstock and some red glitter cardstock peeking out on the right hand side. I stamped a sun using Dandelion ink, stamping the center with Dandelion and Pumpkin inks to create that intense center. I die cut the stamped sun and some plain white clouds, then heat embossed a greeting from Birthday Blitz and popped it all up on the colorful card front with multiple levels of foam adhesive. Finally, I added a few Rainbow Pawsitively Dazzling Gems for sparkle!

For my final project, I created a little glassine gift bag to hold all of my birthday cards, perfect for giving as a gift! I trimmed down a panel of striped patterned cardstock from the included patterned paper, adhering it to the front of my glassine bag with some liquid adhesive.

For the adornment, I die cut the sweet little Rubber Ducky from some of the included colored cardstock, as well as a vibrant red balloon using the new Party Balloon die. I trimmed down some of the polka dotted patterned paper and framed it with some plain black cardstock, then mounted ducky and the balloon on the front with some foam adhesive. I added a sentiment strip from the included EZ Strips Birthday, onto which I blended a bit of a warm rainbow. Finally, I added an aqua twine bow and another patterned paper tag, then added them both to my glittering clothespin with a red ribbon bow!

Well, that’s all for my projects today.

This kit is so full of amazing products and even more amazing value! The Simon Says Stamp Card Kits are such an incredible value; the value of the individual elements of each kit equals far more than the $44.99 price tag, so you’re getting incredible bang for your buck. If you are consistently interested in the Simon Says Stamp Card Kit of the Month, you can sign up HERE to become a subscriber for an even bigger discount on these carefully curated products. As always, Simon also makes each individual element of the kits available a la carte, so that you can pick and choose what you would like to purchase if buying the entire kit isn’t really your thing. Who can say no to such incredible value though, right?

Kits begin shipping on August 18, 2025, so you won’t have long to wait! Thanks so much for stopping by today, and have a marvelous day!

Filed Under: simon says stamp Tagged With: birthday blitz, birthday card, birthday sentiments, card kit of the month, die cutting, embossing folder, ez birthday strips, ferris wheel, party balloon, rainbow splash, rubber ducky

Primary Sidebar

  • Facebook
  • Instagram
  • Pinterest
  • YouTube

Favorite Shops

Secondary Sidebar

Subscribe

Enter your email address to subscribe to this blog and receive notifications of new posts by email.

Instagram
Something is wrong.
Instagram token error.
Follow
Load More

Archives

Tags

3D embossing folder alcohol markers better press birthday birthday card blog hop card kit christmas christmas card christmas tag colored pencil copic copic coloring Daniel Smith die cutting embossing folder embroidery felt giveaway holiday holiday card hot foil ink blending karin brushmarker pro layered stencil masculine my monthly hero new release no line coloring no line watercolor OLO marker olo markers original illustration pawsitively saturated rainbow shaker card slimline stamping stamptember stencil thank you thinking of you valentine's day video watercolor

Popular Posts

Simon Says Stamp Sending Cheer Release: Now Available!
Joyful Snowman with New Simon Says Stamp Sending Cheer Release!
Autumn Legs with Colorado Craft Company and Catherine Pooler!
February 2018 My Monthly Hero Blog Hop!
Altenew Paint A Flower: Carnation Blog Hop+Giveaway!
Altenew March 2020 Release Blog Hop+Giveaway!
Special Release: Simon Says Stamp Limited Edition STAMPtember Christmas Card Kit!
Pinkfresh Studio 5th Birthday!
Pinkfresh Studios June Washi and Stamp Release Blog Hop!
Advent Calendar Extravaganza with Taheerah Atchia

Disclosure

Some affiliate links are used in my posts. This means that, should you click on one of my links and purchase something from that company, I will receive a small portion of the sale at no extra cost to you. I use the money earned from these sales to help maintain my blog. I so appreciate you visiting and, if you do choose to use one of my affiliate links, thank you so much for your support!
Copyright © 2026 ·Brunch Pro Theme · Genesis Framework by StudioPress · WordPress · Log in
Loading Comments...