• Skip to main content
  • Skip to primary sidebar
  • Skip to secondary sidebar

Sixth Street Sundries

Emily Midgett

  • Home
  • About Me
  • Contact
  • OLO Marker Color Swatch Chart
  • Shop

patterned paper

Simon Says Stamp STAMPtember Surprise: Boo Bundle Halloween Card Kit!

September 22, 2026

This post was sponsored by Simon Says Stamp. Thanks, Simon! *I have gathered links to all of the products used at the bottom of the post for your convenience, using affiliate links at no extra cost to you. Thank you for shopping with my links! I truly appreciate your support for my work!*

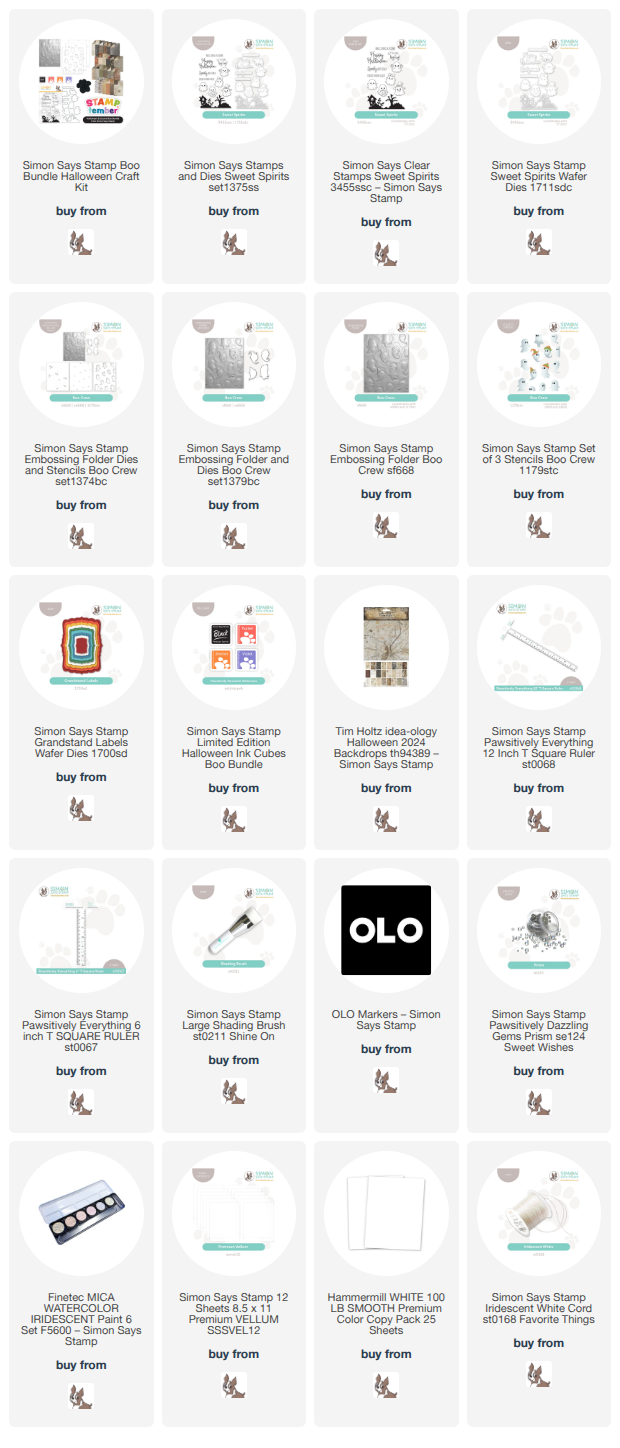
Hi friends! Simon Says Stamp isn’t done with STAMPtember surprises, and today’s release is just darling. If you love coordinating products and cute Halloween goodies (I’m not a “blood and guts Halloween” fan, but I can definitely get on board with cute ghosties and witches!) then the brand new Boo Bundle Card Kit (click HERE to see all of the details on the Simon Says Stamp website!) is right up your alley!! Here’s a peek at the kit:

It’s packed full of goodies, from stamps and dies to embossing folders and stencils to extra goodies that make your cardmaking super streamlined and super fun. And on top of that, it’s an excellent value, retailing at only $49.97 for over $90 worth of product! As always with Simon’s kits, this kit is limited edition and so is the incredible value. If you miss out on the kit, you can still purchase the individual components. If you love this kit, don’t wait!

The kit includes so many darling elements that work beautifully together or separately. I created this pair of not-so-scary Halloween cards that are perfect for younger kids, especially. I kept the color palette simple, sticking with black, white, and a touch of the Violet ink included with the kit. Let’s get started with the details on my projects!

For my first project, I did a little masking and a little stamping to create this fairly flat and fairly simple project. I started by masking off the bottom 1/3 of the card with some Post-It Notes and my T-square ruler to make sure everything was straight, then used a shading brush to blend Violet ink in a semi-circle above the masked area. Keeping the mask in place, I stamped the spooky house and tree silhouette stamp from Sweet Spirits, included with the kit, using the Black ink cube included with the kit. I used a few more Post-It Notes to cover the house before I splattered the sky with sparkling iridescent watercolor “stars.” Next, I covered the “seam” with a strip of black glitter cardstock from my stash to help simplify the transition between the top and bottom portions of the card.

For the main focal point, I stamped a sweet little ghostie from Sweet Spirits with a bow on some plain white cardstock and added a touch of shadow and some coordinating purple to her bow. (Love that the black ink included with the kit is alcohol marker-friendly!) I also stamped a greeting with the same black ink, then die cut both images with their coordinating dies. Finally, I added some iridescent Prism Pawsitively Dazzling Gems for another pop of sparkle!

For my second card, I chose to create a layer cake of patterns. I embossed the Boo Crew embossing folder using white cardstock, then used the stencils to add some subtle gray shadows to the ghosts, darker gray eyes, and added Violet blending for their hats. I trimmed the bottom 1/2 from the embossed panel, then trimmed some black and white patterned paper included with the kit. I broke up the different patterns with another strip of black glitter cardstock from my stash, creating a visual barrier between the two busy black and white patterns. For the greeting, I stamped two different sentiments from Sweet Spirits using black ink and die cut them, placing them on the very edge of the card front with a piece of vellum cut using the Grandstand Labels die set. I finished the project off with an Iridescent Cord bow and a few more Prism Pawsitively Dazzling Gems!

Well, that’s all for my projects today! This darling Boo Bundle Card Kit is sure to sell out, so don’t wait if it’s right up your alley. (click HERE to see all of the details!) Thanks so much for stopping by today, and have a marvelous day!
Filed Under: simon says stamp Tagged With: boo bundle, boo crew, card kit, die cutting, embossing folder, grandstand labels, halloween, ink blending, limited edition, olo markers, patterned paper, spooky, sweet spirits

Simon Says Stamp April 2026 Card Kit of the Month: A Little Artsy!

March 10, 2026

This post was sponsored by Simon Says Stamp. Thanks, Simon! *I have gathered links to all of the products used at the bottom of the post for your convenience, using affiliate links at no extra cost to you. Thank you for shopping with my links! I truly appreciate your support for my work!*

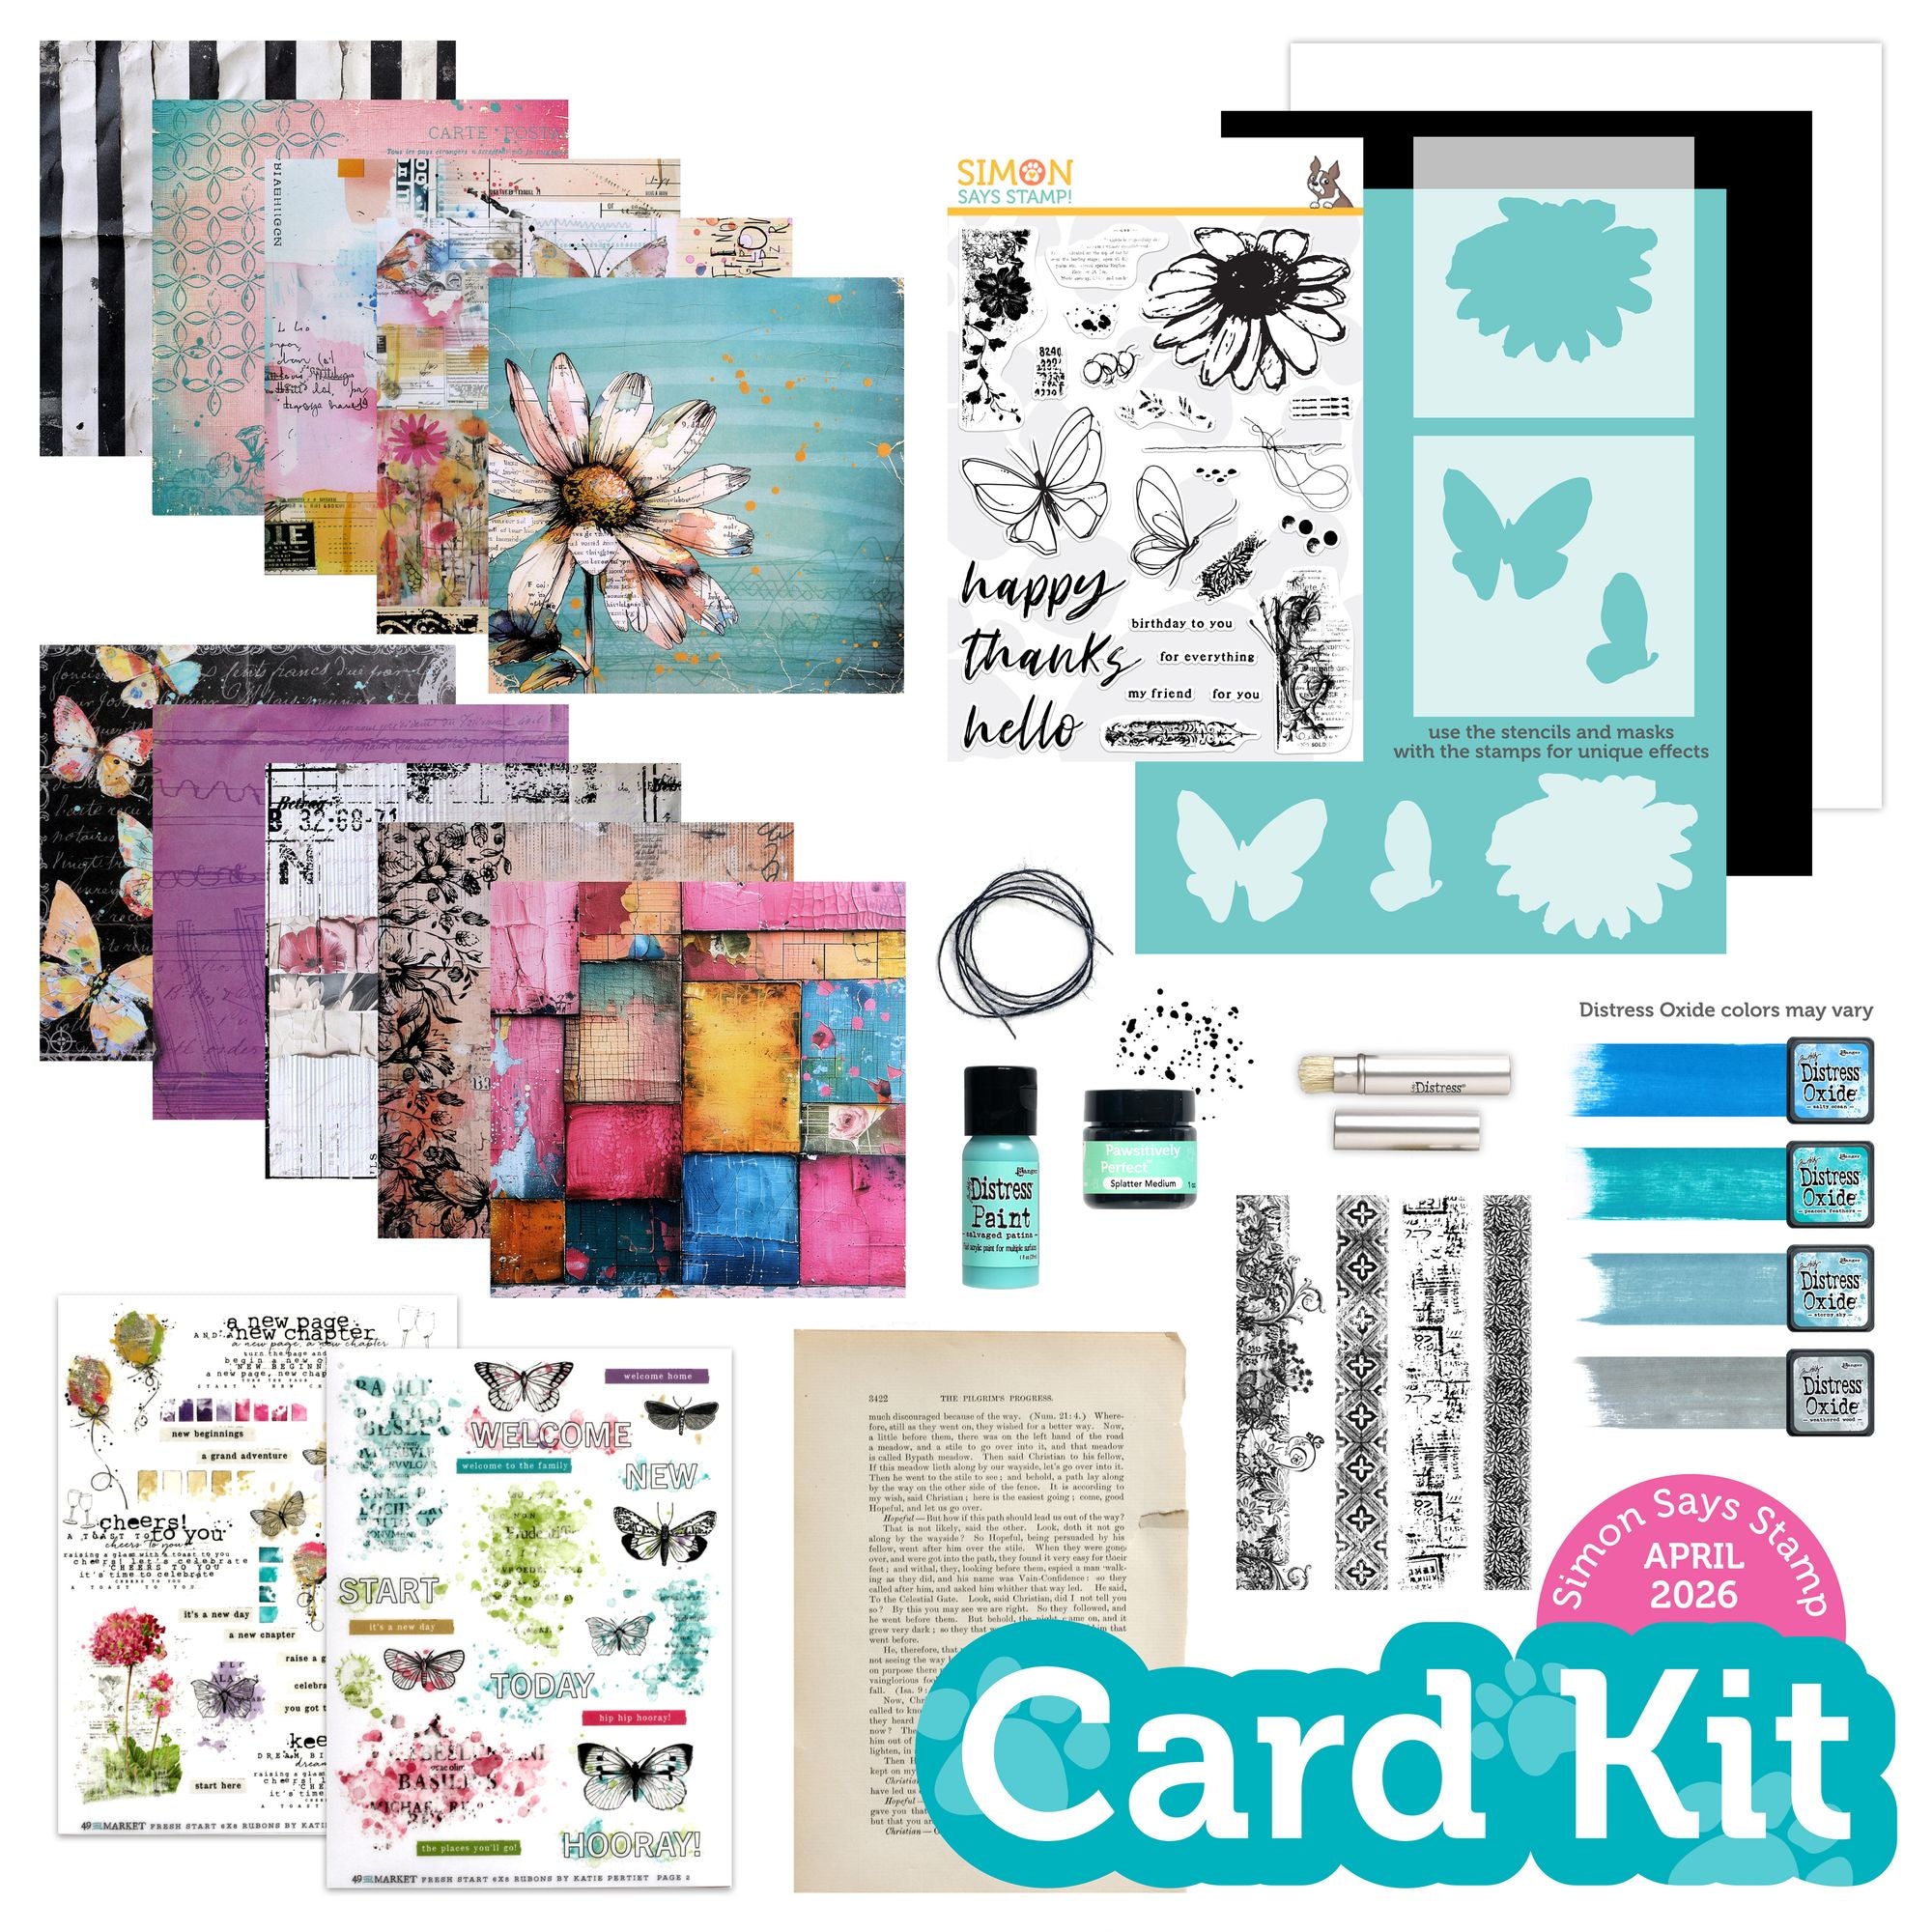
Hi friends! The fabulous new April 2026 Card Kit of the Month is now available for preorder, and it’s SO gorgeous! We’re giving you a few extra days to take a peek at this month’s kit by going live today, March 10, 2026, so that you have plenty of time to peruse the inspiration and the kit contents. These kits are always jam-packed with goodies and value, but this one is truly amazing. Stamps, stencils, patterned papers, rub ons, cardstock… and an (amazingly awesome) Distress Oxide cube quartet!! Like how incredible, right? Here’s a sneak peek at this month’s kit:

The contents of this KIT retail individually for over $80, but you can purchase the kit for only $44.99! Such a great value. You can save even more by becoming a kit subscriber (click HERE to see the subscription details!). If you love receiving this type of curated kit filled to the brim with goodies to make your cardmaking even more simplified and enjoyable, you definitely want to hit that subscribe button!

I’ve only had time to create one project with this earlier release date, but this kit is so filled with products that I have a bunch more ideas ruminating. So many ideas, so little time! Let’s get started on the details for this project.

The April 2026 Card Kit of the Month features a gorgeous, mixed media-aesthetic stamp set, along with beautiful patterned papers with a variety of color palettes and patterns, as well as some gorgeous Audrey Blue cardstock. This Simon Says Stamp-exclusive color is one of my absolute favorites, and it worked so beautifully with the pink and red Oxide Ink Minis that I received with my kit. I started by setting up an A2 panel of Audrey Blue cardstock on my stencil station (a glass mat with the Craft Tacky Mat on top, which I leave set up all the time to make stenciling super quick and easy!) and placed the Petal Lattice 6×6 stencil add-on over the top of my cardstock. I then used blending brushes to blend my two favorite Oxide pinks: Spun Sugar and Picked Raspberry. The opaque nature of the Oxide inks means that they pop beautifully from the vibrant turquoise cardstock. Isn’t that look just marvelous?!

Continuing on the background, I used the same two inks to stamp some of the stamps from the A Little Artsy stamp set included with the kit, using my MISTI to create some two-toned stamped butterfly and corner adornment images. I also splattered some iridescent watercolor as well as the Salvaged Patina Distress Paint included in the kit all over the background panel. I love the colorful, textured look that all of these steps create!

Once I had created the background, I used Simon Says Stamp White Pigment Ink to stamp the sentiment, daisy, and smaller butterfly image from A Little Artsy onto some more Audrey Blue cardstock, then covered it with Hero Arts Iridescent Blue embossing powder to create exquisite shimmer and iridescence on the images. I then placed the embossed images on my stencil station and used the coordinating stencils, included with the kit, to blend more of the Spun Sugar and Picked Raspberry Oxide inks on the flower and butterfly. The colors pop so perfectly from that bright blue cardstock!

To help ground the individual images on my textured background, I trimmed a thick strip of one of the patterned papers in that same vibrant magenta included with the kit, then flagged the end with my sharp scissors. I arranged the embossed and cut images atop the flagged cardstock strip, then popped all of the images up using foam tape in multiple heights to create lots of visual interest on the card. For a final touch, I added some sparkling Prism Pawsitively Dazzling Gems and a Simon Says Stamp Iridescent White Cord bow for additional sparkle and texture!

Well, that’s all for my project today.

The Simon Says Stamp Card Kits are such an incredible value; the value of the individual elements of each kit equals far more than the $44.99 price tag, so you’re getting incredible bang for your buck. If you are consistently interested in the Simon Says Stamp Card Kit of the Month, you can sign up HERE to become a subscriber for an even bigger discount on these carefully curated products. As always, Simon also makes each individual element of the kits available a la carte, so that you can pick and choose what you would like to purchase if buying the entire kit isn’t really your thing. Options galore! Who can say no to such incredible value though, right?

Thanks so much for stopping by today, and have a marvelous day!

Filed Under: simon says stamp Tagged With: a little artsy, distress oxide, patterned paper, petal lattice, simon says stamp card kit of the monht, simon says stamp card kit of the month, stencil, stencil station

More Inspiration using the Simon Says Stamp Warmth and Wonder Limited Edition Holiday Kit!

October 1, 2025

This post was sponsored by Simon Says Stamp. Thanks, Simon!

Hi friends! I am back today with some more inspiration using the new, limited edition Simon Says Stamp Warmth and Wonder Holiday Card Kit! (Click HERE to see the whole kit!) This limited edition kit was one of the last fun surprises for the month-long STAMPtember celebration, and it is available for preorder right now with the intent to ship later in October. The kit comes absolutely jam-packed full of goodies to make your holiday cardmaking a breeze: two stamp sets, a fancy standalone die, embossing folder + die set, stencil set, ink cubes, patterned papers and coordinating ephemera, cardstock, envelopes… everything you need to create tons of marvelous coordinating-but-not-matching holiday cards! Some people love to mass produce, but some others, like myself, get a bit bored with creating the same card over and over again. To keep things simple but still creatively interesting, each of the elements of this card kit work beautifully in concert or individually, making your creative process a breeze! I created no less than six different projects using this card kit and barely made a dent in the goodies; when you add in dies, inks, and cardstock from your own stash, it stretches even further! For yesterday’s projects, I focused mainly on the marvelous patterned papers included in the kit. (Click HERE to see that post.) Let’s get started on the details for my projects today, which focus on the amazing stamps and other non-consumable items in the kit.

*I have gathered links to all of the products used at the bottom of the post for your convenience, using affiliate links. Thank you for shopping with my links! I truly appreciate your support for my work!*

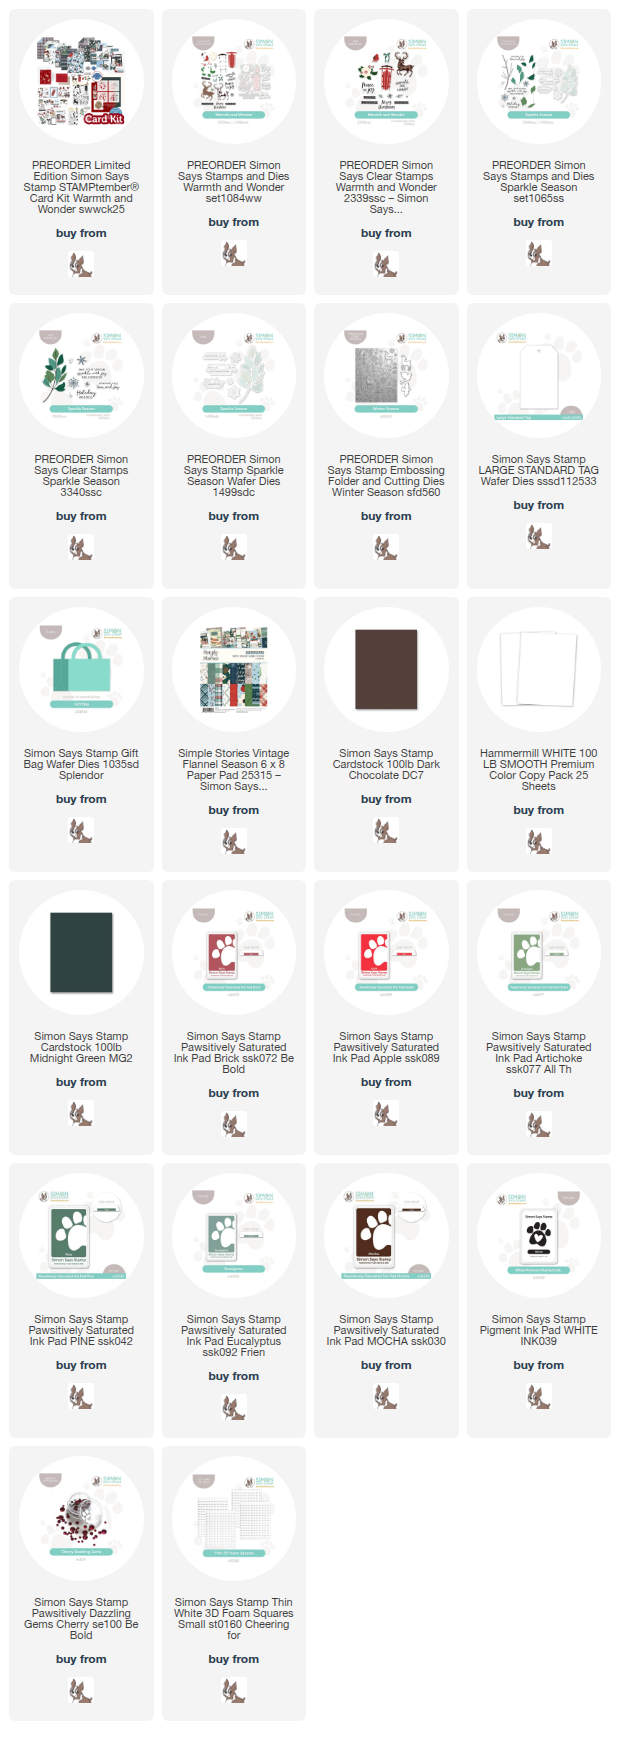
Using the colors of some of the patterned paper as my inspiration point, I selected Pawsitively Saturated Inks in shades of Brick, Apple, Artichoke, Pine, Eucalyptus, and Mocha, which create a rich, vibrant holiday color palette!

I used some plaid patterned paper and ephemera bits to create this fun little gift bag, die cutting the Gift Bag die from Midnight Green cardstock and adding the ephemera bits with foam adhesive.

I also created this coordinating festive, detailed card using both of the stamp sets included in the Warmth and Wonder kit, using the coordinating dies to cut out the stamped images. I love how the simplicity of the solid stamped images from the Warmth and Wonder stamp set work so beautifully with the layered foliage branch from the Sparkle Season stamp set!

I ran a panel of Dark Chocolate cardstock through my die cutting machine with the new Winter Season embossing folder, then swiped the Simon Says Stamp White Pigment Ink Pad directly over the raised areas to enhance the imagery quickly and simply. I then trimmed a strip of red foil cardstock to be 4.75″ long, notching the ends with my sharp scissors to create a flag, and arranged the stamped die cuts around the red foil flag strip, popping everything up with lots of foam adhesive. The final touch was to add a few sparkling Cherry Pawsitively Dazzling Gems for some holiday shine!

Finally, I created this simple and elegant tag using the layered sleigh image from the Warmth and Wonder stamp set along with some foliage and that gorgeous stamped bow. I stamped the sleigh using Apple and Mocha ink, the foliage using Pine ink, and the bow using Apple and Brick inks. I die cut two Large Standard Tags from Chocolate cardstock, adhering the scratched sides together so that the outward sides were both clean, then adhered the sleigh and foliage die cuts to the front. I added a red seam binding loop to the tag for a simple and elegant gift adornment!

Well, that’s all for my projects today! You can’t go wrong with this kit; the value is over $100, but Simon Says Stamp has priced these fabulous kits at only $69.99. As always with Simon Says Stamp kits: you can purchase individual items outside of the kits when it sells out or if you would like duplicates (like that fabulous ephemera and patterned paper!). Don’t wait to purchase this kit at an incredible value! Thanks so much for stopping by today, and have a marvelous day!

Filed Under: simon says stamp Tagged With: card kit, christmas, christmas card kit, christmas tag, embossing folder, gift bag, holiday, holiday card kit, holiday tag, limited edition, patterned paper, sparkle season, warmth and wonder, winter season

Introducing Simon Says Stamp Limited Edition STAMPtember Holiday Kit!

September 30, 2025

Hi friends! Simon Says Stamp has released the most fabulous of holiday kits as we end STAMPtember with a bang! The exclusive new limited edition Warmth and Wonder Card Kit is available for preorder right now (click HERE to see all of the details!), and my goodness is it absolutely jam packed with holiday cardmaking goodness!! I went a little crazy creating project after project using the goodies from the kit, and still have SO much left to use for even more cards. If you need a jumpstart to your holiday cardmaking, this kit is what you’ve been waiting for!

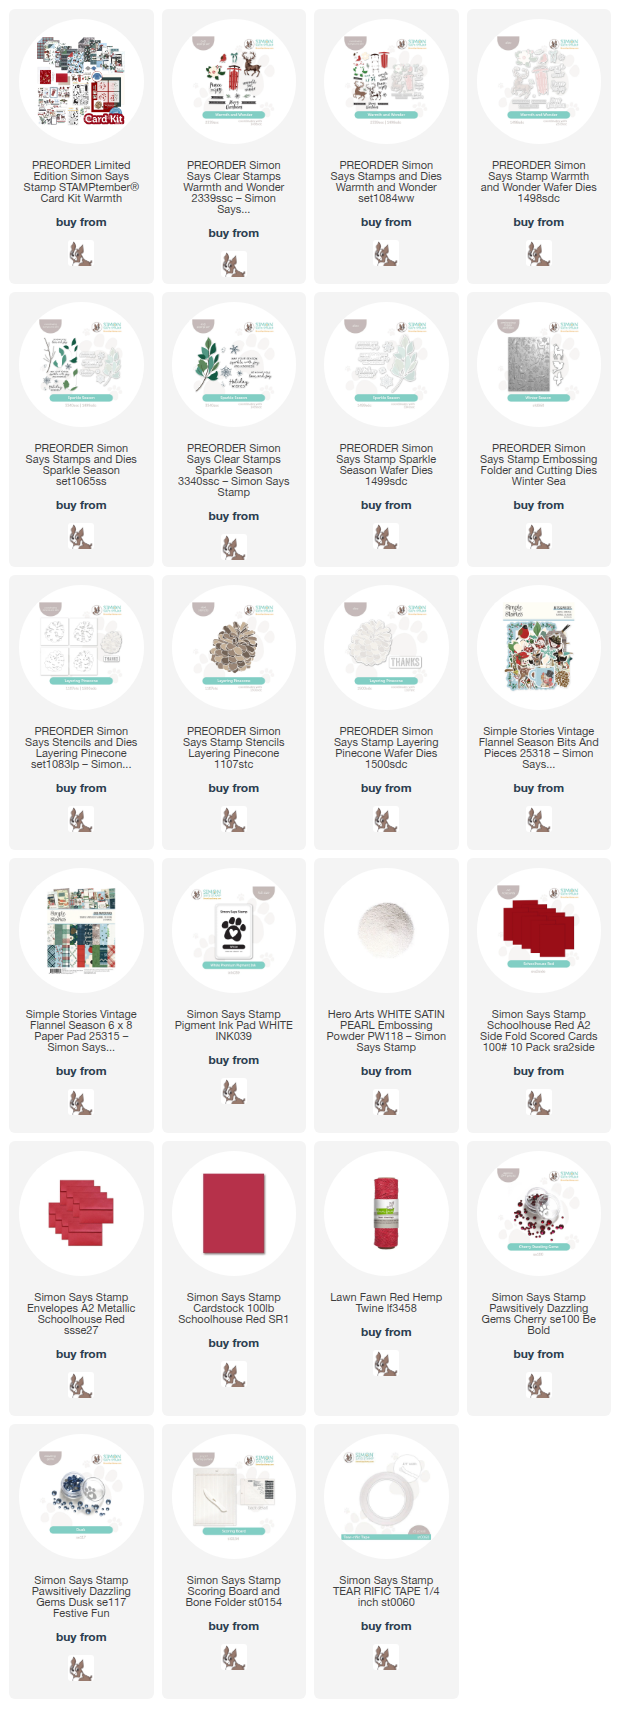
Here’s a rundown of everything included in the kit:

  • NEW & Exclusive Warmth and Wonder 6×8 Inch Clear Stamp Set
  • NEW & Exclusive Sparkle Season 4×6 Inch Clear Stamp Set
  • NEW & Exclusive Winter Sweater Die
  • NEW & Exclusive Layering Pine Cone Stencils Set
  • NEW & Exclusive Winter Season Embossing Folder with Dies Set
  • One sheet of each design from the Simple Stories Simple Vintage Flannel Season 6×8 Inch Paper Pack
  • One package of Simple Stories Simple Vintage Flannel Season Bits and Pieces Ephemera
  • Simon Says Stamp Exclusive Mocha Ink Cube (perfect for the Pine Cone Stencils)
  • Simon Says Stamp Exclusive Cappuccino Ink Cube (perfect for the Pine Cone Stencils)
  • 1 Tim Holtz Distress Mini Blending Brush
  • 1 Simon Says Stamp Exclusive A2 Envelope in Metallic Khaki
  • 1 Simon Says Stamp Exclusive A2 Envelope in Schoolhouse Red
  • 1 Sheet of Neenah Solar White 110 LB 8.5 x 11 Inch Cardstock
  • 1 Sheet of Simon Says Stamp Schoolhouse Red 100 LB 8.5 x 11 Inch Cardstock
  • 1 Sheet of Simon Says Stamp Midnight Green 100 LB 8.5 x 11 Inch Cardstock
  • 1 Sheet of Simon Says Stamp Dark Chocolate 100 LB 8.5 x 11 Inch Cardstock

The individual contents are valued at over $100, but the kit is available for preorder for only $69.99! I created no less than six different projects using the goodies in the kit, but SO many pieces of ephemera and patterned paper are left to create even more projects. And then you have multiple stamps and stencils with which to create infinite projects. Incredible, incredible value!

One of my favorite parts of the kit was the coordinating patterned papers and ephemera. I have never been huge on ephemera packs, simply because I prefer to use stamps and dies with my own unique color palettes, but I cannot say enough about the ease and absolute beauty of the ephemera included with the Limited Edition Warmth and Wonder Card Kit. The fact that the elements coordinate makes it even more useful and the finished projects even more polished!

I have a thing for deer on my holiday cards. I just find their elegant grace so appealing and peaceful. The ephemera pack included in the kit contains a multitude of beautifully illustrated deer along with colorful imagery that matches perfectly. I created this fun trifold card utilizing several of the patterned papers and the sweet beribboned deer, adding a greeting stamped on the deep Schoolhouse Red cardstock using White Pigment ink and embellished with White Satin Pearl embossing powder.

I used my Scoring Board to score a line about 1/2″ from the edge of my panel of A2 patterned paper, then added it to my Schoolhouse Red card base using Tear-rific Tape to create a tri-fold card. I selected patterned papers that would work nicely together, making sure that the patterns were contrasting enough so as not to overwhelm the eye. Plaids work beautifully with large floral patterns, and the coordinating color palette running through all of the papers included in the Warmth and Wonder Card Kit make it super easy to mix and match!

I think these tri-fold cards are such fun and such a fun way to send a unique holiday card.

My second card is in the same color family, this time with the sweet bird and anemone ephemera juxtaposed with the delicately patterned foliage patterned paper. I added a shining red foil mat around the framed “warm and cozy” patterned panel, adding a touch of shine and added texture amongst the matte printed ephemera. I selected several pre-printed sentiment strip pieces, arranging them around my bird and flower focal point in a cluster. Finally, I tucked a red twine bow and some Cherry Pawsitively Dazzling Gems amongst the cluster of focal points for additional sparkle and texture! These kinds of cards come together so very quickly, making your holiday cardmaking a breeze!

My next project for today shifts color palettes a bit, putting the beautiful blue pieces together with this vintage snowman image for a pretty and icy thank you card. I trimmed down a strip of the snowflake trellis, then added it to the side of my navy blue card base. I layered the snowflake printed piece on a piece of coordinating blue glitter cardstock, creating a sparkling blue frame and providing a visual barrier between the printed snowflake trellis strip and the patterned snowman panel. I popped this piece up on my card front with some foam adhesive.

This card didn’t need much additional embellishment (can you say fast thank you card?), so I simply popped up a few of the printed snowflake ephemera pieces and added a few sparkling Dusk Pawsitively Dazzling Gems. A simple, but super sweet and elegant, holiday thank you card finished lickety split!

Well, that’s all for my projects today! As with all Simon Says Stamp kits, each individual element is available for purchase separately from the kit, so you can mix and match as you see fit (or even pick up an extra ephemera and patterned paper set!). The kit’s value is incredible, but it’s only available for a limited time! These kits are anticipated to begin shipping in early October, so be sure to get your order in quickly so that you don’t miss out on this incredible value. Click HERE to preorder your own kit!

Thanks so much for stopping by today, and have a marvelous day!

Filed Under: simon says stamp Tagged With: card kit, christmas card, ephemera, holiday card, limited edition card kit, patterned paper, simple stories, sparkle season, vintage flannel, warmth and wonder, winter sea

More Simon Says Stamp Best-Teas August 2025 Card Kit Inspiration!

July 15, 2025

This post was sponsored by Simon Says Stamp. Thanks, Simon!

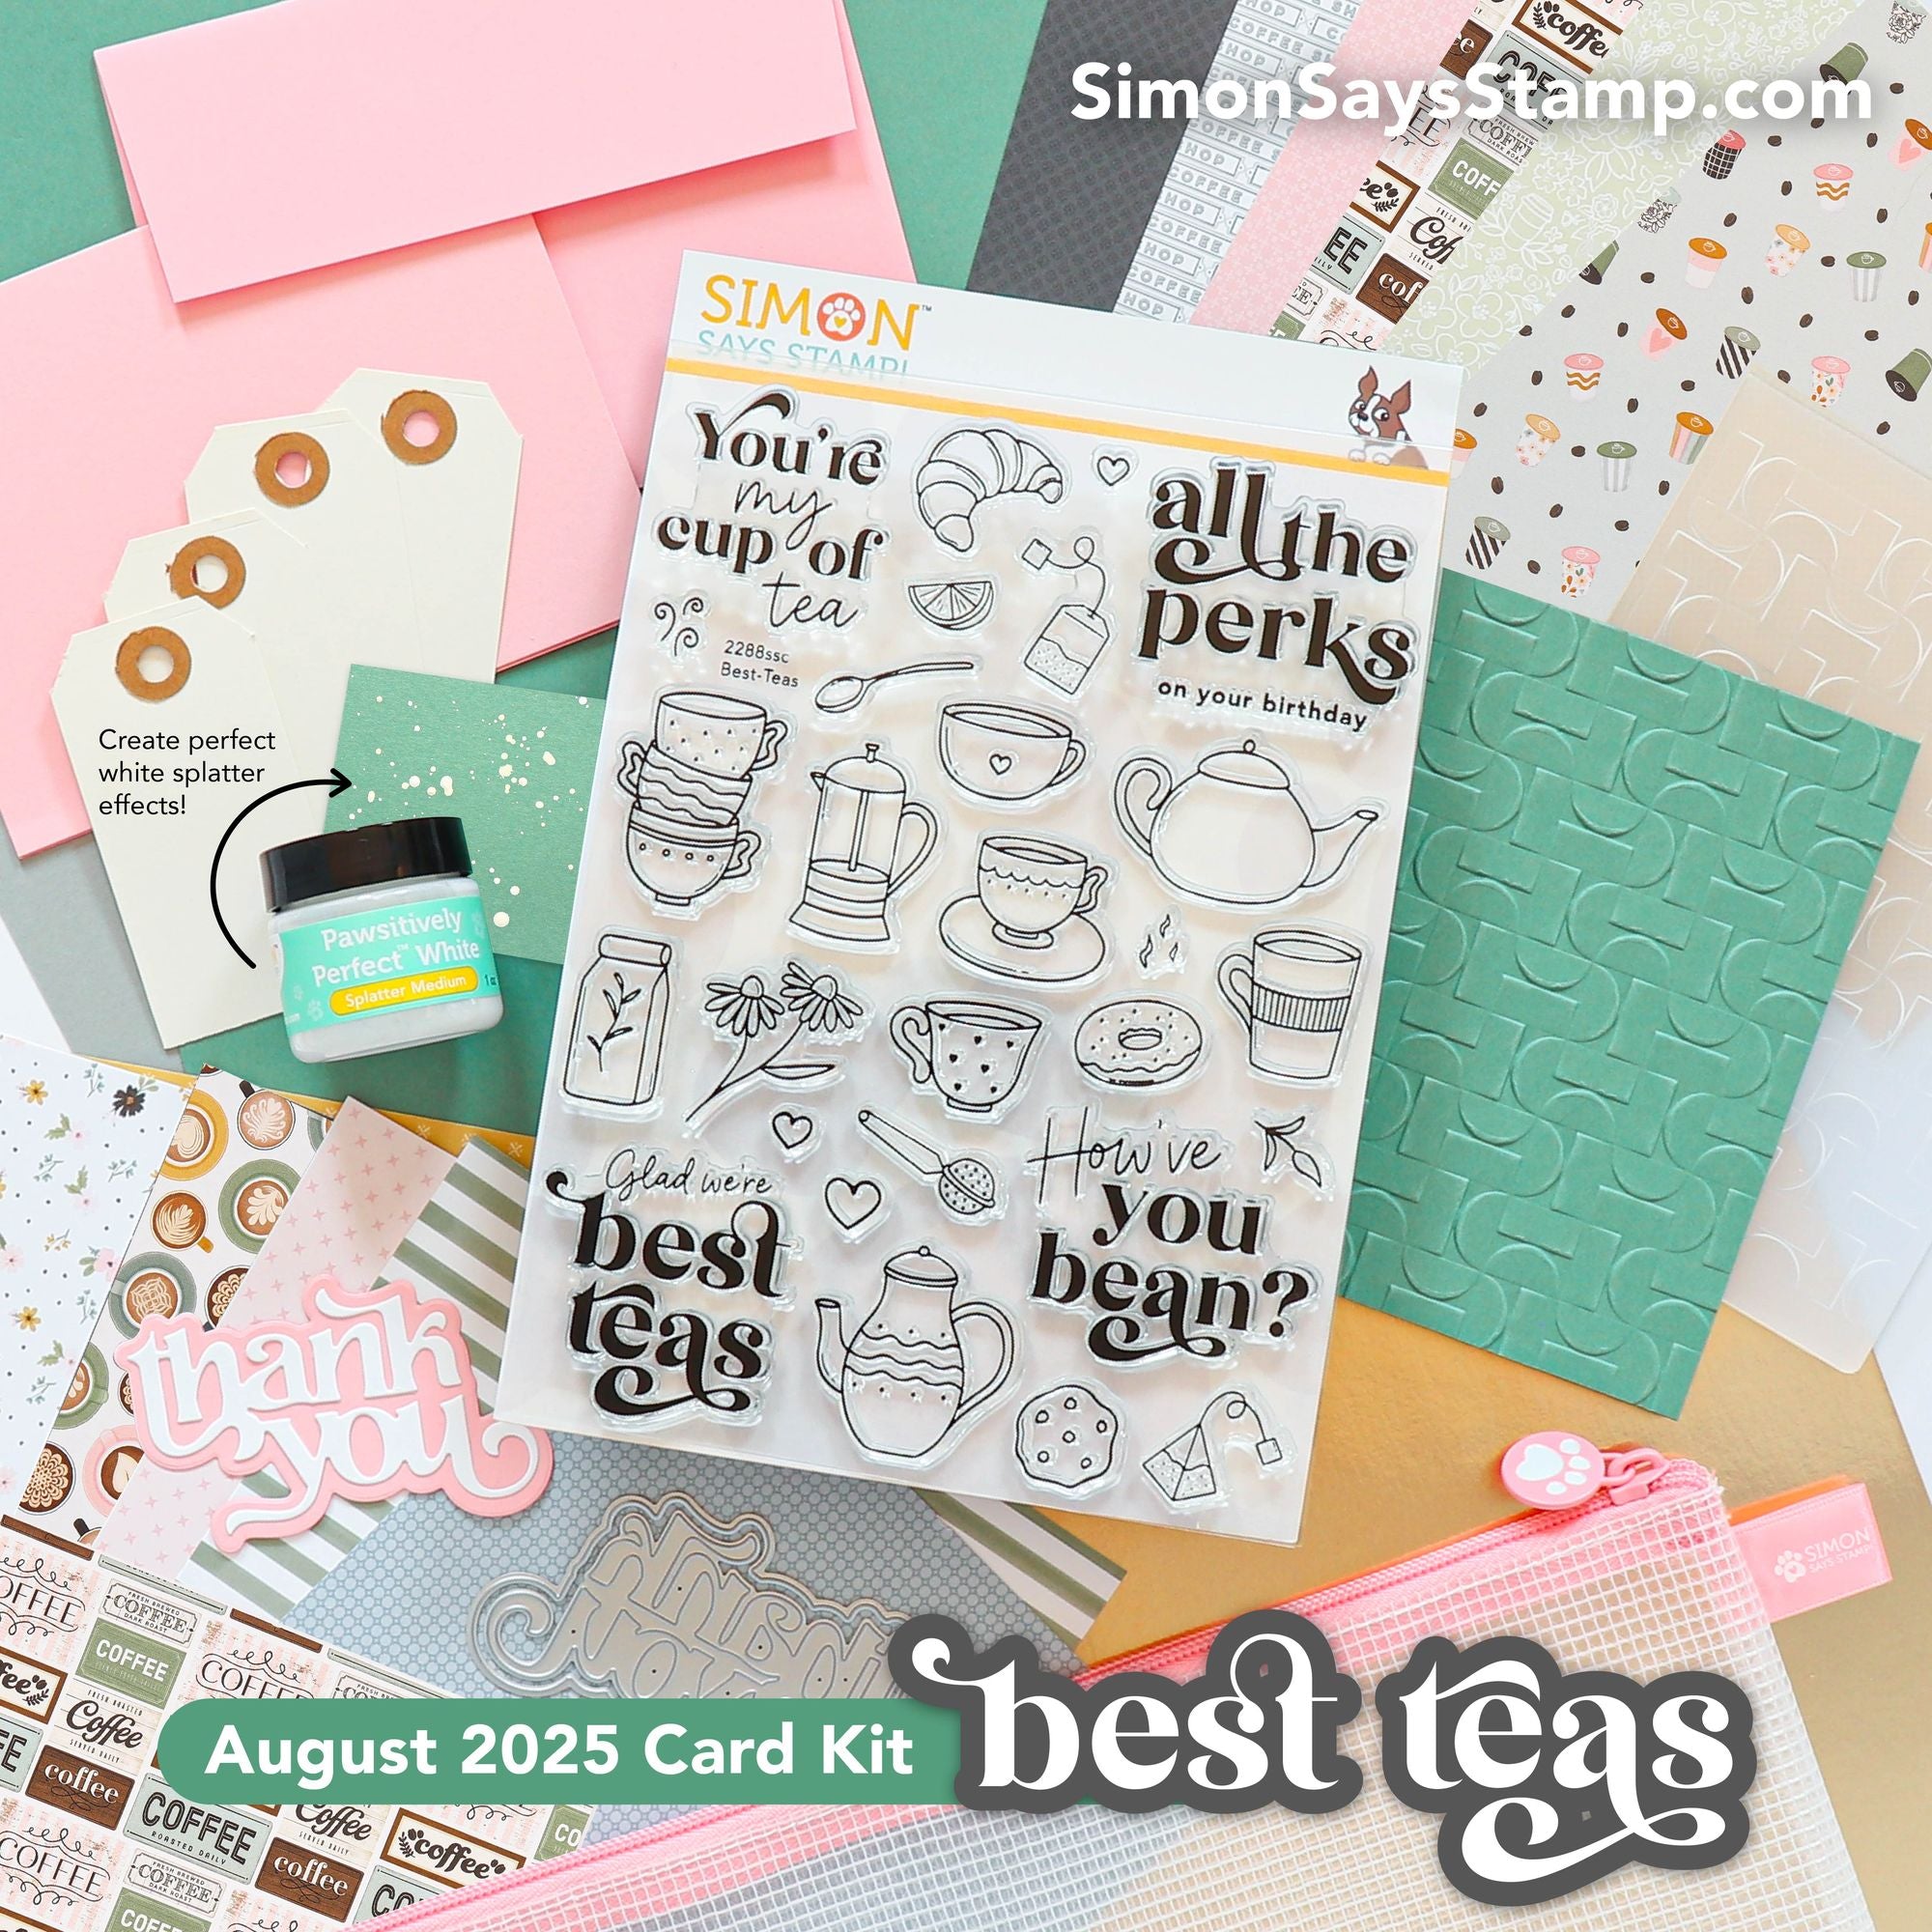
Hi friends! I have a couple more projects to share with you today using goodies from the fabulous new Simon Says Stamp Card Kit of the Month for August 2025, called Best-Teas! In this kit, you will find the most marvelous assortment of coffee- and tea-themed products that coordinate beautifully together or with other goodies from your stash. You will receive essentially everything that you need to create tons of different projects, and the value of these card kits is always sensational. Here’s a peek at the contents of the kit, which you can find in more details HERE:

I loved the gorgeous new Fancy Thank You die included with this month’s kit, and so I decided to make that the focal point of a card, pairing it with some of the absolutely outstanding patterned paper included with this month’s kit. Let’s get started on the details of my projects!

*I have gathered links to all of the products used at the bottom of the post for your convenience, using affiliate links. Thank you for shopping with my links! I truly appreciate your support for my work!*

I absolutely loved the pinks, greens, and flowers included with this month’s patterned paper, so I decided to use those colors for the color palette on both of today’s projects. The Carta Bella Coffee Shop patterned paper included with the kit features some beautiful Artist Trading Card-sized printed pieces, and two of those became the focal points for my projects today.

For the first project, I used the blank floral ATC piece as a backdrop for that gorgeous new Fancy Thank You die cut, which I cut using the included Matte Champagne foil cardstock included with the kit, backed with a vellum die cut shadow. I popped the pretty ATC up on a panel of A2 floral patterned paper; the patterns on the background and on the border of the ATC were so unique and of different weights that I felt confident that it was not necessary for me to use a solid cardstock mat to visually break the patterns up. You could easily add a solid cardstock mat around the edges if you prefer! I added the foil sentiment, backed with a vellum shadow, then added some gems and a few individual flowers that I fussy cut from the leftover patterned paper. So simple, but I just love how it came together!

For my final card, I used another printed ATC that I trimmed from the included patterned paper from the kit. I backed it with a contrasting Sage cardstock frame to help it pop from the background. To create the background, I used the included Cotton Candy A2 notecard, adding a strip of the leftover floral patterned paper that I used on the first project (waste not, want not!), tucking a strip of the pretty champagne matte foil cardstock along the edge to add some extra shine. I popped up the ATC with some foam adhesive squares, then added a couple of shimmery Gold Pawsitively Dazzling Gems on either side of the sentiment on the ATC, finishing everything off with a touch of sparkle!

Well, that’s all for my projects for this month’s Best-Teas Card Kit of the Month! Mixing and matching patterned papers is such a fun way to spend an afternoon, but I just love the results. This kit is so full of amazing products and even more amazing value! The Simon Says Stamp Card Kits are such an incredible value; the value of the individual elements of each kit equals far more than the $44.99 price tag, so you’re getting incredible bang for your buck. If you are consistently interested in the Simon Says Stamp Card Kit of the Month, you can sign up HERE to become a subscriber for an even bigger discount on these carefully curated products. As always, Simon also makes each individual element of the kits available a la carte, so that you can pick and choose what you would like to purchase if buying the entire kit isn’t really your thing. Who can say no to such incredible value though, right?

Thanks so much for stopping by today, and have a marvelous day!
Filed Under: simon says stamp, Uncategorized Tagged With: card kit of the month, fancy thank you, patterned paper, simon says stamp card kit

  • Page 1
  • Page 2
  • Page 3
  • Go to Next Page »

Primary Sidebar

  • Facebook
  • Instagram
  • Pinterest
  • YouTube

Favorite Shops

Secondary Sidebar

Subscribe

Enter your email address to subscribe to this blog and receive notifications of new posts by email.

Instagram
Something is wrong.
Instagram token error.
Follow
Load More

Archives

Tags

3D embossing folder alcohol markers better press birthday birthday card blog hop card kit christmas christmas card christmas tag colored pencil copic copic coloring Daniel Smith die cutting embossing folder embroidery felt giveaway holiday holiday card hot foil ink blending karin brushmarker pro layered stencil masculine my monthly hero new release no line coloring no line watercolor OLO marker olo markers original illustration pawsitively saturated rainbow shaker card slimline stamping stamptember stencil thank you thinking of you valentine's day video watercolor

Popular Posts

Simon Says Stamp Sending Cheer Blog Hop- Day 2 + Freebie + Giveaway!
Altenew October 2026 Release Blog Hop + Giveaway!
Altenew Build A Flower Sweet Violet+Giveaway!
Floral Follies on Canvas with New Simon Says Stamp STAMPtember!
Simon Says Stamp STAMPtember Tim Holtz Collaboration: Festive Holidays!
Altenew March 2020 Release Blog Hop+Giveaway!
Honey Bee Stamps Bee Bold Release Blog Hop!
Waffleflower July Release Blog Hop!
Altenew Paint A Flower: Carnation Blog Hop+Giveaway!
Autumn Legs with Colorado Craft Company and Catherine Pooler!

Disclosure

Some affiliate links are used in my posts. This means that, should you click on one of my links and purchase something from that company, I will receive a small portion of the sale at no extra cost to you. I use the money earned from these sales to help maintain my blog. I so appreciate you visiting and, if you do choose to use one of my affiliate links, thank you so much for your support!
Copyright © 2026 ·Brunch Pro Theme · Genesis Framework by StudioPress · WordPress · Log in
Loading Comments...