• Skip to main content
  • Skip to primary sidebar
  • Skip to secondary sidebar

Sixth Street Sundries

Emily Midgett

  • Home
  • About Me
  • Contact
  • OLO Marker Color Swatch Chart
  • Shop

pawsitively saturated ink

Textured Hearts with New Simon Says Stamp!

January 29, 2026


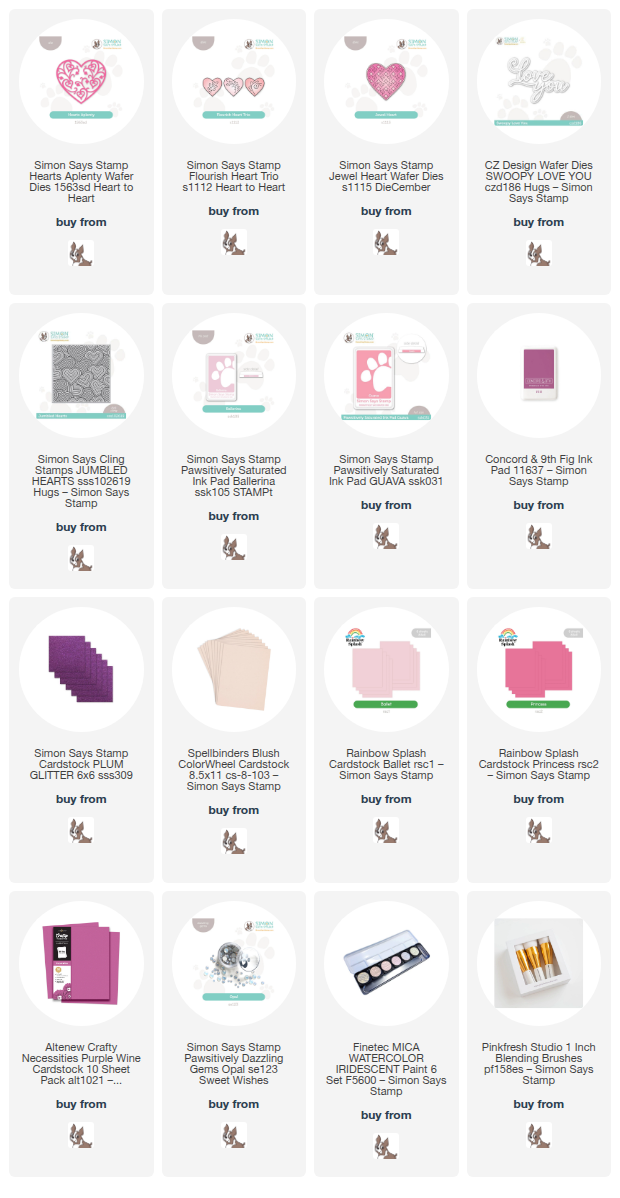
This post was sponsored by Simon Says Stamp. Thanks, Simon! *I have gathered links to all of the products used at the bottom of the post for your convenience, using affiliate links at no extra cost to you. Thank you for shopping with my links! I truly appreciate your support for my work!*

Hi friends! I have some new inspiration for you today featuring some beautiful new heart dies from the Heart to Heart Release  from Simon Says Stamp (click HERE to check out the entire release!). The release featured lots of beautiful stamps and dies to use to create your valentines, and I just couldn’t resist pairing some of them to create these pretty valentines in a lovely blush/pink/magenta color palette, with just a touch of rich plummy pink thrown in! I had enough die cuts to create two different cards, which makes it even better… so let’s get started with the details!

I loved the color palette that I used for THIS card, so I pulled several different scraps of coordinating colored cardstock to use for my standalone die cuts. The details on the new heart dies from the Heart to Heart release are so exquisite and definitely deserve to be center stage!! I used the scraps of cardstock to die cut Hearts Aplenty, Flourish Heart Trio, and Jewel Heart as many times as I could from each color, so that I would have plenty of die cuts to use to create my cards.

Before arranging the die cuts on my card front, I used blending brushes to very lightly blend Concord and 9th Fig ink and Pawsitively Saturated Ink in shades of Ballerina + Guava on my white A2 card front. I kept the blending very subtle to keep the background from overpowering the heart die cuts, just a suggestion of coordinating color. I also splattered the blended background with some iridescent glitter watercolors for added shimmer!

Once my background had dried, I used a mixture of liquid adhesive and foam adhesive squares to add the hearts in a random pattern, making sure to get a good mixture of sizes and colors throughout the card front. For any hearts hanging over the edge, I simply used some sharp scissors to snip off any excesses. I added a glitter die cut Swoopy Love You to the solid pink heart, selecting a lighter shade of pink for that heart and then creating a contrasting deep purple glitter die cut sentiment. Making this sentiment the darkest color on the card front ensures that the greeting pops off of the card. Finally, I added a few Opal Pawsitively Dazzling Gems for additional sparkle!

My second card primarily uses the “leftovers” from the first project. Because the Flourish Heart Trio is a single die that cuts three individual shapes, I had several left and decided to use them all on their own! I created a couple of strips of glitter cardstock, then decided to use those to create a barrier for a patterned strip on the exterior edge. I stamped the Jumbled Hearts background with Ballerina Pawsitively Saturated Ink just on the edge of my A2 card front. I adhered the glitter cardstock strips over the seam between the white cardstock side and the patterned side with liquid adhesive, then popped up the hearts in a neat line on top of the strips using foam adhesive squares. No sentiment required for this clean and simple notecard!!

Well, that’s all for my project today! Do you make lots of valentines for those special people in your life? I am going to try to have a handmade valentine for each of my kiddos and my husband this year! Thanks so much for stopping by today, and have a marvelous day!
Filed Under: simon says stamp Tagged With: die cutting, flourish heart trio, hearts aplenty, ink blending, jewel heart, jumbled hearts, love you, pawsitively saturated ink, swoopy love you, valentine, valentine's day

Simon Says Stamp STAMPtember Collaboration 9/15/25: Gina K. Designs!

September 15, 2025

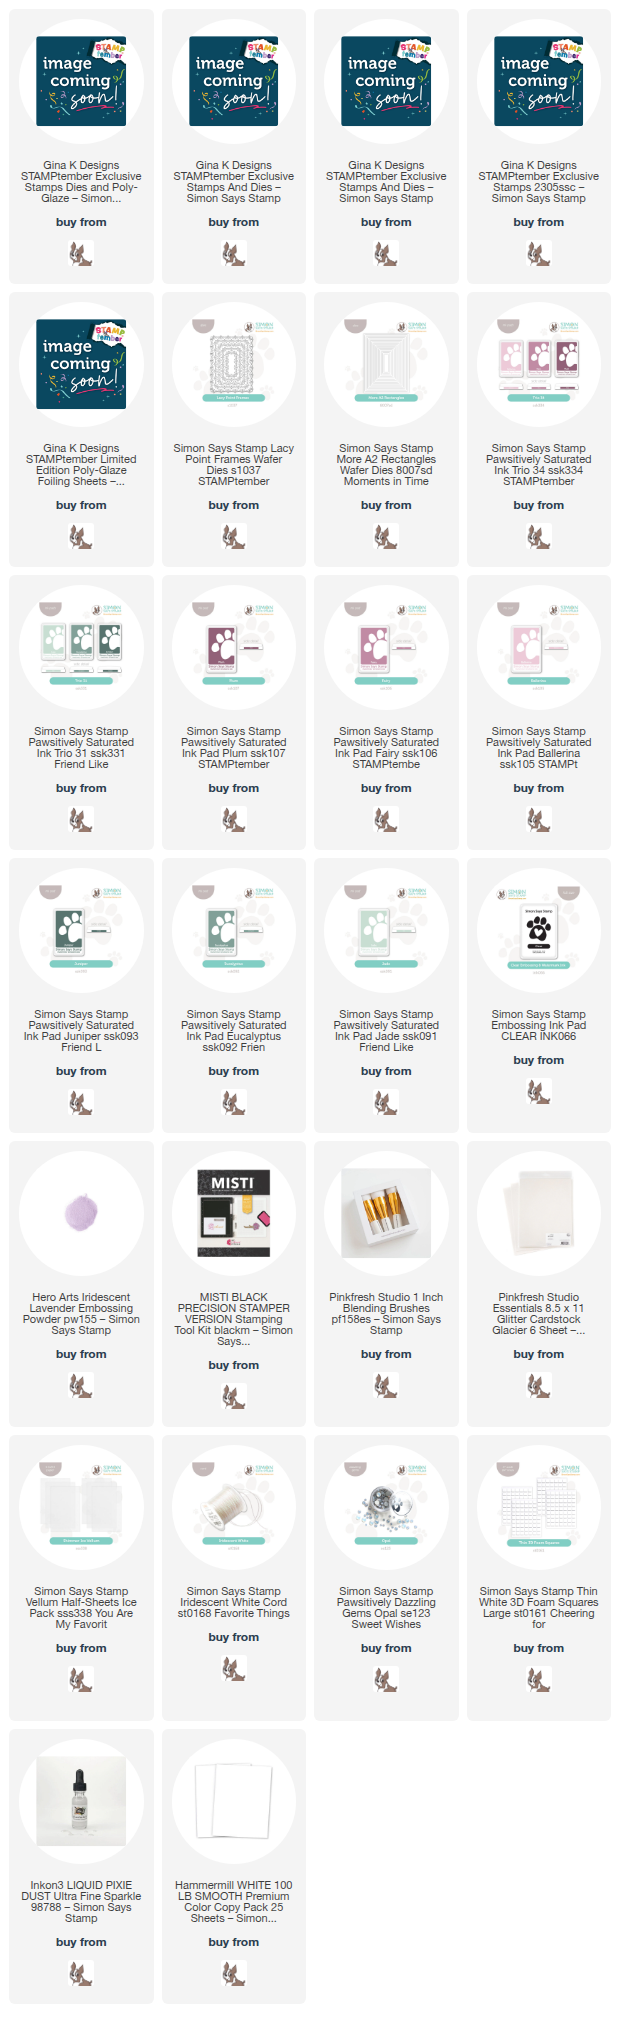
Hi friends! I am back today with another collaboration stamp set for Simon Says Stamp’s month-long stamping extravaganza. Today’s gorgeous set is brought to you by fan-favorite: Gina K. Designs! (You can click HERE to see all of Gina’s products!)

If you are new to STAMPtember from Simon Says Stamp, throughout the month of September, Simon Says Stamp will have exclusive collaborations with some of our favorite stamping companies, releasing an exclusive, limited edition stamp set designed in collaboration with a different company nearly every day! (Click HERE to see the Collaboration Sets page, and be sure to bookmark it!) 

For both of my projects today, I used a sugar plum fairy color palette, pairing the gorgeous new pink inks in Pawsitively Saturated Ink Trio 34 with the cool, muted greens of Ink Trio 31. My MISTI was also invaluable for both projects; I used the ability to stamp over the top of my dye inked images with embossing ink so that I could add shimmering embossing powder over the top, creating a perfect canvas for emboss/resist technique!

For my first project, I stamped the ornament duo from the exclusive, limited edition Gina K Designs Shimmering Christmas product suite onto some white cardstock using Pawsitively Saturated Eucalyptus ink, then added embossing ink and Hero Arts Iridescent Lavender Embossing Powder, adding a lush iridescent shimmer to these dangling ornaments. After I had embossed the ornaments, I used blending brushes to blend Pawsitively Saturated Inks in shades of Plum, Fairy, and Ballerina around the edges of the embossed panel, adding some second generation stamping with the sparkles from the stamp set as well as some glitter watercolor splatters to create an ethereal, magical background.

For the greeting, I used my MISTI to stamp the sentiment from Shimmering Christmas using Juniper ink, again adding embossing ink and Iridescent Lavender embossing powder over the top. I die cut the image with it’s coordinating die, then added a notched strip of vellum behind it, folding it over the edge of my embossed and blended card front and adding liquid adhesive behind the solid die cut. I added a bow tied with Iridescent White Cord, tucking it beneath the sentiment, then added a couple of die cut sparkles, stamped with Jade ink and embellished with more Iridescent Lavender embossing powder. Finally, I added one more touch of sparkle with Opal Pawsitively Dazzling Gems.

My second project features similar techniques, but creates a sparkling frame for my dangling ornaments! I stamped the ornaments from Shimmering Christmas using Jade Ink, again adding the Lavender Embossing Powder. This time, however, I die cut the finished ornaments and added some ink blending, creating shadows and highlights by concentrating the color towards the bottom edge and tapering off towards the middle. I also stamped and embossed a greeting using the same ink/powder combination, die cutting it with it’s coordinating die.

I created another ethereal, magical holiday background by blending Plum, Fairy, and Ballerina inks down the A2 card front in an ombré, then used Ballerina Ink to stamp a variety of snowflakes and sparkles all over the card front to create a subtle, tone-on-tone winter background. I again splattered the background with iridescent glitter watercolors and popped up a glittery white frame created with Pinkfresh Studio Glacier glitter cardstock and cut with the new Lacy Point Frames and More A2 Rectangles. I popped up the frame with foam adhesive and arranged the baubles within the frame, tucking an embossed and die cut greeting amongst them with a double layer of foam adhesive. Finally, I added some more Opal Pawsitively Dazzling Gems for even more shimmer and sparkle!

Well, that’s all for my projects today! If you love the STAMPtember Collaboration Sets, don’t wait to purchase them, because these limited edition sets will NOT be restocked. Once they’re gone, they’re gone! (Click HERE to see the Collaboration Sets page, and be sure to bookmark it!) Each day holds new surprises, so be sure to check out the Simon Says Stamp social media at noon ET every day throughout STAMPtember so that you don’t miss out. Thanks so much for stopping by today, and happy STAMPtember!!!

Filed Under: simon says stamp, Uncategorized Tagged With: christmas card, embossing, gina k designs, holiday card, ink blending, lacy point frames, more A2 rectangles, pawsitively saturated ink, stamptember

Christmas in July Finale: Christmas Tree Trio with Simon Says Stamp + SALE!

July 25, 2025

This post was sponsored by Simon Says Stamp. Thanks, Simon!

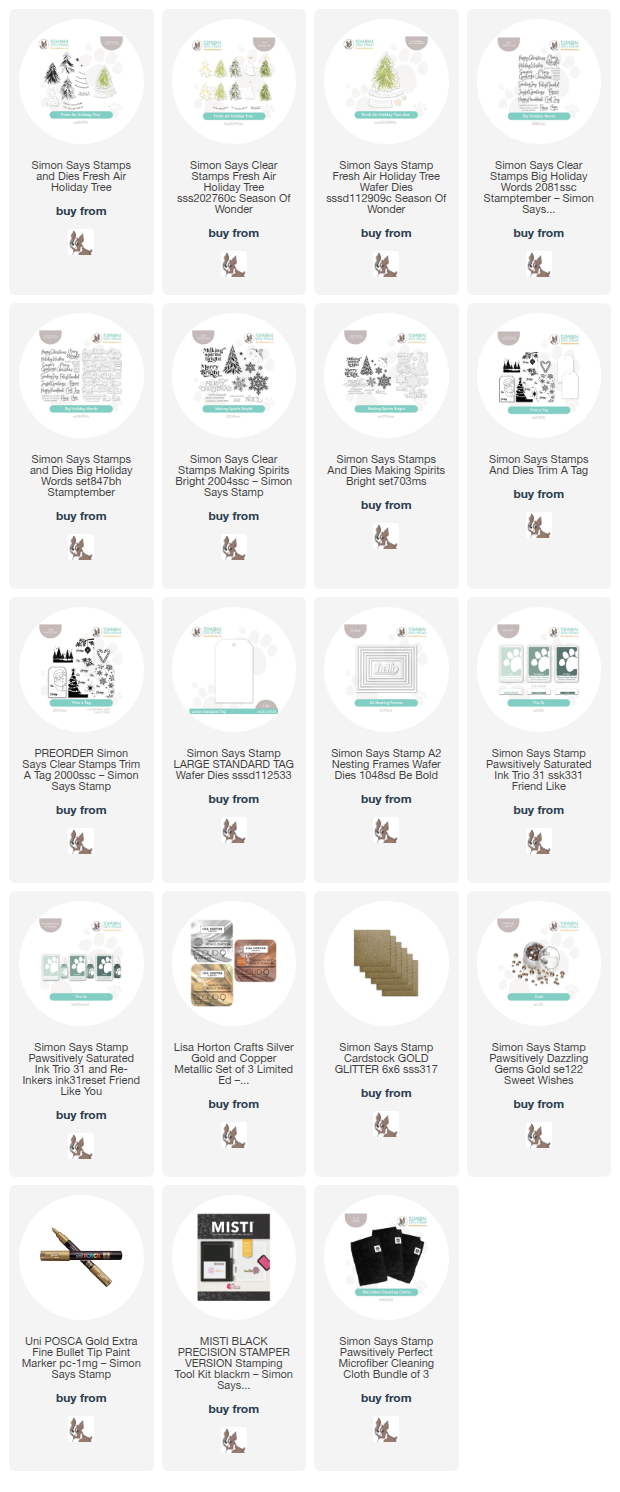
Hi friends! For my last Christmas in July post, I thought I would share a pretty Christmas Tree Trio made using three different Christmas tree stamp sets from Simon Says Stamp! Nothing screams “Christmas” quite like a Christmas tree, right? Each of the stamp sets that I’ve chosen to use today have very different styles, and I paired them with a beautifully traditional green, gold, and white color palette to create this trio of projects that work nicely as a set or as individual pieces. Let’s get started with the details!

*I have gathered links to all of the products used at the bottom of the post for your convenience, using affiliate links. Thank you for shopping with my links! I truly appreciate your support for my work!*

For all of my projects today, I use the gorgeous, muted greens from the Simon Says Stamp Ink Trio 31. This trio of muted greens is utterly luscious, and they are each as beautiful alone as they are when they are all working together! I added some glitzy gold accents to each project for an elegant touch, leaving lots of crisp white to make these tags and card as clean and elegant as possible.

To begin, I stamped the Fresh Air Holiday Tree using the lovely greens in Ink Trio 31: Jade, Eucalyptus, and Juniper. I did find it easier to stamp the three layers if I used the negative space of the die cut as my guide. I simply die cut a blank panel of white cardstock using the Christmas tree die from Fresh Air Holiday Tree, then placed the negative (the area around the tree die cut) in my MISTI, and used the negative space to line up each layer perfectly! The color guide on the back of the stamp packaging was also super helpful to know which color worked best with which layer, but honestly, the sketchy, simplistic nature of the finished image is super user-friendly. The first tree that I stamped ended up not being quite right with the die, but it still looked lovely, so I fussy cut it with scissors and then created a second tree using the method that I described above. If you have difficulty lining up your dies to stamped images, sometimes it can be very helpful to die cut first and stamp after!

To add some pretty shimmering accents to the card, I die cut the A2 Nesting Frames from some gold glitter cardstock and layered one on my A2 card front. I also stamped the star and sentiment banner from Fresh Air Holiday Tree using Lisa Horton Metallic Gold Pigment Ink, die cutting them with their coordinating dies. I added some touches of gold paint pen for baubles on the tree, as well as some Gold Pawsitively Dazzling Gems. I popped up the tree in the center of the glittery gold frame using foam adhesive, then added the sentiment banner over the top and the star with a double layer of foam adhesive! A simple but oh-so-elegant holiday card that I think would be super easy to mass produce!

To create my little trio, I also decided to create two coordinating tags using two more completely different tree images from Simon Says Stamp’s holiday collection. For the first tag, I stamped the elegant stylized tree image from Making Spirits Bright using an ombré stamping method. I inked up the top part of the tree with Jade ink, tapping the edges of the inked area with my microfiber cloth to blur them a bit and make the edge a bit less harsh, stamped it with my MISTI, then again to make sure that the top of the tree had great coverage. I cleaned the top 1/3 of the tree, then inked up the middle section with Eucalyptus ink, again blurring the harsh edges with my cloth to make the transition to each color smoother. Finally, I finished inking the entirety of the image with Juniper ink. I also stamped a gold sentiment from Big Holiday Words. I die cut each image with it’s coordinating die, then added some gold paint dots and gold gems for sparkle. I popped the tree and sentiment up with foam adhesive on a white pearlescent tag, cut using the Large Standard Tag die, then added some twine for a loop and bow!

For the simpler tag, I began by die cutting the Large Standard Tag from plain white cardstock. I used Juniper ink to stamp the tree from Trim A Tag, doing some creative masking to stamp the tree in green and the to/from in gold. I also added some Jade stars in the corner, adding subtle interest behind the tree. To add some sparkle, I used the gold paint pen for the baubles and added some small Gold Pawsitively Dazzling Gems for a little extra texture and shimmer! Finally, I finished everything off with a simple twine loop.

Well, that’s all for my projects today and for my Christmas in July series. It’s such fun to be able to pull out my holiday goodies after them sitting forlornly in my bins for months!

Now for the fun sale part!! Simon Says Stamp is running an absolutely fabulous sale on tons of holiday and non-holiday goodies in their Steals and Deals category. All you have to do is add items from this category into your cart and input code DEALZ at checkout to receive 50% off everything from that catgory! I just checked, and there are so many fantastic holiday crafty items left, but things are moving quickly, so don’t hesitate if you see something that you want! You can click on the graphic to go directly to the sale page or click HERE to see what’s left!

Thanks so much for stopping by today, and have a marvelous day!

Filed Under: simon says stamp, Uncategorized Tagged With: A2 nesting frames, big holiday words, christmas card, fresh air holiday tree, holiday card, making spirits bright, pawsitively saturated ink, tag, trim a tag

Simon Says Stamp Pawsitively Saturated Blog Hop + SALE!

May 16, 2025

This post was sponsored by Simon Says Stamp. Thanks, Simon!

Hi friends! I am hopping along with my friends at Simon Says Stamp to share a most wonderful rainbow of happiness! You should have arrived here from Amy Rysavy, and your next stop is Bibi Cameron. You can also start back at the beginning at the Simon Says Stamp Blog in case you get lost! Today, we are celebrating all things ink! The exclusive Simon Says Stamp ink line, which includes the fabulous Pawsitively Saturated and Rainbow Splash ink lines are absolutely exquisite with such a gorgeous array of colors available… and they’re so dang juicy… simply luscious! Using colorful ink to make white cardstock into any color that I can dream up is one of my favorite things. To inspire you today, I have created a pair of projects with two different techniques, both featuring a gorgeous, vibrant sapphire and emerald color palette. Let’s get started with the details!

*I have gathered links to all of the products used at the bottom of the post for your convenience, using affiliate links. Thank you for shopping with my links! I truly appreciate your support for my work!*

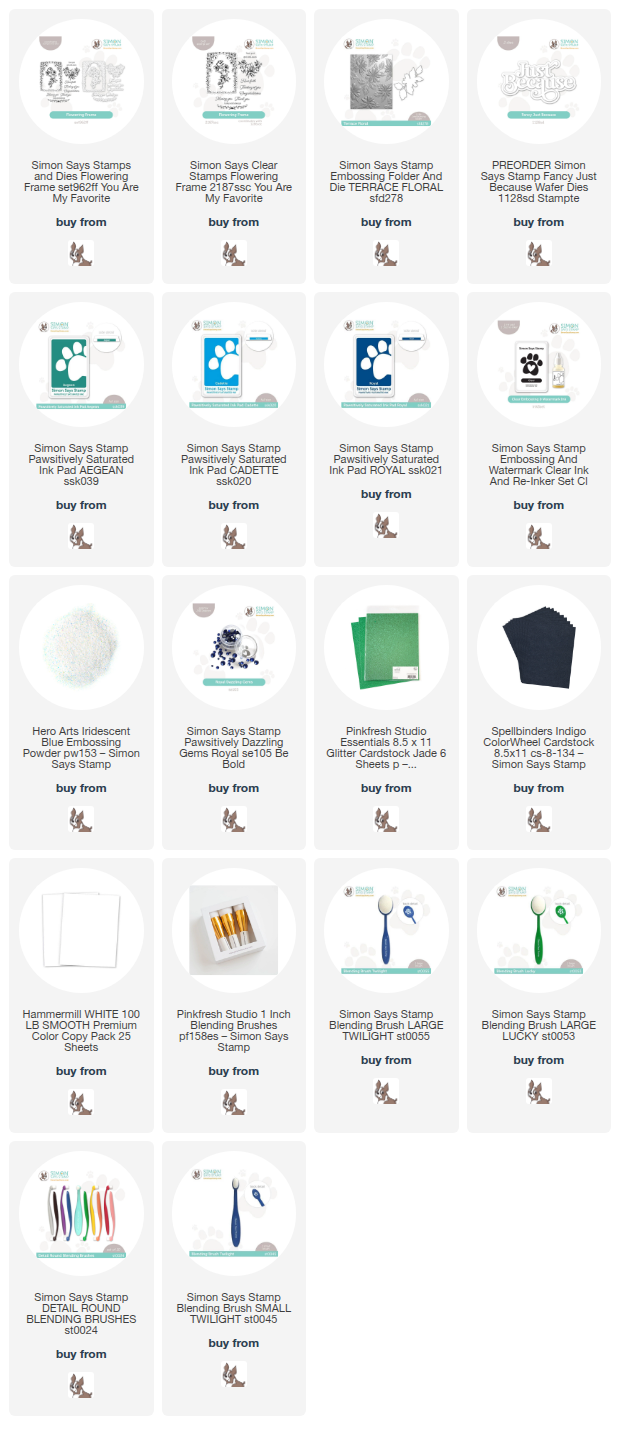
Because this is a blog hop celebrating all things inky, I first pulled out my ink colors. I decided to pair Aegean ink with Cadette and Royal inks. These analogous colors work very nicely together if applied carefully. I love my monochromatic projects, but in the name of creativity, I decided to push myself to add another vibrant jewel tone into the mix.

For my first project, I decided to do some ink resist, highlighting the beautiful contrast between the blue and green inks. I stamped images from the Flowering Frame stamp set onto white cardstock using Aegean ink, then stamped again directly over the top with embossing ink and added Iridescent Blue embossing powder. This translucent embossing powder not only makes it possible to ink blend over the top of the images without compromising the beautiful teal green, but also adds an irresistible iridescent shimmer to these detailed images. I then used blending brushes to blend Cadette and Royal inks directly over the top of the images, concentrating the deep Royal blue on the outer edges of the panel to create almost an ombré effect.

After I had ink blended and die cut the images, I used the same Cadette and Royal inks on a plain A2 card front to create a color saturated tone-on-tone card front. I popped up the die cut images with foam adhesive, then used the same techniques to create a “thinking of you” sentiment from the Flowering Frame stamp set. I popped the sentiment up on some Jade glitter cardstock from Pinkfresh Studio, then used my sharp scissors to create a shadow layer. This added texture and sparkle from the Jade glitter cardstock allows the sentiment to stand out a bit more from the vibrant background. Finally, I added a few Royal Pawsitively Dazzling Gems to the corners and top of the frame for even more sparkle.

For my second card, I decided to use the same shades of ink in different gradations of intensity on an embossing folder. To achieve multiple shades of the same ink color, I paired ink blending with some ink swiping to create this pretty patterned card front. To start, I embossed a panel of white cardstock with the Terrace Floral embossing folder, then flipped the embossed piece over so that the embossed pattern was actually debossed; that is, the pattern is impressed down into the cardstock. I then used blending brushes to blend Cadette ink on the flowers and Aegean on the foliage, not worrying about the edges of the images, because I knew that the raised areas (that is, the negative space on the pattern) would be covered with the deep blue Royal ink. After I had finished lightly blending the images, I placed my ink pad directly on the cardstock and swiped the deep blue ink onto the raised areas. This swiping technique is so much fun and creates such a huge impact with not a ton of effort!

After I had finished creating the background, I die cut the shadow layer of the Fancy Just Because from some coordinating navy blue cardstock and the detail layer from Pinkfresh Studio Jade Glitter Cardstock. I adhered both layers together with liquid adhesive, then popped it up in the center of my patterned panel with foam adhesive squares. Finally, I added some large Royal Pawsitively Dazzling Gems to the centers of the flowers for a bit of added sparkle and texture!

Well, that’s all for my projects today. Isn’t it amazing what a little ink and white cardstock can create? These techniques are such fun and create those intensely colorful projects that I just love.

**To make this inky hop even more exciting, Simon Says Stamp is offering 20% off of their entire exclusive Simon Says Stamp -branded ink line until 5/18/25! Simply use code HUE4U at checkout to receive 20% off your Simon-branded inks and re-inkers!**

Your next stop is Bibi Cameron. Thanks so much for stopping by today, and happy hopping!

Filed Under: simon says stamp Tagged With: 3D embossing folder, analogous, emboss resist, embossing folder, fancy just because, flowering frame, ink blending, ink swiping, pawsitively saturated ink, terrace floral

Ink Swiped Wedding Card with New Simon Says Stamp!

May 6, 2025

This post was sponsored by Simon Says Stamp. Thanks, Simon!

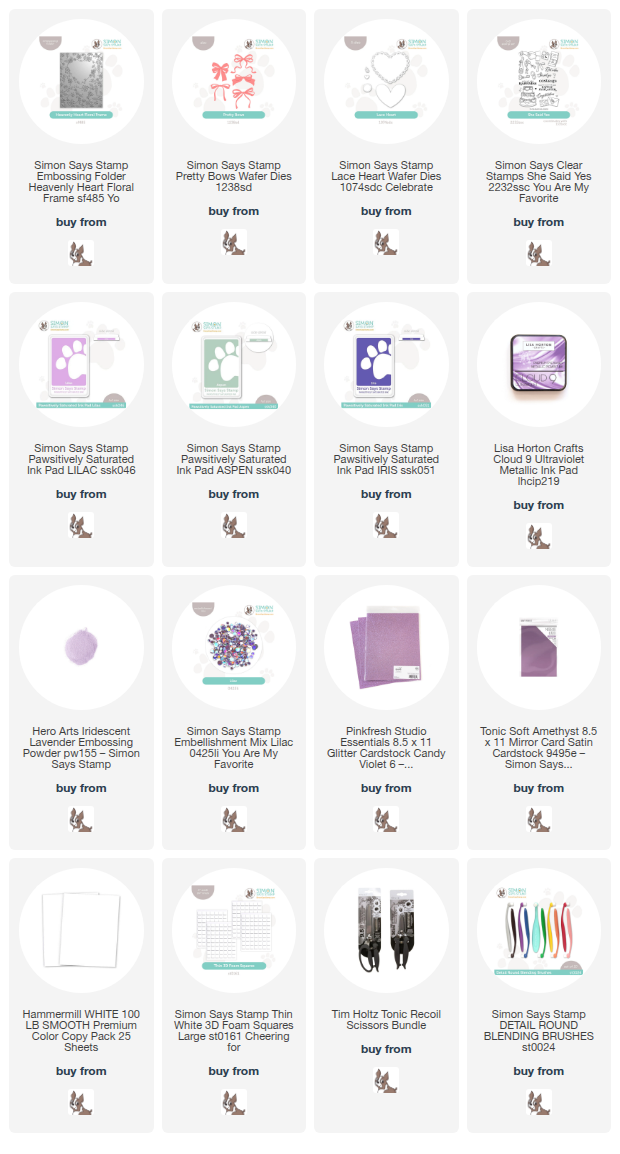
Hi friends! I have a unique project to share wtih you today using some fun old and new goodies from the new Simon Says Stamp  You Are My Favorite Release. The ink-swiping trend is such a fun way to make a big impact on a card with relatively little time commitment! I paired this fun technique with the new Heavenly Heart Floral Frame Embossing Folder to create this dainty wedding card. Let’s get started with the details!

*I have gathered links to all of the products used at the bottom of the post for your convenience, using affiliate links. Thank you for shopping with my links! I truly appreciate your support for my work!*

To begin, I embossed a panel of plain white cardstock with the new Heavenly Heart Floral Frame Embossing Folder, then flipped the panel over so that the panel was debossed, that is, with the pattern pushed down rather than raised up. I then used Simon Says Stamp’s small blending brushes to blend Lilac and Aspen Pawsitively Saturated Inks on the debossed flowers and foliage. The great thing about this technique is that you don’t have to be too fastidious with your ink blending and keep things too neat; any messy edges will be covered up with the dark ink swiping! Once I had “colored” all of the individual images, I pressed the Iris Pawsitively Saturated Ink Pad directly to the paper, sliding it over the flat parts of the debossed panel. The subterranean debossed images maintain their color, creating a colorful patterned background panel.

To enhance the heart shape in the center of the debossed pattern, I die cut a dainty and lacy heart frame using the previously-released Lace Heart Die from some coordinating lilac colored glitter cardstock. I popped the lacy heart frame up on the card front using thin strips of foam adhesive and topped the point of the heart off with a coordinating lilac matte foil bow cut using the Pretty Bows die set.

For the greeting, I stamped a sentiment from the new She Said Yes stamp set onto some coordinating minty pastel cardstock using Lisa Horton Ultraviolet ink, then embossed the pigment ink with Hero Arts Iridescent Lavender Embossing Powder to create a shimmering iridescent sentiment. I used my sharp scissors to cut the sentiment out, then popped it up in the center of the heart with a double layer of foam adhesive squares to give it a little extra height. Finally, I added a few sequins from the new Lilac Embellishment Mix to add a little more sparkle to the card!

Well, that’s all for my project today. Isn’t the ink swiping technique so much fun?? I just love the different looks that you can create simply by your color palette choices! Thanks so much for stopping by today, and have a marvelous day!

Filed Under: simon says stamp Tagged With: die cutting, embossing folder, heavenly heart floral, ink swiping, lace heart die, lisa horton ink, pawsitively saturated ink, pretty bows, she said yes, wedding card

  • Page 1
  • Page 2
  • Page 3
  • Go to Next Page »

Primary Sidebar

  • Facebook
  • Instagram
  • Pinterest
  • YouTube

Favorite Shops

Secondary Sidebar

Subscribe

Enter your email address to subscribe to this blog and receive notifications of new posts by email.

Instagram
Something is wrong.
Instagram token error.
Follow
Load More

Archives

Tags

3D embossing folder alcohol markers better press birthday birthday card blog hop card kit christmas christmas card christmas tag colored pencil copic copic coloring Daniel Smith die cutting embossing folder embroidery felt giveaway holiday holiday card hot foil ink blending karin brushmarker pro layered stencil masculine my monthly hero new release no line coloring no line watercolor OLO marker olo markers original illustration pawsitively saturated rainbow shaker card slimline stamping stamptember stencil thank you thinking of you valentine's day video watercolor

Popular Posts

Simon Says Stamp Sending Cheer Blog Hop- Day 2 + Freebie + Giveaway!
Altenew October 2026 Release Blog Hop + Giveaway!
Rustic Monochromatic Stars for Christmas with Rainbow Splash!
Hero Arts Partners Blog Hop: Lawn Fawn!
Waffleflower July Release Blog Hop!
December 2018 My Monthly Hero Blog Hop + Giveaway!
March 2020 Essentials By Ellen Blog Hop+Giveaway!
The Ton Anniversary Release: Day 1!
The Ton Stamps Summer Release: Day 1
Altenew Paint A Flower: Carnation Blog Hop+Giveaway!

Disclosure

Some affiliate links are used in my posts. This means that, should you click on one of my links and purchase something from that company, I will receive a small portion of the sale at no extra cost to you. I use the money earned from these sales to help maintain my blog. I so appreciate you visiting and, if you do choose to use one of my affiliate links, thank you so much for your support!
Copyright © 2026 ·Brunch Pro Theme · Genesis Framework by StudioPress · WordPress · Log in
Loading Comments...