• Skip to main content
  • Skip to primary sidebar
  • Skip to secondary sidebar

Sixth Street Sundries

Emily Midgett

  • Home
  • About Me
  • Contact
  • OLO Marker Color Swatch Chart
  • Shop

press 'n seal

A quick card and an ink sale…

March 15, 2018

Good morning! (Very, very early morning. Yawn.) anyway… Today, March 15-17th, Ellen Hutson is having an awesome sale on ink pads and reinkers. 20% off!! Absolutely fabulous, right? This includes to highly coveted Distress Oxides, Versafine Clair (which are on my wish list! Love love love the idea of being able to have colored stamping for my watercolored images!), Catherine Pooler (which you can see in action here), and all other inks. Get over and get your shop on early to get the best selection!! Be sure to use code INKY18 to receive the discount!

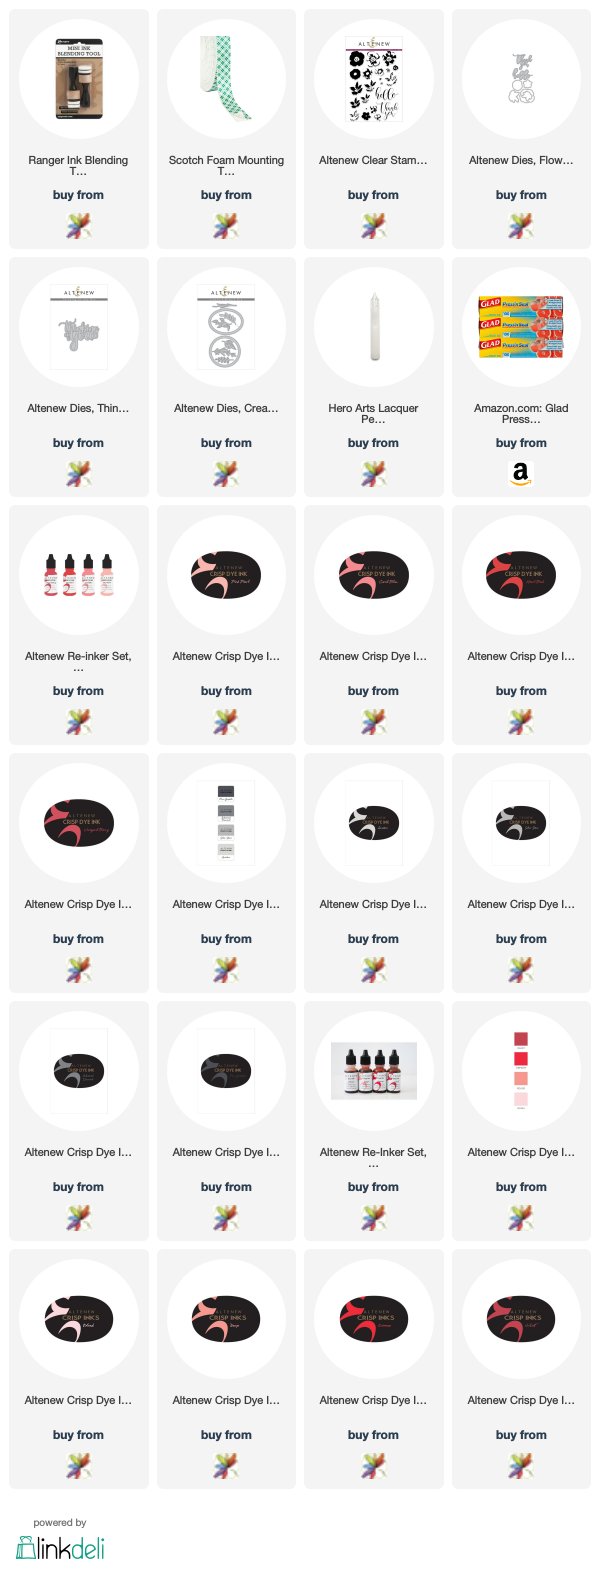
My personal favorite are the Altenew Ink line. The coverage is fabulous, and you can’t really beat the array of colors available. To give you a little inky inspiration, I whipped up this card using the new Tea Party and Red Sunset ink sets, as well as the Rock Collection for the foliage. I had a bunch of die cut and stamped flowers (coming soon in a different project!) already on hand, so this card came together in about 10 minutes. Doesn’t get much better than that!

I stamped several of the blooms from Altenew’s Flower Arrangement stamp set, then die cut them with the coordinating dies. I stamped them using the Tea Party and Red Sunset inks for the blooms, adding in touches of Industrial Diamond and Pure Graphite inks for the centers of the blooms. I love pairing traditional blooms with non-traditional foliage colors, so I chose to stamp the leaves using the Rock Collection inks just for something different! I also die cut the absolutely beautiful new Thinking of You die from some dark charcoal card stock, as well as an oval frame from the Create A Wreath die set from some dark graphite gray metallic card stock.

I arranged my flowers on the frame on my card front, then lifted it up with some Press’n’Seal and added foam adhesive to the back. (I know I use this technique all the time, but I’m not affiliated with Press’n’Seal in any way. I just think it’s a ridiculously amazing product to have in the craft room, especially if you like to arrange flowers like I do!) I did some light ink blending with some Pink Pearl ink on the card base, then adhered my floral frame to the card front. I adhered the Thinking of You on the top of my arrangement, then added some Hero Arts Crystal Lacquer to the greeting die cut to really make it pop off of the card front. It’s not quite dry in this photo; I wanted to get the card done and dusted before I lost the light outside! Love that it stays light out so late these days!

So many instructions for such a quick and easy card! Once you have the die cuts stamped, it really doesn’t take long to throw together a pretty card.

Now, be sure to head over to Ellen Hutson and get your cart inky!! (Don’t forget to use code INKY18 to receive your discount!) Have a marvelous day, friends!

Filed Under: altenew, Ellen Hutson Tagged With: die cutting, ink blending, press 'n seal, stamping

More Summer Blooms…

July 27, 2017

Sorry, guys, I can’t seem to get enough of these stunning new stamps from Wplus9. I stamped and die cut a big old bunch of these flowers and had several left over from my first project (which you can see here), so I decided to make another project with it.

I die cut the flowers and foliage from Wplus9’s Southern Summer Blooms 1 (and dies) and Southern Summer Blooms 2 (and dies) and stamped them with several different inks.

After I had finished stamping the flowers and leaves, I used a circle die that I had lying on my desk to draw a circle in the center of a white card base, then used the same die to die cut a circle from masking paper. I used the circle that I drew on the card base as a guide to arrange the florals, then used Press ‘n Seal to pick them up. While they were stuck to the Press ‘n Seal, I added dimensional adhesive to the back. I adhered the mask to the circled area, then used my foam blending tool to blend Altenew’s Frosty Pink around the edge of the card base, then pulled the mask away to reveal a white circle in the center of the card. I stamped the greeting from Wplus9’s Kind Soul in the center, then adhered the floral wreath, finally adding some pretty sequins to fill in some of the bare spots.

I hope you’re not tired of these pretty stamp sets! It’s been awhile since I just sat and stamped, and it was so fun! Have a marvelous day, friends!

Filed Under: altenew, Wplus9 Tagged With: masking, press 'n seal, stamping

Primary Sidebar

  • Facebook
  • Instagram
  • Pinterest
  • YouTube

Favorite Shops

Secondary Sidebar

Subscribe

Enter your email address to subscribe to this blog and receive notifications of new posts by email.

Instagram
Something is wrong.
Instagram token error.
Follow
Load More

Archives

Tags

3D embossing folder alcohol markers better press birthday birthday card blog hop card kit christmas christmas card christmas tag colored pencil copic copic coloring Daniel Smith die cutting embossing folder embroidery felt giveaway holiday holiday card hot foil ink blending karin brushmarker pro layered stencil masculine my monthly hero new release no line coloring no line watercolor OLO marker olo markers original illustration pawsitively saturated rainbow shaker card slimline stamping stamptember stencil thank you thinking of you valentine's day video watercolor

Popular Posts

Simon Says Stamp Sending Cheer Blog Hop- Day 2 + Freebie + Giveaway!
Joyful Snowman with New Simon Says Stamp Sending Cheer Release!
Simon Says Stamp Sending Cheer Release: Now Available!
February 2018 My Monthly Hero Blog Hop!
Altenew March 2020 Release Blog Hop+Giveaway!
Special Release: Simon Says Stamp Limited Edition STAMPtember Christmas Card Kit!
Simon Says Stamp Cozy & Bright Inspiration, Part Two!
Waffleflower December Release Blog Hop!
Altenew Build A Flower Japanese Mum Blog Hop!
Essentials By Ellen September Blog Hop!

Disclosure

Some affiliate links are used in my posts. This means that, should you click on one of my links and purchase something from that company, I will receive a small portion of the sale at no extra cost to you. I use the money earned from these sales to help maintain my blog. I so appreciate you visiting and, if you do choose to use one of my affiliate links, thank you so much for your support!
Copyright © 2026 ·Brunch Pro Theme · Genesis Framework by StudioPress · WordPress · Log in
Loading Comments...