Hi friends! Altenew is hosting a fabulous blog hop today to help introduce their new May 2024 Collection. You should have arrived here from Agnieszka, and your next stop is Rebecca. You can also start back athe the beginning at the Altenew Card Blog. I have been loving peach and coral lately, and the gorgeous coral inks in the Fresh Dye Ink line worked beautifully both with stencils and to add subtle peachy color to standalone die cuts, creating a trio of light and airy projects using the new May 2024 release (click HERE to see all of the new goodies!). Let’s get started with the details on my projects!

I love creating monochromatic projects with florals, allowing the different textures and heights to create interest in the card rather than having tons of different colors in your face. I have been particularly loving peach the last couple of months; I recently found some gorgeous pearlescent peach coated cardstock that is an almost perfect match to the regular pale peach cardstock that I have in my stash. Using coated cardstocks like the pearlescent peach is one of my favorite ways to use 3D embossing folders, and I couldn’t resist pairing the magnificent new Craft-A-Flower: Gardenia with some luscious background textures.

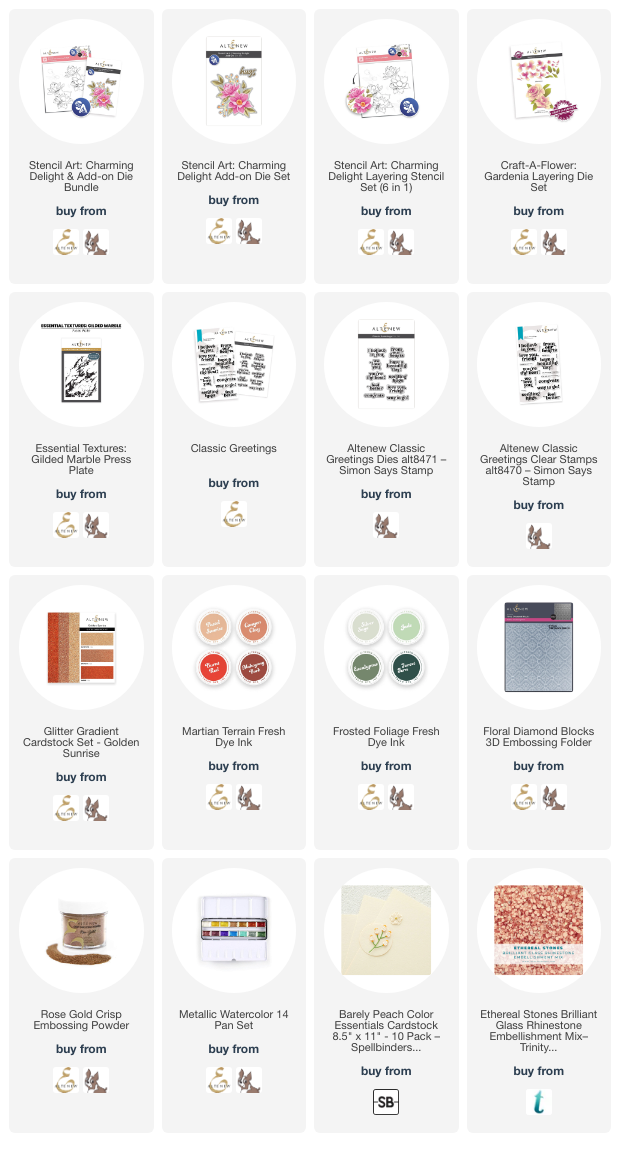
I started by die cutting the components of the Craft-A-Flower: Gardenia die set from white cardstock. I then used blending brushes to blend Blush and Pastel Sunrise from the Martian Terrain Fresh Dye ink quartet and Forest Fern and Eucalyptus from the Frosted Foliage Fresh Dye Inks quartet on these blank white die cuts, adding some extra interest and a touch of warmth to the cool, crisp white. Having a variety of colorful inks and some blending brushes means that you always have a rainbow of colored cardstock available at your fingertips! (Or you can be like me and collect both ink and cardstock, but that’s a story for a different day.)

After I had assembled the gorgeous gardenia flowers according to the guide on the back of the packaging, I ran the Floral Diamond Blocks 3D Embossing Folder through my die cutting machine with some pearlescent peach cardstock that I found in my stash of “fancy” papers. The coating brings out the embossed details so beautifully! I trimmed down the panel slightly on one side and tucked a strip of Golden Sunrise Glitter Cardstock along the edge, creating a bit of a visual barrier between the embossed pearlescent background and the plain pale peach card base. I arranged the gardenia die cuts on the card front, adding a heat embossed sentiment from the Classic Greetings stamps and die set with a double layer of foam tape. Finally, I added a few sparkling peachy gems!

For my next project, I wanted to use up the remainingCraft-A-Flower: Gardenia die cut that I had blended and assembled, so I thought I would create a unique background for it using the new Essential Textures: Gilded Marble Press Plate. I ran the new press plate through my die cut machine using the Better Press System, inking the Gilded Marble Press Plate up with some Pastel Sunrise ink. Once I had impressed the peachy marble lines into my letterpress cardstock, I used a small blending brush to lightly blend over the top of the impressed lines and around the edges of the panel. I then used the Metallic Watercolors to add some shining details to the marble pattern, as well as some splatters, giving it an air of authenticity that I think is just marvelous!

I trimmed down the marble background, added some more Golden Sunrise Glitter Cardstock strips on the edge of the short sides and mounted it in the cneter of an A2 panel of pale peach cardstock. I heat embossed some sentiment pieces from the Classic Greetings stamp set, then die cut the large one with the coordinating die. I popped all of the die cut elements up on the marble card front, then added a few more gems for sparkle!

My last card features the absolutely gorgeous new Stencil Art: Charming Delight plus Add-On Die, which I paired with a huge variety of Fresh Dye Inks:Blush, Rouge, Pastel Sunrise, Canyon Clay, Dusty Rose, Toasted Mauve, BUttercream, Warm Sunshine, Silver Sage, Eucalyptus, Jade, Forest Fern Fresh Dye Inks. These layering stencils have tons of layers to make the finished images super detailed, almost want to pop off of the page!

Behind the die cut stenciled image, I blended some of the pale peach Fresh Dye ink in the center of an A2 card front, then splattered the blended area with some Metallic Watercolors. I mounted the bouquet in the center of the blended area with some foam adhesive.

For the greeting, I heat embossed some more sentiments from the Classic Greetings stamps and dies using Rose Gold embossing powder, popping them up over the top of the stenciled bouquet for extra height and interest. I tucked a sparkly rose gold twine bow by the sentiments, then added a few more peachy gems for extra sparkle!
Well, that’s all for my projects today. Now for some fun giveaway information:
$300 in total prizes! To celebrate this release, Altenew is giving away a $100 gift certificate to 1 lucky winner and a $50 gift certificate to 4 winners! Please leave a comment on the Altenew Card Blog and/or each designer’s blog post on the blog hop list below by 05/14/2024 for a chance to win. Altenew will draw 5 random winners from the comments left on each stop of this blog hop and announce the winners on the Altenew Winners Page on 05/16/2024.
*The winner of the $100 gift certificate will be chosen from comments left on the Altenew blog.
Here’s the full hop list:
Thanks so much for stopping by today, and happy hopping!