Hi friends! I have a serene project to share with you today using some of the new goodies from the new Spellbinders Pressed Posies Collection. You probably know of my flower obsession by this point, and adding Better Press plates and the marvelous techniques they bring into the my repertoire has been such a joy! Spellbinders generously sent the Flower Stems Better Press Plates + Coordinating Dies (SB | SSS) for me to play with, and I am absolutely in love with these delicate, feminine floral images. Let’s get started with the details on my project!
One of my favorite properties of the Better Press plates is their versatility; you can use them for both letter press and foiling techniques. I’ve combined both of these techniques to create this delicate, super textured card today!

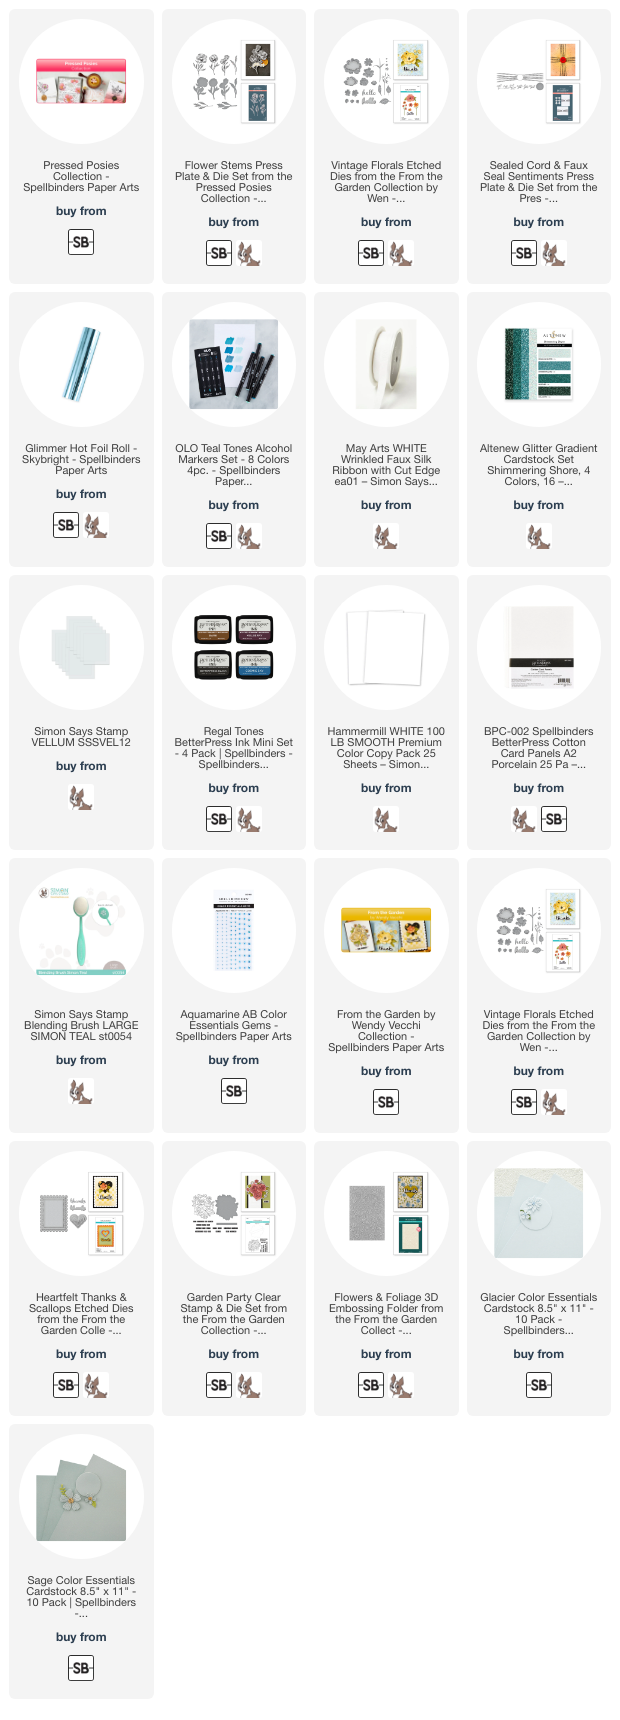
To start, I used the delicate, detailed images from the Flower Stems Better Press Plates + Coordinating Dies (SB | SSS) without ink to emboss a floral pattern around the edge of my Porcelain Better Press A2 Panels (SB | SSS). Using these plates on their own creates the loveliest, subtle texture, and the exceptional detail and fine lines on the Flower Stems Better Press Plates (SB | SSS) picks up beautifully on the super thick letterpress paper.
After I had pressed the floral pattern into the paper, I used Blending Brushes to blend Mist, Dew, Raindrop Pawsitively Saturated Ink from Simon Says Stamp around the edges of the cardstock starting with the lightest shade, gradually decreasing how close I went to the center of the card front with each subsequent color. The debossed pattern on the letterpress panel picks up the ink, making it more concentrated in those debossed lines and allowing the pattern to be more visible. For an extra touch of shimmer, I splattered the blended background with some handmade, sparkling glitter watercolors.

After I had created my background, I used Skybright Glimmer Hot Foil (SB | SSS) to hot foil a few of the images from Flower Stems Better Press Plates (SB | SSS) onto Hammermill white cardstock. I used the coordinating dies to cut them out, then used my OLO Markers (SB | SSS) in lovely coordinating shades of aqua to add some subtle color to the foiled images. Alcohol marker coloring on hot foiled images is such a fun way to get more mileage out of your hot foil and Better Press plates! I also used one of the OLO markers to add some deep teal to a length of faux silk ribbon, which I used to “tie” my bouquet of flowers and foliage.

After I popped up my colored bouquet with foam adhesive, I die cut the “hello” using one of the Vintage Florals dies (SB | SSS), cutting the detail layer from turquoise glitter paper and the shadow layer from vellum. I also used one of the Better Press sentiments from the Sealed Cord and Faux Seal Sentiments Press Plate + Coordinating Die (SB | SSS) set, pressing the greeting with Cosmic Sky Better Press ink (SB | SSS) onto Porcelain Better Press paper (SB | SSS). I tucked the greeting pieces amongst the hot foiled floral arrangement and adhered them with foam adhesive. The final touch was to add a few Aquamarine Gems for sparkle!
Well, that’s all for my project today! Have you jumped on the Better Press bandwagon? The plates are so versatile, and even if you don’t have a Better Press System (what are you waiting for?), you can still use the plates with your hot foil machine!
Just FYI: I was honored to be invited to be a guest designer over on the Spellbinders blog last week using the new From the Garden Collection designed by Wendy Vecchi. Here’s a sneak peek of one of my projects:

This project is just one of three projects in a coordinating card set. I hope you’ll stop by and take a look!! Click HERE to see the post.
Thanks so much for stopping by today, and have a marvelous day!