• Skip to main content
  • Skip to primary sidebar
  • Skip to secondary sidebar

Sixth Street Sundries

Emily Midgett

  • Home
  • About Me
  • Contact
  • OLO Marker Color Swatch Chart
  • Shop

pretty bows

Special Release: Simon Says Stamp Limited Edition STAMPtember Christmas Card Kit!

September 30, 2026

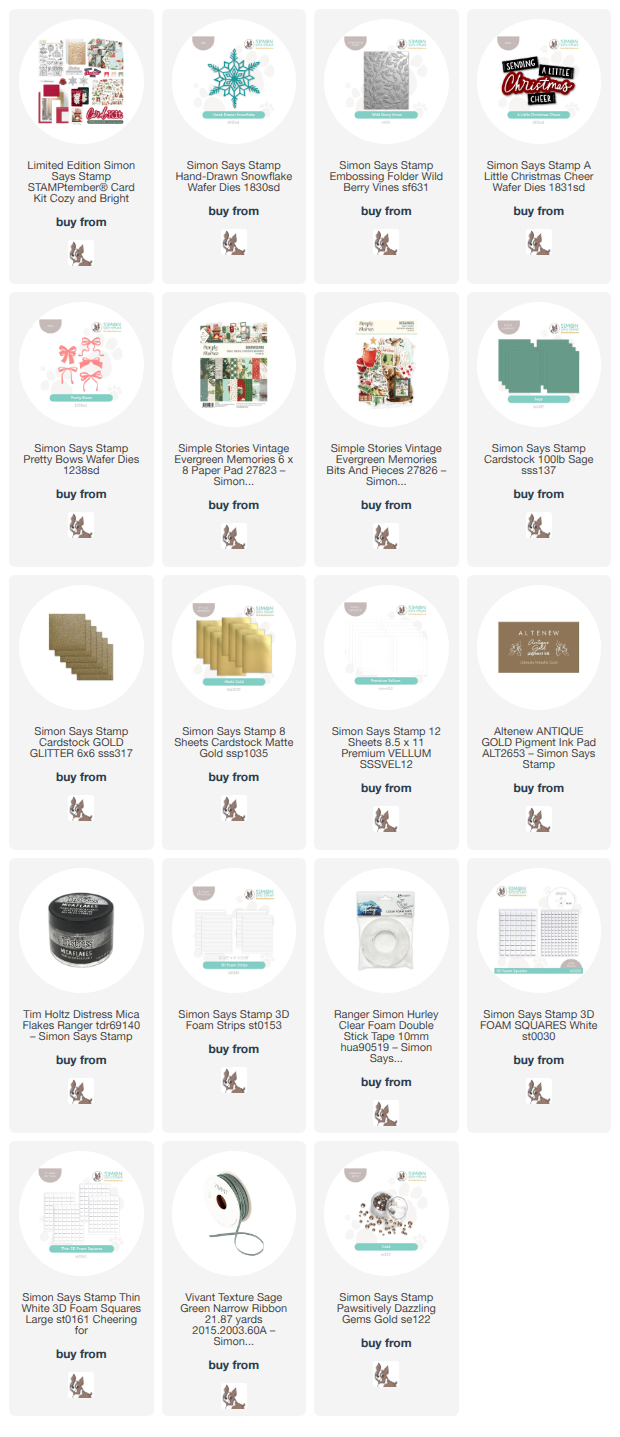
This post was sponsored by Simon Says Stamp. Thanks, Simon! *I have gathered links to all of the products used at the bottom of the post for your convenience, using affiliate links at no extra cost to you. Thank you for shopping with my links! I truly appreciate your support for my work!*

Hi friends! Boy do I have some fun projects to share with you! Simon Says Stamp is ringing in the end of STAMPtember 2026 with an absolute banger of a holiday card kit! (Click HERE to check out the entire collection!) Throughout the month, we’ve seen fabulous limited edition collaboration sets from so many of our favorite companies, celebrating this wonderful hobby and all of the joy that it brings us. In addition to those limited edition sets, Simon has also given us super fun surprises and flash sales, a fun Boo Bundle release, and now an absolutely gorgeous holiday card kit that contains so many exquisite components and has a superb value. Here’s a peek at the contents of the Limited Edition Cozy & Bright STAMPtember Holiday Card Kit:
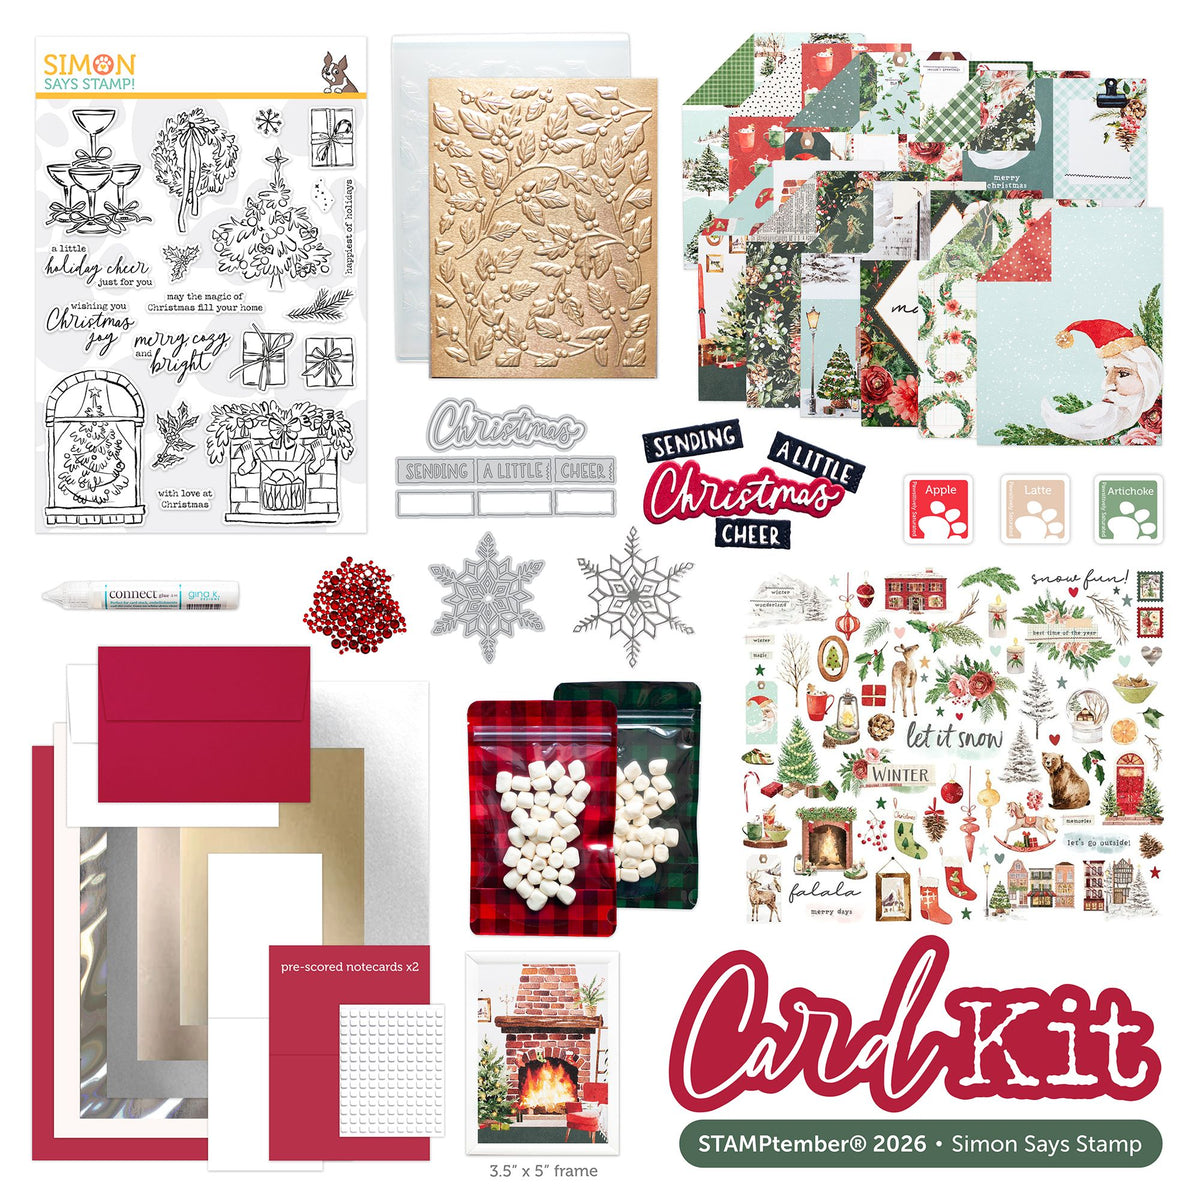
A large stamp set, sentiment die set, snowflake die, embossing folder, embellishments, specialty papers and ephemera, even a photo frame… everything that you could possibly need to jumpstart your holiday crafting! And the value is incredible: over $100 of products for $69.99! I went to town with the contents of this kit and created two separate project suites in different color ways using components from the kit.

For today, I kept the color palette for today’s projects somewhat muted and elegant, with beautiful sage green, gold, and lots of sparkle, taking advantage of the specialty papers in the kit and using those as my inspiration. Let’s get started with the details on my projects!

For my first project, I used the absolutely gorgeous Wild Berry Vines embossing folder to create some elegant “wrapping paper.” I began by embossing an A2 panel of Sage cardstock using the new embossing folder, then swiping glitzy gold metallic ink directly over the raised areas. I think it looks remarkably similar to elegant luxury wrapping paper! Once I had finished the backdrop itself, I decided to add some sparkling “ribbons” to my gift packaging. I trimmed two strips of gold glitter cardstock as well as two thinner strips of Matte Gold Metallic cardstock from the Cozy & Bright Kit, layering the thinner strip atop the glitter strip and adhering them to my “wrapping paper” at a diagonal. I also die cut some bows using the previously-released Pretty Bows die set, layering two bows together to create a nice, fluffy bow for my elegant gift package!

For the greeting, I die cut the detail layers of the new Sending A Little Christmas Cheer die, included with the Cozy & Bright kit, from more of the Matte Gold Metallic cardstock. I backed the sentiment strips with the solid layer cut from more Sage cardstock, then die cut the shadow for the scripty Christmas die cut from heavyweight vellum cardstock. I adhered all of the layers together using liquid adhesive, then popped them up on the gift package using foam adhesive squares and clear foam adhesive for the vellum piece. Finally, I added some sparkling Gold Pawsitively Dazzling Gems for one last touch of sparkle!

I am absolutely loving the idea of creating home decor using my papercrafting supplies, so I was thrilled to see the addition of the 3″x5″ frame included with the Cozy & Bright kit! I decided to make a flat “snow globe” using some of the beautiful printed papers and ephemera included with the kit. I selected the serene deer, some snowy trees, and a snowy background from the printed papers included with the kit, arranging the trees and deer with foam adhesive squares. I added some gold snowflakes cut using the Hand-Drawn Snowflake die, included with the Cozy & Bright kit, trimming the edges with my trimmer to allow them to hang off the edges a bit.

To create the height needed for my shaker, I placed the glass in the frame, then added foam adhesive strips around the edge of the glass to create space between the glass and the finished image. I filled the space at the bottom of my finished scene with Ranger Mica Flakes, which move beautifully in the frame when shaken but provide gorgeous, snowy sparkle when sitting still, then placed the glass over the top of the finished background, sealing in the sparkling flakes. After I replaced the back of the frame, I used my hot glue gun to attach some coordinating ephemera to the front of the frame, along with a coordinating sage ribbon bow. I just love the way this frame came out, and I think it’s such a fun way to get more from our papercrafting supplies!

Well, that’s all for my projects today! I have another project suite to share with you using a completely different color way, so be sure to come back tomorrow for more holiday inspiration using this exquisite Cozy & Bright Kit! (Click HERE to check out the entire collection!)
Remember: the curated kit itself (and the value price) is limited edition, so if you want to lock in that fantastic price and all of the pieces, be sure to move quickly!
The individual components will be available even after the kit sells out, but who can say no to such amazing value! They sure sent STAMPtember out with a bang!!

Thanks so much for stopping by today, and Happy STAMPtember!
Filed Under: simon says stamp Tagged With: christmas card, christmas decor, cozy & bright, embossing folder, hand drawn snowflake, holiday card, limited edition, pretty bows, sending a little christmas cheer, stamptember, wild berry vines

Simon Says Stamp Beautiful Moments Blog Hop Day 1 + Giveaway + Free Gift With Purchase!

February 27, 2026

This post was sponsored by Simon Says Stamp. Thanks, Simon! *I have gathered links to all of the products used at the bottom of the post for your convenience, using affiliate links at no extra cost to you. Thank you for shopping with my links! I truly appreciate your support for my work!*

Hi friends! Welcome to Day 1 of the Beautiful Moments Blog Hop, celebrating Simon Says Stamp’s most recent release, called Beautiful Moments! (Check out the full Beautiful Moments release HERE!) You should have arrived here from the Simon Says Stamp Blog, and your next stop is Nichol Spohr. You can see the full hop list at the Simon Says Stamp Blog, as well! This release is chock full of springtime imagery, with beautiful flowers, precious critters, excellent floral and textured embossing folders, even a new stitching die! (You can check out my springtime decor using the new Stitching Bunny die HERE.) For today’s project, I thought I’d shift gears a bit and share some more bunny inspiration, this time creating a sweet Easter card with a punny little greeting. Let’s get started with the details on my project!

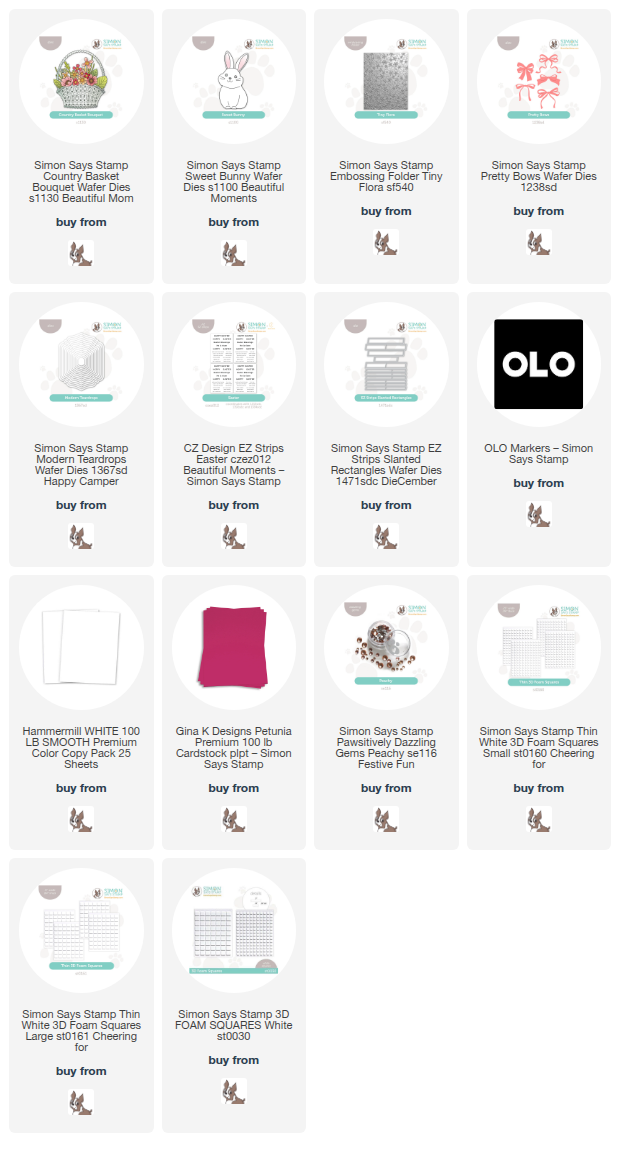
For today’s project, I used lots and lots of white cardstock. White cardstock is one of those things that I keep in large quantities in my craft room; it’s the ultimate blank canvas for so many mediums and techniques! To begin my project, I die cut the beautiful new Country Basket Bouquet from Hammermill white cardstock, die cutting the basket components and an abundance of blooms with which to fill it! I also die cut a darling little bun bun using the new Sweet Bunny die set, again using white cardstock. Before assembling the die cuts, I used my OLO Markers to add lots of beautiful springtime color to these images, selecting a peach, pale pink, and magenta color palette, adding verdant greens and a warm gray bunny. Those white die cuts certainly come to life with a few flicks of your favorite alcohol markers!!

After I had finished coloring all of the die cut elements, I worked on the background behind my colorful basket of blooms. I wanted to add some subtle texture, so I ran another panel of white cardstock through my die cutting machine using the new Tiny Flora embossing folder. I love adding delicate floral texture behind a boldly colorful focal point! To help ground my bunny and basket, I also die cut a frame from more white cardstock (I told you I used a ton of white cardstock for this one!), cutting the center from an A2 panel using the Modern Teardrops nesting die set. I used thin foam adhesive to add this negative frame to the embossed panel, reserving the positive die cut for a future project.

I arranged the basket, bunny, and blooms (say that three times fast!) over my frame, using a combination of thin and thick foam adhesive for tons of dimension. To embellish my frame a bit more, I added a coordinating hot pink bow cut using one of the dies from the Pretty Bows die set. I die cut a greeting from the new Easter EZ Strips sentiment card set using the EZ Strips Slanted Rectangles, which die cuts a ton of sentiments in one pass through your die cutting machine! I tucked the sentiment strip on the card front next to the bunny with some more foam adhesive, then added a few Peachy Pawsitively Dazzling Gems for a touch of sparkle to the card front.

Well, that’s all for my project today! Now for some fun giveaway information”

Simon Says Stamp is giving away a $25 coupon to every stop on the hop, chosen from the blog comment section. Winners will be selected and posted on the Simon Says Stamp blog on Wednesday the 4th of March. Be sure to check out the blog to see if you’re the winner and where to claim your prize!

Simon Says Stamp is also offering a fabulous gift with purchase! The not-yet-released Clover Shaker Sentiments will be automatically added to your cart when you make any purchase from the new Beautiful Moments release (click HERE to check out the full release).

Your next stop on the hop is Nichol Spohr. Thanks so much for stopping by today, and happy hopping!

Filed Under: simon says stamp Tagged With: bunny, country basket, die cutting, easter, embossing folder, EZ strips, modern teardrops, olo markers, pretty bows, sweet bunny, tiny flora

Ink Swiped Wedding Card with New Simon Says Stamp!

May 6, 2025

This post was sponsored by Simon Says Stamp. Thanks, Simon!

Hi friends! I have a unique project to share wtih you today using some fun old and new goodies from the new Simon Says Stamp  You Are My Favorite Release. The ink-swiping trend is such a fun way to make a big impact on a card with relatively little time commitment! I paired this fun technique with the new Heavenly Heart Floral Frame Embossing Folder to create this dainty wedding card. Let’s get started with the details!

*I have gathered links to all of the products used at the bottom of the post for your convenience, using affiliate links. Thank you for shopping with my links! I truly appreciate your support for my work!*

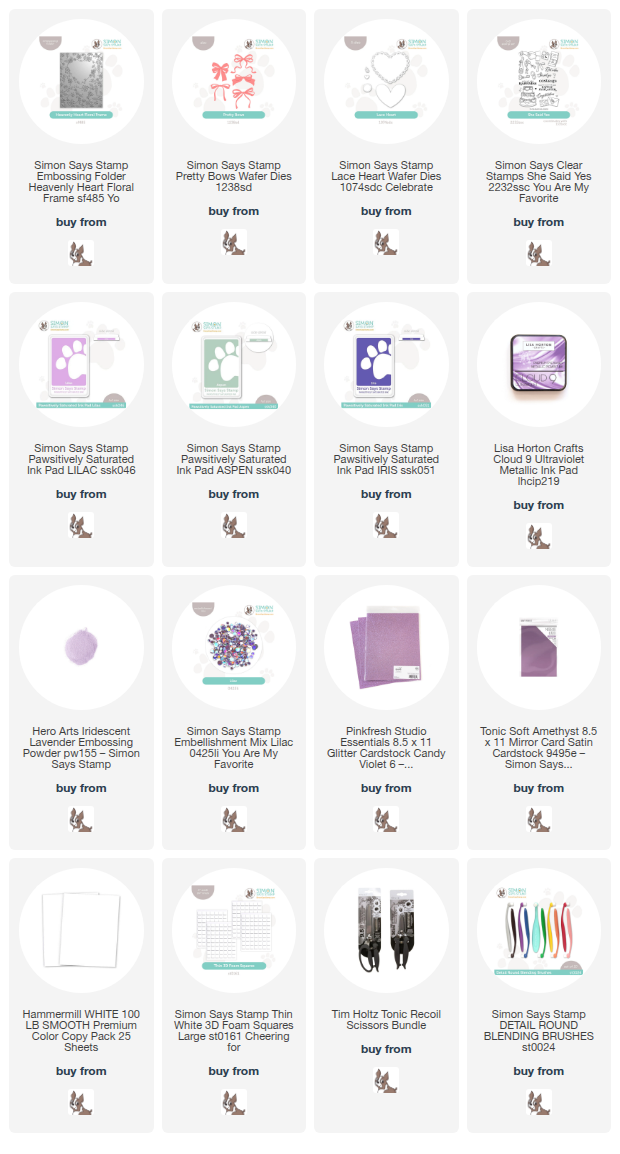
To begin, I embossed a panel of plain white cardstock with the new Heavenly Heart Floral Frame Embossing Folder, then flipped the panel over so that the panel was debossed, that is, with the pattern pushed down rather than raised up. I then used Simon Says Stamp’s small blending brushes to blend Lilac and Aspen Pawsitively Saturated Inks on the debossed flowers and foliage. The great thing about this technique is that you don’t have to be too fastidious with your ink blending and keep things too neat; any messy edges will be covered up with the dark ink swiping! Once I had “colored” all of the individual images, I pressed the Iris Pawsitively Saturated Ink Pad directly to the paper, sliding it over the flat parts of the debossed panel. The subterranean debossed images maintain their color, creating a colorful patterned background panel.

To enhance the heart shape in the center of the debossed pattern, I die cut a dainty and lacy heart frame using the previously-released Lace Heart Die from some coordinating lilac colored glitter cardstock. I popped the lacy heart frame up on the card front using thin strips of foam adhesive and topped the point of the heart off with a coordinating lilac matte foil bow cut using the Pretty Bows die set.

For the greeting, I stamped a sentiment from the new She Said Yes stamp set onto some coordinating minty pastel cardstock using Lisa Horton Ultraviolet ink, then embossed the pigment ink with Hero Arts Iridescent Lavender Embossing Powder to create a shimmering iridescent sentiment. I used my sharp scissors to cut the sentiment out, then popped it up in the center of the heart with a double layer of foam adhesive squares to give it a little extra height. Finally, I added a few sequins from the new Lilac Embellishment Mix to add a little more sparkle to the card!

Well, that’s all for my project today. Isn’t the ink swiping technique so much fun?? I just love the different looks that you can create simply by your color palette choices! Thanks so much for stopping by today, and have a marvelous day!

Filed Under: simon says stamp Tagged With: die cutting, embossing folder, heavenly heart floral, ink swiping, lace heart die, lisa horton ink, pawsitively saturated ink, pretty bows, she said yes, wedding card

Fun With Felt: Easter Bunny Garland!

April 19, 2025

Hi friends! I have a quick home decor post to share with you using some marvelous dies from a few of my favorite companies! My friends at Spellbinders were so good as to send me some of their new stitching dies, including the adorable Felt Carrot Companion Stitching Die Set, which I paired with some other dies from my stash to create this festive Easter garland for my mantelpiece. This was a labor of love, but the felt makes it feel more “permanent,” and it’s something that can be used year after year. Let’s get started with the details!

*I have gathered links to all of the products used at the bottom of the post for your convenience, using affiliate links. Thank you for shopping with my links! I truly appreciate your support for my work!*

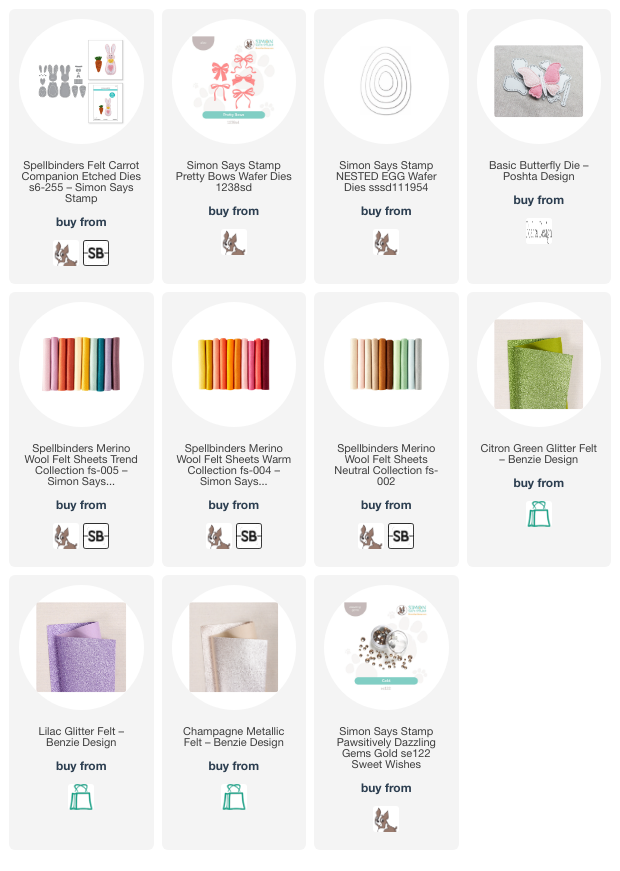
I decided on a lovely lavender, peach, pink, and green color palette, pulling the different shades of felt from my stash. I die cut each piece for each individual image before beginning my stitching, placing each set into its own pile before beginning my stitching.

The bunny from the adorable Felt Carrot Companion Stitching Die Set has several ways to customize his overall layout, and I chose to create a girl and a boy bunny. How sweet would these be on the front of a wedding card, or maybe even Christmas ornaments for a newly married couple? I used some champagne metallic thread to stitch the bunnies together, then accented the bunnies’ tummies with some coordinating Champagne metallic felt and added some Gold Pawsitively Dazzling Gems for the eyes. After I had finished the garland, I had an epiphany that I should have done one girl and three boy bunnies to represent my kiddos! C’est la vie, I suppose.

To help accent my bunnies and carrots, I die cut some Easter eggs using coordinating shades of felt and the Egg Nesting Dies from Simon Says Stamp, embellishing them with hearts from the Felt Carrot Companion Stitching Die Set and the Pretty Bows die set from Simon Says Stamp. I used some gorgeous metallic felt that I found in my stash, but Benzie Design has some similar green glitter felt that would work just as beautifully!

Finally, I put to use a die that I purchased months ago but for which I hadn’t found just the right project: the Basic Butterfly from Poshta Designs. Confession: I have been a fan of Lizzie’s (Poshta’s owner) for about 10 years, and as she has moved from content creator to product designer and business owner, I am so excited to have gotten to know her in person over the last few years! We have kiddos almost exactly the same age, and I am so proud of all of that she’s accomplished while also being an awesome, caring mom. I will have more projects to share using her supplies, but for now, if you like to stitch and haven’t checked out Poshta Designs, I highly encourage you to do so. She has some of the most creative stitching dies out there, and there are so many wonderful things to come, as well!

I used the Basic Butterfly, pulling all of the different colors from each of the individual elements of my card into this one image, helping to make everything cohesive. I added die cut felt flowers, some bugle beads, and sequins to embellish my butterfly’s wings. I want to make tons of these in different colors. It’s so much fun to be able to play with color palettes and create these intricate, delicate butterflies!

I stitched all of the felt elements onto a piece of coordinating peach seam binding from my stash, adding loops at the end to allow me to hang the finished garland on my mantle.

It’s taken me awhile, but I think I’ve finally jumped on the stitching bandwagon! I have been slowly collecting felt, dies, and thread over the last several months and am really loving having a new medium to which I can apply my artistic interests. It’s so refreshing! Thanks so much for stopping by today, and have a marvelous day!

PS: Simon Says Stamp is offering some fabulous discounts through 4/21/25 by entering code EGGZ5 at checkout!. The more you spend, the higher the discount! Shop your heart out HERE.

Filed Under: Poshta Design, simon says stamp, spellbinders, Stitching Tagged With: basic butterfly, carrot companion, decor, die cutting, easter, felt, garland, nested egg, pretty bows, sewing, stitching

Fun with Felt: Bunny Edition with Simon Says Stamp!

March 7, 2025

This post was sponsored by Simon Says Stamp. Thanks, Simon!

Hi friends! I’m back today with another Fun with Felt project, this time using some of the sweet springtime products from the new Simon Says Stamp Favorite Things release. I am enjoying creating projects that last a bit longer than a card, and felt is a great way to make a project feel more substantial and meaningful. Let’s get started with the details!

*I have gathered links to all of the products used at the bottom of the post for your convenience, using affiliate links. Thank you for shopping with my links! I truly appreciate your support for my work!*

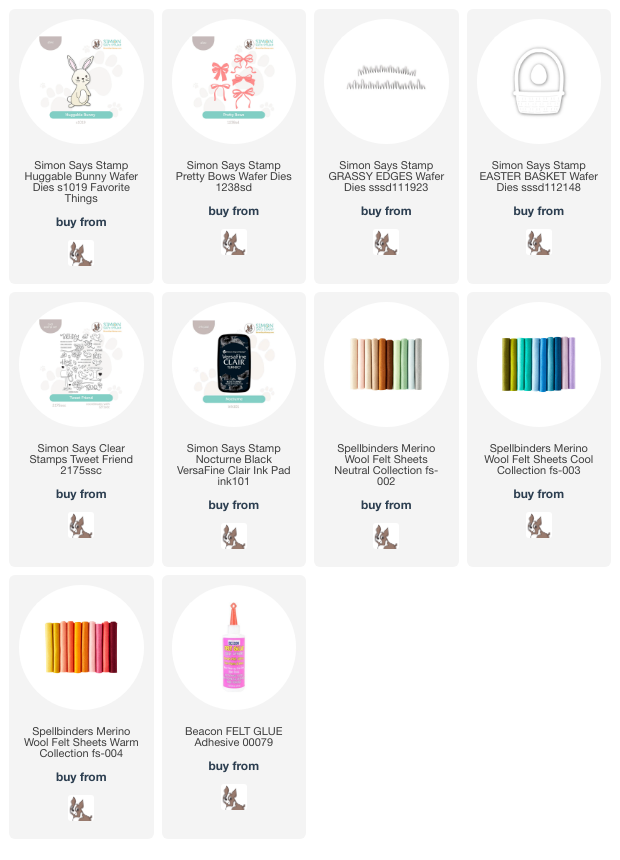
To start, I placed a piece of finely knit white cotton fabric, sized to fit within a 5″ embroidery hoop, in my MISTI, then stamped some of the floral branches from the beautiful Tweet Friend stamp set along the top of the fabric using Simon Says Stamp’s Nocturne Ink. This pigment ink works beautifully with lots of different surfaces, making it an ideal ink to use with fabric! After it had dried completely, I used some alcohol markers to add delicate blue and emerald green to the branches, using a light hand to keep the ink from bleeding outside the stamped edges, and placed the fabric in the 5″ embroidery hoop.

After creating my background, I die cut the new Huggable Bunny, Pretty Bows, Grassy Edges, and Easter Basket die from some lovely springtime felt colors. I adhered the different pieces of the bunny together using felt glue and allowed it to dry completely under a heavy paperweight to keep things nice and flat. I began arranging the different die cut felt pieces on my floral embroidery hoop background, adhering them each with felt glue and placing another heavy glass paperweight on top to keep things flat while drying.

Once I had finished arranging and adhering all of my felt die cuts, I used needle and thread to sew on some seed bead flowers, grass, and some stamens to the centers of the stamped floral branches. The seed beads add just a hint of shimmer to the project, and the added texture makes it feel even more polished! I just love how this one turned out!

Well, that’s all for my project today. I have been working with textiles and different fabrics and mediums so much lately… it’s so fun to add some variety into my crafting time! I hope it inspires you to look outside of your paper stash to see what you can embellish and make even more special. Thanks so much for stopping by today, and have a marvelous day!

Filed Under: simon says stamp Tagged With: copic coloring, die cutting, easter, easter basket, embroidery hoop, fabric, felt, fun with felt, grassy edges, huggable bunny, OLO marker, pretty bows, tweet friend

Primary Sidebar

  • Facebook
  • Instagram
  • Pinterest
  • YouTube

Favorite Shops

Secondary Sidebar

Subscribe

Enter your email address to subscribe to this blog and receive notifications of new posts by email.

Instagram
Something is wrong.
Instagram token error.
Follow
Load More

Archives

Tags

3D embossing folder alcohol markers better press birthday birthday card blog hop card kit christmas christmas card christmas tag colored pencil copic copic coloring Daniel Smith die cutting embossing folder embroidery felt giveaway holiday holiday card hot foil ink blending karin brushmarker pro layered stencil masculine my monthly hero new release no line coloring no line watercolor OLO marker olo markers original illustration pawsitively saturated rainbow shaker card slimline stamping stamptember stencil thank you thinking of you valentine's day video watercolor

Popular Posts

Simon Says Stamp Sending Cheer Blog Hop- Day 2 + Freebie + Giveaway!
Altenew October 2026 Release Blog Hop + Giveaway!
Rustic Monochromatic Stars for Christmas with Rainbow Splash!
Hero Arts Partners Blog Hop: Lawn Fawn!
Waffleflower July Release Blog Hop!
December 2018 My Monthly Hero Blog Hop + Giveaway!
March 2020 Essentials By Ellen Blog Hop+Giveaway!
The Ton Anniversary Release: Day 1!
The Ton Stamps Summer Release: Day 1
Autumn Legs with Colorado Craft Company and Catherine Pooler!

Disclosure

Some affiliate links are used in my posts. This means that, should you click on one of my links and purchase something from that company, I will receive a small portion of the sale at no extra cost to you. I use the money earned from these sales to help maintain my blog. I so appreciate you visiting and, if you do choose to use one of my affiliate links, thank you so much for your support!
Copyright © 2026 ·Brunch Pro Theme · Genesis Framework by StudioPress · WordPress · Log in
Loading Comments...