This post was sponsored by Simon Says Stamp. Thanks, Simon!
Hi friends! We had a little taste of autumnal temperatures last week, and it made me start yearning for fall! (We’re back to face-melting temps this week, though. Blah!) I pulled out some new-to-me stamps and dies from Simon Says Stamp to indulge my autumnal yearnings, but added some fun blue and pink to the traditional orange pumpkins to create this pair of modern fall cards. Let’s get started with the details!

I’ve mentioned before that orange is not my favorite color, but it becomes much more palatable to me when paired with some colors to which I naturally gravitate. I paired the coppery Nutmeg Pawsitively Saturated Ink with Cheeky and Dew ink and crisp white to create a modern autumn color combination!

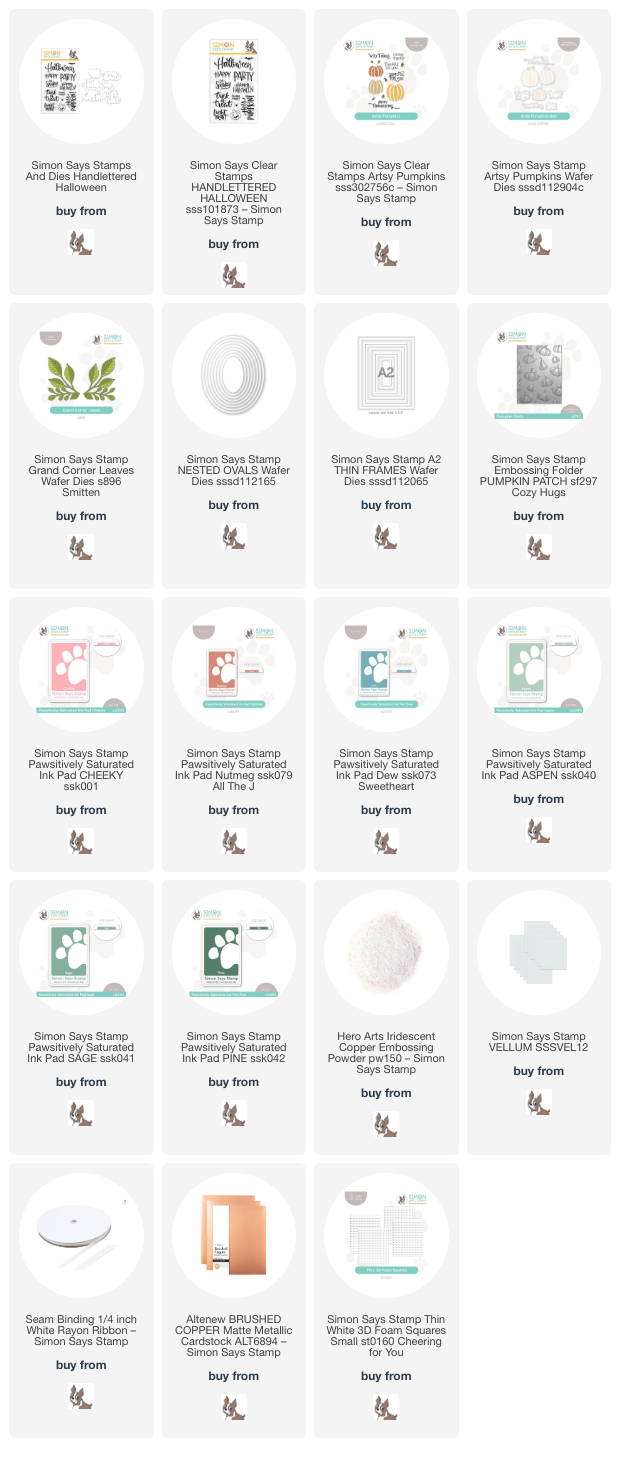
For my first project, I created a custom patterned paper background by stamping the Artsy Pumpkins stamps onto some bright white cardstock using Cheeky, Nutmeg, and Dew inks, adding foliage and stems with Aspen, Sage, and Pine inks. To create patterned paper, I always start with the largest images first, stamping at least three of them randomly, rotating the stamp and the cardstock to make things look somewhat random and cohesive. I move to the next largest stamp, filling in the large spaces between the stamped images, then fill in any remaining spaces withthe smaller images, always rotating the stamp and the paper to keep things interesting! I also stamped a few extra pumpkins in various sizes and die cut them using their coordinating dies.
After I had created the background, I used a blending brush to blend some more Dew ink around the edge of the card front, creating a soft blue glow.

After I had finished the background, I die cut some foliage using white cardstock and the Grand Corner Leaves dies. I contemplated using some coordinating sage green cardstock, but I thought that the white cardstock kept things light and airy without adding visual weight to the card. I die cut a medium-sized oval using vellum and the Nested Ovals die set, arranging the pumpkin die cuts and foliage on the vellum oval. I hid some foam adhesive on the back of the solid die cuts, adhering the die cuts to the patterned background. I also stamped and heat embossed a greeting from Hand Lettered Halloween using Iridescent Copper embossing powder, die cutting it with the coordinating die. Finally, I tucked a bow made from soem 1/4″ white ribbon amongst the pumpkins and foliage and added a few sparkling gems!

For my second project, I used some of the leftover stamped and die cut pumpkins that I created for the first project using the Artsy Pumpkins stamps and coordinating dies with Cheeky, Nutmeg, Dew, Aspen, Sage, and Pine Pawsitively Saturated Inks. I had one of each size pumpkin left over, so I envisioned a cluster in a pumpkin patch. I created a background using the Pumpkin Patch Embossing Folder and blended some Dew ink in the center to create a blue glow behind my pumpkins! I also splattered the background with some coppery metallic watercolors for added shimmer.

After I had created the embossed background, I trimmed it down slightly and mounted it in the center of a white A2 card front, creating a solid white frame around the embossed background. I added a delicate frame cut using the A2 Thin Frames and brushed copper foil cardstock, then arranged my pumpkin die cuts in a trio over the blended and embossed background, adhering them using single and double layers of thin foam adhesive squares. Finally, I heat embossed a sentiment from Artsy Pumpkins using Iridescent Copper embossing powder, adding it with a triple layer of thin foam adhesive squares. (yes, a triple layer!) For a final touch, I added some tiny sparkling gems in the corners of the metallic foil frame!
Well, that’s all for my projects today! I love taking traditional color palettes and adding a little twist to make them fit my style a bit better. Thanks so much for stopping by today, and have a marvelous day!