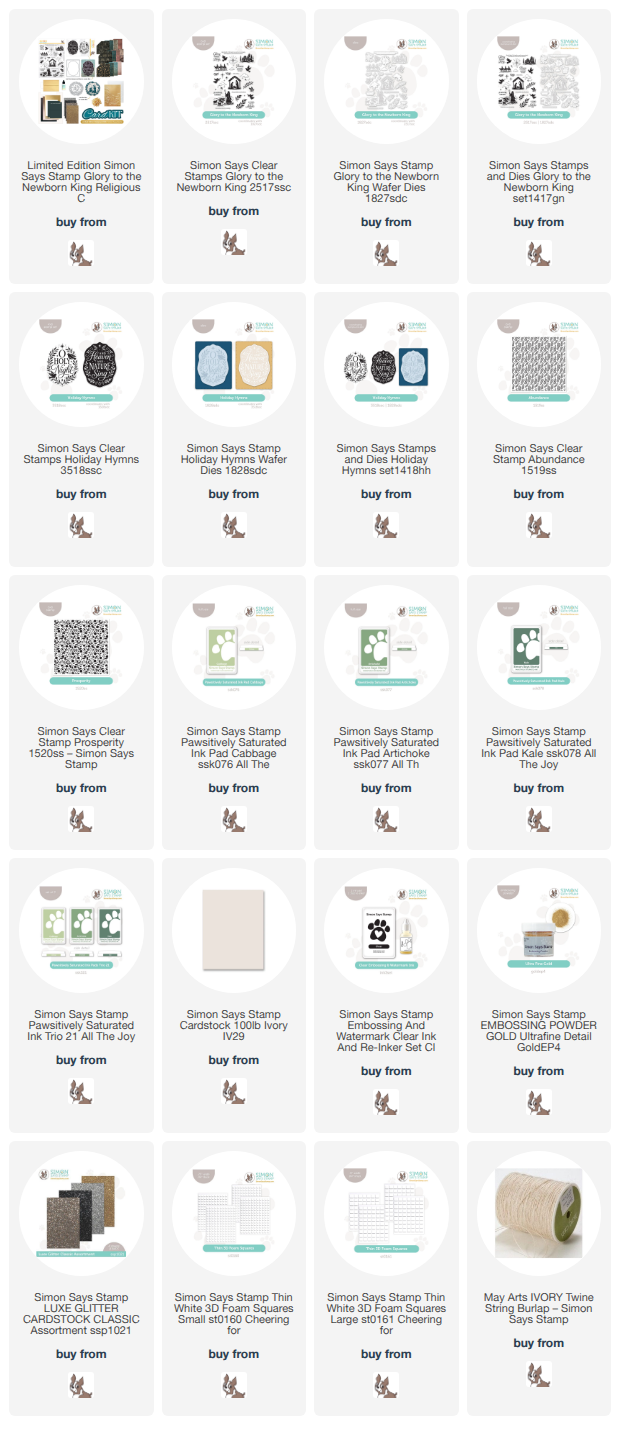
This post was sponsored by Simon Says Stamp. Thanks, Simon! *I have gathered links to all of the products used at the bottom of the post for your convenience, using affiliate links at no extra cost to you. Thank you for shopping with my links! I truly appreciate your support for my work!*
Hi friends! Simon Says Stamp has just released an utterly gorgeous Christmas cardmaking kit with a religious theme, called Glory to the Newborn King (click HERE to see all of the details!). This kit features so many beautiful components that will make your holiday cardmaking so simple and truly filled with the reason for the season. Here’s a peek at the kit:
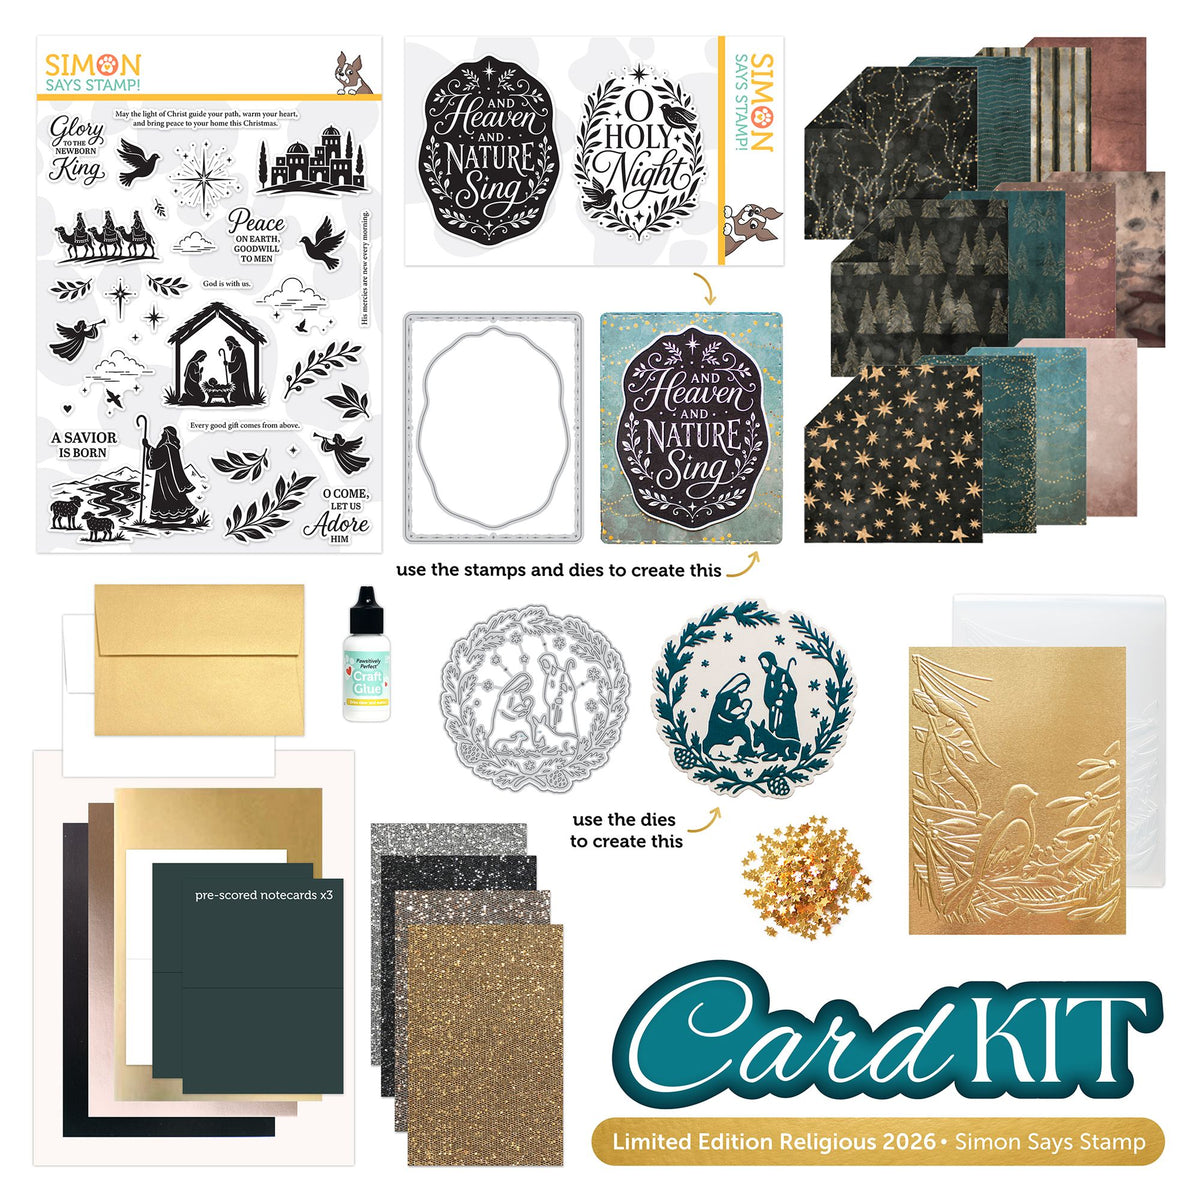
As you can see from the graphic above, the kit has thought of every little detail, from stamps to embossing folders to two different die sets and so many gorgeous papers and embellishments. You will be able to create so many different projects with the items included in this kit! The individual contents retail for over $90, but you can purchase this kit HERE at a discount for $59.99. As always, the individual components of the kit are available separately even after the kit itself sells out, but the kit is an incredible value!

For today’s projects, I created a pair of coordinating cards that have a serene botanical aesthetic paired with traditional religious holiday imagery and sentiments. I am always up for a unique holiday color palette, and I thought that instead of using the traditional red, green, and gold colors, I thought I would focus solely on serene shades of green to tie into the botanical images in the Glory to the Newborn King stamp set.

The Glory to the Newborn King kit contains a full sheet of Ivory cardstock, which I think lends such warmth to the card. I stamped the manger scene and lots of greenery from Glory to the Newborn King using Cabbage, Artichoke, and Kale Pawsitively Saturated Inks on the Ivory cardstock. I used the coordinating add-on Glory to the Newborn King dies to cut each stamped image out. I also gold embossed one of the lovely sentiments included in the large stamp set and cut it out with it’s coordinating die.

For the card front, I used Cabbage ink with more Ivory cardstock to stamp one of the gorgeous new background stamp add-ons, called Abundance, which works beautifully with the stamped greenery from the Glory to the Newborn King stamp set. I also die cut the stitched rectangle die from the Holiday Hymns Dies (included with the kit) to create a smaller, less busy spotlight area upon which I could build my manger scene. I used thin foam adhesive squares to pop up the Ivory rectangle, then added the manger scene die cut with thick foam adhesive squares and tucked the greenery in a swag around the scene. I added the sentiment with more thick foam adhesive to give it a bit of prominence, finally finishing everything off with some sparkling Gold Pawsitively Dazzling Gems. Serenity is the best word that I can think of to describe the overall feel of this card!!

For my second project, I decided to take my color palette cues from the Midnight Green card bases that were included with the Glory to the Newborn King kit. I stamped the spectacular Prosperity background stamp using Kale Pawsitively Saturated Ink, again on Ivory cardstock, then stamped a few individual sprigs of foliage from Glory to the Newborn King using the same deep green Kale ink. I die cut the individual greens and set them aside.

For the greeting, I gold embossed the absolutely stunning solid image from the Holiday Hymns stamp set included with the kit, keeping things cohesive with more Ivory cardstock. I used the Holiday Hymns Dies to die cut the finished embossed sentiment in it’s unique wavy oval shape. I trimmed down the stamped Prosperity background so that it would leave a strip of that Midnight Green card base visible; I also added a strip of the sparkling Luxe Glitter Classic Assortment Pack included with the kit to add a bit more texture and sparkle to the card front directly against the seam of the stamped background. I popped up the large sentiment die cut with thin foam adhesive directly over that seam, then used a double layer of the thin foam adhesive to add the greenery in the bottom corner. Finally, I added a trio of Gold Pawsitively Dazzling Gems to create a cluster of “berries” and tucked a bow made with rustic twine for added texture.
Well, that’s all for my projects today! I made three different cards using the contents of the Glory to the Newborn King kit, but I could easily have made so many more. They think of everything when the folks at Simon are curating the kits; you’re all set to create an abundance of beautiful projects using the contents of the kit, and even more when you add in your own supplies! Truly an incredible value. Thanks so much for stopping by today, and have a marvelous day!