• Skip to main content
  • Skip to primary sidebar
  • Skip to secondary sidebar

Sixth Street Sundries

Emily Midgett

  • Home
  • About Me
  • Contact
  • OLO Marker Color Swatch Chart
  • Shop

ribbon

Let Us Adore Him with Nordic Inspiration from Simon Says Stamp!

November 12, 2025

This post was sponsored by Simon Says Stamp. Thanks, Simon!

Hi friends! My husband and I are currently working on remodeling his grandfather’s house to make it better fit our family, and while perusing Pinterest for design ideas, I have noticed that blue and white is having a renaissance in the design world. That most classic of color palettes is everywhere, from detailed illustrations on dishes to chintzy armchairs, vases, and curtains to Christmas decor! I decided to apply that gorgeous color palette to the Nordic-inspired Christmas Angels Embossing Folder from the And Everything Nice release ((click HERE to see the entire release!) to create a classy and elegant, while also super quick to create, holiday card. Let’s get started with the details!

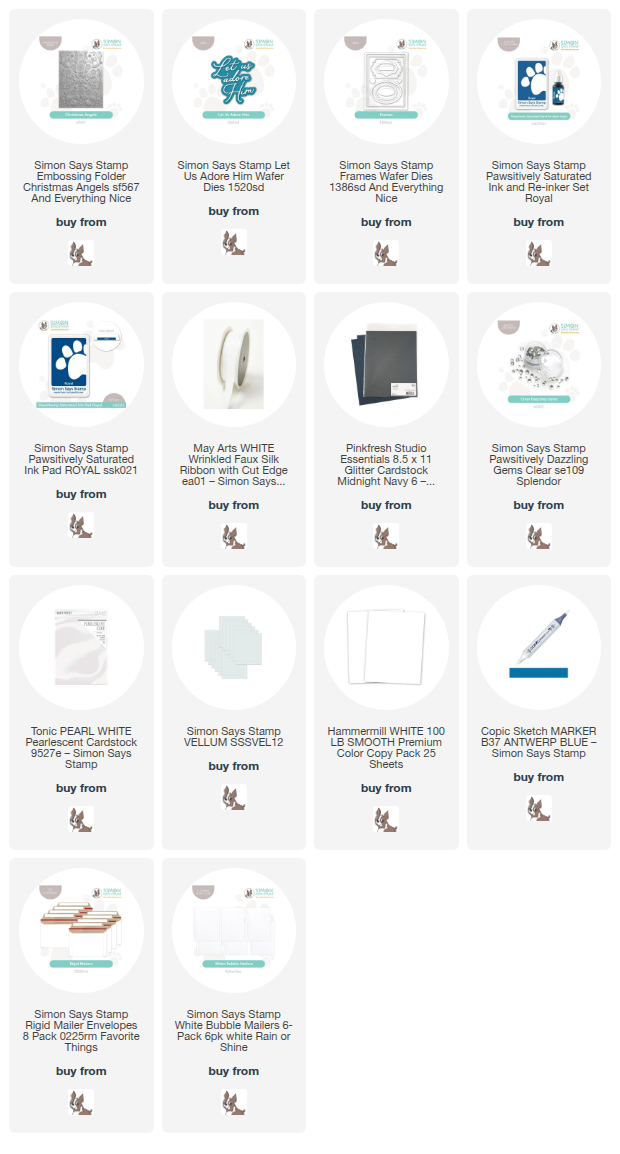
*I have gathered links to all of the products used at the bottom of the post for your convenience, using affiliate links at no extra cost to you. Thank you for shopping with my links! I truly appreciate your support for my work!*

To begin, I ran an A2 panel of plain white cardstock through my die cutting machine using the new Christmas Angels embossing folder. The level of detail and intricacy on this folder is magnificent; it truly does so much of the design work for you! After embossing, I flipped my panel over so that the raised, embossed side was face down and the debossed side was facing me. I then swiped my Royal Pawsitively Saturated Ink pad directly on the card front, allowing those beautiful details to shine through in crisp white on a vibrant blue background using the “blackout technique.” Such a fun technique that creates unique, detailed, multi-colored backgrounds so quickly!

I love the font in the newer Let Us Adore Him die set, and thought it perfectly matched the elegant aesthetic on the religious imagery featured on the Christmas Angels embossing folder. I die cut the detail layer from Midnight Navy glitter cardstock from Pinkfresh Studio, then backed it with the vellum shadow layer. I die cut a pearly white tag image from the new Frames die set (this set is super verstaile and definitely worth the investement!) and placed the sentiment at a jaunty angle on the die cut.

Before adhering the die cut sentiment pieces, I trimmed down the panel 1/4″ on each side of the debossed background, keeping the main focal point centered nicely. It’s important to take a little off of each side due to the symmetry of the design. The images in the center will be slightly off if you aren’t careful!

I wanted a fluffy bow to accent the beautiful sentiment, so before I adhered the embossed panel, I wrapped a navy blue satin ribbon around the embossed panel. If you don’t want to have tons of individual shades of ribbon, you can easily create your own custom ribbon by using an alcohol marker on faux silk ribbon so that your bow perfectly matches your color palette! I mounted this panel on a full size A2 panel of Midnight Navy Glitter Cardstock from Pinkfresh Studio, centering it so that the background was surrounded by a glimmering frame. I added the greeting pieces, offsetting it slightly so that it hangs off of the side a touch, then tucked that shiny satin bow next to the sentiment. Finally, I added a few Clear Pawsitively Dazzling Gems for added sparkle!

This card does have a bit of heft to it, with that fluffy bow and sentiment hanging over the side, so I would recommend mailing it in a Simon Says Stamp Rigid Mailer or Bubble Envelope to keep it safe!

Well, that’s all for my project today! Thanks so much for stopping by today, and have a marvelous day!
Filed Under: simon says stamp Tagged With: blackout technique, christmas angels, christmas card, embossing folder, frames dies, holiday card, let us adore him, pawsitively saturated, ribbon

Simon Says Stamp Gingermas Wonder Box Projects!

November 11, 2024

This post was sponsored by Simon Says Stamp. Thanks, Simon!

Hi friends! I have some super fun and sweet (pun intended) inspiration to share with you using products found in the Simon Says Stamp Gingermas Wonder Box, which is a 12 day crafty advent calendar filled with the most delightful assortment of coordinated goodies. If you’re curious about all of the different products included in this super fun box (that makes for a great gift!), you can see each day revealed below, including Day 3 from me, myself, and I!

You can see the adorable little treat box that I created, embellished with several items from the Gingermas Wonder Box, including a darling tag created with products from Day 1 and Day 2 of the box, as well as the sweet vintage Santa mug from Day 3, which I embellished with some red velvet Tim Holtz trim and a loop of white silk ribbon, which can easily be removed from the box and added to your Christmas tree!

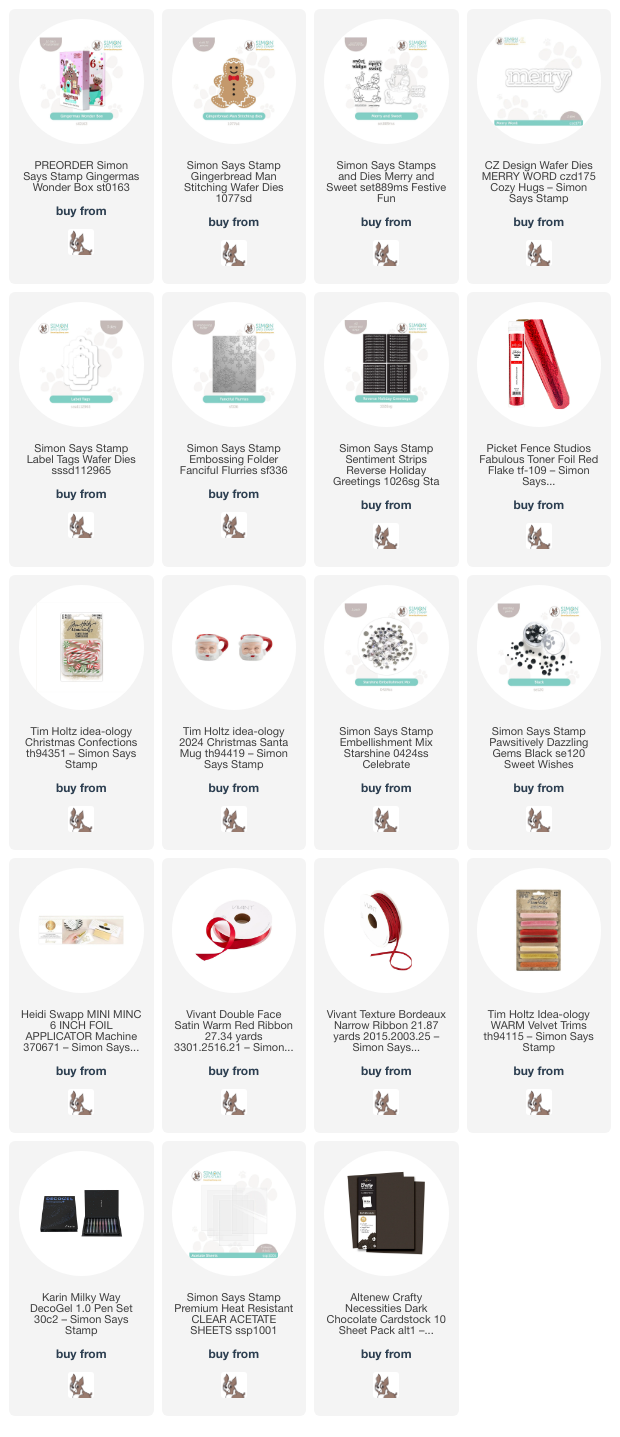
*I have gathered links to all of the products used at the bottom of the post for your convenience, using affiliate links. Thank you for shopping with my links! I truly appreciate your support for my work!*

Since my project above focused primarily on the items from days 1, 2, and 3, I decided to use a few more of the products in the Gingermas Wonder Box to create a pair of gingerbread-themed projects!

I have recently fallen down the stitching rabbit hole, and so I was super excited to see the adorable Gingerbread Man die included in the Gingermas Wonder Box! I knew that I needed to make some decor with my newfound felt and embroidery floss collection, and naturally I had to add a coordinating card.

I have been slowly collecting items to use for embroidery, including small embroidery hoops and plain cloth that is easily stitched! I created a blank canvas upon which I could add my sweet gingerbread man, which I die cut from some deep brown felt. (He almost looks a little burnt, but I was going for a chocolate brown, poppy red, and white color palette!) I used coordinating deep brown embroidery floss to stitch him onto the white fabric in my embroidery hoop, then added the frosting details, his buttons (made from Black Pawsitively Dazzling Gems), and bowtie with liquid fabric glue.

After I had finished my gingerbread man, I die cut the Merry Word die from some black felt and adhered it to the embroidery hoop with some more fabric glue. To further embellish, I mimicked Gingy’s little bow tie with some red and white polka dot ribbon from my stash, sewing the bow just beneath the “merry” sentiment. I had a mishap with some hot glue as I was trying to clean up the fabric sticking out around the edges on the back of the embroidery hoop, so I decided to embellish around the edges of my hoop with the little Tim Holtz Christmas Confections candies that came in the Gingermas Wonder Box to cover it up. Finally, I added a touch of sparkle with some Peppermint Pawsitively Dazzling Gems! Wouldn’t this be adorable placed on a mantle or with a loop of ribbon as a wall hanging? I just love it!

Of course, I had to show a card option with the Gingerbread Man die, because not everybody likes to stitch! I used the negative space to create a shaker card, first by die cutting Gingy from the center of a panel of coordinating deep brown cardstock, slightly smaller than A2 sized, then backing that window with some clear acetate. I die cut the frosting details from white glitter cardstock and his little bowtie from some leftover red felt scraps that I had from my felt wall hanging above. I adhered the details to the acetate window and allowed them to dry.

To create the shaker portion of the card, I used Simon’s 3D Foam Strips to create a seamless border around the back side of the window. I used a second panel of the same deep chocolate brown cardstock to back my shaker window. I filled the shaker with Simon’s Starshine Embellishment Mix and sealed the shaker up. I added a simple greeting from the Reverse Holiday Greetings that I had foiled using Red Flake Toner Foil and my Minc machine. These sentiment cards are a great way to add a simple and elegant greeting very quickly to your card! If you’re mass-producing anything, you should definitely take a look at them! Finally, I used a white gel pen to add some simple stitching details to the edge of the shaker window panel, to add one more little touch of white and break up the monochromatic background.

Well, that’s all for my projects today! If you are interest the Gingermas Wonder Box, don’t wait to purchase it, because it is almost sold out!! Luckily, Simon Says Stamp has each of the individual products included in the box in their store, so you can pick and choose what you would like to purchase if you don’t want the entire thing. Options are always a good idea, right? Thanks so much for stopping by today, and have a marvelous day!

Filed Under: simon says stamp Tagged With: christmas card, christmas confections, christmas santa mug, christmas tag, decor, fanciful flurries, felt, gingerbread, gingermas, holiday card, label tags, merry and sweet, minc, pawsitively dazzling, reverse holiday greetings, ribbon, tim holtz, toner foil

Primary Sidebar

  • Facebook
  • Instagram
  • Pinterest
  • YouTube

Favorite Shops

Secondary Sidebar

Subscribe

Enter your email address to subscribe to this blog and receive notifications of new posts by email.

Instagram
Something is wrong.
Instagram token error.
Follow
Load More

Archives

Tags

3D embossing folder alcohol markers better press birthday birthday card blog hop card kit christmas christmas card christmas tag colored pencil copic copic coloring Daniel Smith die cutting embossing folder embroidery felt giveaway holiday holiday card hot foil ink blending karin brushmarker pro layered stencil masculine my monthly hero new release no line coloring no line watercolor OLO marker olo markers original illustration pawsitively saturated rainbow shaker card slimline stamping stamptember stencil thank you thinking of you valentine's day video watercolor

Popular Posts

Simon Says Stamp Sending Cheer Blog Hop- Day 2 + Freebie + Giveaway!
Altenew October 2026 Release Blog Hop + Giveaway!
Rustic Monochromatic Stars for Christmas with Rainbow Splash!
March 2020 Essentials By Ellen Blog Hop+Giveaway!
December 2018 My Monthly Hero Blog Hop + Giveaway!
The Ton Stamps Summer Release: Day 1
Waffleflower July Release Blog Hop!
Hero Arts Partners Blog Hop: Lawn Fawn!
Simon Says Stamp STAMPtember Tim Holtz Collaboration: Festive Holidays!
Simon Says Stamp August 2026 Card Kit of the Month: Made to Flourish!

Disclosure

Some affiliate links are used in my posts. This means that, should you click on one of my links and purchase something from that company, I will receive a small portion of the sale at no extra cost to you. I use the money earned from these sales to help maintain my blog. I so appreciate you visiting and, if you do choose to use one of my affiliate links, thank you so much for your support!
Copyright © 2026 ·Brunch Pro Theme · Genesis Framework by StudioPress · WordPress · Log in
Loading Comments...