• Skip to main content
  • Skip to primary sidebar
  • Skip to secondary sidebar

Sixth Street Sundries

Emily Midgett

  • Home
  • About Me
  • Contact
  • OLO Marker Color Swatch Chart
  • Shop

sewing

Holiday Fun with Felt Week- Day 2: Snowman with Simon Says Stamp!

December 9, 2025

This post was sponsored by Simon Says Stamp. Thanks, Simon!

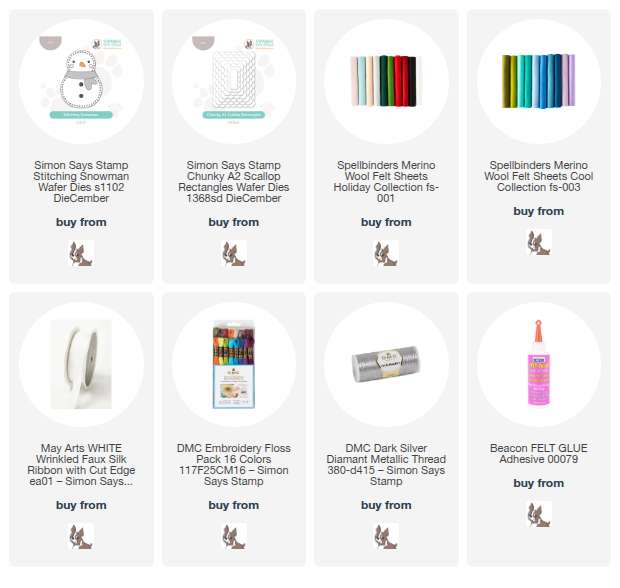
Hi friends! I am back again with another stitching project using some of the darling new stitching dies from Simon Says Stamp’s DieCember release (Check out the full DieCember releaseĀ HERE!) during my Holiday Fun with Felt Week! I love the ease of these stitching dies; the holes are punched for you, and the die sets come with everything you need to create the sweetest little snowman friends. I added another scalloped pillow ornament to my collection with today’s project, so let’s get started with the details!

*I have gathered links to all of the products used at the bottom of the post for your convenience, using affiliate links at no extra cost to you. Thank you for shopping with my links! I truly appreciate your support for my work!*

As I shared in THIS post, I die cut the new Chunky A2 Scallop Rectangles twice from some pale blue felt. Before stitching them together, however, I die cut one of the new Stitching Snowman dies from white felt and stitched him onto one of the scalloped rectangles with some iridescent white embroidery thread from my stash. I also used felt glue to adhere the scarf, coal eyes and buttons, and carrot nose, placing them beneath a heavy glass paperweight to dry.

After the felt glue had dried completely, I added some snowy details behind my snowman with seed beads and iridescent white embroidery thread, but silver would be super pretty too! I think those little extra details make it super special!

Once I had finished all of the details, I used the same shade of pale blue thread to stitch the two scalloped rectangles together, filling the pillow with some polyfill before sealing it up and adding some white ribbon for a hanger. It’s just so darn cute hanging on a tree, don’t you think?

Well, that’s all for my felt project for today! How sweet would this be to give as a gift set or to add as a little decoration on a gift bag? Love the ease of these stitching dies! Thanks so much for stopping by today, and have a marvelous day!
Filed Under: simon says stamp Tagged With: christmas, chunky a2 scallop rectangles, diecember, felt, holiday, ornament, sewing, stitching, stitching snowman

Fun With Felt: Easter Bunny Garland!

April 19, 2025

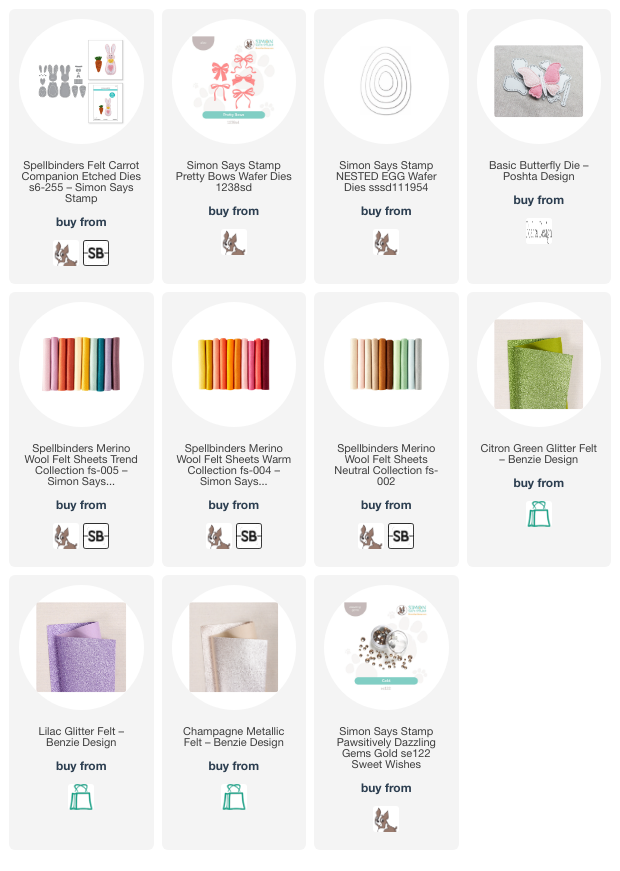
Hi friends! I have a quick home decor post to share with you using some marvelous dies from a few of my favorite companies! My friends at Spellbinders were so good as to send me some of their new stitching dies, including the adorable Felt Carrot Companion Stitching Die Set, which I paired with some other dies from my stash to create this festive Easter garland for my mantelpiece. This was a labor of love, but the felt makes it feel more “permanent,” and it’s something that can be used year after year. Let’s get started with the details!

*I have gathered links to all of the products used at the bottom of the post for your convenience, using affiliate links. Thank you for shopping with my links! I truly appreciate your support for my work!*

I decided on a lovely lavender, peach, pink, and green color palette, pulling the different shades of felt from my stash. I die cut each piece for each individual image before beginning my stitching, placing each set into its own pile before beginning my stitching.

The bunny from the adorable Felt Carrot Companion Stitching Die Set has several ways to customize his overall layout, and I chose to create a girl and a boy bunny. How sweet would these be on the front of a wedding card, or maybe even Christmas ornaments for a newly married couple? I used some champagne metallic thread to stitch the bunnies together, then accented the bunnies’ tummies with some coordinating Champagne metallic felt and added some Gold Pawsitively Dazzling Gems for the eyes. After I had finished the garland, I had an epiphany that I should have done one girl and three boy bunnies to represent my kiddos! C’est la vie, I suppose.

To help accent my bunnies and carrots, I die cut some Easter eggs using coordinating shades of felt and the Egg Nesting Dies from Simon Says Stamp, embellishing them with hearts from the Felt Carrot Companion Stitching Die Set and the Pretty Bows die set from Simon Says Stamp. I used some gorgeous metallic felt that I found in my stash, but Benzie Design has some similar green glitter felt that would work just as beautifully!

Finally, I put to use a die that I purchased months ago but for which I hadn’t found just the right project: the Basic Butterfly from Poshta Designs. Confession: I have been a fan of Lizzie’s (Poshta’s owner) for about 10 years, and as she has moved from content creator to product designer and business owner, I am so excited to have gotten to know her in person over the last few years! We have kiddos almost exactly the same age, and I am so proud of all of that she’s accomplished while also being an awesome, caring mom. I will have more projects to share using her supplies, but for now, if you like to stitch and haven’t checked out Poshta Designs, I highly encourage you to do so. She has some of the most creative stitching dies out there, and there are so many wonderful things to come, as well!

I used the Basic Butterfly, pulling all of the different colors from each of the individual elements of my card into this one image, helping to make everything cohesive. I added die cut felt flowers, some bugle beads, and sequins to embellish my butterfly’s wings. I want to make tons of these in different colors. It’s so much fun to be able to play with color palettes and create these intricate, delicate butterflies!

I stitched all of the felt elements onto a piece of coordinating peach seam binding from my stash, adding loops at the end to allow me to hang the finished garland on my mantle.

It’s taken me awhile, but I think I’ve finally jumped on the stitching bandwagon! I have been slowly collecting felt, dies, and thread over the last several months and am really loving having a new medium to which I can apply my artistic interests. It’s so refreshing! Thanks so much for stopping by today, and have a marvelous day!

PS: Simon Says Stamp is offering some fabulous discounts through 4/21/25 by entering code EGGZ5 at checkout!. The more you spend, the higher the discount! Shop your heart out HERE.

Filed Under: Poshta Design, simon says stamp, spellbinders, Stitching Tagged With: basic butterfly, carrot companion, decor, die cutting, easter, felt, garland, nested egg, pretty bows, sewing, stitching

Thread Painting with Simon Says Stamp!

February 13, 2025

This post was sponsored by Simon Says Stamp. Thanks, Simon!

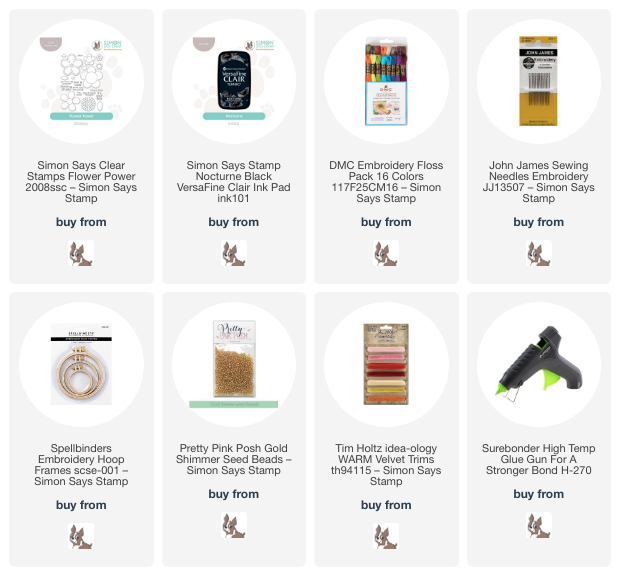
Hi friends! I have a simple and quick post to share with you today using a single image from a single stamp set, but using a newer-to-me medium: thread painting! With my newfound obsession with felt and fabrics, I have fallen down an embroidery rabbit hole, as well. Instead of spending too much time scrolling my phone after my kids go to bed, I decided that it would be better for my mental health if I were to put my fingers and brain to use to learn a new skill. Enter: embroidery! I have ambitions of getting good enough to embroider designs on my jean jackets, but for now, I’m just practicing. And, bonus, I’ve found a new way to put our clear stamps to good use! Let’s get started on the details on my project.

*I have gathered links to all of the products used at the bottom of the post for your convenience, using affiliate links. Thank you for shopping with my links! I truly appreciate your support for my work!*

I began by stamping this simple floral image from Simon Says Stamp’s Flower Power stamp set onto some fine, medium gray cloth. I recently spent some time at my local thrift store looking for linen fabrics to repurpose for my embroidery hoops, and let me just tell you how much fun that was! I found some gorgeous linen pillowcases and sturdy curtains that will be great to use for embroidery. I encourage you to check your local thrift stores to see what you can repurpose for your crafty time! I think we all can do a little more “reduce, reuse, and recycle.” It helps me feel better about all of the crafty purchases I make, ha!

I stamped this simple floral image using Nocturne ink, which is an excellent multi-purpose pigment ink that stamps beautifully both on paper and on other surfaces. The I then selected three different shades of pink thread to do some “thread painting.” I started with the lightest shade of pink for the entirety of the flower’s petals, pulling a single thread from the 6-strand DMC floss to keep things super delicate. I used long stitches, going from the center of the flower to the outer edge, then used a stem stitch to stitch an outline around the edges to cover up any of the stamped image that might still be a bit visible. If I had to do it over again, I would go over this first layer again to make it nice and thick, ensuring that none of the gray background fabric was visible. After I had finished stitching the largest part of the petals, it was time to do some “painting” with the two darker shades. I used the medium shade from the center of the flower to approximately the middle of each petal, then used the darkest shade from the center of the flower to about 1/3 of the way into each petal, so that the “shading” was more graduated.

After I had finished my thread painting, I added some simple seed beads around the flower’s yellow center, adding a touch of extra texture and shimmer. I used my hot glue gun to adhere the extra bits of fabric on the back to the embroidery hoop, as well as to add a simple peachy-pink velvet bow to the top. Wouldn’t this be so cute sitting on a mantel or as a little pop of color on a gallery wall?

Well, that’s all for my project today! If you are needing a distraction from the world outside like I am, I highly encourage you to take up a new hobby. I love that I can combine my stamping supplies with other hobbies, like thread painting! I have so many ideas swirling… now to find enough time to do them. Thanks so much for stopping by today, and have a marvelous day!

Filed Under: simon says stamp Tagged With: embroidery, embroidery hoop, flower power, sewing, stitching

Fun with Felt-Gift Bag and Tag!

February 7, 2025

This post was sponsored by Simon Says Stamp. Thanks, Simon!

Hi friends! I am starting a new series here on my blog: Fun with Felt! Once a month, I am planning to share projects created using all of the gorgeous felt that I’ve acquired over the last few months. I have been practicing embroidery after long contemplation (the struggle is real on picking up new hobbies, friends. I seem to enjoy the supply-purchasing portion of the new hobby, but not actually implementing them!), and now my goal is to incorporate these new techniques and supplies into my stamping! I started out my crafting journey a long time ago as a general non-discriminatory crafter, creating everything from jewelry to home decor, then eventually found my way into cards, but after 11~ years of focusing on cardmaking, I am starting to get, well, bored. So to keep things interesting and fun, I am going to try new ways to integrate all of my hobbies and interests and hope that you won’t mind my sharing them here!

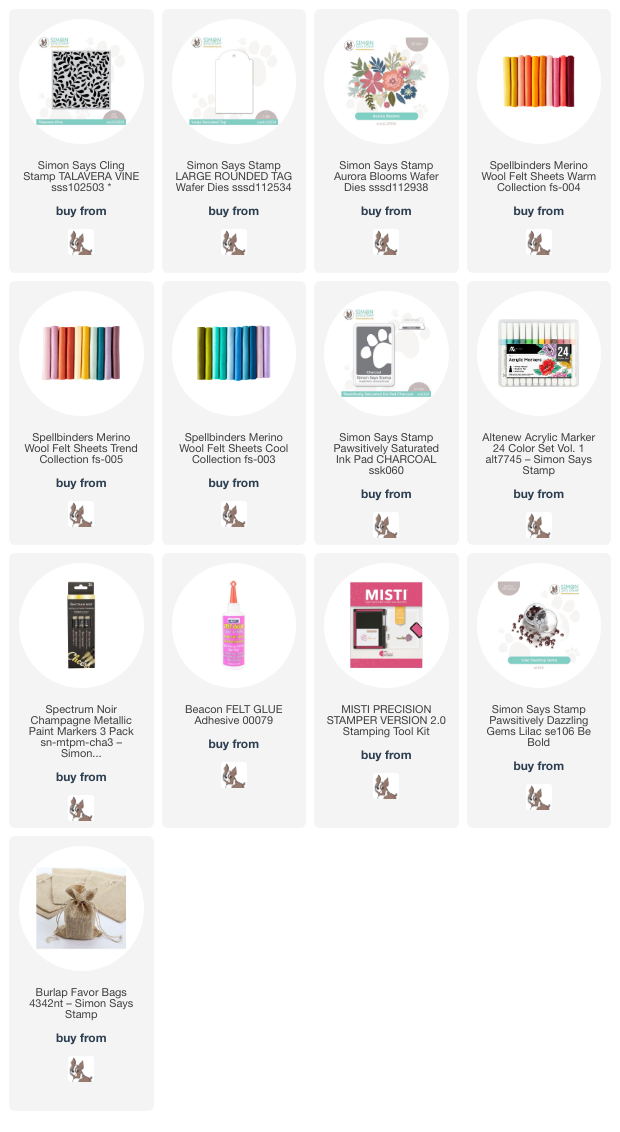
For Christmas, I received a large set of acrylic paint markers, and I’ve been itching to try them out. I have also been collecting small fabric items that I could customize with my stamping and felt supplies, including this canvas bag that I found while shopping, perfect for filling with treats or gifts. To customize the bag, I pulled some stamps and dies from my Simon Says Stamp bins that would work to create this little gift set, so let’s get started with the details!

*I have gathered links to all of the products used at the bottom of the post for your convenience, using affiliate links. Thank you for shopping with my links! I truly appreciate your support for my work!*

I love to take solid stamped images and customize them, typically using white pigment ink or no-line coloring ink to stamp them, then using either watercolors or colored pencils to add lots of details and definition to these solid images. The Talvera Vine cling stamp is a lovely neutral pattern, excellent for use as a backdrop for detailed floral images or as a focal point, as I’ve done here.

To create the pretty pattern on the canvas bag, I stamped the Talvera Vine cling stamp onto the inexpensive canvas bag, keeping everything in place with my MISTI. As you can see in the photo, perfect stamping was not necessary for this project and not very attainable due to the texture on the canvas bag; the end goal was to make sure that there was more of a “guide” for my paint markers to create the pattern! The magnets on the MISTI were very helpful in holding the bag in place and to ensure that my pattern was straight.

After stamping the image on the bag, I used a single deep green acrylic paint marker (the Altenew Acrylic Paint Markers are excellent and I have hopes that they will release more colors to the collection soon!) to color over the stamped images. This deep green had excellent coverage over the Charcoal Pawsitively Saturated Ink image. After I had colored all of the leaves and outlined the vines themselves, I added a few swipes of a champagne paint marker to create the vines on the leaves, adding a touch more definition and shape to the images. I also dotted some berries on the bare spots, creating a pretty, simple patterned bag that is neutral enough to work with lots of different floral additions!

I’ve really been enjoying creating projects that have a bit more “longevity” to them than typical cards; I have fears that the cards on which I work for hours will simply get tossed in the trash without a care as to how meticulously they were crafted, so I have been enjoying adding felt to my repertoire of mediums over the last few months. I created this decorative “tag” to add to my painted gift bag that can be repurposed as a tag on a backpack, purse, or even as a bookmark if one left off the gems! Because the Talvera Vine stamp is such a neutral botanical background, I thought it would look lovely with some vibrant flowers. I die cut the Large Rounded Tag die from some ivory felt, then created a few mauve and maroon blooms using the Aurora Blooms dies. I arranged the blooms and some foliage on the felt tag die cut, adhering everything with felt glue, then added some champagne glitter felt centers and Lilac Pawsitively Dazzling Gems for sparkle!

Well, that’s all for my projects today. I am so enjoying stepping outside of my papercrafting zone and creating projects that are a bit more long-lasting. Thanks so much for stopping by today, and have a marvelous day!
Filed Under: simon says stamp Tagged With: altenew acrylic markers, aurora blooms, canvas bag, embroidery, felt, fun with felt, gift bag, large rounded tag, merino felt, painting, sewing, talavera vine

Fun With Felt: Feliz Navidad with Honey Bee Stamps!

December 25, 2024

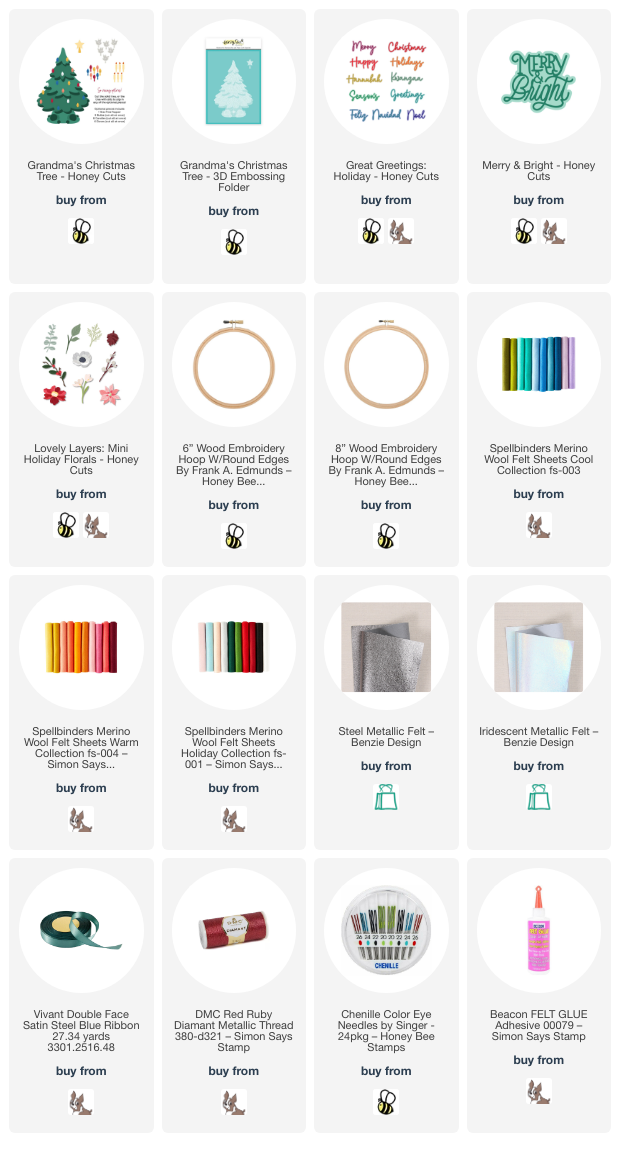
Hi friends! Merry Christmas! I have a few more holiday felt projects to share with you using beautiful new dies from the Honey Bee Stamps Cozy Christmas release. I made so many felt gifts this year and enjoyed myself so much; I am contemplating giving myself some time to just sit and sew each week. It’s good to try new things, isn’t it? Especially when they’re so therapeutic and relaxing! While many companies make dies specifically for stitching with handy dandy little holes to make the stitching as foolproof as possible, I wanted to create these special gifts with some non-stitching dies. Let’s get started on the details for my projects!

*I have gathered links to all of the products used at the bottom of the post for your convenience, using affiliate links. Thank you for shopping with my links! I truly appreciate your support for my work!*

For my first project, I thought that I would combine two of my favorite nostalgic memories from my childhood: my Grammy’s ceramic Christmas tree and my mom’s love of the song “Feliz Navidad.” I feel like every 70’s, 80’s, and 90’s kid had one of these ceramic trees in their family heirlooms, and my Grammy’s, while not pink like this felt tree, was absolutely iconic. The Grandma’s Christmas Tree die set from Honey Bee Stamps is an older set, but no less fabulous for it’s age. The details, the generous size, the coordinating embossing folders and stencils…. perfection! I used some pale pink felt to die cut the tree, then used the coordinating Grandma’s Christmas Tree embossing folder to run the image through my die cutting machine. Even though the embossed details didn’t stay on the springy felt, they were impressed deeply enough that I was able to use some coordinating pink embroidery floss to stitch some larger seed beads onto the edges of the different layers of the tree.

After I had added the beads, I adhered the colorful die cut felt lights with some felt glue, then used the same pale pink embroidery floss to add some stitched details in approximately the same spots as the embossed details. I adhered the tree to an 8″ embroidery hoop to which I had added some neutral linen material using more felt glue. For a greeting, I used the Great Greetings: Holiday dies, cutting the shadow layer from the “Feliz Navidad” sentiment from some hot pink felt, then cut the detail layer from some metallic iridescent silver felt. The metallic coating on the iridescent felt cuts these super detailed letters beautifully. I adhered the greeting beneath the tree with felt glue, then added some embroidered metallic red snowflakes and seed beads for some additional texture and shine!

For my second project, I used the absolutely spectacular Lovely Layers: Mini Holiday Florals to create a felted holiday wreath. I die cut the poinsettias, anemones, and foliage from a variety of red, peach, and teal felt, adhering the different layers of the flowers together using felt glue. Because there are so many layers on the anemone blooms, I did end up trimming some of the center out of the last couple of layers to keep the felt layers from becoming super thick. I think that’s one of my favorite things about felt: you can manipulate the felt a little to get the angles and images just perfect!

Once I had finished adhering the different layers together on the flowers, I decided to embellish the flower centers with some sparkling seed beads. I mixed two different shades of yellow on the center of the anemones, creating lots of interest and texture. Once I had finished embellishing my flowers, I die cut the beautifully intricate Merry & Bright die from some metallic charcoal felt. I adhered the sentiment in the center of a 6″ embroidery hoop, which I had filled with some glittering aqua fabric. To ensure that the glue spread evenly and cleanly, I flipped the embroidery hoop over and placed a glass weight in the center of the hoop, similar to how I weight paper adhered with liquid glue to ensure smooth drying.

After allowing a bit of dry time for the sentiment die cut, I flipped the hoop back over and began arranging my floral die cuts and foliage. I first placed the flowers and adhered them with the felt glue, then began arranging the foliage, tucking some beneath the flowers and arching others around the perimeter of the circular embroidery hoop. Finally, I added a few seed beads and sequins as well as a coordinating satin bow to the top of my hoop. The colors are a bit non-traditional, but I absolutely love how modern and fresh the coral, red, and aqua looks with the traditional floral Christmas imagery!

Well, that’s all for my projects today. These felt gifts have been such a joy to create, and I am looking forward to playing with textiles and embroidery even more after things calm down from the holidays! I hope that you and your loved ones had a restful, yummy holiday filled with lots of love and a few treats, including crafty ones! Thanks so much for stopping by today, and Merry Christmas!

Filed Under: Honey Bee Stamps Tagged With: christmas card, crafting, die cutting, embroidery, grandma's christmas tree, great greetings: holiday, holiday, holiday card, lovely layers: mini holiday florals, merry & bright, sewing

Primary Sidebar

  • Facebook
  • Instagram
  • Pinterest
  • YouTube

Favorite Shops

Secondary Sidebar

Subscribe

Enter your email address to subscribe to this blog and receive notifications of new posts by email.

Instagram
Something is wrong.
Instagram token error.
Follow
Load More

Archives

Tags

3D embossing folder alcohol markers better press birthday birthday card blog hop card kit christmas christmas card christmas tag colored pencil copic copic coloring Daniel Smith die cutting embossing folder embroidery felt giveaway holiday holiday card hot foil ink blending karin brushmarker pro layered stencil masculine my monthly hero new release no line coloring no line watercolor OLO marker olo markers original illustration pawsitively saturated rainbow shaker card slimline stamping stamptember stencil thank you thinking of you valentine's day video watercolor

Popular Posts

Simon Says Stamp October 2026 Card Kit of the Month: Homespun Gratitude!
Altenew Craft A Flower: Poppy Blog Hop+Giveaway!
Honey Bee Stamps Cheerful Love Blog Hop!
Autumn Legs with Colorado Craft Company and Catherine Pooler!
Simon Says Stamp Cozy & Bright Inspiration, Part Two!
February 2018 My Monthly Hero Blog Hop!
The Ton Anniversary Release- Day 2
Sunflower Home Decor with Simon Says Stamp!
Simon Says Stamp STAMPtember Surprise: Boo Bundle Halloween Card Kit!
Hero Arts Spring 2020 Catalog Release Blog Hop+Giveaway!

Disclosure

Some affiliate links are used in my posts. This means that, should you click on one of my links and purchase something from that company, I will receive a small portion of the sale at no extra cost to you. I use the money earned from these sales to help maintain my blog. I so appreciate you visiting and, if you do choose to use one of my affiliate links, thank you so much for your support!
Copyright © 2026 ·Brunch Pro Theme · Genesis Framework by StudioPress · WordPress · Log in
Loading Comments...