• Skip to main content
  • Skip to primary sidebar
  • Skip to secondary sidebar

Sixth Street Sundries

Emily Midgett

  • Home
  • About Me
  • Contact
  • OLO Marker Color Swatch Chart
  • Shop

shaker card

Sparkling Christmas Shaker with New Simon Says Stamp!

November 10, 2025

This post was sponsored by Simon Says Stamp. Thanks, Simon!

Hi friends! Have you finished hopping along with the Simon Says Stamp And Everything Nice Blog Hop? (You can click HERE to start at Day 1 and HERE to start at Day 2 if you missed it!) These blog hops are filled with page after page of inspiration, plus prizes and freebies, so you don’t want to miss out! I am back today with another project, this time featuring the gorgeous new Ink Trio 36 that was released during the And Everything Nice release ((click HERE to see the entire release!). These inks are such a perfect gradient and look absolutely gorgeous blended as an ombré background that I couldn’t resist creating a pretty shaker card and allowing the blended background to be one of the main focal points. Let’s get started with the details!

*I have gathered links to all of the products used at the bottom of the post for your convenience, using affiliate links at no extra cost to you. Thank you for shopping with my links! I truly appreciate your support for my work!*

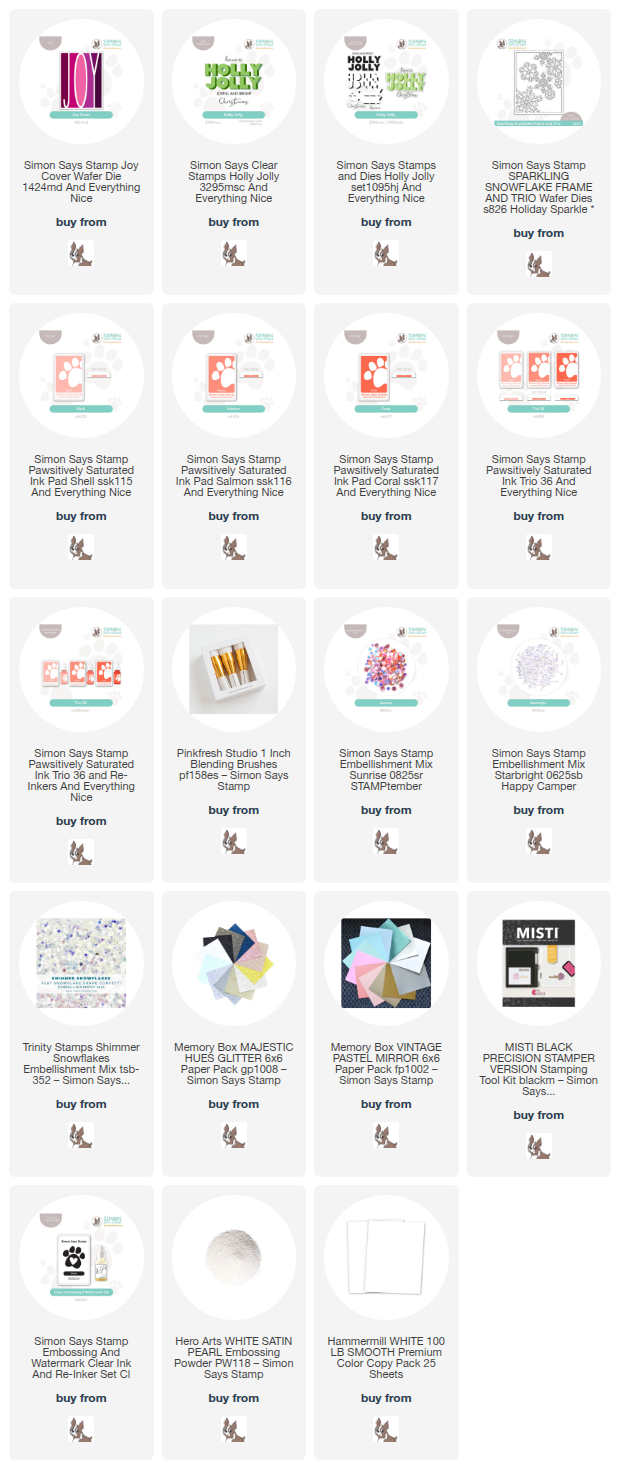
To begin my shaker card, I used blending brushes to blend the new Pawsitively Saturated Ink Trio 36 in shades of Shell, Salmon, and Coral in a gradient on a white A2 card front. I used Pinkfresh Studio 1″ Blending Brushes to get a super duper smooth, seamless transition from one color to the other and I am overjoyed at how beautifully it came out! Once I had finished blending, I splattered the background with some iridescent glitter watercolors, then used some leftover acetate packaging to create a flat shaker pocket around my blended, splattered background. I filled the pocket with Sunrise Embellishments and Starbright Embellishments, pulling in the peachy colors of the background as well as adding some snowy elements with the shimmering iridescent Starbright sequins and tiny snowflake sequins. These flat shakers are such fun to make and put good use to that leftover stamp packaging that we all have in abundance!

After I had completed my shaker background, I die cut the new Joy Cover from some iridescent white mirror cardstock. This cover die is slightly smaller than A2, so it leaves a bit of a frame around the edges. I nestled it up in the top left corner, offsetting it slightly so that I had plenty of room for my die cut snowflakes! I cut some individual snowflakes using the Sparkling Snowflake Frame & Trio and white glitter cardstock, which I adhered directly over the Joy Cover die cut in a cascade.

To enhance the greeting a bit, I used one of the sentiments from the new Holly Jolly stamp set, stamping it first with Coral ink, then again with embossing ink with the help of my trusty MISTI, adding White Satin Pearl embossing powder to create a pearlescent coral greeting! I die cut the scripty sentiments and used my trimmer to create a sentiment strip. I popped the sentiments up, nestling them amongst the snowflakes and placing them directly over the Joy Cover die cut. Finally, I added a smattering of Opal Pawsitively Dazzling Gems to add even more shimmer and sparkle!

Well, that’s all for my project today! I enjoy making these flat shaker cards so much. The sequins swish around so beautifully, creating magical sparkle behind your main focal point! So festive and fun! Thanks so much for stopping by today, and have a marvelous day!
Filed Under: simon says stamp Tagged With: christmas card, die cutting, flat shaker, holiday card, ink blending, joy cover, pawsitively saturated inks, shaker card

Simon Says Stamp Limited Edition Religious Card Kit-Now Available for Preorder!

October 23, 2025

This post was sponsored by Simon Says Stamp. Thanks, Simon!

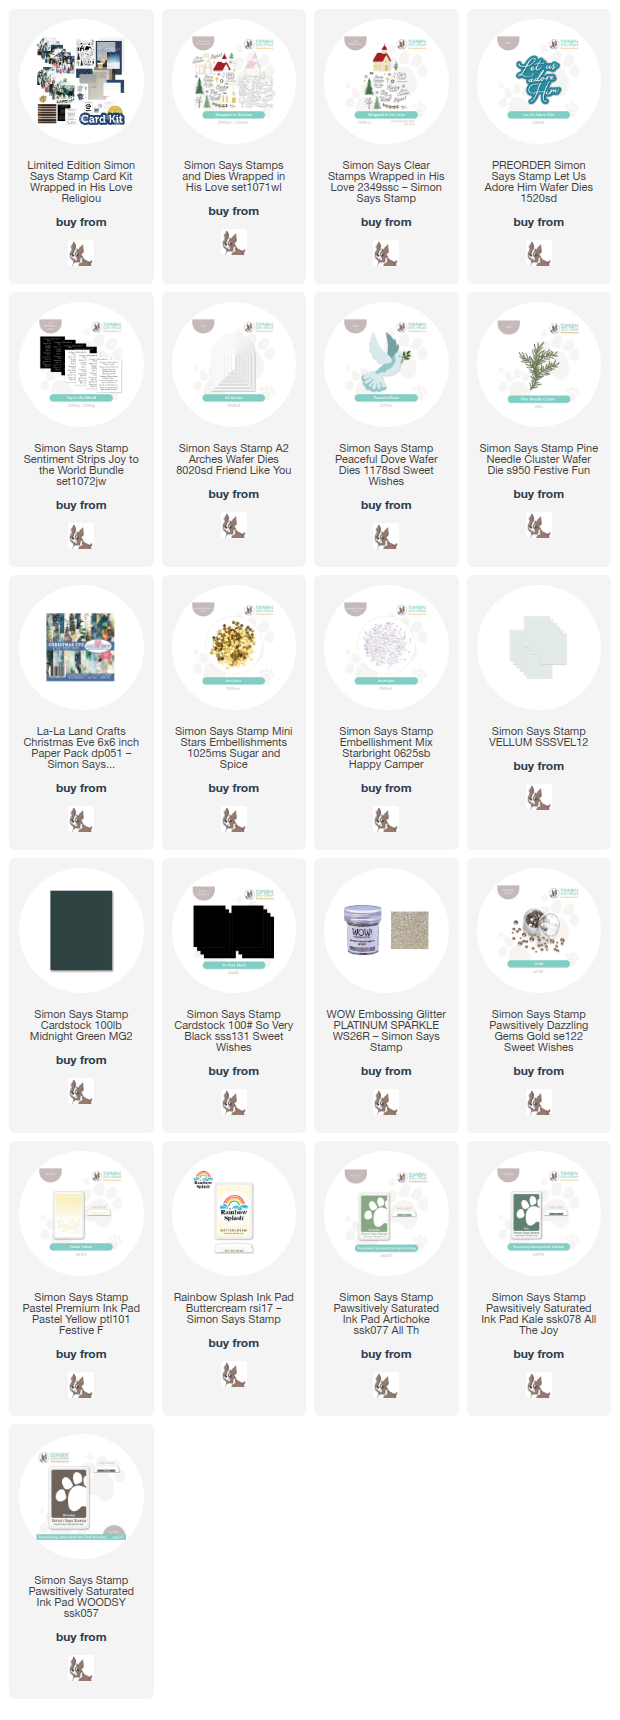
Hi friends! I have a special pair of projects to share with you tonight using the wonderful new limited edition religious card kit from Simon Says Stamp! The Wrapped In His Love kit is standalone from the Monthly Card Kits, while still featuring the same coordinated, beautifully curated array of products that work perfectly together and individually. The best part about these kits is the value; the kit is retailing for $59.99, but the individual products add up to a retail value of nearly $100! You can’t beat the fabulous value. I have created two projects using several elements of the Wrapped In His Love kit, paired with a few older products, so let’s get started with the details on my projects!

*I have gathered links to all of the products used at the bottom of the post for your convenience, using affiliate links. Thank you for shopping with my links! I truly appreciate your support for my work!*

The Wrapped In His Love kit features a large stamp set filled with beautiful holiday imagery, including a vintage-style, multi-step church image, as well as several poignant sentiments. Beyond the main stamp set, there are stencils, standalone dies, sequins embellishments, patterned papers, solid specialty cardstocks, even plain cardstock and envelopes! The value is truly remarkable, and the components of the kit can be used for so many cards beyond the consumable pieces.

The beautiful patterned papers in the Wrapped In His Love kit inspired my color palette for both of my cards, pairing stark black of a Christmas night with verdant greenery and metallic accents. I stamped the generously-sized church image and solid trees from Wrapped In His Love using Pastel Yellow Pigment Ink, Buttercream Rainbow Splash Ink, and Pawsitively Saturated Inks in shades of Artichoke, Kale, and Woodsy, coordinating the colors on the church with the vibrant patterned paper. I love how creamy the walls of church are paired with the soft glow of the Pastel Yellow Pigment Ink on the windows!

After I had stamped and cut out all of the images, I trimmed down the patterned paper so that it would nestle proportionally in the center of a black A7 card front, then matted it with a slightly larger panel of the champagne foil cardstock included with the kit. I arranged the scene on a strip of black cardstock that I flagged at the ends, making it slightly longer than the width of the card to add extra interest, onto which I also added a thin strip of the sparkling platinum glitter cardstock included with the kit. I heat embossed a greeting from Wrapped in His Love onto black cardstock with Platinum Sparkle embossing powder, then popped it up with some foam adhesive, finally finishing the card off with some Gold Pawsitively Dazzling Gems. I just love the visual heft of an A7 card, especially at Christmas! The larger area gives you lots of room to create beautiful scenes.

For my second card, I used a similar color palette, this time focusing my attention on the beautiful Let Us Adore Him die and another of the beautiful patterned papers in the kit. The ethereal starry night forest scenes in the patterned papers are simply divine! I trimmed one down to A2 size, then used an arch die from the A2 Arches set to die cut a window in a panel of black cardstock, backing the opening with a piece of the clear bag included with the kit, and creating a seamless line of foam adhesive around the back of the opening. I filled my shaker pouch with the shining Mini Stars Embellishment confetti, which comes in the kit, as well as some Starbright sequins from my stash.

To adorn the front of my shaker card, I die cut each layer of the Peaceful Dove from the Ivory cardstock included with the kit, layering the pieces together with liquid adhesive. I love the subtlety of the single cardstock color paired with the texture that each layer provides the dove; it’s intricate without overpowering the other elements of the card! I die cut the beautiful Let Us Adore Him sentiment die that is included with the kit, cutting the detail layer from the metallic platinum cardstock included with the kit as well as the shadow from some vellum from my stash. I also trimmed down a sentiment strip from the Joy to the World Reverse Sentiment Strip panel and layered all of these die cuts on the front of my shaker card. As a final touch of greenery, I added a few sprigs of foliage cut using Midnight Green cardstock and the Pine Needle Cluster die set, tucking them behind the die cut sentiment.

Well, that’s all for my projects today! As with most Simon Says Stamp Card Kits, the Wrapped In His Love kit kit and it’s fabulous value are only available for a limited time, so don’t wait to get your preorder in!! If you miss out on the kit itself, you can also purchase the individual items on their own. It’s so great to have options!! Thanks so much for stopping by today, and have a marvelous day!

Filed Under: simon says stamp, Uncategorized Tagged With: a2 arches, card kit, christmas card, die cutting, holiday card, joy to the world, peaceful dove, pine needle cluster, religious, shaker card, wrapped in his love

Happy Birthday Shaker with New Simon Says Stamp!

September 29, 2025

This post was sponsored by Simon Says Stamp. Thanks, Simon!

Hi friends! I am back from a weekend of relaxing fun with my husband, celebrating my 40th birthday! I’ve been reflecting on what this milestone “means” to me, and the main feeling is, quite simply, gratitude. Gratitude for my husband, who works so hard for me and for us as a unit, gratitude for the not-so-little family that I adore and that drives me a little nutty, gratitude for our home and our situation in life, gratitude for this work that is incredibly fulfilling in so many ways… I’m just thankful for so much. I thought for today’s post, I’d share a colorful birthday shaker card today to say “happy birthday” to myself! Let’s get started with the details.

*I have gathered links to all of the products used at the bottom of the post for your convenience, using affiliate links. Thank you for shopping with my links! I truly appreciate your support for my work!*

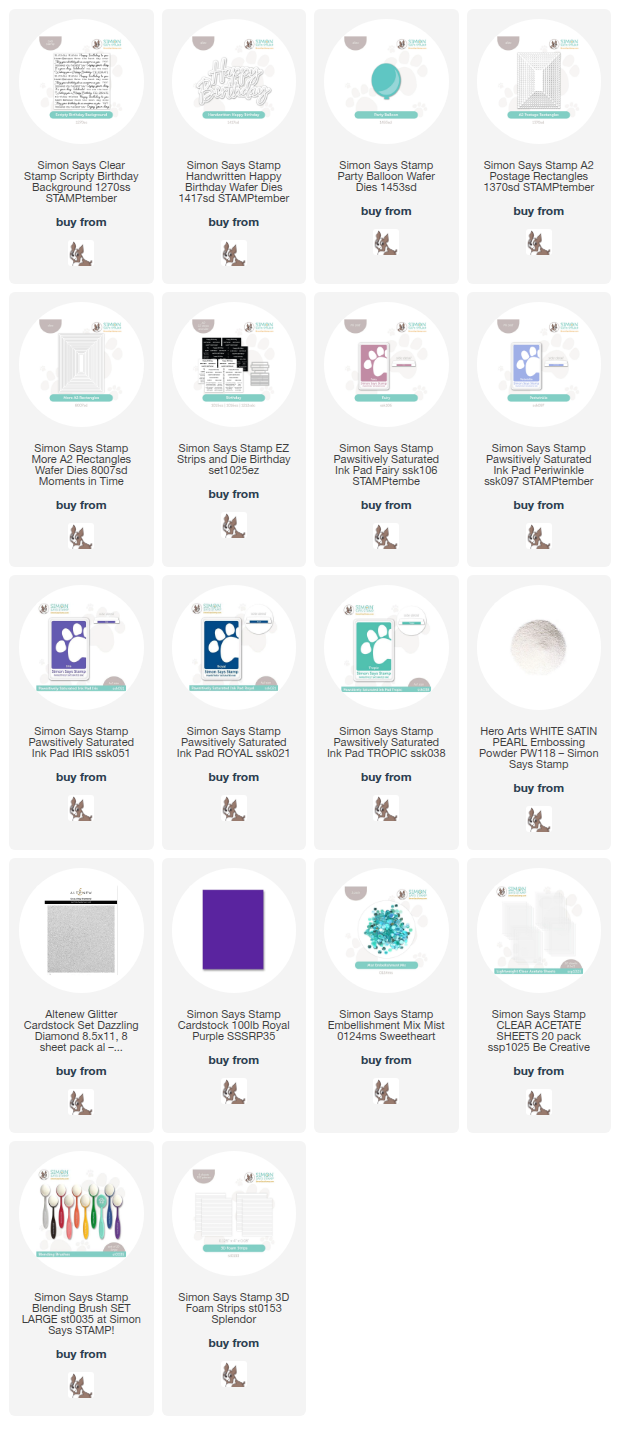
To begin, I stamped the new Scripty Birthday Background onto a panel of white cardstock using sticky embossing ink, then added White Satin Pearl embossing powder. To create the colorful background, I used blending brushes to blend Pawsitively Saturated Inks: in shades of Fairy, Periwinkle, Iris, Royal, and Tropic, utilizing the emboss/resist technique to create a bold and colorful background. These are some of my most favorite colors in the Pawsitively Saturated Ink line, beautifully rich, with cool undertones and gorgeous vibrancy!

To create the shaker window, I began by die cutting a glittery rectangle, then cutting out the middle using the new A2 Postage Rectangles, creating a unique reverse-scalloped frame. I cut a slightly smaller panel of acetate, then used strips of foam adhesive to completely enclose the frame before filling it with Mist Sequins. I love the look of the iridescent sequins with the cool rainbow blended background!

To adorn my shaker window, I die cut the Handwritten Happy Birthday three times from Royal Purple cardstock, layering the die cuts together to create extra dimension. I placed this in the center of my shaker window, then added several balloons cut from a variety of colored cardstocks using the new Party Balloon die. I arranged the balloons on the card front in a cascade, popping them up with som added foam tape. Finally, I tucked a sentiment strip cut using the EZ Strips die and EZ Strips Birthday. Such a fun and festive card, right?

Well, that’s all for my project today! I am off to enjoy some Mexican food and homemade almond cake courtesy of my daughter and my redhead. Thanks so much for stopping by today, and have a marvelous day!

Filed Under: simon says stamp Tagged With: a2 postage rectangles, birthday, die cutting, handwritten happy birthday, ink blending, party balloon, pawsitively saturated, scripty birthday background, shaker card

Wee Ghosties with New Simon Says Stamp!

September 24, 2025

This post was sponsored by Simon Says Stamp. Thanks, Simon!

Hi friends! I am back today with a pair of cutesy Halloween projects featuring some new goodies from Simon Says Stamp! I am not typically a huge fan of Halloween, preferring instead to skip from autumnal aesthetic to Christmas, but the little ghosties in the new My Boo set from the Simon Says Stamp STAMPtember release (check it out HERE) were just too cute to pass up! I always enjoy a good gift set, so I decided to create a shaker card with a matching embroidery hoop that could be hung for Halloween. Let’s get started with the details on my projects!

*I have gathered links to all of the products used at the bottom of the post for your convenience, using affiliate links. Thank you for shopping with my links! I truly appreciate your support for my work!*

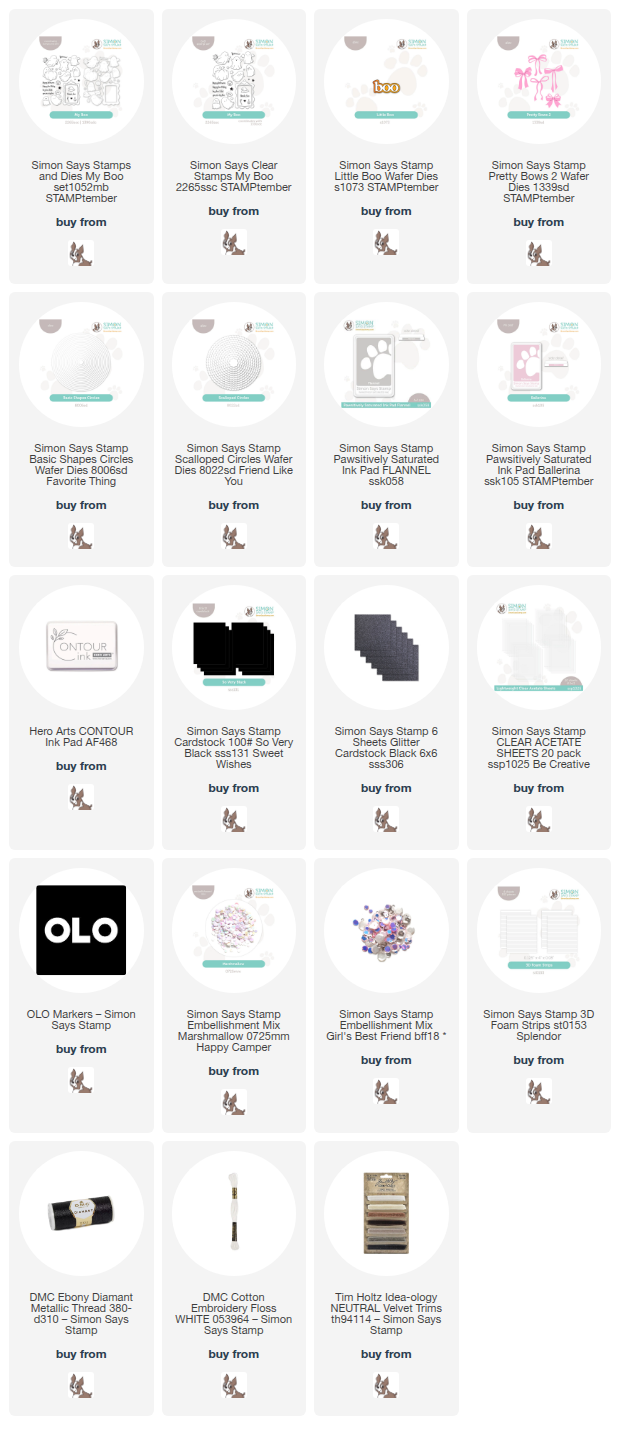
The My Boo stamp set features wee ghosties in a variety of positions and activities, but I thought that the bat ghost was so darling that I used it twice! To fit my own personal aesthetic preferences, I decided to keep the colors pastel and pretty, focusing on black, white, and pastel pink, with touches of silver thrown in for sparkle.

For the shaker card, I stamped the ghost from My Boo on some Hammermill cardstock using Hero Arts Contour Ink, then used my OLO Markers to color the image in no-line style, liberally using the colorless blending marker to soften the edges of the shadows, keeping the ghost as white as possible. I used the coordinating die to cut the finished image, then created my card base. I stamped a variety of stars using Pawsitively Saturated Inks in shades of Flannel & Ballerina to create a subtly patterned background upon which my ghostie could float. When creating custom patterned paper like this, I like to turn the stamp block and the cardstock with each new stamp so that I can create the random, continuous pattern over the entire panel.

To create my shaker, I die cut a black Scalloped Circles die cut, then cut out the center using Basic Shapes Circles to create a sweet scalloped frame. I also die cut another scalloped circle from some clear acetate and backed the black frame with this die cut of the same size. I used Simon Says Stamp Foam Adhesive Strips to create a full seal around the back of the frame, filling the shaker with both Simon Says Stamp Marshmallow Sequins and Girl’s Best Friend Sequins. To add a little extra sparkle and fill in the bare spot above the ghost, I die cut a fluffy bow from Pretty Bows 2 twice from black glitter cardstock. I trimmed off the ends of the second die cut’s bow, tucking them beneath the full bow to create an even fluffier look. I popped up the colored ghost in the center of my shaker window, finally adding a stamped greeting beneath. Isn’t this just so cute!!? It would work perfectly as a complement to the embroidered gift!

To create my embroidered gift, I stamped the little bat-ghost from My Boo onto some finely-woven green fabric using Flannel ink, then used black and white embroidery floss to embroider the cute little fella. I added a few star sequins and some beads around him, finally adding a black foil felt die cut Little Boo beneath. I cleaned up the back of my embroidery hoop with my glue gun, adding a die cut cardstock circle over the top to hide the somewhat messy back of the embroidery, then added a black velvet bow to the top and a loop of coordinating sage green ribbon so that the hoop can be easily hung for decoration!!

Well, that’s all for my projects today! I can handle Halloween if it’s filled with cute little ghosts like these! Thanks so much for stopping by today, and have a marvelous day!

Filed Under: simon says stamp Tagged With: basic shapes circles, embroidery, halloween, little boo, my boo, no line coloring, olo markers, pretty bows 2, scalloped circles, shaker card

Simon Says Stamp October 2025 Card Kit of the Month!

September 14, 2025

This post was sponsored by Simon Says Stamp. Thanks, Simon!

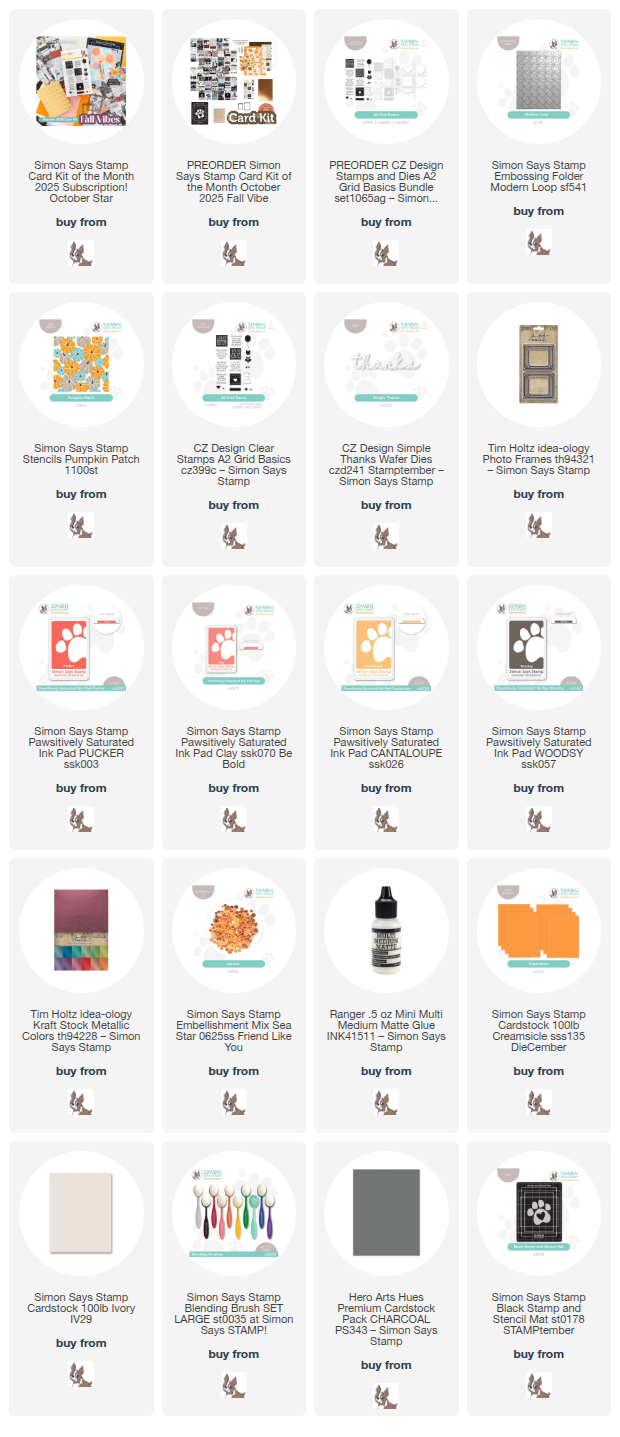
Hi friends! I have some inspiration to share with you today using the new Simon Says Stamp October 2025 Card Kit of the Month: Fall Vibes! This month’s kit is so unique and full of fun products that you can use to create a ton of different cards using just the contents of the kit! Here’s a sneak peek at the kit’s contents:

Such a unique kit, right? Each different element is so unique, but they work so nicely together! I have two projects to share with you created using the contents of the kit, so let’s get started with the details!

*I have gathered links to all of the products used at the bottom of the post for your convenience, using affiliate links. Thank you for shopping with my links! I truly appreciate your support for my work!*

The “Fall Vibes” theme stuck in my head when brainstorming ideas for these projects, so I decided to keep things decidedly “fall” and stick with a color that doesn’t get a lot of love in my craft room: orange! I have a friend who has the most marvelous pumpkin patch, growing over 75 varieties of pumpkin (more power to her and her green thumb!), so I was inspired by the shades of the round gourds gracing her fields to create a stenciled shaker, as well as take advantage of the gorgeous metallic kraft cardstock from Tim Holtz that was included in the kit.

For my first project, I ran an A2 panel of the gorgeous pumpkin-colored Tim Holtz Metallic Kraft Stock through my die cutting machine using the Modern Loop Embossing Folder included in the kit. Metallic and foil cardstocks work so beautifully with detailed embossing folders like this one; the shining surface of the cardstock seems to enhance the texture of the embossed images to perfection! Next, I heat embossed a greeting from the new A2 Grid Basics stamp set included with the kit onto some Creamsicle cardstock from the kit. I trimmed the embossed image out with my trimmer, but you could use the coordinating dies (which are sold separately). I trimmed the embossed panel down slightly and placed it in the center of a full-sized A2 Creamsicle card front. To frame the sentiment, I used Multi-Medium Matte adhesive to adhere one of the Tim Holtz Photo Frames on the textured foil panel, then added the greeting with some foam adhesive squares. Finally, I added a few Gold Pawsitively Dazzling Gems for a bit of extra sparkle!

For my second card, I used Pucker, Clay, Cantaloupe, and Woodsy Pawsitively Saturated Ink to blend the fabulous Pumpkin Patch stencil on a panel of Ivory A2 cardstock from the kit. The generously-sized pumpkins make it easy to add some additional shading details, creating shape and dimension on these pumpkins! The Black Stamp and Stencil Mat included with the kit made super quick work of those layering stencils, as well. Such a useful tool! I used some leftover stamp packaging to create a pocket around the entire panel, then filled it with Sea Star Embellishments, keeping with my overall orange theme. Once I had my flat shaker sealed off, I die cut the detail layer of the previously-released Simple Thanks die from the orange metallic kraft cardstock included with the kit and backed it with a coordinating shade of deep, warm gray cardstock to allow the shiny orange die cut to pop from the colorful background. I popped up the greeting with some foam adhesive, then added a shiny metallic orange twine bow to the card front for a bit of added texture!

Well, that’s all for my projects today!

The Simon Says Stamp Card Kits are such an incredible value; the value of the individual elements of each kit equals far more than the $44.99 price tag, so you’re getting incredible bang for your buck. If you are consistently interested in the Simon Says Stamp Card Kit of the Month, you can sign up HERE to become a subscriber for an even bigger discount on these carefully curated products. As always, Simon also makes each individual element of the kits available a la carte, so that you can pick and choose what you would like to purchase if buying the entire kit isn’t really your thing. Who can say no to such incredible value though, right?

Thanks so much for stopping by today, and have a marvelous day!

Filed Under: simon says stamp, Uncategorized Tagged With: card kit of the month, die cutting, embossing folder, fall vibes, flat shaker, idea-ology, ink blending, layering stencils, modern loop, pumpkin patch, pumpkins, shaker card, simple thanks, thank you

  • « Go to Previous Page
  • Page 1
  • Page 2
  • Page 3
  • Page 4
  • Page 5
  • Interim pages omitted …
  • Page 18
  • Go to Next Page »

Primary Sidebar

  • Facebook
  • Instagram
  • Pinterest
  • YouTube

Favorite Shops

Secondary Sidebar

Subscribe

Enter your email address to subscribe to this blog and receive notifications of new posts by email.

Instagram
Something is wrong.
Instagram token error.
Follow
Load More

Archives

Tags

3D embossing folder alcohol markers better press birthday birthday card blog hop card kit christmas christmas card christmas tag colored pencil copic copic coloring Daniel Smith die cutting embossing folder embroidery felt giveaway holiday holiday card hot foil ink blending karin brushmarker pro layered stencil masculine my monthly hero new release no line coloring no line watercolor OLO marker olo markers original illustration pawsitively saturated rainbow shaker card slimline stamping stamptember stencil thank you thinking of you valentine's day video watercolor

Popular Posts

Simon Says Stamp October 2026 Card Kit of the Month: Homespun Gratitude!
February 2018 My Monthly Hero Blog Hop!
Altenew Craft A Flower: Poppy Blog Hop+Giveaway!
Felted Gourd Wall Hanging with Simon Says Stamp!
Sunflower Home Decor with Simon Says Stamp!
Craft Your Life Project Kit: Feathered Lilies Blog Hop+Giveaway!
Simon Says Stamp October 2025 Card Kit of the Month!
Altenew Standalone Die Blog Hop+Giveaway!
The Ton Anniversary Release- Day 2
Altenew Build A Flower Japanese Mum Blog Hop!

Disclosure

Some affiliate links are used in my posts. This means that, should you click on one of my links and purchase something from that company, I will receive a small portion of the sale at no extra cost to you. I use the money earned from these sales to help maintain my blog. I so appreciate you visiting and, if you do choose to use one of my affiliate links, thank you so much for your support!
Copyright © 2026 ·Brunch Pro Theme · Genesis Framework by StudioPress · WordPress · Log in
Loading Comments...