This post was sponsored by Simon Says Stamp. Thanks, Simon!
Hi friends! We’ve shifted fully into holiday mode here on my blog, and while there might be a few autumnal or regular projects on here, the next few months are going to be all Christmas, all the time!! I have tons of ideas and products to play with, so I hope you’re as ready for sparkles, baubles, greenery, and gingerbread as I am. I have a project featuring a gorgeous vintage bauble stamp set from the Simon Says Stamp STAMPtember Release, called Shiny Baubles. These vintage-style ornament stamps are super simple to layer in any color combination your heart desires, but I chose to work with a quintessentially vintage color palette: red, pink, and aqua! Let’s get started on the details for my project.
*I have gathered links to all of the products used at the bottom of the post for your convenience, using affiliate links. Thank you for shopping with my links! I truly appreciate your support for my work!*

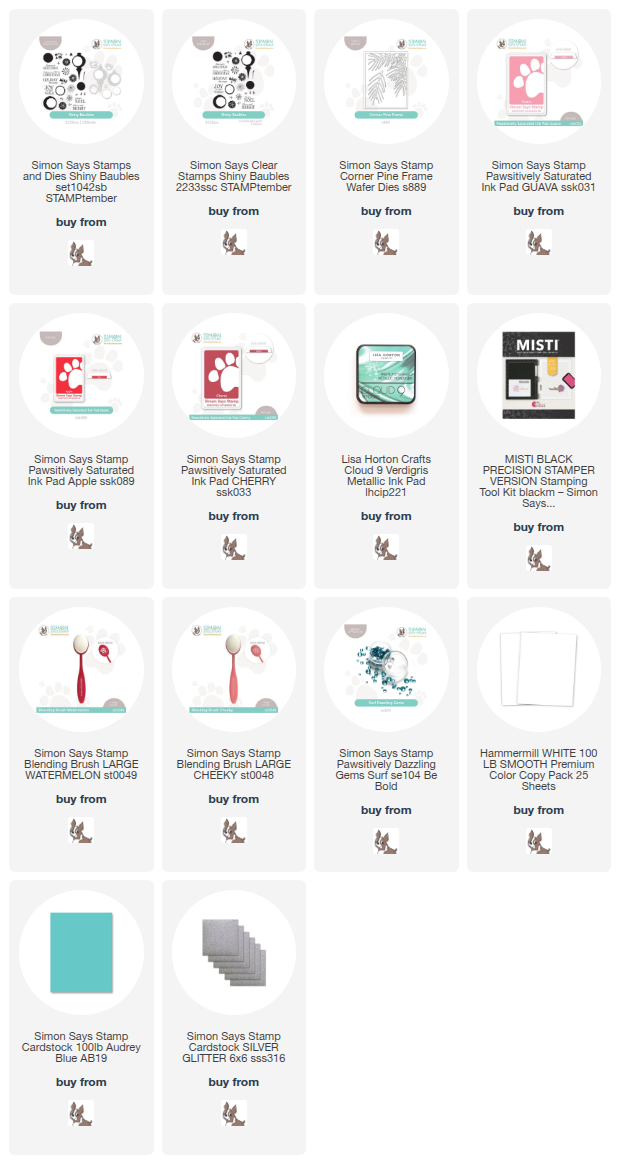
I began by stamping the vintage ornaments from Shiny Baubles using Pawsitively Saturated Inks in shades of Apple, Guava, and Cherry on Hammermill white cardstock, then using the metallic Lisa Horton Crafts Verdigris ink to stamp some aqua accents on the ornaments. This opaque metallic ink is so beautiful, and it adds just the right touch of shimmer to these holiday baubles. Shimmer and shine is a must on holiday projects, don’t you think? I also used the “rock ‘n roll” technique to add some extra shading on the sides of the ornaments, tapping my ink pads only on the edge of the stamp and blending the sharp edges off with touches of my microfiber cloth before stamping again using my MISTI.

For the card base, I wanted to create a glowing Christmas tree scene, so I pulled out the oldie-but-goodie Corner Pine Frame, which I die cut from Audrey Blue cardstock. I also used blending brushes to blend Guava and Cherry inks in the upper corner of my white A2 card front, creating a “glow” from holiday lights and adding some interest and contrast behind the pine boughs. I adhered the cover plate die cut to the blended card front with liquid adhesive, then arranged the baubles amongst the boughs and added a couple of standalone boughs to fill things in a bit more, creating a lush focal point.

For the greeting, I stamped the simple “Joy to the world” sentiment from the Shiny Baubles set using the Verdigris ink, then trimmed it down to a simple square using my trimmer and popped it up with foam adhesive squares. Finally, I added some silver glitter die cut ornament toppers using the coordinating Shiny Baubles dies and some Surf Pawsitively Dazzling Gems to make things extra glam and festive!
Well, that’s all for my project today! Christmas crafting definitely brings joy to my world… I hope it brings joy to your world, too! Thanks so much for stopping by today, and have a marvelous day!