This post was sponsored by Simon Says Stamp. Thanks, Simon!
Hi friends! I have another no-line coloring project featuring the darling new Pixie Dust stamp set from the Simon Says Stamp To Be Loved release. I was immediately drawn to the large scale flowers, especially the graceful movement of the floral stems. I have been trying to work with styles that are a bit outside of my creative wheelhouse, attempting to stretch my creative muscles such as they are. The sweet characters in the Pixie Dust set were perfect for this creative exercise, while still adapting the images to my own style with very detailed no-line Copic coloring. Let’s get started with the details!
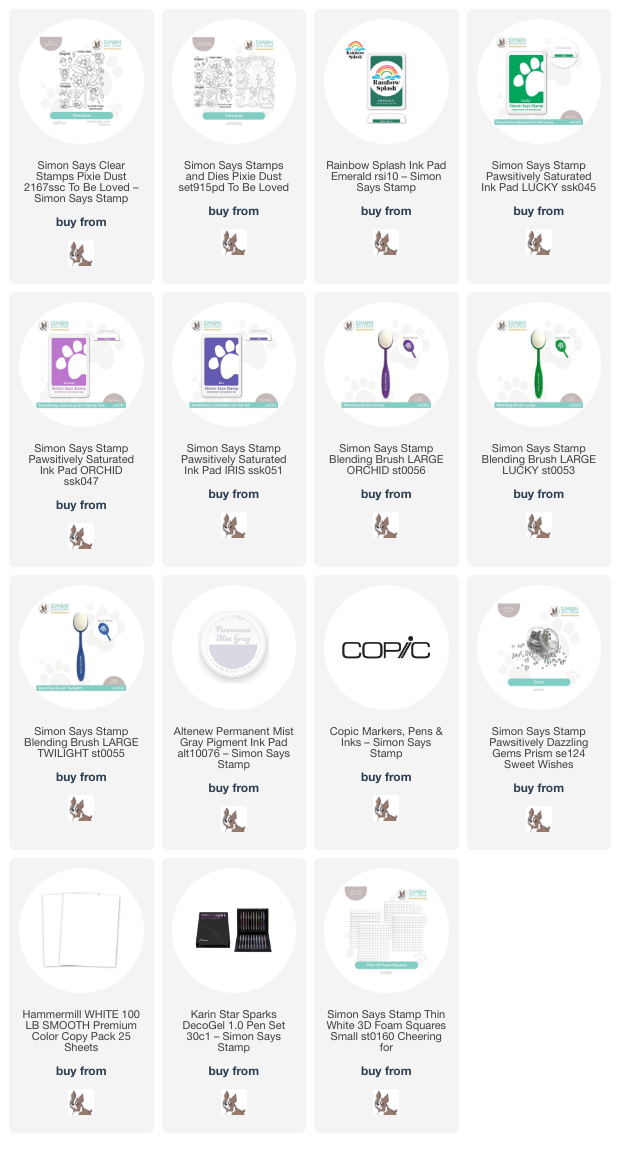
*I have gathered links to all of the products used at the bottom of the post for your convenience, using affiliate links. Thank you for shopping with my links! I truly appreciate your support for my work!*

To start, I stamped the little fairies, bees, and fungi from Pixie Dust onto some white cardstock using Altenew’s Permanent Gray Mist ink, as well as the large floral arrangement onto some plain white cardstock, cut to 3.5″ x 8.5″ to create a slimline card base. I then used a variety of Copic markers in cool shades of mauve, periwinkle, and deep emerald green to do some no-line coloring, then adding some details to the flower centers, skirts, and mushrooms with sparkling gel pens. The sparkling accents work perfectly with the magical little fairies and overall scene!

After the coloring was completed, I used the coordinating dies to cut all of the images out and began arranging my scene. Before adhering everything with foam adhesive, however, I decided to add to the magical feel by blending some “grass” with Lucky Pawsitively Saturated Ink and Emerald Rainbow Splash Ink on the bottom right corner of my card base, as well as creating a luminous sky background with Pawsitively Saturated Ink in shades of Iris and Orchid. I was careful not to do too much blending over my colored areas, creating a glow around the edges of the card to hint at the background very subtly.

I adhered all of the die cuts on the colored and blended slimline card base using thin foam adhesive squares, as well as a sentiment that I had stamped with Iris ink and embossed using Iridescent Purple embossing powder from Hero Arts to add some more magical shimmer to the card. Finally, I added a smattering of Prism Pawsitively Dazzling Gems for even more sparkle!
Well, that’s all for my project today. I love adapting different styles of designs to my own personal style and preferences. The detailed coloring on these sweet characters was such a fun way to push myself outside of my comfort zone. Also, if you haven’t hopped along on the To Be Loved Blog Hop, you’re missing out; the inspiration is a vision to behold!! Click HERE to see my post for Day 1 and get linked up to the rest of the hop. Thanks so much for stopping by today, and have a marvelous day!