• Skip to main content
  • Skip to primary sidebar
  • Skip to secondary sidebar

Sixth Street Sundries

Emily Midgett

  • Home
  • About Me
  • Contact
  • OLO Marker Color Swatch Chart
  • Shop

snowflake sensation

Steel Cardstock Spotlight #3: Rose Gold and Mixing Neutrals!

January 30, 2025

This post was sponsored by Simon Says Stamp. Thanks, Simon!

Hi friends! I am back with one final project on my Steel Cardstock spotlight, this time pairing the neutral medium gray cardstock from Simon Says Stamp with another neutral cardstock with some metallic flair. I think this combination demonstrates the versatility of the Steel cardstock, for it pairs beautifully with so many different color palettes. I had several images released before Christmas that I didn’t get a chance to use for holiday cards, but I wanted to see if I could use them to create a wintry birthday card with some leftover rose gold snowflakes. Let’s get started with the details on my projects!

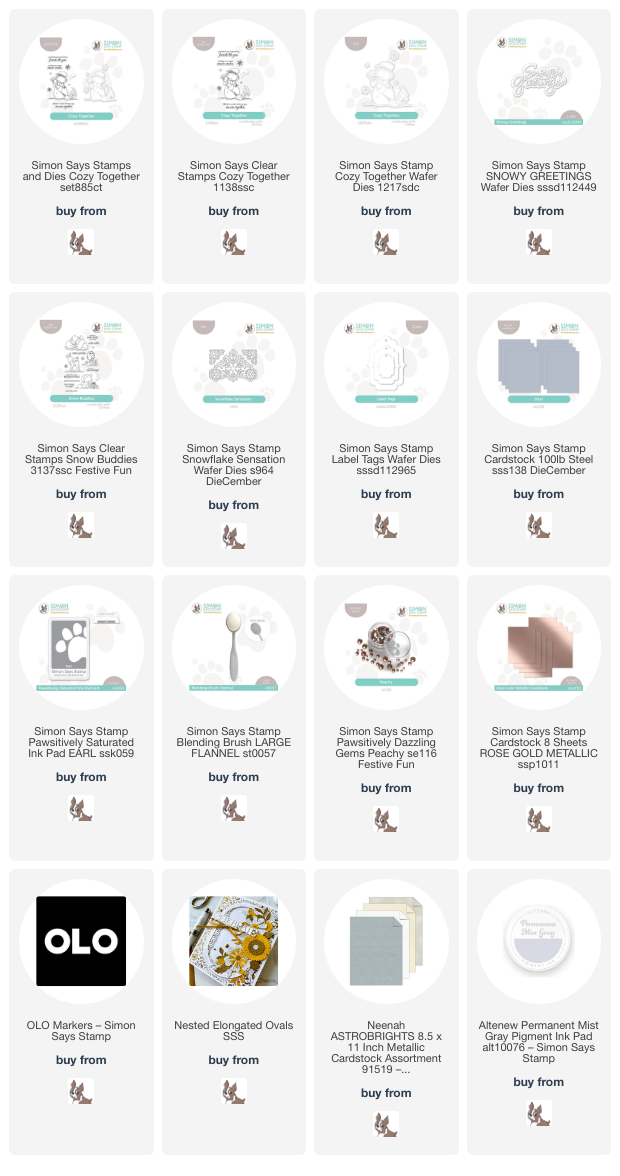
*I have gathered links to all of the products used at the bottom of the post for your convenience, using affiliate links. Thank you for shopping with my links! I truly appreciate your support for my work!*

When working with the DieCember products, I had created THESE projects using the beautiful Snowflake Sensation dies, focusing on the outline images created with the dies and SSS Rose Gold Metallic cardstock. I had several snowflakes leftover, and so for today’s project I decided to use these delicate snowflake die cuts to create a snowy background and had enough left to create a little tag, probably to save for next Christmas.

For my card, I began by stamping the sweet snowman from the Cozy Together stamp set using Altenew’s Permanent Mist Gray ink onto some white Hammermill cardstock, then used my OLO markers to add some subtle shadows to the snowman, ensuring a smooth transition from the pale gray alcohol marker to the white of the cardstock by softening the edge of the colored areas with the Zero marker, aka OLO’s colorless blender marker. I also added some metallic copper stripes to the snowman’s scarf and twirling dust using a metallic acrylic marker and some details to his face with a fine-tipped black pigment marker. I die cut the finished snowman with the coordinating die.

After I had finished the main focal point, I began to put the background together. I first blended some Earl Pawsitively Saturated Ink on one edge of the Steel A2 card front, then splattered it with some rose gold metallic glitter watercolor to add extra whimsy and texture to the background. Once the watercolor had dried, I used the leftover rose gold snowflake die cuts to create a pretty snowflake pattern on the blended and splattered areas, adhering them with liquid adhesive. For the greeting, I die cut the detail layer of the Snowy Greetings word die set from some more Metallic Rose Gold cardstock, then adhered it to a vellum shadow layer with liquid adhesive. I added a pearlescent silver die cut oval frame to the snowflake background with some foam adhesive, then enhanced the die cut sentiment with an embossed greeting from Snow Buddies, adhering all of the different die cuts with foam adhesive. Finally, I added a few Peachy Pawsitively Dazzling Gems for a bit of added sparkle!

I had a couple of rose gold snowflake die cuts leftover, so I decided to layer them to create a simple, pretty tag! I die cut two Label Tag dies from some more Steel cardstock, adhering the two pieces together with the scratched sides facing each other, which ensures that each side of the tag is clean and smooth. I adhered the two snowflake die cuts in the center of the tag die cut, rotating the top snowflake so that it created a beautifully full snowflake. Finally, I added a white silk ribbon loop to the top of the tag and a few more Peachy Pawsitively Dazzling Gems on the snowflakes for added sparkle!

Well, that’s all for my projects today! I hope you’ve enjoyed this spotlight on Simon Says Stamp’s Steel Cardstock. It is fun to direct my creative focus on one unsung hero and give it a little extra love. The shade of gray is a true neutral, and it makes it perfect for so many different applications. Thanks so much for stopping by today, and have a marvelous day!
Filed Under: simon says stamp Tagged With: birthday card, christmas tag, copic coloring, cozy together, ink blending, label tags, no line coloring, olo markers, snow buddies, snowflake sensation, snowman, snowy greetings, steel cardstock, winter birthday

Snowflake Two-fer Using Simon Says Stamp DieCember Dies + SALE!

December 30, 2024

This post was sponsored by Simon Says Stamp. Thanks, Simon!

Hi friends! I am back today with a pair of super vibrant and dramatic projects using some new goodies from DieCember. The new Snowflake Sensation die set features some beautiful frames that also happen to die cut some gorgeous standalone snowflakes, making it super easy to create multiple projects with minimal die cutting! I paired these intricate dies with some beautiful foil cardstock. Let’s get started with the details!

*I have gathered links to all of the products used at the bottom of the post for your convenience, using affiliate links. Thank you for shopping with my links! I truly appreciate your support for my work!*

One of my secrets for die cutting is pairing intricate dies with coated cardstock, like foil, pearlescent, or vellum cardstock. The less fibrous the cardstock, the more easily the intricate design on your dies will cut! I paired the Snowflake Sensation die set with the absolutely lush Simon Says Stamp Rose Gold Metallic cardstock. This shiny cardstock die cuts superbly, making it perfect for use with these intricate dies. I also die cut the Snowflake Sensation dies from some Pinkfresh Studio Rose Gold Glitter Cardstock to add some contrasting texture to the super smooth and shiny metallic foil cardstock.

After die cutting a few different Snowflake Sensation patterned brackets, I reserved the snowflake die cuts and arranged the brackets in a symmetrical arrangement on my A2 Simon Says Stamp Rainforest Cardstock. Before adhering the foil die cuts, I used a blending brush to blend Raindrop Pawsitively Saturated Ink around the edges of the card front, adding a touch of contrast and interest to the areas behind the die cuts. I adhered the foil die cuts to the blended card front using liquid adhesive.

For the greeting, I stamped a sentiment from Making Spirits Bright on more Rainforest cardstock using embossing ink, then added rose gold embossing powder. The contrast between the pale metallic embossing powder and the deep teal cardstock is magnificent! I die cut the greeting with its coordinating die, then added a strip of vellum cardstock directly over the center of the card front, adhering the edges to the back of the card with some super strong double sided tape to keep the vellum nice and clean. I popped up the greeting with some foam adhesive, then decided to add some further metallic embellishment to the card front with some Peachy Pawsitively Dazzling Gems and a few dots of my Blush paint pen. So much sparkle and shine on this card, and it’s so easy because the die cuts do so much of the work for you!

I used the same basic technique to create my second project, this time using a chalkboard frame from the dollar store to create a piece of home decor! I used some coordinating teal paint on the frame itself, which I think is a beautiful, wintry pop of color for those bleak days after Christmas. I trimmed down a panel of Rainforest cardstock to fit within the frame, the again blended some Raindrop ink around the edges to add extra dimension behind my focal point. I used the leftover rose gold Snowflake Sensation die cuts and a couple of extra corner brackets to create the pattern on this little frame, adhering them all to the cardstock with liquid adhesive. I added a few more Peachy gems and metallic Blush dots, then used super sticky tape to adhere the cardstock piece inside the frame! It’s so difficult to pick up the shimmer and sparkle on these projects in the photos, but they’re really magical in person.

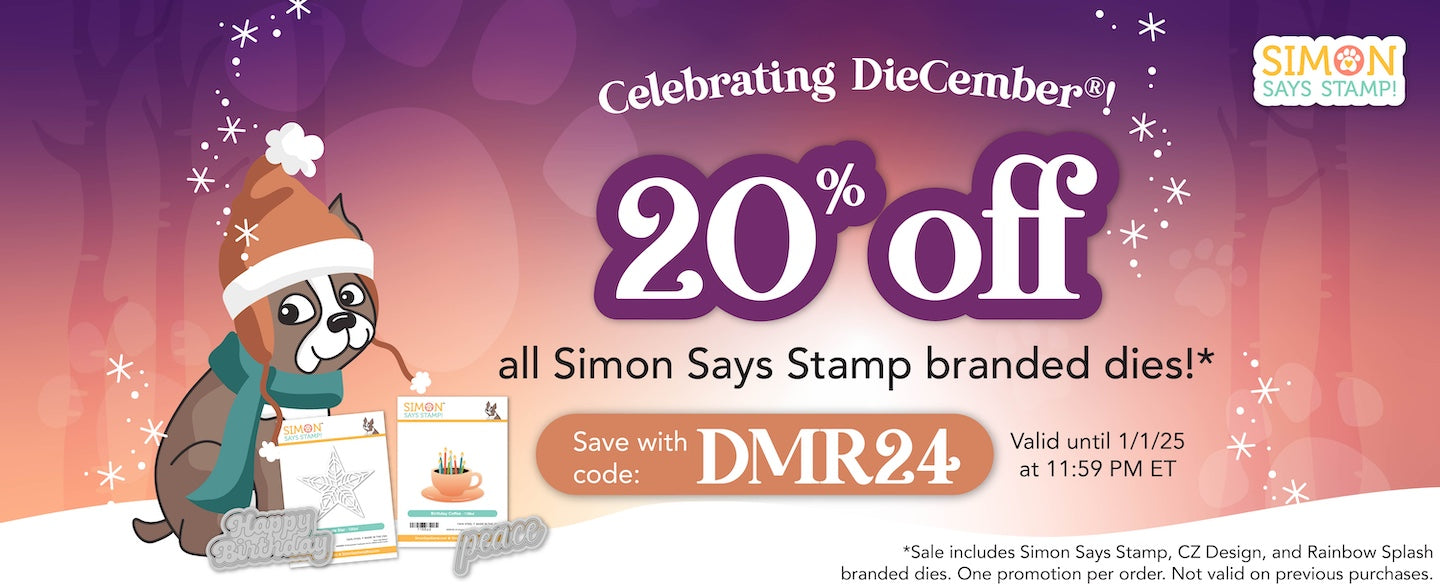
Well, that’s all for my projects today! Now, to celebrate the close of DieCember, Simon Says Stamp is running a fabulous sale:

From now through 1/1/2025, you can take 20% off all Simon Says Stamp branded dies!!! This is an incredible deal, and a great way to stock up on those dies that you’ve had your eye on. You can click HERE to see all of the dies included in the sale! Simply add your selections to your cart, then add code DMR24 at checkout to receive 20% off of all of your Simon dies. Such a great way to close out 2024 and get some new goodies to play with in the coming winter months.

Thanks so much for stopping by today, and Happy New Year!

Filed Under: simon says stamp, Uncategorized Tagged With: christmas card, die cutting, holiday card, home decor, ink blending, making spirits bright, snowflake sensation, winter

Primary Sidebar

  • Facebook
  • Instagram
  • Pinterest
  • YouTube

Favorite Shops

Secondary Sidebar

Subscribe

Enter your email address to subscribe to this blog and receive notifications of new posts by email.

Instagram
Something is wrong.
Instagram token error.
Follow
Load More

Archives

Tags

3D embossing folder alcohol markers better press birthday birthday card blog hop card kit christmas christmas card christmas tag colored pencil copic copic coloring Daniel Smith die cutting embossing folder embroidery felt giveaway holiday holiday card hot foil ink blending karin brushmarker pro layered stencil masculine my monthly hero new release no line coloring no line watercolor OLO marker olo markers original illustration pawsitively saturated rainbow shaker card slimline stamping stamptember stencil thank you thinking of you valentine's day video watercolor

Popular Posts

Simon Says Stamp October 2026 Card Kit of the Month: Homespun Gratitude!
Honey Bee Stamps Cheerful Love Blog Hop!
Altenew Craft A Flower: Poppy Blog Hop+Giveaway!
Autumn Legs with Colorado Craft Company and Catherine Pooler!
Simon Says Stamp Cozy & Bright Inspiration, Part Two!
February 2018 My Monthly Hero Blog Hop!
The Ton Anniversary Release- Day 2
Sunflower Home Decor with Simon Says Stamp!
Simon Says Stamp STAMPtember Surprise: Boo Bundle Halloween Card Kit!
Hero Arts Spring 2020 Catalog Release Blog Hop+Giveaway!

Disclosure

Some affiliate links are used in my posts. This means that, should you click on one of my links and purchase something from that company, I will receive a small portion of the sale at no extra cost to you. I use the money earned from these sales to help maintain my blog. I so appreciate you visiting and, if you do choose to use one of my affiliate links, thank you so much for your support!
Copyright © 2026 ·Brunch Pro Theme · Genesis Framework by StudioPress · WordPress · Log in
Loading Comments...