• Skip to main content
  • Skip to primary sidebar
  • Skip to secondary sidebar

Sixth Street Sundries

Emily Midgett

  • Home
  • About Me
  • Contact
  • OLO Marker Color Swatch Chart
  • Shop

spring

Springtime Bunny Shaker with New Simon Says Stamp!

March 9, 2026

This post was sponsored by Simon Says Stamp. Thanks, Simon! *I have gathered links to all of the products used at the bottom of the post for your convenience, using affiliate links at no extra cost to you. Thank you for shopping with my links! I truly appreciate your support for my work!*

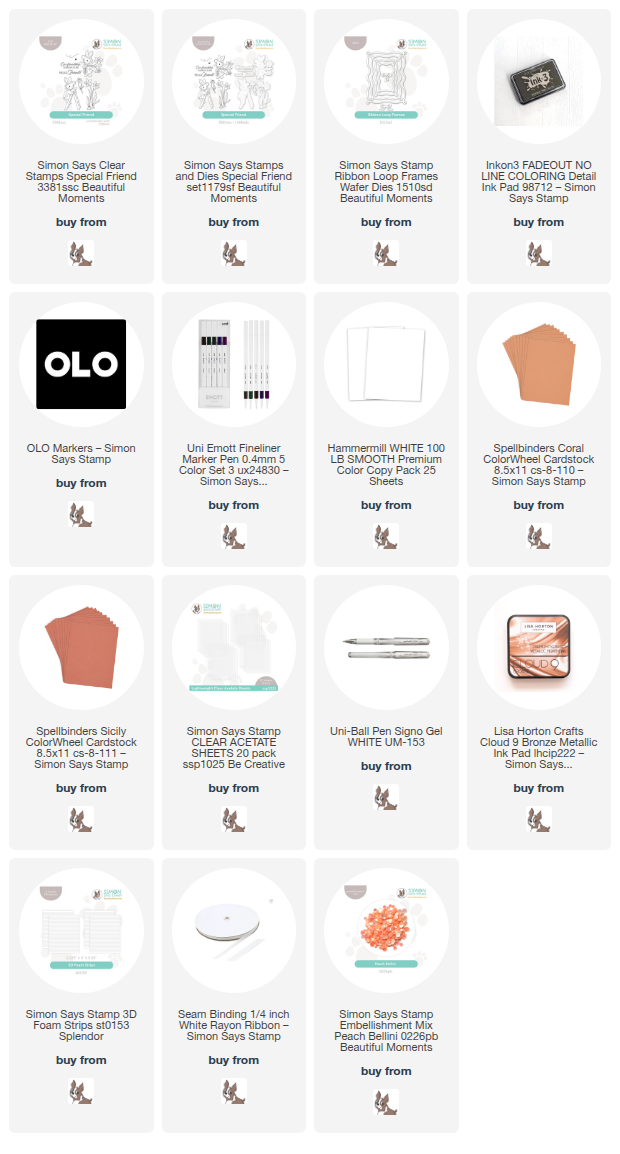
Hi friends! I have such a sweet card to share with you today featuring some gorgeous new goodies from the new Beautiful Moments release from Simon Says Stamp! (Check out the full Beautiful Moments release HERE!) We’re playing with all things springtime for this month’s release, and I couldn’t resist doing some no-line coloring with this sweet gardening bunny from Special Friend. Simon Says Stamp also released some new embellishment mixes, and my color palette came directly from the new Peach Bellini Embellishment mix. Let’s get started with the details on my card!

To begin, I stamped the bunny from Special Friend with her bouquet of daffodils, as well as some standalone daffodils, using no-line coloring ink. I then used OLO Markers to color the images with pale peach, warm gray, and zingy spring green, adding a pop of sunset yellow to the daffodils. After I had finished coloring all of the images, I went back in with my dark gray fine tipped pen and added the details to the bunny’s nose, whiskers, and eyes, as well as with a gold gel pen to add the centers to the daffodils. I used the super detailed coordinating dies to cut the finished images out.

To create my shaker frame, I first centered one of the new Ribbon Loop Frames over a panel of dark coral A2 cardstock, then die cut the frame, reserving the positive die cut for later and adding a panel of acetate behind the opening on the negative frame piece. I also die cut another of these Ribbon Loop Frames from some white cardstock so that it would pop nicely from the deep coral background. I adhered the white frame to the acetate, adding one of the looped bows to the top. I ran foam adhesive strips around the back of the opening to the window, then filled the shaker with the new Peach Bellini Embellishment and backed it with a piece of pale peachy cardstock.

Once I had assembled the shaker part of the card, I used thin foam adhesive squares to add the bunny and daffodils, adding a die cut greeting from Special Friend that I’d stamped with some metallic rose gold ink. Finally, I nestled a small white silk bow beneath the bunny’s feet, adding the perfect touch of texture and sweetness to this springtime card!

Well, that’s all for my project today! This sweet storybook critter set really spoke to me. It reminds me of Peter Rabbit, the anthology of which I am reading to my little boys at bedtime; it is a timeless illustration style that I just adore! The new Beautiful Moments release has so many gorgeous stamp and die sets (check out the whole release HERE!)-don’t hesitate to check it out. And if you find something is out of stock, don’t forget to sign up to receive an email when it comes back in stock! Thanks so much for stopping by today, and have a marvelous day!
Filed Under: simon says stamp Tagged With: die cutting, easter, fadeout ink, no line coloring, olo markers, ribbon loop frames, shaker card, special friend, spring

Ducky Hugs with New Simon Says Stamp!

April 11, 2025

This post was sponsored by Simon Says Stamp. Thanks, Simon!

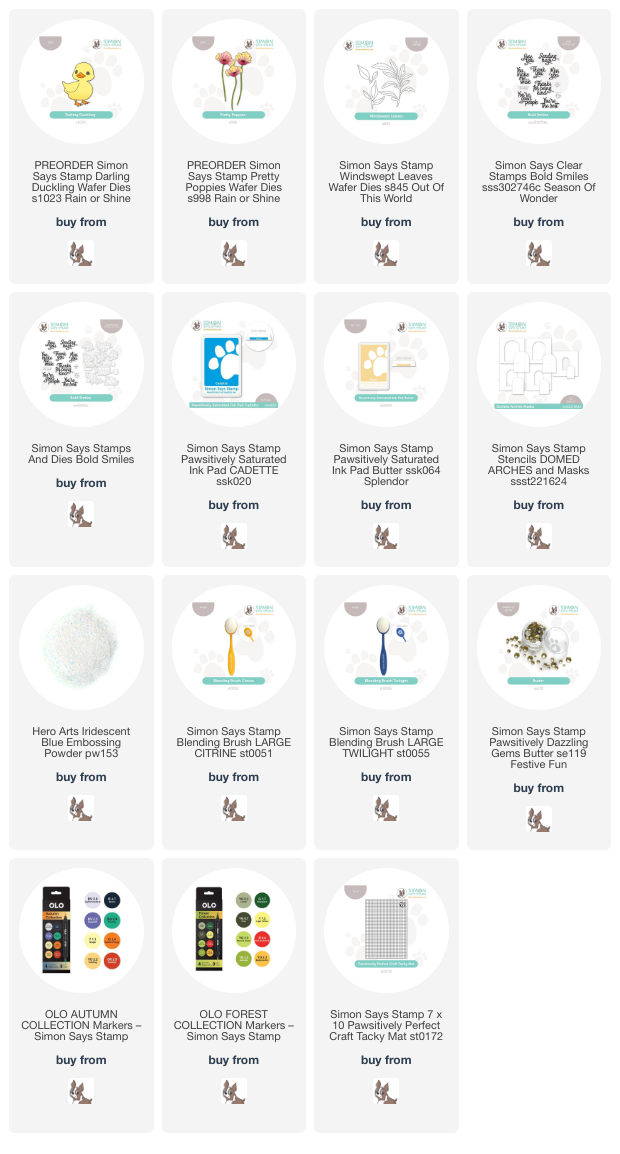
Hi friends! I have been super busy the last couple of weeks getting my mom to various medical appointments and celebrating my little boys’ fifth birthday (my goodness, how time has flown!), but I’ve taken some time to slow down and do some creating with the new Simon Says Stamp Rain or Shine release! The utterly precious little ducky in the new Darling Duckling die set immediately spoke to me; my theme for the baby shower for my older set of twins was based on the book “Make Way for Ducklings,” a favorite of mine as a child and a good representation of my own journey through motherhood with a gaggle of duckling-kiddos trailing behind me! I pulled out some white cardstock, botanical dies, and my OLO markers and got to work creating this sweet card. Let’s get started with the details!

*I have gathered links to all of the products used at the bottom of the post for your convenience, using affiliate links. Thank you for shopping with my links! I truly appreciate your support for my work!*

To begin, I die cut the pieces of the new Darling Duckling, Pretty Poppies, and Windswept Leaves dies from plain white cardstock. I then used vibrant OLO Markers to add lots of vibrant yellow and green to the ducky and foliage, as well as creating some almost-white poppies with a super pale yellow marker and using the Zero marker to soften the edges of the yellow so that they faded into white along the edges of the petals. Customizing solid white die cuts with alcohol markers is one of my favorite ways to make simple die cut shapes super special and bold!

To ground my die cut images, I decided to do some simple stenciling. After placing a white A2 card front on a Simon Says Stamp Craft Tacky Mat, I centered one of the Nested Domed Arches Stencils on the card front, then used blending brushes to lightly blend Pawsitively Saturated Ink in shades of Cadette and Butter at the top and bottom of the arch to insinuate a sunrise towards the bottom and blue sky above. The background doesn’t need to be super involved; the suggestion of colors is enough for your brain to fill in the blanks!

After I had finished creating the background, I used liquid and foam adhesive to adhere the flowers, foliage, and sweet little ducky on the blended area. I tucked the foliage around the flowers and added a bloom and leaves around ducky to complete the visual cascade, finally adding a greeting from Bold Smiles that I’d stamped with Cadette ink over which I added a layer of Iridescent Blue embossing powder, creating a subtle and beautiful shimmer. Finally, I added a few Butter Pawsitively Dazzling Gems for added sparkle!

Well, that’s all for my project today! I love the fresh springtime colors. We’ve had a cold snap after some endlessly rainy weather, but I’m hopeful that we will have warm temps by Easter so that the flowers can bloom and have a nice day outside. Thanks so much for stopping by today, and have a marvelous day!

Filed Under: simon says stamp Tagged With: bold smiles, copic coloring, darling duckling, die cutting, domed arches stencils, ink blending, olo markers, pretty poppies, spring

Simon Says Stamp Favorite Things Release- Now Available!

February 26, 2025

This post was sponsored by Simon Says Stamp. Thanks, Simon!

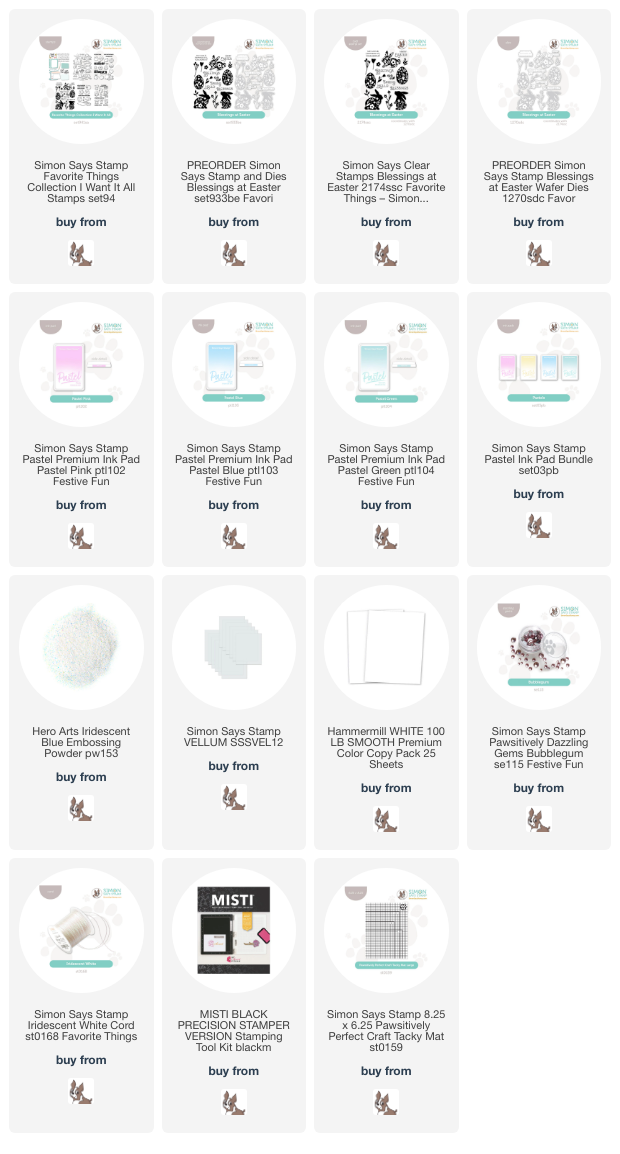
Hi friends! Simon Says Stamp has released their newest collection filled with the sweetest, loveliest springtime imagery, perfect for creating those Easter and springtime projects! The new Favorite Things release features darling bunnies, adorable chicks, flowers, butterflies, and so many other images that are perfect for use with your springtime projects. I have been on a creative spree using soft pastel inks, and I’ve paired the adorable new Blessings At Easter stamp set with the gorgeous Pastel Pigment Inks from Simon Says Stamp. Let’s get started with the details on my project!

*I have gathered links to all of the products used at the bottom of the post for your convenience, using affiliate links. Thank you for shopping with my links! I truly appreciate your support for my work!*

I love the beautifully detailed images in the new Blessings At Easter stamp set, featuring solid silhouette images with simple, elegant floral negative cutouts within the stamped images. I started my card by creating a panel of custom patterned paper using the Easter egg images, as well as some of the standalone floral images. I stamped the eggs first, as they were the largest images, rotating the paper and the stamps to create a continuous random pattern throughout the entire panel. After stamping the large images on the panel using Pastel Pink ink, I stamped the next largest images using Pastel Blue ink, finally adding some individual foliage stamps using Pastel Green ink, filling in the blank spaces and creating a continuous pattern.

After I had created the stamped background, I decided to stamp a few more images for a focal point, embellishing them a bit further by adding some embossing powder to add some shimmer and shine. I stamped the bunny, flowers, and foliage using the same Pastel Blue, Pink, and Green inks that I used for the card front, this time adding an additional stamped layer of embossing powder and some Iridescent Blue Embossing Powder. This simple additional step helps the shiny, iridescent images stand out against the matte stamped background.

After I had finished stamping and embossing all of the images, I used the Pastel Pink Pigment Ink (say that 3 times fast!) and Iridescent Blue Embossing Powder to create the sentiment pieces, stamping them first with Pink Pigment Ink, again with embossing ink, then adding the Iridescent Blue Embossing Powder. Once the embossing powder was completely set, I die cut the sentiments with their coordinating dies. I love stamping custom patterned paper, but sometimes the patterns can get so busy that they detract from the focal point images, so to help the shiny bunny and flowers stand out a bit more, I layered a 3.75″ x 5″ panel of Simon Says Stamp Vellum over the top of the patterned background before arranging all of the die cuts. I popped up the bunny and sentiment pieces with foam adhesive, then tucked the foliage behind the bunny and flipped the entire vellum panel over to add adhesive behind the solid die cuts. Finally, I added a few Bubblegum Pawsitively Dazzling Gems and some of the new Simon Says Stamp Iridescent White Cord in a pretty bow. This cord is going to be a staple in my craft room, for sure; it doesn’t fray and adds the perfect amount of texture and iridescent shine to my project!!

Well, that’s all for my project today. You can check out the entire new Favorite Things release HERE. Don’t forget to come back later this week for the two-day Favorite Things Blog Hop to see oodles of fabulous inspiration! Thanks so much for stopping by, and have a marvelous day!

Filed Under: simon says stamp Tagged With: blessings at easter, bunnies, die cutting, easter, pastel ink, pigment ink, spring

Bunnies in the Clover with Simon Says Stamp!

February 29, 2024

This post was sponsored by Simon Says Stamp. Thanks, Simon!

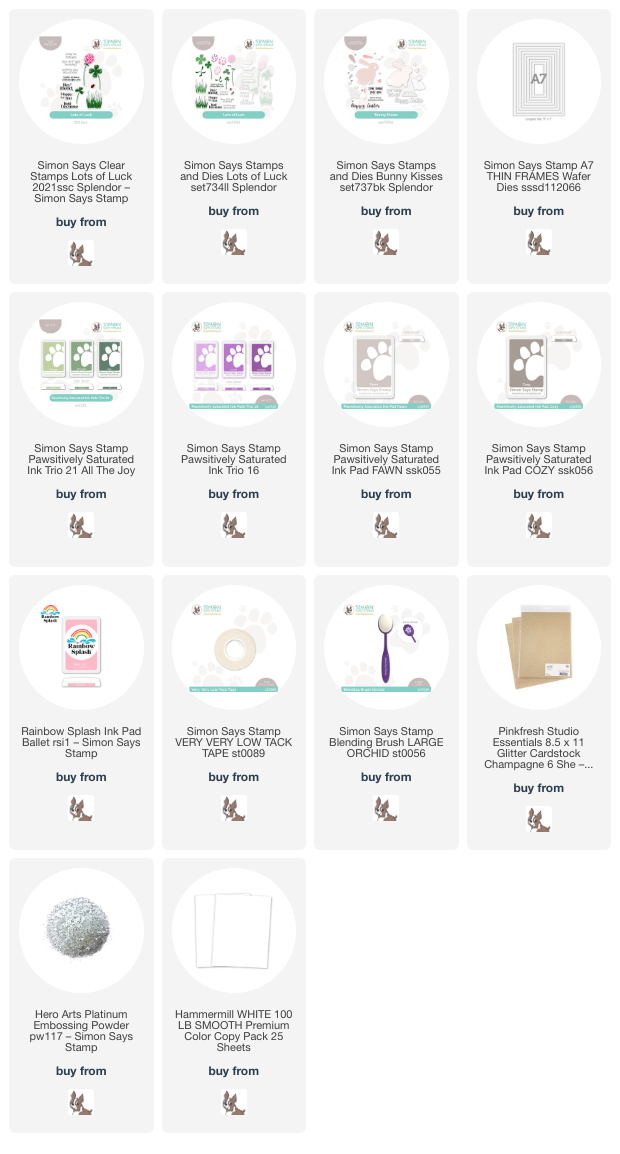
Hi friends! Today, I have some Easter inspiration that combines two of the new stamp sets from the Simon Says Stamp Splendor release: Lots of Luck and Bunny Kisses. Whenever I am mixing stamp sets, I try to ensure that all of the sets with which I am working are illustrated in a similar style. I don’t like to mix outline images with solid stamped or standalone die cut images, simply because in my mind, they are in different imaginative dimensions. When I saw the bold graphic style of these two stamp sets, I knew that they would work beautifully together for a large-scale A7 card! I also was inspired by a cute family story: my husband used to have a small garden at our old house that was right underneath our dining room window. One night after supper, he went out to tend to the tomatoes and lettuce plants and found a family of teeny bunnies!! The purple twilight of that night has been stuck in my mind all of these years later (my big kids were only 2.5 at the time!), and I was definitely channeling that memory today! Let’s get started on the details for my project.

The new Lots of Luck stamp set features some pretty clover flowers, clover, and foliage in a layered stamp style. I am loving the fact that Simon Says Stamp has been printing the colored layering schematics on the back of the stamp packaging as well as labeling each layer on the stamp set itself to make layering your images super simple and quick! I like to start projects like this by stamping lots of different elements and then arranging them later. It helps me to keep the process organized in my head to keep all of the die cut stamped images together, so I stamped the sweet bunny from Bunny Kisses and lots of clover flowers, leaves, and grasses from Lots of Luck using Pawsitively Saturated Ink Trio 21,Pawsitively Saturated Ink Trio 16, Fawn and Cozy Pawsitively Saturated inks, and finishing the bunny’s ears and nose off with Ballet Rainbow Splash Ink, then die cut them with the coordinating dies from each set.

Because of the large scale and the framed scene that I had in my head, I started my card front by trimming down an A7 card front from Hammermill white cardstock, then masked around the edges using some Very Very Low Tack Tape. I used a blending brush to lightly blend Orchid ink at the top of my card front, creating a subtle twilight sky. After I had finished blending, I removed the mask, leaving a crisp white frame around the edges. I wanted to accent the focal point as well as make my canvas for my scene a bit smaller, so I die cut the A7 Thin Frames dies from some Pinkfresh Studio Champagne Glitter Cardstock. I found a frame to fit around where I had masked off and adhered it with some liquid adhesive.

Before arranging my stamped die cuts, I wanted to add some more grass behind the front rose of flowers and foliage, so I stamped a single layer of grass in the background, adding some more depth to my scene. I layered the die cuts on top of the stamped grasses, adhering them with both liquid and foam adhesive for extra dimension. I heat embossed a greeting from Bunny Kisses using platinum embossing powder and die cut both sentiments with the coordinating dies. Finally, I added a smattering of iridescent lavender gems, which I think look like dew drops or perhaps even some whimsical fireflies!

Well, that’s all for my project today. I love when different products work so seamlessly together, don’t you? Thanks so much for stopping by today, and have a marvelous day!

Filed Under: simon says stamp Tagged With: A7 thin frames, bunny kisses, easter, ink blending, lots of luck, pawsitively saturated, spring

Where Creativity Meets C9: April Edition!

April 9, 2018

Good morning!!! Happy Monday…. and it is most definitely a happy Monday. Today is not only the new release for Concord and 9th (where you can receive TWO freebies for ordering during their Customer Appreciation Month), but it is also the start of a new challenge over on the Where Creativity Meets C9 blog!! Our prompt this month is: Spring. Ah, lovely spring. We keep being teased with a day or two of beautiful, crisp, sunny weather… and then it goes back to being rainy and cold and BLAH. (With the occasional snow flurry thrown in.) Winter has my official permission to shoo fly, don’t bother me.

Anyway, I wanted to challenge my inner Persephone, goddess of spring, with a cheerful, springy card. I have been in love with this gorgeous Wonderful Florals stamp set since I saw the tiniest little peek of it from CHA, so I was SO happy to have an excuse to put it to work!

For today’s project, I started with an A2 panel of Arches Hot Press watercolor paper and embossed the beautiful main floral image from  Wonderful Florals in silver embossing powder. (I wanted those intricate details and solid portions of the stamp to be nice and smooth, so I chose to use Hot Press paper instead of the textured Cold Press.) Once that was cool, I watercolored those beautiful flowers with Avery Elle’s watercolors. Those new watercolors are just the perfect shades of springtime pastel, and you can make them super concentrated or just give a light wash of color. I made sure to tape my panel down to a cutting board, as I knew I would be using quite a bit of water for these images, and I didn’t want my paper to warp.

While my watercolors were drying nice and flat, I heat embossed the rest of the greeting from Wonderful Florals onto some light aqua card stock strips. After my watercolor had dried, I mounted my panel onto an A2 card base, then added some Crystal Lacquer from Hero Arts to the large “wonderful” letters in the center of the floral image. The shine on those letters really helps them to pop from the center of the image. I popped up the sentiment strips with dimensional foam adhesive and added a few Sparkling Clear sequins for some sparkle!

Well, that’s all for my project today! Now, it’s your turn! Use your Concord and 9th products to create your own Spring-themed project to add to our linkup on the Where Creativity Meets C9 blog. You could be eligible to win a $25 shopping spree to the Concord and 9th store, and one lucky winner will be chosen to be a guest artist for a future challenge! Don’t forget to follow all of the rules so that your project isn’t disqualified should you be chosen a winner!

Now, go get inky (and maybe get your shop on for the Concord and 9th new release…. did I mention there are two freebies up for grabs?!?). Have a marvelous day!


Filed Under: avery elle, Concord and 9th, watercolor, Where Creativity Meets C9 Tagged With: challenge blog, liquid watercolors, spring

Primary Sidebar

  • Facebook
  • Instagram
  • Pinterest
  • YouTube

Favorite Shops

Secondary Sidebar

Subscribe

Enter your email address to subscribe to this blog and receive notifications of new posts by email.

Instagram
Something is wrong.
Instagram token error.
Follow
Load More

Archives

Tags

3D embossing folder alcohol markers better press birthday birthday card blog hop card kit christmas christmas card christmas tag colored pencil copic copic coloring Daniel Smith die cutting embossing folder embroidery felt giveaway holiday holiday card hot foil ink blending karin brushmarker pro layered stencil masculine my monthly hero new release no line coloring no line watercolor OLO marker olo markers original illustration pawsitively saturated rainbow shaker card slimline stamping stamptember stencil thank you thinking of you valentine's day video watercolor

Popular Posts

Simon Says Stamp Sending Cheer Blog Hop- Day 2 + Freebie + Giveaway!
Altenew October 2026 Release Blog Hop + Giveaway!
Rustic Monochromatic Stars for Christmas with Rainbow Splash!
December 2018 My Monthly Hero Blog Hop + Giveaway!
March 2020 Essentials By Ellen Blog Hop+Giveaway!
The Ton Stamps Summer Release: Day 1
Hero Arts Partners Blog Hop: Lawn Fawn!
Waffleflower July Release Blog Hop!
Simon Says Stamp STAMPtember Tim Holtz Collaboration: Festive Holidays!
Honey Bee Stamps Autumn Blessings Blog Hop-Day 2!

Disclosure

Some affiliate links are used in my posts. This means that, should you click on one of my links and purchase something from that company, I will receive a small portion of the sale at no extra cost to you. I use the money earned from these sales to help maintain my blog. I so appreciate you visiting and, if you do choose to use one of my affiliate links, thank you so much for your support!
Copyright © 2026 ·Brunch Pro Theme · Genesis Framework by StudioPress · WordPress · Log in
Loading Comments...