• Skip to main content
  • Skip to primary sidebar
  • Skip to secondary sidebar

Sixth Street Sundries

Emily Midgett

  • Home
  • About Me
  • Contact
  • OLO Marker Color Swatch Chart
  • Shop

stylized mandala

Simon Says Stamp and Tim Holtz Special Surprise!!

September 3, 2025

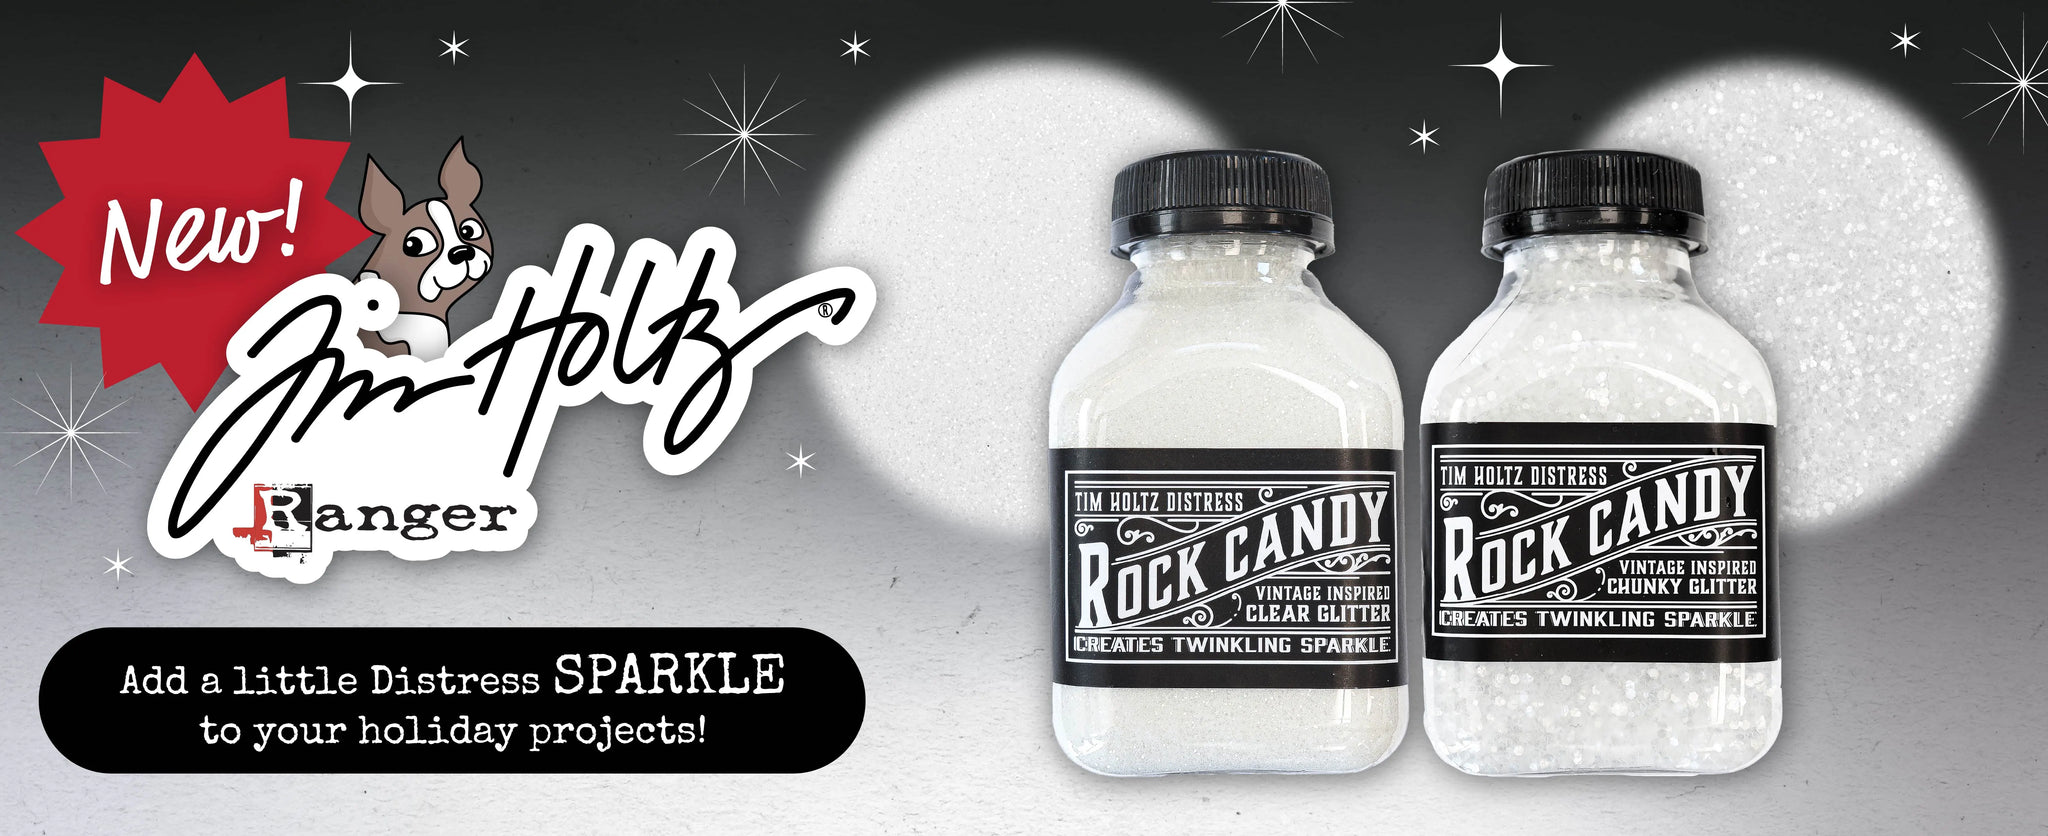
Hi friends! I’m popping in quickly to share some super sparkling news with you: Tim Holtz has released a special pair of glittering, limited edition Rock Candy products exclusively at Simon Says Stamp!! (Check out the release HERE!) The classic Rock Candy glitter adds exceptionally beautiful sparkle and shimmer to your projects, and what better way to use glitter than on Christmas ornaments, right? Not only are these glitters incredibly shimmery on their own, they are completely customizable with your favorite color of alcohol ink!! The versatility is crazy good!

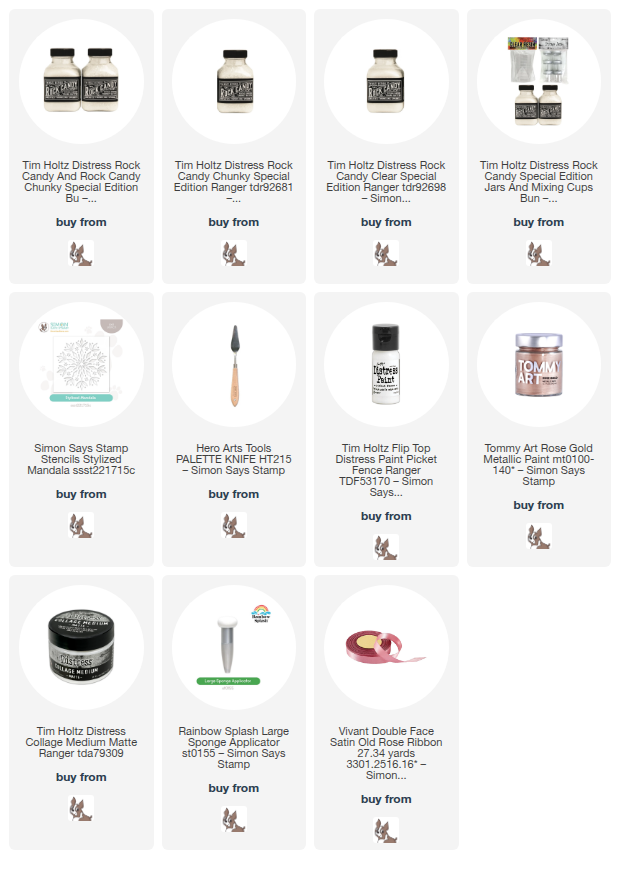
I created this icy, glittery, crazy sparkly ornament using some acrylic paint and the Stylized Mandala stencil. I simply painted a brown papier mâche ornament with white acrylic paint, allowed it to dry completely, then placed the Stylized Mandala stencil over the top and used a sponge dauber to add some metallic rose gold paint to perfectly match my white and rose gold Christmas tree! I was pressed for time, but I’d love to experiment with more colorful versions of this. How fun would it have been to do an ombré snowflake or have multiple colors radiating out from the center? I can’t wait to experiment more; those Rainbow Splash Sponge Daubers are perfect for creating a smooth transition for both paint and ink alike!!

Once my paint had dried completely, I used a palette knife to evenly spread Distress Collage Medium over the entire front of the ornament, then sprinkled both Rock Candy Glitter and Rock Candy Chunky Glitter on the wet medium. The sparkle is absolutely unreal… it looks like German glass glitter on vintage ornaments from my Grammy’s Christmas tree!

Once the medium had completely dried, the last step was to add a fluffy, color coordinated bow tied using some gorgeous ribbon from my stash and hot glued to the top of the ornament! So simple, but that glittery sparkle does not need much further embellishment!

Well, that’s all for my project today. If you love glitter and sparkle throughout the holiday season as much as I do, you won’t want to miss out on these limited edition, super-sized Rock Candy Glitter and Rock Candy Chunky Glitters, only available at Simon Says Stamp for a limited time! Thanks so much for stopping by today, and have a marvelous day!
Filed Under: simon says stamp, tim holtz Tagged With: acrylic paint, christmas ornament, distress collage medium matte, ornament, palette knife, stylized mandala, tim holtz

Christmas In July: Stenciled Snowflake Shaker with Simon Says Stamp!

July 23, 2025

This post was sponsored by Simon Says Stamp. Thanks, Simon!

Hi friends! I’m back today with another “transitional” holiday card for my Christmas In July series, this time featuring icy aquas and greens to create this fabulous stenciled flat shaker card! I am someone who enjoys non-traditional holiday color schemes, and this time of year, when it’s difficult to get in the traditional red and green holiday mood, I find that pairing traditional holiday imagery like snowflakes with non-traditional color palettes still conveys the holiday mood very nicely. I chose to create a tone-on-tone shimmering snowflake shaker card (say that three times fast!) using some beautiful inks and supplies from Simon Says Stamp’s holiday collection. Let’s get started on the details for my project!

*I have gathered links to all of the products used at the bottom of the post for your convenience, using affiliate links. Thank you for shopping with my links! I truly appreciate your support for my work!*

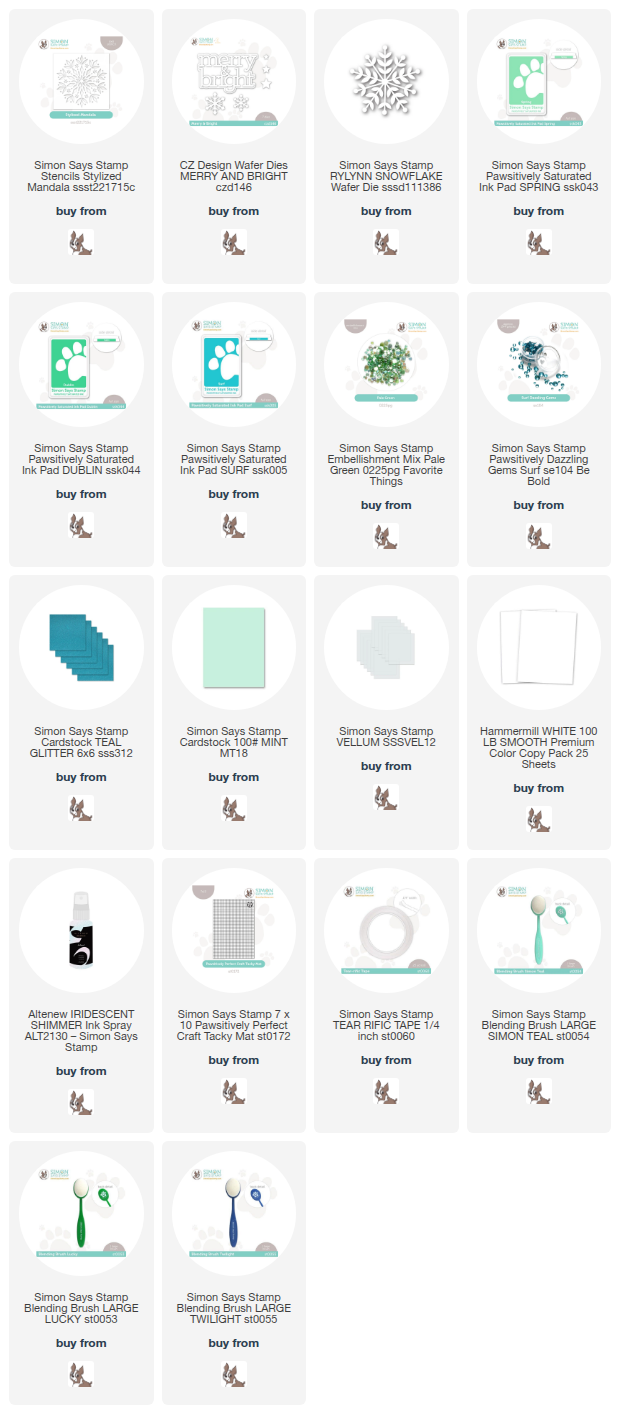
To begin, I blended Pawsitively Saturated Ink in shades of Spring, Dublin, and Surf around the edges of my white A2 card front, starting with the darker Surf around the edges, then blending Dublin next, finally finishing with Surf, working my way from the outer edges to the center of the card front. Once I had finished blending the background, I placed the panel on my Craft Tacky Mat and placed the Stylized Mandala stencil over the top, allowing the sticky surface of the Craft Tacky Mat to hold the stencil in place in the center of my card front. I used the same shades of ink to blend my snowflake stencil, using slightly more pressure to allow for more saturated color. Before removing the stencil, I also sprayed the image with Altenew’s Iridescent Shimmer Spray, adding some fabulous shimmer and iridescent sparkle to the snowflake!

Once I had finished blending the background and allowed it to dry sufficiently, I used some leftover stamp packaging to create a flat shaker card using Simon Says Stamp’s Tear-Rific Tape, which has a super strong grip and holds the thin cellophane in place beautifully without adding any bulk to the card! Before sealing the shaker up, I added lots of the Pale Green Embellishment Mix, which perfectly matched my icy color palette for the card.

For the greeting, I die cut the detail layer of the Merry & Bright from Simon Says Stamp Mint Cardstock, adhering it to the shadow layer cut from Simon Says Stamp’s Vellum cardstock. I popped it up on the stenciled shaker card front using thin strips of foam adhesive, then tucked a few sparkling snowflakes, cut using the Rylynn Snowflake die and the additional snowflakes included with the Merry & Bright die set, behind the sentiment. Finally, I added a smattering of Surf Pawsitively Dazzling Gems to finish off my sparkling visual cascade on the card front!

Well, that’s all for my project today! I love a good shaker card for Christmas, don’t you? I so enjoy looking at my holiday supplies in a fresh light and season, and I hope you’re enjoying this foray into Christmas crafting! Thanks so much for stopping by today, and have a marvelous day!

Filed Under: simon says stamp, Uncategorized Tagged With: christmas card, die cutting, holiday card, ink blending, merry and bright, pawsitively saturated, rylynn snowflake, shaker card, stencil, stylized mandala

Festive Bouquets in Technicolor!

November 1, 2023

This post was sponsored by Simon Says Stamp. Thanks, Simon!

Hi friends! The utterly amazing new All the Joy release from Simon Says Stamp is live and I have so many cards to share with you. I was incredibly inspired with nearly everything in this release, but I was so excited to work with my newest stamp designs that I want to share those with you first! Last night, I shared a project using my new Joyful Anemone background stamp, and today I have a pair of technicolor projects using one of the bouquet images from the Festive Bouquets stamp set. This stamp set comes with two different floral arrangements using some traditional and non-traditional holiday florals, as well as a ton of different sentiments. (Did you see that the coordinating die set cuts out the sentiments as well as the large floral bouquets? SO awesome!)

When I was at my crafty retreat a few weeks ago, I stamped and colored these two floral bouquets from Festive Bouquets using my OLO Markers, drawing the vivid color palette from Shiny Brite vintage ornaments, featuring candy apple red anemones, deep royal purple hellebores, cotton candy pink berries, and three different shades of vivid green foliage. The colorful slimline bokeh background from THIS post actually was originally created to use these two floral bouquets, but I couldn’t quite get the arrangement right, so I decided to use that background for a different project and instead create two different coordinating cards, each with that same vibrant color palette!

To coordinate perfectly with the super colorful floral bouquets, I searched amongst my Pawsitively Saturated ink collection and pulled Sprout, Lucky, Ocean, Amethyst, Sweets, Cherry inks. For this first card, I wanted to create an intensely colorful blended background to accent the beautiful colors in the bouquet, so I blended the colors in ROYGBIV order down the front of my A2 card front using blending brushes. I am so in love with how this turned out and am just itching to use the color scheme on another project!!

To accent the floral corner and draw the eye towards the greeting, I die cut some white glitter A2 Thin Frames dies, two of which I layered on a slightly larger piece of vellum. The vellum allows the colors of the background to still be somewhat visible without adding bulk or any additional color to the card. I placed the colorful bouquet in the corner of the die cut rectangles, accenting the arrangement with some iridescent white foil die cuts created using the Forest Border Frame die. You know how those white edges on the die cuts bother me, but the white accents (frame, leaf die cuts) help to counter act that visual annoyance. I stamped and embossed some greeting pieces from the Festive Bouquets using Obsidian pigment ink and clear embossing powder, then popped them up using some foam tape. The final touch was to add a few super sparkly iridescent gems!

My second project uses the same ink colors, this time using the residual ink left over on the ink blending brushes to create this super soft, almost glowing background for my colorful floral arrangement! I simply blended the Sprout, Lucky, Ocean, Amethyst, Sweets, and Cherry ink that was left over on my blending brushes from the previous project. I tried to keep the colors that would blend nicely together near each other so as not to create a muddy mess (think of your color theory). After I had finished blending the background, I spritzed some Iridescent White Shimmer Spray from Hero Arts over the new Stylized Mandala Stencil. It’s difficult to capture the subtle sparkle in photos, but it looks so lovely in real life!

I arranged the floral bouquet and some more iridescent white die cuts from the Forest Border Frame die over the top of the blended and stenciled background, popping the bouquet up with some foam adhesive for extra dimension. I stamped and heat embossed some more greetings from the Festive Bouquets set using Obsidian pigment ink and clear embossing powder, then cut them out with the coordinating dies. (I absolutely love the sentiment dies included in these new sets… they make the finished card look so polished and neat!) A few more iridescent gems finished it off!!

Well, that’s all for today’s projects. I am working my way through the huge pile of cards that I created for this release, so stay tuned, because I have tons more to share with you! Be sure to come back tomorrow for Day 1 of the All the Joy blog hop. We will have prizes and other fun stuff, along with a veritable smorgasbord of inspiration to jumpstart your crafting!! Thanks so much for stopping by today, and have a marvelous day!


Filed Under: original illustrations, simon says stamp Tagged With: A2 thin frames, christmas card, festive bouquets, ink blending, OLO marker, stylized mandala

Primary Sidebar

  • Facebook
  • Instagram
  • Pinterest
  • YouTube

Favorite Shops

Secondary Sidebar

Subscribe

Enter your email address to subscribe to this blog and receive notifications of new posts by email.

Instagram
Something is wrong.
Instagram token error.
Follow
Load More

Archives

Tags

3D embossing folder alcohol markers better press birthday birthday card blog hop card kit christmas christmas card christmas tag colored pencil copic copic coloring Daniel Smith die cutting embossing folder embroidery felt giveaway holiday holiday card hot foil ink blending karin brushmarker pro layered stencil masculine my monthly hero new release no line coloring no line watercolor OLO marker olo markers original illustration pawsitively saturated rainbow shaker card slimline stamping stamptember stencil thank you thinking of you valentine's day video watercolor

Popular Posts

Simon Says Stamp October 2026 Card Kit of the Month: Homespun Gratitude!
Honey Bee Stamps Cheerful Love Blog Hop!
Altenew Craft A Flower: Poppy Blog Hop+Giveaway!
Autumn Legs with Colorado Craft Company and Catherine Pooler!
Simon Says Stamp Cozy & Bright Inspiration, Part Two!
February 2018 My Monthly Hero Blog Hop!
The Ton Anniversary Release- Day 2
Sunflower Home Decor with Simon Says Stamp!
Hero Arts Spring 2020 Catalog Release Blog Hop+Giveaway!
Altenew Standalone Die Blog Hop+Giveaway!

Disclosure

Some affiliate links are used in my posts. This means that, should you click on one of my links and purchase something from that company, I will receive a small portion of the sale at no extra cost to you. I use the money earned from these sales to help maintain my blog. I so appreciate you visiting and, if you do choose to use one of my affiliate links, thank you so much for your support!
Copyright © 2026 ·Brunch Pro Theme · Genesis Framework by StudioPress · WordPress · Log in
Loading Comments...