• Skip to main content
  • Skip to primary sidebar
  • Skip to secondary sidebar

Sixth Street Sundries

Emily Midgett

  • Home
  • About Me
  • Contact
  • OLO Marker Color Swatch Chart
  • Shop

sunflower

Sunflower Swags with New Simon Says Stamp!

August 5, 2026

This post was sponsored by Simon Says Stamp. Thanks, Simon! *I have gathered links to all of the products used at the bottom of the post for your convenience, using affiliate links at no extra cost to you. Thank you for shopping with my links! I truly appreciate your support for my work!*

Hi friends! I am back with another sunflower project, this time using a brand new floral set from the Simon Says Stamp Every Happiness release! (click HERE to check out the entire release!) Solid stamped images sometimes are a little tricky for me, creatively, but the simplicity of these images works beautifully with a clean and simple style, and the abundance of individual flowers, foliage, and small bouquet arrangements made it super fun to create a gorgeous and unique card. I kept this project clean and crisp, with plenty of white space and pops of pretty yellow, topped off with a contrasting custom sentiment. Let’s get started with the details!

To begin, I die cut all of the images included with the Sunflower Meadow product suite. I find that die cutting *before* stamping pre-designed bouquets helps me to get the placement just right within my MISTI. To do this, I die cut all of the images from one panel of cardstock, then remove the positive die cuts and place that leftover negative piece inside my MISTI. I then place the stamps in their coordinating opening, which gives me an opportunity to have perfect placement in the center of each opening. I then replace the positive die cuts and stamp as normal!

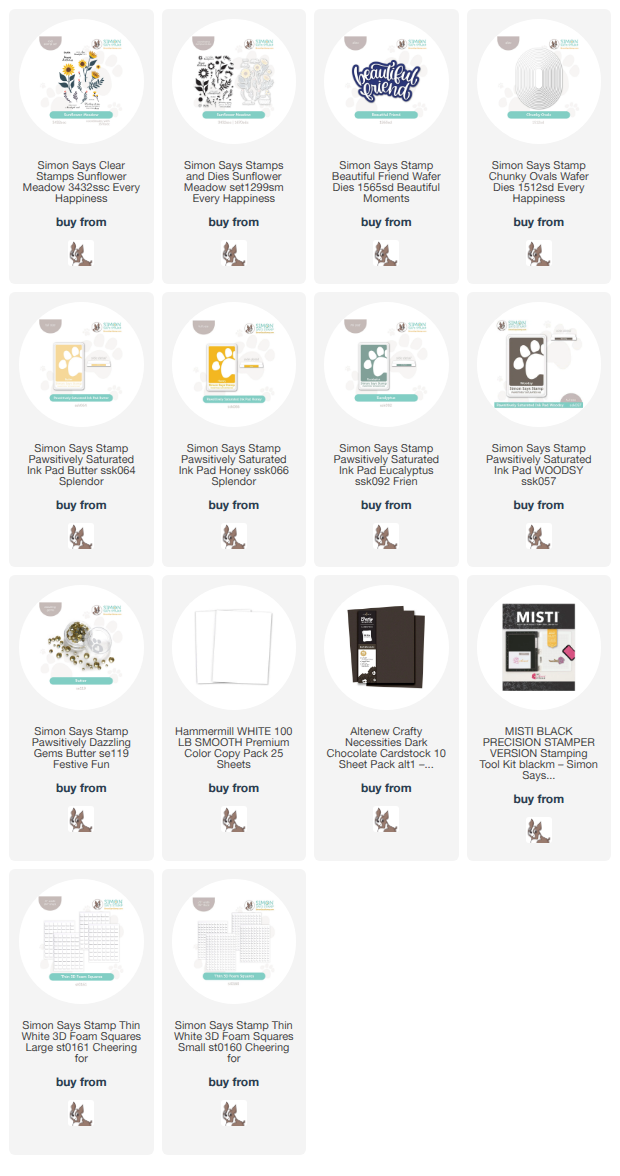
For all of these images, I used Pawsitively Saturated Inks in shades of Butter, Honey, Eucalyptus, & Woodsy. I used the “stamping off” technique to achieve multiple levels of intensity with the Woodsy ink, using a piece of scrap paper to take off the first layer of ink before stamping on the actual die cut itself for the center of each flower. This allows me to use one shade of ink for two different stamps to achieve definition between the layers! After I had stamped all of the images, I set them aside to work on the greeting.

I used Woodsy ink at full intensity to stamp a greeting from Sunflower Meadow and die cut it with the coordinating die. I also die cut only the “friend” standalone die cut word from the Beautiful Friend die set, cutting it three times from some deep chocolate brown cardstock. I layered the die cuts together to create a dimensional die cut greeting, which paired beautifully with the message on the stamped sentiment. I arranged the flowers and sentiment on a large Chunky Ovals die cut, using the shape of the unique, elongated oval as a guide for my floral swag. I tucked the greeting amongst the blank space on the oval and then added a few leftover blooms and sprigs of greenery beneath it, adhering everythign with liquid and foam adhesive. Finally, I added several Butter Pawsitively Dazzling Gems for additional sparkle!

Well, that’s all for my project today! While not traditionally “clean and simple,” I think the clean white spaces and crisp stamped die cuts are so clean and elegant. I just love a well-designed, simple stamp set! Thanks so much for stopping by today, and have a marvelous day!
Filed Under: simon says stamp Tagged With: beautiful friend, chunky ovals, die cutting, misti, stamping, sunflower, sunflower meadow

Patient Sunflowers with New Simon Says Stamp!

September 15, 2025

This post was sponsored by Simon Says Stamp. Thanks, Simon!

Hi friends! I have a sunny project to share with you today pairing my new Sunflower Dreams background stamp with some new and old goodies from Simon Says Stamp. (The stamp is currently sold out-yay that you guys like it!-but you can sign up to be notified by email for when it comes back in stock!) When I was creating the Sunflower Dreams stamp, I wanted something that was large enough that it would be super enjoyable to color, but also something detailed enough that it could be used as a background without coloring. For today’s project, I did some emboss-resist with iridescent embossing powder and sunny yellow ink blending to create a bright canvas behind my die cut autumn floral bouquet. Let’s get started with the details on my card!

*I have gathered links to all of the products used at the bottom of the post for your convenience, using affiliate links. Thank you for shopping with my links! I truly appreciate your support for my work!*

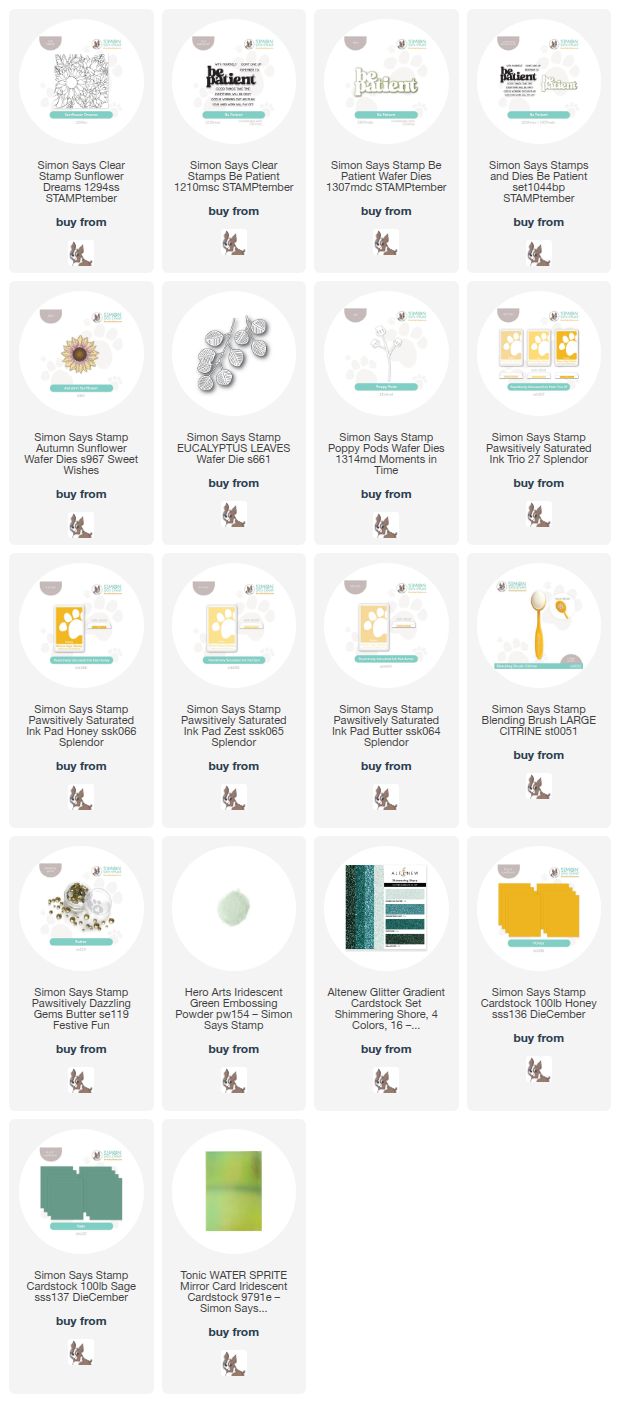
To begin, I used Hero Arts Iridescent Green Embossing Powder to emboss the Sunflower Dreams stamp on a panel of white cardstock. I trimmed the panel down in order to be able to frame it with a contrasting colored cardstock, then blended Pawsitively Saturated Inks in shades of Honey, Zest, Butter in an ombré on the panel, allowing the details of the stamp to shine through more visibly with the vibrant blended background and shimmering green embossing. I adhered the panel to the center of a full-sized A2 Sage card front, creating a contrasting frame.

To adorn the embossed background, I die cut the makings of an autumnal bouquet using the Autumn Sunflower, Eucalyptus Leaves, and Poppy Pods dies, cutting them each using colored cardstock. I used a blending brush to blend the edges of the sunflower petals before adhering the different layers together with foam adhesive squares. I also used some deep green glittery cardstock to die cut the Poppy Pods, as well as some iridescent green foil cardstock for a couple of the Eucalyptus Leaves, adding more texture and shimmer to the bouquet. In order to create a lush, full bouquet, I did some selective trimming with my scissors on the Poppy Pods and Eucalyptus Leaves, so that I could tuck the foliage around the sunflower and fill in any blank spots!

Before assembly, I die cut the detailed layer of the new Be Patient stamp and die set from more of the deep green glitter cardstock, then added the vellum shadow layer behind it. I also heat embossed a greeting from the coordinating stamp set on a strip of Sage cardstock. Once I had all of the die cuts complete, I began assembling my bouquet, tucking the sentiment components in the curve of the swag, adhering everything with both liquid and foam adhesive for lots of dimension. Finally, I added a few Butter Pawsitively Dazzling Gems for a touch of sparkle!

Well, that’s all for my project today! I am so thrilled that people seem to be enjoying Sunflower Dreams; it’s always a thrill to see my illustrations come to life, and even more of a thrill when people actually like them! Thanks so much for stopping by today, and have a marvelous day!

Filed Under: simon says stamp, Uncategorized Tagged With: autumn, autumn sunflower, be patient, die cutting, eucalyptus leaves, heat embossing, ink blending, pawsitively saturated, poppy pods, sunflower, sunflower dreams

Sweet Sunflower Gift Set Using New Simon Says Stamp Sweet Wishes Release!

October 15, 2024

This post was sponsored by Simon Says Stamp. Thanks, Simon!

Hi friends! Have you checked out the Sweet Wishes Release from Simon Says Stamp yet? It is full of beautiful products perfect for tons of seasonal crafting, including your fall crafting! Now, I am of the generation that was fairly obsessed with sunflowers. Something happened during the early 90’s that meant that sunflowers were everywhere, and my mom even redecorated my room with a sunflower theme for my 8th or 9th birthday. I had sunflower border wallpaper, a woven sunflower throw, even a sunflower lampshade! I’ve always loved sunflowers, with their cheerful yellow petals contrasted with the deep black-brown centers. When I saw the new Autumn Sunflower die set, I immediately went to town creating some fun projects that are a little outside of my normal wheelhouse, including a sweet canvas bag decorated with some (very old) wool felt. Let’s get started with the details!

*I have linked all of the products used at the bottom of the post for your convenience using affiliate links. Thank you for shopping with my links! I truly appreciate your support for my work!*

Because I have been making so very many cards over the last year or so, I have recently found myself wanting to expand my crafty interests. I have always loved being crafty in a variety of ways, from baking and cake decorating to jewelry making and scrapbooking, and so when I came across some old rolls of felt, I knew that I wanted to put them to use to make something a bit more lasting than a simple greeting card that can easily be tossed away. I paired the new Autumn Sunflower die with some marvelous foliage dies from the Simon Says Stamp catalog to create these lovely autumnal arrangements made of both paper and felt!

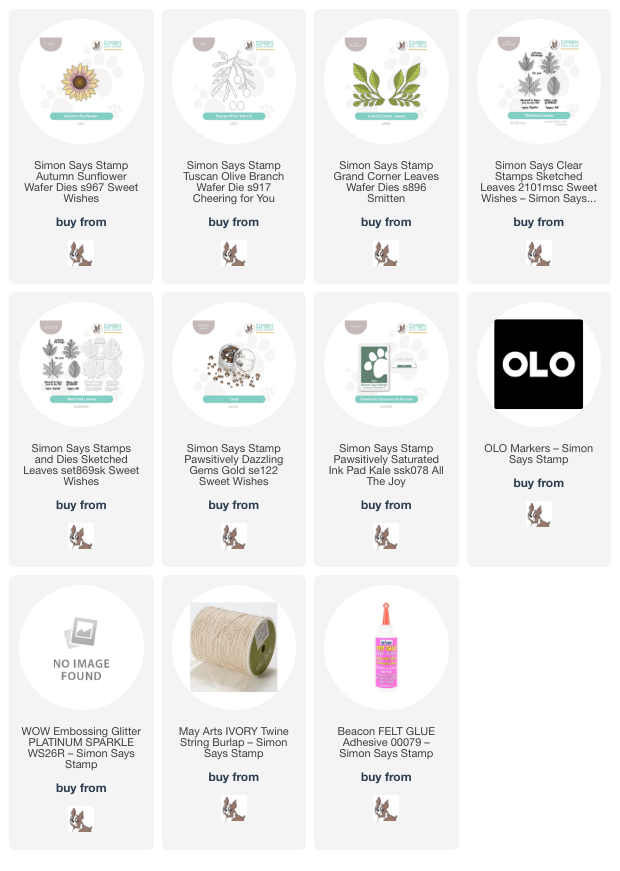
To start my paper project, I began by die cutting the new Autumn Sunflower die set, as well as the Tuscan Olive Branch die and the Grand Corner Leaves die from plain white cardstock. I then used OLO markers to add some muted autumnal colors, using a variety of warm greens that closely matched my muted herb green cardstock, using the muted greens to help that lovely pastel yellow sunflower pop!

Before arranging my flower and foliage on my A7 card front, I first used a blending brush to blend some Kale Pawsitively Saturated Ink on the center of my herb green card front. I also splattered the background with some beautiful shimmering glitter watercolors, adding both texture and shine behind the floral arrangement. I used both foam adhesive squares and liquid adhesive to add the colored die cuts, then heat embossed a greeting from the new Sketched Leaves stamp set using Platinum Glitter embossing powder. I die cut the greeting with its’ coordinating die, popped it up with a double layer of foam adhesive to make it extra visible, then added a double twine bow and some new Gold Pawsitively Dazzling Gems for added sparkle. (Don’t sleep on those new neutral Pawsitively Dazzling Gems. They’re spectacular and work with so many different color palettes!)

For my second project, I used the exact same dies (the Autumn Sunflower dies, the Tuscan Olive Branch dies, and the Grand Corner Leaves dies) as on the card, this time cutting the images in some felt that I have had in my stash for forever. I used some gold embroidery thread to stitch the two layers of the flower center together, also adding some seed beads from my stash to add extra interest and shine to the flower. This was the first time I’ve ever really worked with fabric, and I am absolutely delighted with how it came out!

After I had die cut all of the components for the floral spray, I used Beacon fabric glue to add the images in a little floral spray on the corner of a plain canvas bag. The glue worked beautifully to add these felted images, and the ease of this process has my wheels turning for more projects along a similar vein. So many fun possibilities for projects that are more substantial and lasting than a card!

Well, that’s all for my projects today. I have so much more inspiration to share with you using the new Sweet Wishes Release from Simon Says Stamp, including two videos, so be sure to check back again soon. Thanks so much for stopping by today, and have a marvelous day!

Filed Under: simon says stamp Tagged With: autumn sunflower, canvas bag, copic coloring, die cutting, grand corner leaves, ink blending, no line coloring, olo markers, pawsitively dazzling, sketched leaves, sunflower, tuscan olive branch

Happy Sunflowers with new Simon Says Stamp Cheering For You Release!

July 28, 2024

This post was sponsored by Simon Says Stamp. Thanks, Simon!

Hi friends! I have some vibrant sunflower inspiraiton to share with you today using some new goodies from the Simon Says Stamp Cheering For You release. (The contests on Day 1 and 2 of the blog hop are still open, so be sure to check out the Simon Says Stamp blog if you haven’t already!) I love a good standalone die, because you can do so many fun techniques and create so much beautiful texture depending on your cardstock choices! I have two cards to share with you today using several of the new goodies from the release, so let’s get started with the details!

The beautiful new Arching Leaf Border immediately jumped out at me when sorting through the new release. The incredible detail and generous size are gorgeous just on their own, but I couldn’t resist adding some pretty flowers. I was inspired by the new Sunflower Pattern layering stencil set to pair the leaves with some cheerful sunflower die cuts using a crisp, vibrant yellow, green, and black color palette for both of my projects!

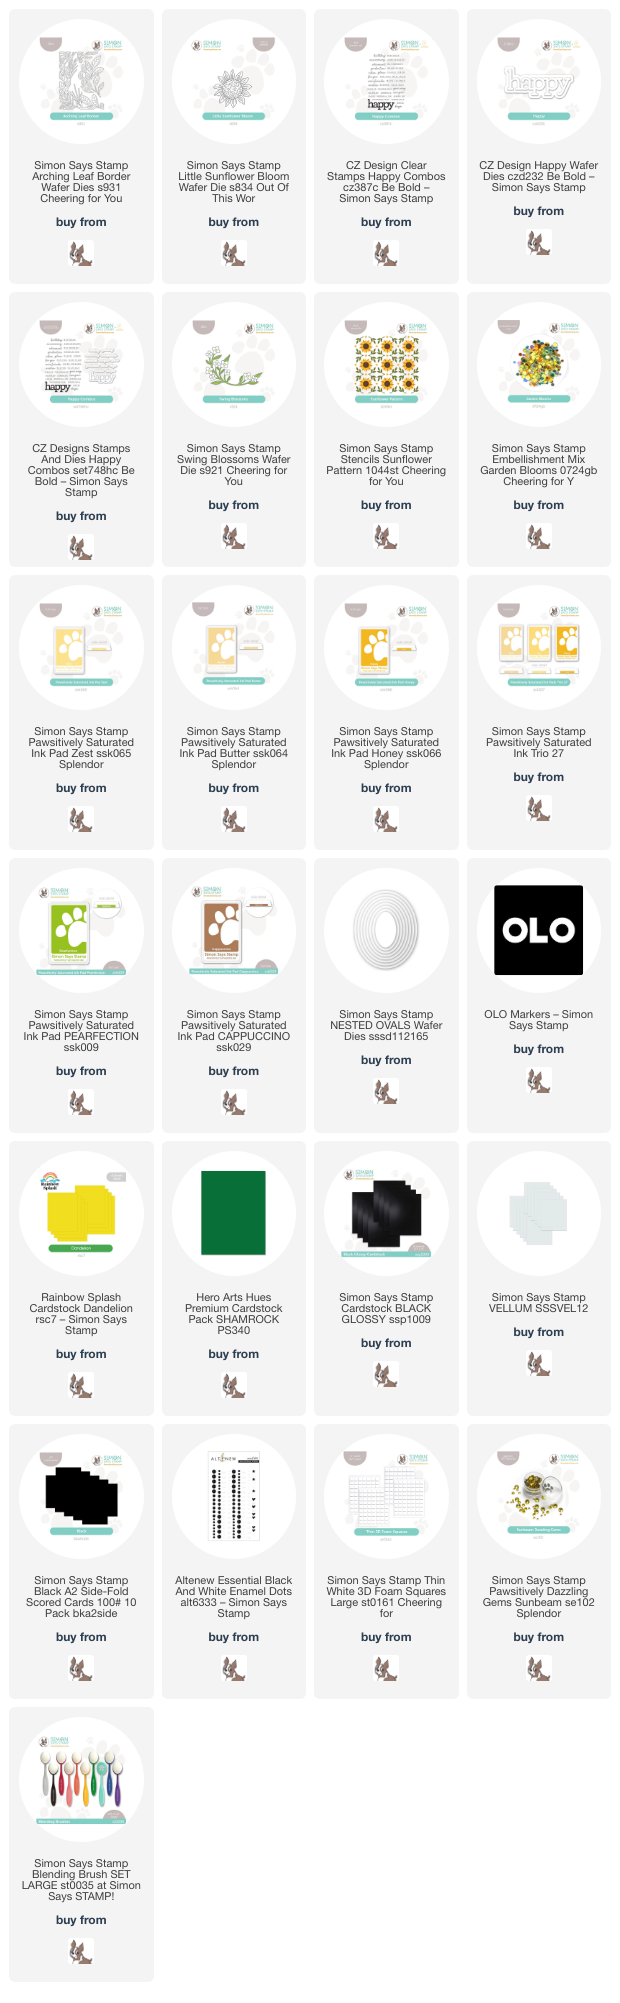
To start my shaker card, I die cut the different elements from the Arching Leaf Border from some bright green cardstock. This new die set cuts a beautifully intricate botanical frame that can be cut multiple times to be used to create a full background or once, as I’ve done here, to create a partial background. The die set also comes with individual leaves that you can layer on the intricate frame. I have lots of ideas rolling around in my head for this die set, and I can’t wait to play with it some more! I paired these simply-shaped leaves with some Little Sunflower Bloom die cuts, which I cut from white cardstock and colored using OLO markers, layering two of the sunflower images together to create nice, full floral image.

I wanted to allow those botanical die cut details to shine through, so I decided to back the vivid green leaves with a black card front, adding some extra sparkle with a flat shaker! I created a shaker pocket from some leftover stamp packaging and some black cardstock, then filled it with the new Garden Blooms Embellishment Mix. I adhered the green foliage frame on the edge of the shaker front using liquid adhesive, then nestled the colorful sunflower die cuts amongst the greenery with some foam adhesive. I added a greeting created with the Happy Combos stamps and coordinating dies and the Happy die, which I die cut using Glossy Black cardstock and vellum. I love how beautifully the sequins peek through from behind the delicate leaf die cuts!

For my second card, I used the new Sunflower Pattern layered stencil to create a sunshiny background for the new Swing Blossoms die cuts. I used Pawsitively Saturated Inks in shades of Butter, Zest, Honey, (or purchased as a combo HERE), with Pearfection and Cappuccino inks to create the lovely Sunflower Pattern background on a panel of white A2 cardstock. I die cut an oval focal point using the Nested Ovals dies, then softened the die cut by blending Butter ink around the edges of the oval die cut.

To enhance the pretty yellow floral pattern, I die cut the Swing Blossoms dies twice from some coordinating green and yellow cardstocks, adhering all of the pieces with some liquid adhesive. I added black enamel dots to the center of each flower to create some black eyed Susans! I adhered the oval die cut to one of the new Black A2 Side Fold cards using some of the new Thin Foam Adhesive Squares. I adhered the floral swags on the edge of the stenciled oval, then nestled another greeting from the Happy Combos stamps and coordinating dies and the Happy die, which I die cut using Glossy Black cardstock and vellum. I added a few Sunbeam gems for added sparkle!

Well, that’s all for my projects today. You can check out the full release HERE. Thanks so much for stopping by today, and have a marvelous day!
Filed Under: simon says stamp Tagged With: arching leaf border, happy combos, happy die, ink blending, little sunflower bloom, nested ovals, sunflower, sunflower pattern, swing blossoms

Free Digital Stamp-Sending Love to Ukraine

February 28, 2022

The crafty community, like most of the world, has been absolutely shaken to the core by what is happening in Ukraine. I spent most of Friday and Saturday in a bit of a haze, feeling heartbroken over what was happening and feeling utterly powerless to help. A crafty friend, the unbelievably talented Yana Smakula, is from Ukraine and is currently there during all of this. She has been sharing updates on her Instagram and Facebook pages, and what they’re going through is just horrific. Personally knowing someone who is spending her evenings in bomb shelters and making Molotov cocktails makes this seem so much more real, and that much more terrifying.

I saw that my friends in the Share Handmade Kindness Facebook group were going to start sharing their yellow and blue art in honor of the Ukrainians fighting so bravely for their home, and it inspired me to channel my sadness into some artwork. Sunflowers are the official flower of Ukraine, and their flag is yellow and blue, so I created this free Sunflower download so that you can color it with your choice of medium, and share on Instagram and Facebook using the hashtag #cardsforUkraine.

Ukraine Sunflower/Anemone No-Line

Ukraine Sunflower/Anemone Outline

I created a black outline version as well as a no-line coloring version. Simply click the link above to download the files. Please note, these files are for personal use only. The images belong to me, Emily Midgett, and they are not to be used for commercial gain.

Here’s my colored panel:

If you’re the Instagramming type and feel like you would like to donate, @ukrainecarddrive is hosting an online card auction, starting tomorrow. Masses of beautiful cards to be auctioned off, with 100% of the money being donated to global humanitarian efforts to help those in Ukraine. Check out the @ukrainecarddrive account for all of the details.

It was suggested that I should charge a few dollars for the digital stamp and donate the proceeds, but I think I will just post a link to the World Central Kitchen, which is an incredible humanitarian organization that has already set up in Ukraine to help those in need. If you feel inclined to donate in exchange for the digital drawing, you can do so here. Not at all required, but very, very appreciated.

Thanks so much for reading and for being here, my friends. Times like these make a person feel so grateful (almost to the point of feeling guilty) for all of the good things in your life, and you wonderfully supportive readers are definitely on my list of “good things.” I hope you enjoy the illustration and that it maybe provides you with a bit of artistic peace. Sending you crafty hugs.

Filed Under: original illustrations Tagged With: digital download, sunflower, ukraine

  • Page 1
  • Page 2
  • Go to Next Page »

Primary Sidebar

  • Facebook
  • Instagram
  • Pinterest
  • YouTube

Favorite Shops

Secondary Sidebar

Subscribe

Enter your email address to subscribe to this blog and receive notifications of new posts by email.

Instagram
Something is wrong.
Instagram token error.
Follow
Load More

Archives

Tags

3D embossing folder alcohol markers better press birthday birthday card blog hop card kit christmas christmas card christmas tag colored pencil copic copic coloring Daniel Smith die cutting embossing folder embroidery felt giveaway holiday holiday card hot foil ink blending karin brushmarker pro layered stencil masculine my monthly hero new release no line coloring no line watercolor OLO marker olo markers original illustration pawsitively saturated rainbow shaker card slimline stamping stamptember stencil thank you thinking of you valentine's day video watercolor

Popular Posts

Simon Says Stamp Sending Cheer Blog Hop- Day 2 + Freebie + Giveaway!
Joyful Snowman with New Simon Says Stamp Sending Cheer Release!
Simon Says Stamp Sending Cheer Release: Now Available!
Altenew October 2026 Release Blog Hop + Giveaway!
February 2018 My Monthly Hero Blog Hop!
Altenew March 2020 Release Blog Hop+Giveaway!
Special Release: Simon Says Stamp Limited Edition STAMPtember Christmas Card Kit!
Simon Says Stamp Cozy & Bright Inspiration, Part Two!
Waffleflower December Release Blog Hop!
Altenew Build A Flower Japanese Mum Blog Hop!

Disclosure

Some affiliate links are used in my posts. This means that, should you click on one of my links and purchase something from that company, I will receive a small portion of the sale at no extra cost to you. I use the money earned from these sales to help maintain my blog. I so appreciate you visiting and, if you do choose to use one of my affiliate links, thank you so much for your support!
Copyright © 2026 ·Brunch Pro Theme · Genesis Framework by StudioPress · WordPress · Log in
Loading Comments...