• Skip to main content
  • Skip to primary sidebar
  • Skip to secondary sidebar

Sixth Street Sundries

Emily Midgett

  • Home
  • About Me
  • Contact
  • OLO Marker Color Swatch Chart
  • Shop

teacher

Oh Happy Day Teacher’s Thank You with Simon Says Stamp!

May 26, 2026

This post was sponsored by Simon Says Stamp. Thanks, Simon! *I have gathered links to all of the products used at the bottom of the post for your convenience, using affiliate links at no extra cost to you. Thank you for shopping with my links! I truly appreciate your support for my work!*

Hi friends! Remember THIS card? I used the Happy Rainbow stencil set to create a rainbow image large enough to make two card fronts, and I have the second one to share with you today! I love a good two-fer! For the previous card, I did some fussy cutting, some die cutting, and added a quick sentiment. Today’s card is a fun and festive shaker card using the remaining A2 rainbow panel, perfect for celebrating the end of another school year. Let’s get started with the details on my project!

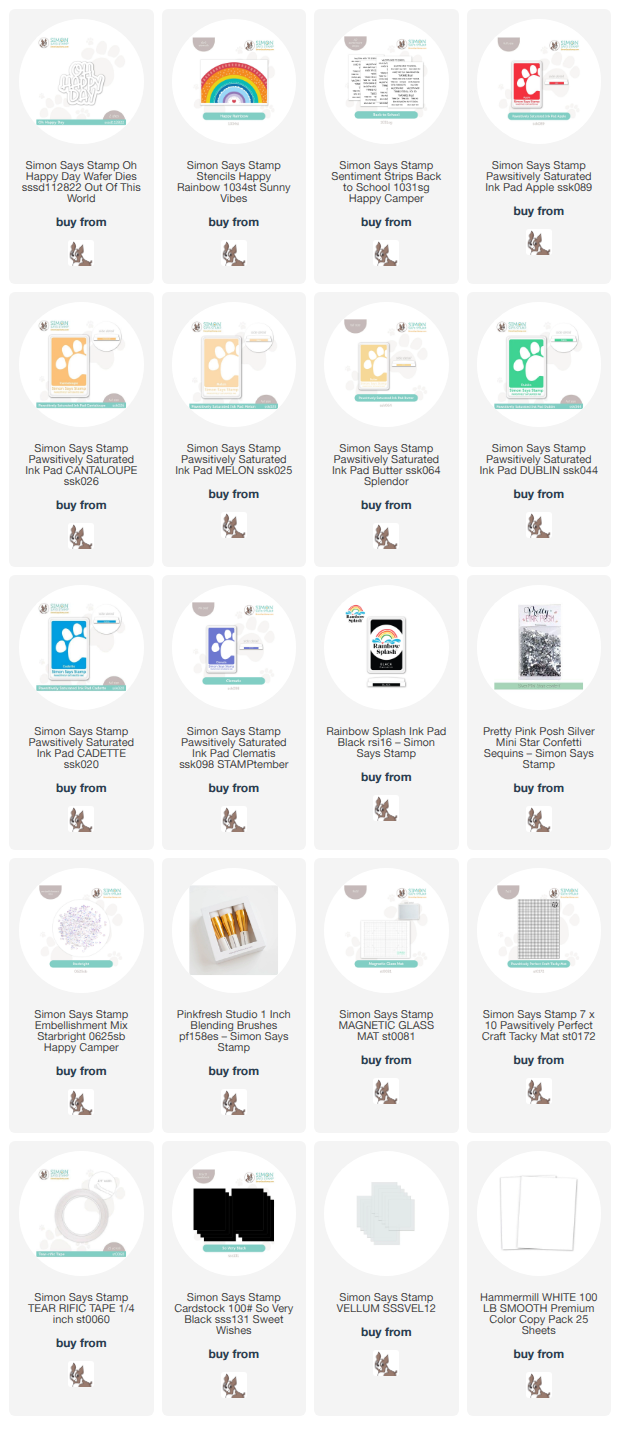
To start, I used Pawsitively Saturated Inks in shades of Apple, Cantaloupe, Melon, Butter, Dublin, Cadette, Clematis with blending brushes to blend the Happy Rainbow stencil. I used my Stencil Station (a Craft Tacky Mat placed on a Magnetic Glass Mat, the combination of which holds my cardstock in place securely with the heavy glass mat while the Craft Tacky Mat keeps my stencil in the right spot on my cardstock!) After I had blended all of the pretty ROY G BIV colors on my cardstock panel, I used Rainbow Splash Black ink to add the stenciled boho details to the rainbow. I love the sharp contrast between the vibrant colors and the crisp black details!!

Once I had finished blending the stenciled images, I cut the panel in half to create the two A2 card fronts. For this shaker card, I used some leftover stamp packaging and Tear-rific Tape to create a flat shaker pocket, which I filled with tiny iridescent sequins and delicate silver star sequins.

For the greeting, I used the older Oh Happy Day as my sentiment focal point, cutting the detail layer from So Very Black cardstock and the shadow from vellum, layering the two together with liquid adhesive. I popped it up on the front of the shaker panel using thin strips of foam adhesive, then tucked a sentiment strip from Back to School beneath the die cut greeting, again using foam adhesive. Finally, I tucked a silver cord bow next to the die cut greeting, adding a touch more texture and shine to the card!

Well, that’s all for my project today! Don’t you just love when you can use one stenciled image to create two different projects? It makes me feel so efficient and organized, ha! Thanks so much for stopping by today, and have a marvelous day!
Filed Under: simon says stamp Tagged With: back to school, happy rainbow, layered stencil, oh happy day, rainbow, shaker card, stencil, stencil station, teacher, thank you

Colorful Thank You, Teacher with New Simon Says Stamp!

June 4, 2025

This post was sponsored by Simon Says Stamp. Thanks, Simon!

Hi friends! I am back with another project today featuring some new goodies from the latest Simon Says Stamp Moments In Time release, paired with some older products to create this colorful teacher thank you card. My kiddos have all finished school for the year (let the summertime chaos begin! At least we get to sleep in in the mornings… ish.), but I know that schools on the East Coast typically attend school well into June, so I thought this might still be appropriate for those outside the Midwest. Let’s get started on the details for my project!

*I have gathered links to all of the products used at the bottom of the post for your convenience, using affiliate links. Thank you for shopping with my links! I truly appreciate your support for my work!*

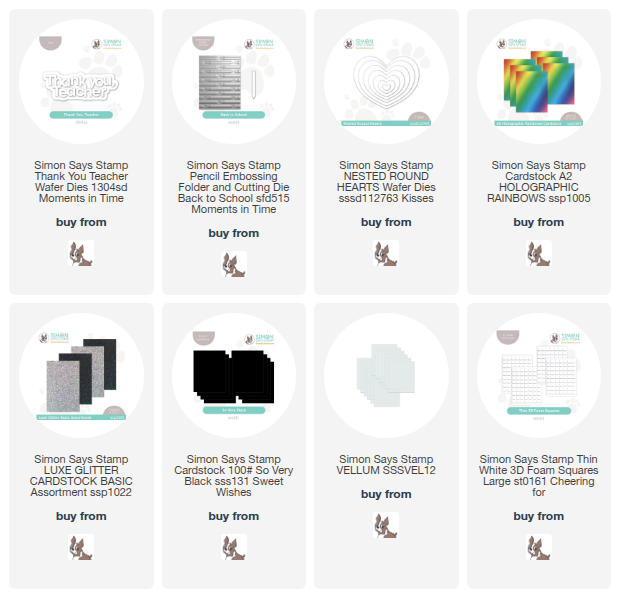
The new Thank You Teacher die set features a detailed top layer that cuts out the letters in a whimsical font, and it also features a shadow layer to add extra dimension and interest to the die cut sentiment. I originally planned to use each die cut piece as intended and create a dimensional die cut greeting, but I decided to use the negative detailed image instead, creating the sentiment in the middle of a die cut heart. I cut one of the Nested Round Hearts from Simon Says Stamp’s So Very Black cardstock, then placed the detail layer from the Thank You Teacher die set in the center of the die cut heart and ran it through my die cutting machine, making sure to reserve all of the die cut pieces so that I could add the centers of the a, o, e, and c. I backed the die cut opening on the heart with some vellum, then adhered the reserved centers of the letters with liquid adhesive to create this fun die cut sentiment.

Behind my heart sentiment, I decided to take advantage of the vibrancy and foil coating on the Simon Says Stamp Holographic Rainbows Mirror Foil to add some gorgeous textured embossing. I ran a panel of Holographic Rainbows Mirror Foil through my die cutting machine with the new Back to School embossing folder, which features delicately textured and detailed pencils that are highlighted perfectly with the foil coating of the cardstock.

To create the card, I trimmed the sides of the embossed panel down by 1/4″ on the long sides and tucked a couple of strips of Holographic Black Luxe Glitter Cardstock from Simon Says Stamp. The colorful iridescent coating works beautifully with the rainbow colors on the foil cardstock and ties in the black cardstock on the heart. I used some thin foam adhesive squares to pop up the black sentiment heart; the semi-transparent vellum allows the colorful background to show through, though slightly more muted. This would also make a fun shaker design if you swapped out the vellum for acetate!

Well, that’s all for my project today. As we head into summer break, I am looking for all of the ideas on how to entertain my kiddos so that I can get some work done. We unfortunately don’t have a ton of summer camps available in our rural area, so I am looking for things that they can do around the house that don’t involve watching TV. (We are big Bluey and Lion Guard fans around here….) Any and all suggestions welcome! Thanks so much for stopping by today, and have a marvelous day!

Filed Under: simon says stamp Tagged With: 3D embossing folder, back to school, die cutting, embossing folder, holographic rainbows, nested round hearts, teacher, thank you teacher

Reverse Confetti March Release-Day 1

March 5, 2018

Good morning!! I am extremely excited to say that I am one of the Reverse Confetti ‘Fetti Friends for the months of March and April. What luck for me, because they have a new release coming on March 8th, and it is chock full of fabulous stamps and dies!

Today, we are peeking two absolutely precious sets: Honey Bear and Seal-iously. (Seal-iously… isn’t that name just the cutest?!) Today, I’ve created a project using the sweet Honey Bear stamp and die set, along with a sneak of a new tag die and a new patterned paper pad coming out this week called Fun Times. (Appropriate name!!) Let’s get started with the details!

(isn’t that bear just the cutest?!)

For my project today, I wanted to work with that sweet little bear and the apple tree… I’m not normally one for punny sentiments, but my kiddos started preschool this year and are starting to really “get” puns. I thought this card would be perfect for them to give to their teacher!! I started by die cutting and stamping the bear, the basket, and the tree from white card stock. I stamped the leaves using green ink (I will list all of the available supplies below), and the line images using black Copic friendly ink.

I colored all of the line images using Copic markers and added some Glossy Accents to the apples to add a bit of dimension and shine… like an apple the teacher would really want to eat haha! I set those aside to dry and die cut the new Dashed Line Tag from some subtly patterned green pattern paper from the new Fun Times patterned paper collection. I added a double bow from some jute twine that I had in my stash.

I trimmed down a panel of Kraft card stock and mounted it to a white A2 card base, then added my green tag using dimensional foam adhesive. After my Glossy Accents had dried, I used my craft knife to trim the little bear’s paws so that the basket could be nestled up underneath, so the bear is holding the basket. I added the bear to the card front, then stamped the sweet sentiment on a strip of white card stock and added it to the trunk of the tree.

Well, that’s all for me today! I will be back tomorrow with more Reverse Confetti release goodies! In the meantime, be sure to leave comments on the Reverse Confetti blog, as well as the different design team members’ blogs (and the ‘Fetti Friends!) to be eligible to win a $15 gift certificate to the Reverse Confetti shop! More comments=more entries in the contest! Enjoy all of the inspiration, and I’ll see you back here tomorrow!


Filed Under: Reverse Confetti Tagged With: bear, copic coloring, honey bears, puns, teacher

Primary Sidebar

  • Facebook
  • Instagram
  • Pinterest
  • YouTube

Favorite Shops

Secondary Sidebar

Subscribe

Enter your email address to subscribe to this blog and receive notifications of new posts by email.

Instagram
Something is wrong.
Instagram token error.
Follow
Load More

Archives

Tags

3D embossing folder alcohol markers better press birthday birthday card blog hop card kit christmas christmas card christmas tag colored pencil copic copic coloring Daniel Smith die cutting embossing folder embroidery felt giveaway holiday holiday card hot foil ink blending karin brushmarker pro layered stencil masculine my monthly hero new release no line coloring no line watercolor OLO marker olo markers original illustration pawsitively saturated rainbow shaker card slimline stamping stamptember stencil thank you thinking of you valentine's day video watercolor

Popular Posts

Simon Says Stamp Sending Cheer Release: Now Available!
Joyful Snowman with New Simon Says Stamp Sending Cheer Release!
Autumn Legs with Colorado Craft Company and Catherine Pooler!
February 2018 My Monthly Hero Blog Hop!
Altenew Paint A Flower: Carnation Blog Hop+Giveaway!
Special Release: Simon Says Stamp Limited Edition STAMPtember Christmas Card Kit!
Altenew March 2020 Release Blog Hop+Giveaway!
Pinkfresh Studios June Washi and Stamp Release Blog Hop!
Pinkfresh Studio 5th Birthday!
2018 Autism Awareness Hop!

Disclosure

Some affiliate links are used in my posts. This means that, should you click on one of my links and purchase something from that company, I will receive a small portion of the sale at no extra cost to you. I use the money earned from these sales to help maintain my blog. I so appreciate you visiting and, if you do choose to use one of my affiliate links, thank you so much for your support!
Copyright © 2026 ·Brunch Pro Theme · Genesis Framework by StudioPress · WordPress · Log in
Loading Comments...