• Skip to main content
  • Skip to primary sidebar
  • Skip to secondary sidebar

Sixth Street Sundries

Emily Midgett

  • Home
  • About Me
  • Contact
  • OLO Marker Color Swatch Chart
  • Shop

thanks mom

ILYSM for Mother’s Day with Simon Says Stamp + SALE!

May 10, 2026

This post was sponsored by Simon Says Stamp. Thanks, Simon! *I have gathered links to all of the products used at the bottom of the post for your convenience, using affiliate links at no extra cost to you. Thank you for shopping with my links! I truly appreciate your support for my work!*

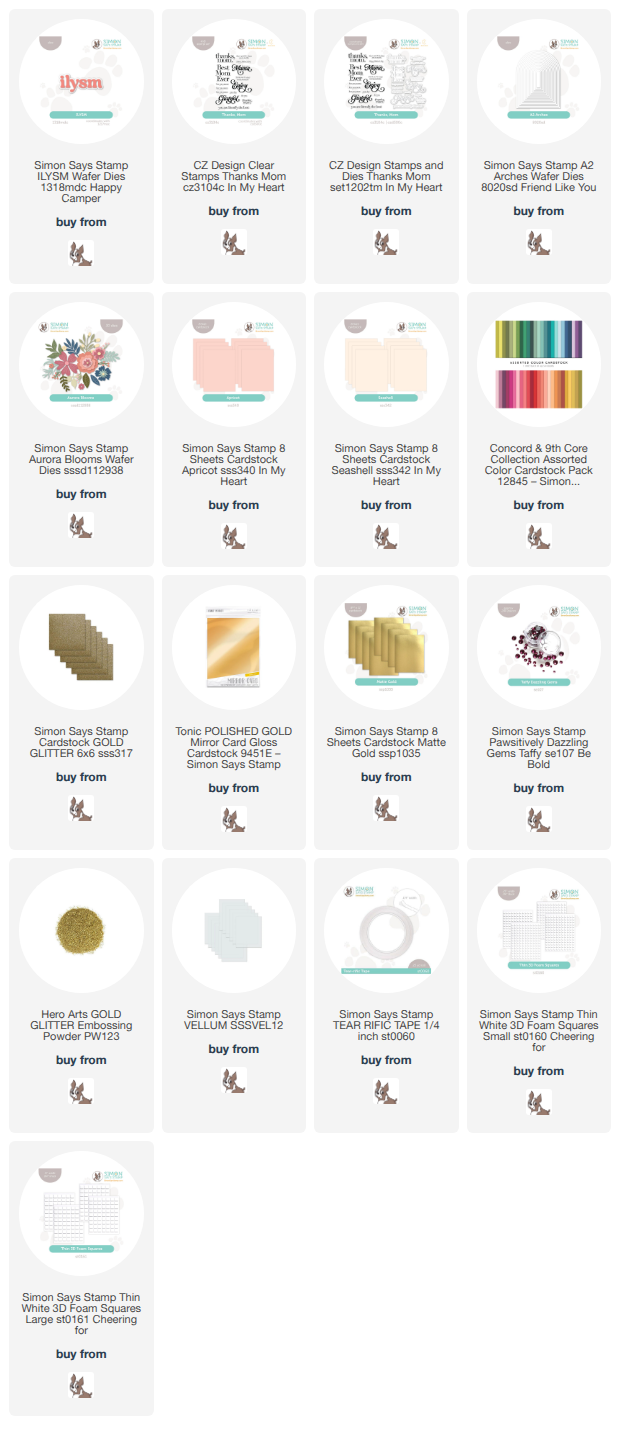
Hi friends! I have one last project to share with you that was inspired by the CITI card that I helped teach at Simon Says Stamp CREATE last weekend! The beautiful striped backgrounds that I created for THIS post yielded three different projects. I used the first two striped panels as the background behind cover plate die cuts, but for today’s project, I thought I would allow the striped background and the gorgeous colors to be more prominently featured with the addition of a chunky sentiment and beautiful flora and foliage. Let’s get started with the details on my project!

To begin, I used the same technique that I used to create the striped backgrounds from the post linked above: add vertical strips of double sided adhesive to my A2 panel, then create a pattern using horizontal strips of cardstock in a variety of widths all down the front of the panel. Once I had created the striped panel, I used one of the A2 Arches dies to die cut the panel, doing my best to make sure that the bottom was lined up straight with the cardstock strips! The sandwich was thick and impressed a bit of the pattern from the top cutting plate into the foil cardstock. Not perfect, but still so pretty!

After I had die cut the striped panel, I mounted it on a Seashell A2 card front using thin foam adhesive squares. I then die cut the ILYSM from gold glitter and vellum cardstocks, adhering the pieces together with liquid adhesive. I also heat embossed another sentiment from Thanks, Mom onto some deep raspberry cardstock using gold glitter embossing powder, then die cut the finished sentiment with it’s coordinating die. I popped the two sentiment pieces up on the striped panel with some more thin foam adhesive for a bit of extra dimension.

To add some pretty decorative elements to this bold and graphic card, I die cut several flowers, berries, and foliage from the Aurora Blooms die set using the same shades of cardstock used on the striped panel, as well as the addition of some shining gold foil cardstock. I added Taffy Pawsitively Dazzling Gems to the berry branches instead of the cardstock circle die cuts, adding additional sparkle and shine to this card. I just love the modern elements of this project paired with the pretty flowers and beautiful colors.

Well, that’s all for my project today! Now for some fun sale information:
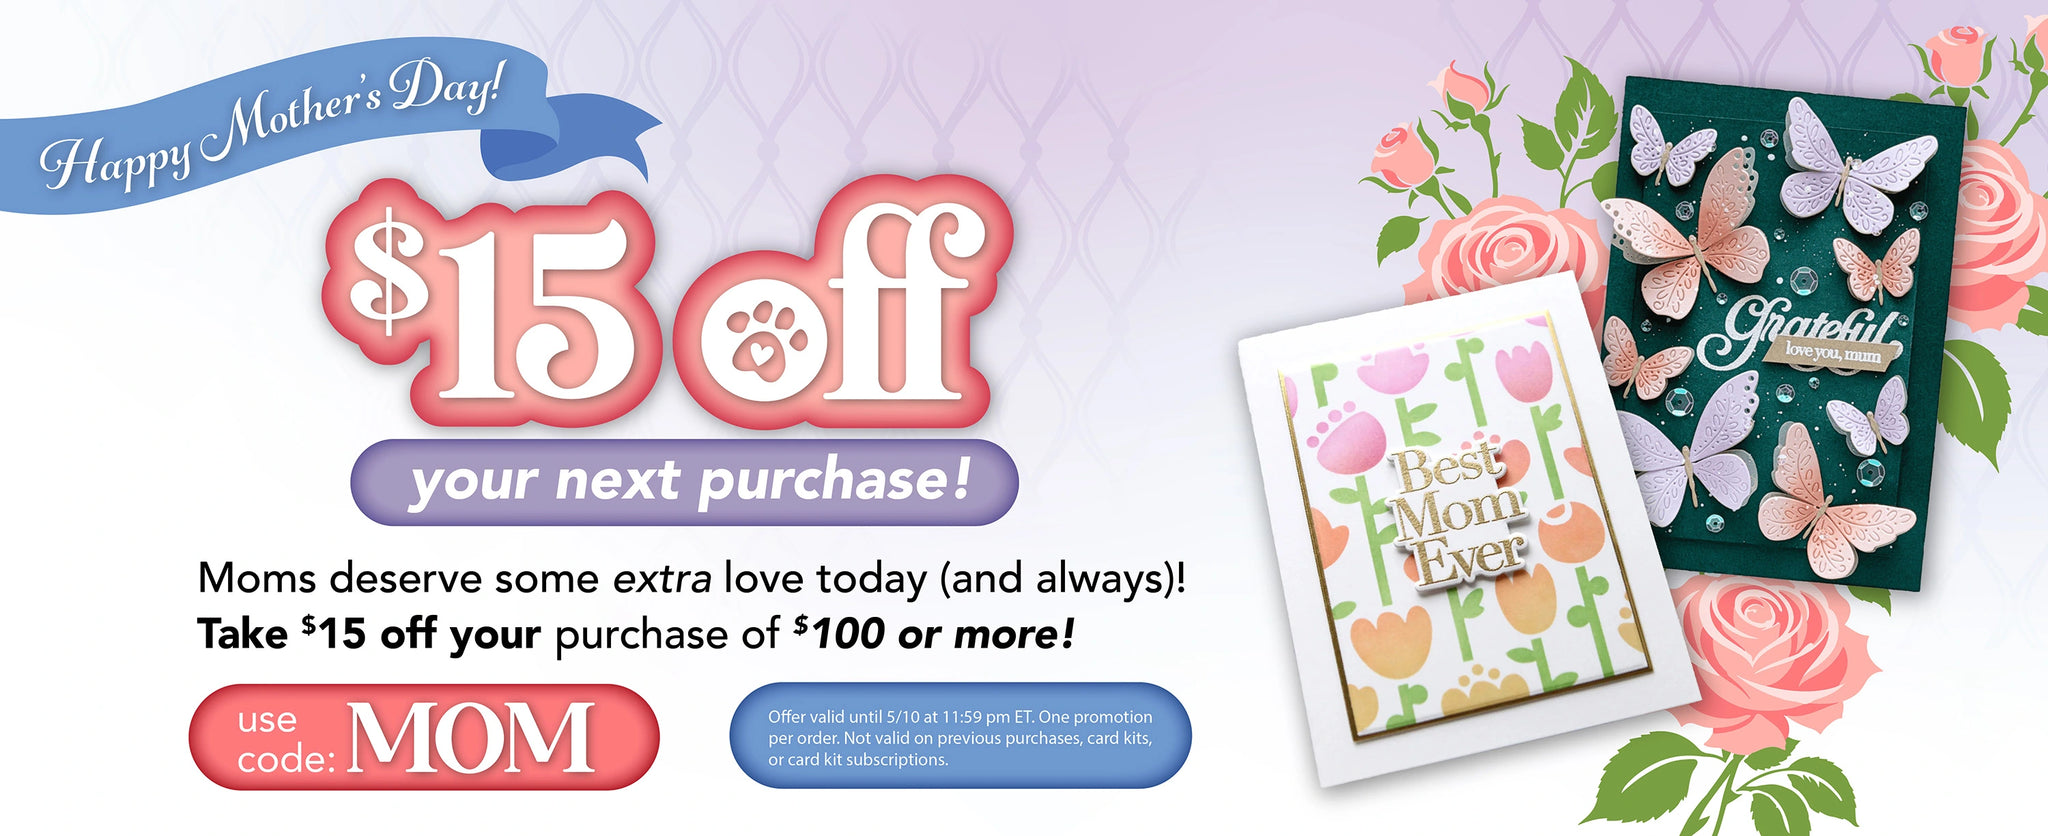
Simon Says Stamp is celebrating mothers for Mother’s Day with a sale through the end of the day! Simply fill your cart and add code MOM at checkout to receive $15 off your $100 purchase. Thanks, Simon!!

To those who are celebrating today, I hope you have a wonderful Mother’s Day with some rest, some yummy treats, and maybe a crafty gift or two. If this day is hard for you for any reason, I am sending lots of love and hugs.

Thanks so much for stopping by today, and have a marvelous day!
Filed Under: simon says stamp Tagged With: a2 arches, aurora blooms, cardstock stripes, die cutting, ilysm, thank you, thanks mom, you are the best

Mother’s Day + Simon Says Stamp CREATE Inspiration!!

May 6, 2026

This post was sponsored by Simon Says Stamp. Thanks, Simon! *I have gathered links to all of the products used at the bottom of the post for your convenience, using affiliate links at no extra cost to you. Thank you for shopping with my links! I truly appreciate your support for my work!*

Hey friends! It’s been a hot minute since I posted…. I had the pleasure of teaching at Simon Says Stamp’s CREATE crafting event last weekend in Columbus, OH, and it was such a joyful event celebrating this hobby that we all adore! I met so many people in person that I’ve only known online, gave so many hugs, took a few pictures (thank you to those who asked for a picture with me… my kids now think I am “famous” lol!), and guided friends to create a pair of adorable cards! I was so inspired by Saturday’s card with it’s cardstock stripes peeking out from behind a cover plate die cut that I couldn’t resist putting my own spin on the project when I got home. I created two Mother’s Day cards using this fun technique, so let’s get started with the details!

Both of my cards today feature these colorful, vibrant stripes behind a crisp white cover plate die cut with solid, symmetrical openings in the negative space. This striping technique is such a fun way to use up your colorful cardstock scraps, and the color palettes are truly limitless! I selected a variety of shades of cardstock in different intensities of peach, pink, and gold, then used my guillotine trimmer to trim them in different widths. To create each panel, I used Simon Says Stamp’s Tear-Rifically Tacky Tape, which is a super strong double sided adhesive that is easy to tear off at just the right size, placing three adhesive strips vertically on my card base. I then laid my cardstock strips across the card front, interspersing the colorful strips with some blingy gold, creating a fun and colorful pattern all down the front of the card bases!

For my first card, I die cut the Fab Floral Plate from plain white cardstock and laid it directly over the top of my stripes to create a bold and colorful background with the pretty floral pattern! I used liquid glue to adhere the cover plate die cut, then placed a Gold Pawsitively Dazzling Gem in the center of each flower to add a touch of extra sparkle. For the greeting, I die cut the detail layer of the Simple Mother’s Day from gold glitter cardstock and the shadow layer from Concord and 9th’s Wildberry cardstock, layering the two together with liquid adhesive and placing it in the center of my striped card front with foam adhesive for a bit of extra height. Such a fun way to use up your paper scraps and still create a beautiful card front!

For my second card, I die cut the Dual Diamonds Cover Plate from white cardstock and again layered it over the top of the stripey card front with liquid adhesive. I placed a small Taffy Pawsitively Dazzling Gems where each diamond intersected with the next line, adding some extra shimmer and sparkle. For the greeting, I white embossed a sentiment from Thanks, Mom onto some tangerine cardstock, die cut it with it’s coordinating die, then layered it on a vellum Modern Teardrops die cut to ensure that the sentiment was visible on the busy background. I added a gold cord bow for one last touch of shine!

Well, that’s all for my cards today! Have you tried this technique before? It was such an inspiring weekend, and I am excited to share the CREATE-inspired projects that I created after my return home! Thanks so much for stopping by today, and have a marvelous day!

Filed Under: simon says stamp Tagged With: cardstock stripes, dual diamonds, fab floral plate, modern teardrops, mother's day, simple mother's day, thanks mom

Coral Wild Rose for Mother’s Day with Simon Says Stamp!

April 24, 2026

This post was sponsored by Simon Says Stamp. Thanks, Simon! *I have gathered links to all of the products used at the bottom of the post for your convenience, using affiliate links at no extra cost to you. Thank you for shopping with my links! I truly appreciate your support for my work!*

Hi friends! I have been in a “let’s color all of the flowers” kind of mood this week, and when that happens I always look at the stamp sets that I’ve illustrated to spend some extra time digging in and doing some really intense coloring work. For today’s post, I pulled out my newest stamp set for Simon Says Stamp: Wild Rose. This set features two large bouquets, with pretty wild rose focal points and enough foliage and filler flowers to create lovely floral swags. I am still loving the new Apricot and Seashell cardstocks from the In My Heart release, (click HERE to see the entire new release!) so I used that pretty peach as my color palette inspiration and pulled out some gorgeous deep coral alcohol markers to do some detailed no-line coloring for a feminine and springy Mother’s Day card. Let’s get started with the details on my project!

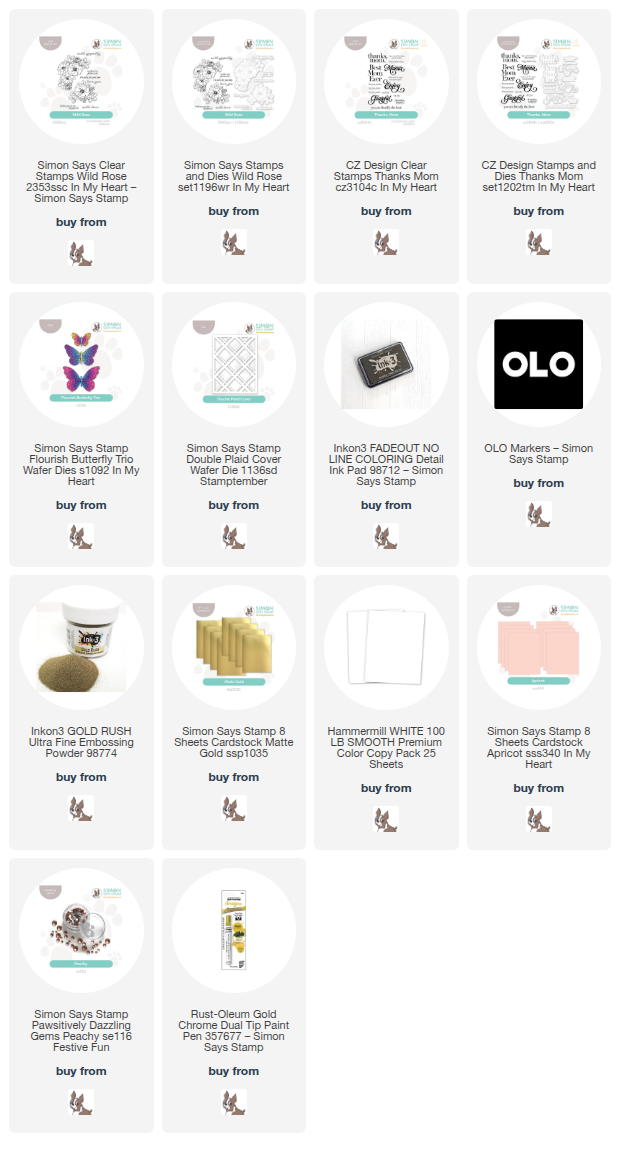
To begin, I stamped the smaller bouquet from Wild Rose onto some white cardstock using Inkon3’s Fadeout Ink, which is perfect for no-line coloring! I then selected a variety of gorgeous peach and coral OLO Markers, as well as some deep, mossy greens, to do some detailed coloring on these pretty blooms and leaves. I love how those gorgeous green eucalyptus leaves pop from the springy coral blooms! I added some gold paint pen to the stamens on the flower (those delicate stamens are difficult to color around, so I just ignore them and add them back in with an opaque paint pen after I am finished coloring!), then die cut the bouquet with it’s coordinating die.

Behind the blooms, I wanted to create a subtly-textured background, so I die cut the older Double Plaid Cover die from white cardstock and layered it on Simon Says Stamp’s Apricot cardstock. I think plaid and flowers work so beautifully together-so classic! I also die cut some dainty butterflies using the Flourish Butterfly Trio, cutting the butterflies’ wings from more Apricot cardstock and the bodies from gold cardstock to match the flower’s stamens. I wanted the butterflies to pop a bit from the background, so I used a couple of my alchool markers to add some color to the edges of the butterflies, fading the darker color out with a shade that matched the color of the cardstock itself. Sometimes the colored cardstock does a lot of the work for you!

For the greeting, I selected a simply perfect sentiment from the Thanks, Mom stamp set, heat embossed it on white cardstock with gold embossing powder, and then die cut it with it’s coordinating die. I assembled the die cut components on the card front, first adhering the white plaid die cut to the A2 Apricot card front with liquid adhesive, then arranging the die cuts in a pretty cluster, overlapping the greeting on the blooms. I used a double layer of thin foam adhesive for the sentiment so that it had a bit of extra height, then curled the butterflies’ wings up a bit and adhered them to the card front with some thin foam adhesive. I love all of the different textures and dimension on this card! Finally, I added some Peachy Pawsitively Dazzling Gems for one last bit of sparkle!

Well, that’s all for my project today! Our home renovation is getting closer and closer, and so I’m starting to think about the landscaping…. which is a challenge for me and my black thumb! I will definitely be taking inspiration from the pretty flower stamp sets in my stash! Thanks so much for stopping by today, and have a marvelous day!

Filed Under: simon says stamp, Uncategorized Tagged With: die cutting, flourish butterfly, mother's day, no line coloring, olo markers, original illustration, thanks mom, wild rose

Lavender Mother’s Day Two-fer: Easy and Advanced with Simon Says Stamp!

April 22, 2026

This post was sponsored by Simon Says Stamp. Thanks, Simon! *I have gathered links to all of the products used at the bottom of the post for your convenience, using affiliate links at no extra cost to you. Thank you for shopping with my links! I truly appreciate your support for my work!*

Hi friends! I am playing a little bit of catch up over the next several days… Our house remodel is getting down to the wire, and between that and my family getting sick last week, I’m spending less time at my desk than I normally am. Spring is officially here in the Midwest, and the trees, flowers, and pollen are definitely making themselves known! It’s put me in an “April showers bring May flowers” kind of creative mood, so I pulled out a bunch of gorgeous floral stamps and dies and just started playing. Today’s projects are another two-fer using the gorgeous Wild & Free Flowers stamp set: a simple project for those on a time crunch, as well as one that is a little bit more involved. Let’s get started with the details!

Both projects for today’s post hinge on two main products: the Wild & Free Flowers stamp and die set and the Lacy Point Frames die set. Simon Says Stamp has come out with some absolutely gorgeous “fancy” rectangle dies in the last several months, and I think they pair perfectly with beautiful florals!! So elegant and feminine. I have used the new Apricot and Seashell cardstocks so much lately that I wanted to push myself out of that comfortable blushy peach zone, so I pulled out another new cardstock color: Moonflower. These pastel colors are just divine, in my opinion!

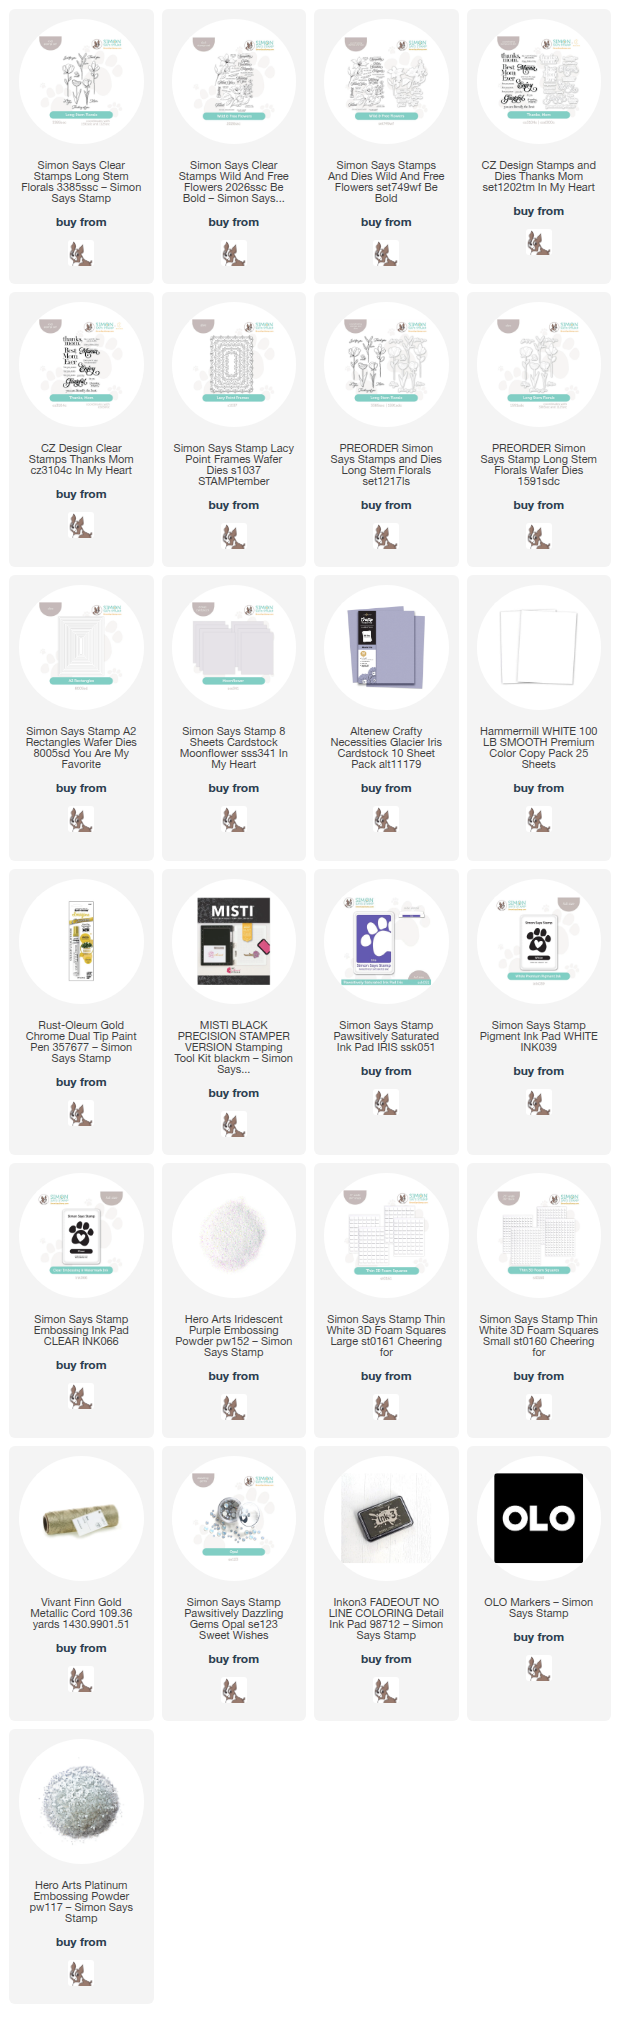
For my first project, I started by stamping one of the gorgeous floral sprays from Wild & Free Flowers onto my A2 white card front using no-line coloring ink, rotating the card front and the stamp each time to create a continuous background pattern on the card. I used OLO Markers to add gorgeous blurple to the blooms and deep green foliage, adding some shining gold to the centers of the finished flowers with a gold paint pen. For the greeting, I kept things very simple, heat embossing two sentiment stamps from the new Long Stem Florals stamp set using Platinum embossing powder, then die cutting the finished sentiments with their coordinating dies. I also die cut a small embellished rectangle using the Lacy Point Frames die set, popping the sentiment die cuts up on the rectangle with thin foam adhesive. I placed the rectangle on the card front with more thin foam adhesive, then tucked a vintage gold cord bow beneath the sentiments at a jaunty angle and added a touch more sparkle with some Opal Pawsitively Dazzling Gems. The coloring on this card took a bit, but goodness was it worth it! Such a gorgeous floral image.

For my second project, I decided to create something infinitely simpler by taking advantage of the beautiful details on the same floral spray from Wild & Free Flower paired with colored cardstock. I stamped the beautiful floral image onto some Altenew Glacier Iris cardstock, which a slightly deeper shade of lavender than the Moonflower, using Simon Says Stamp White Pigment Ink. While this pigment ink was still wet, I added Hero Arts Iridescent Purple embossing powder, which adds a gorgeous semi-opaque shimmer to the image and pops so subtly and beautifully on the colorful cardstock! I die cut the finished image with it’s coordinating die. I also die cut a beautiful frame using the same Lacy Point Frames die set from Simon Says Stamp Moonflower cardstock, cutting the embellished rectangle first, then placing a plain A2 Rectangles die in the center to create a frame. I popped up the pretty, lacy frame die cut on a full A2 panel of Moonflower cardstock using thin foam adhesive squares, then placed my embossed die cut flower in the center, adhering it with more foam adhesive. For the greeting, I stamped three separate sentiment stamps from Thanks, Mom onto more Moonflower cardstock using Iris Pawsitively Saturated Ink, then stamped directly over the top with embossing ink and added more of the Hero Arts Iridescent Purple embossing powder to create a pop of more intense iridescent purple. Finally, I added an Iridescent White Cord bow and some more Opal Pawsitively Dazzling Gems for a bit more sparkle!

Well, that’s all for my projects today! I just adore the gorgeous blooms in the Wild & Free Flower-whether they’re meticulously colored or embossed on pretty cardstock, they make such a beautiful impact! Thanks so much for stopping by today, and have a marvelous day!

Filed Under: simon says stamp, Uncategorized Tagged With: alcohol markers, die cutting, lacy point frames, long stem florals, no line coloring, olo markers, thanks mom, wild and free flowers

Mother’s Day Love in Purple with New Simon Says Stamp!

March 30, 2026

This post was sponsored by Simon Says Stamp. Thanks, Simon! *I have gathered links to all of the products used at the bottom of the post for your convenience, using affiliate links at no extra cost to you. Thank you for shopping with my links! I truly appreciate your support for my work!*

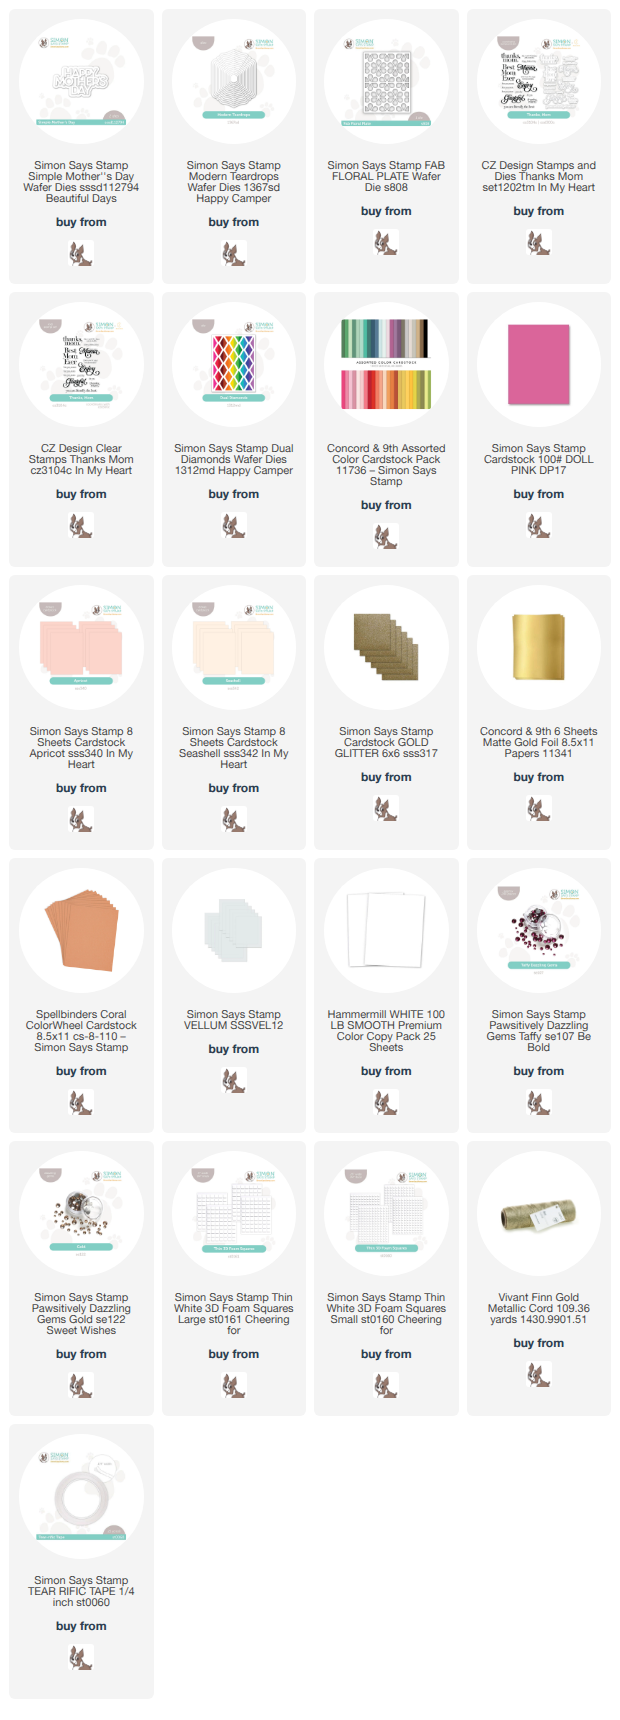
Hi friends! I just spent a weekend with some of my favorite crafty friends, and I’m back feeling refreshed and with a new creative spring in my step! I have some Easter projects planned for this week, but I wanted to share this pretty-in-purple Mother’s Day card with you using lots of new goodies from the  Simon Says Stamp n My Heart release! (Click HERE to see the entire new release!) Embossing folders are one of my absolute favorite products to use; so many incredible techniques can be applied to the magnificent textures created with these inexpensive products. They truly give you such a great bang for your buck! I chose to add some pencil coloring to the new Blooming Wreath embossing folder, adding some extra interest by starting with a colored cardstock base. Let’s get started with the details on my project!

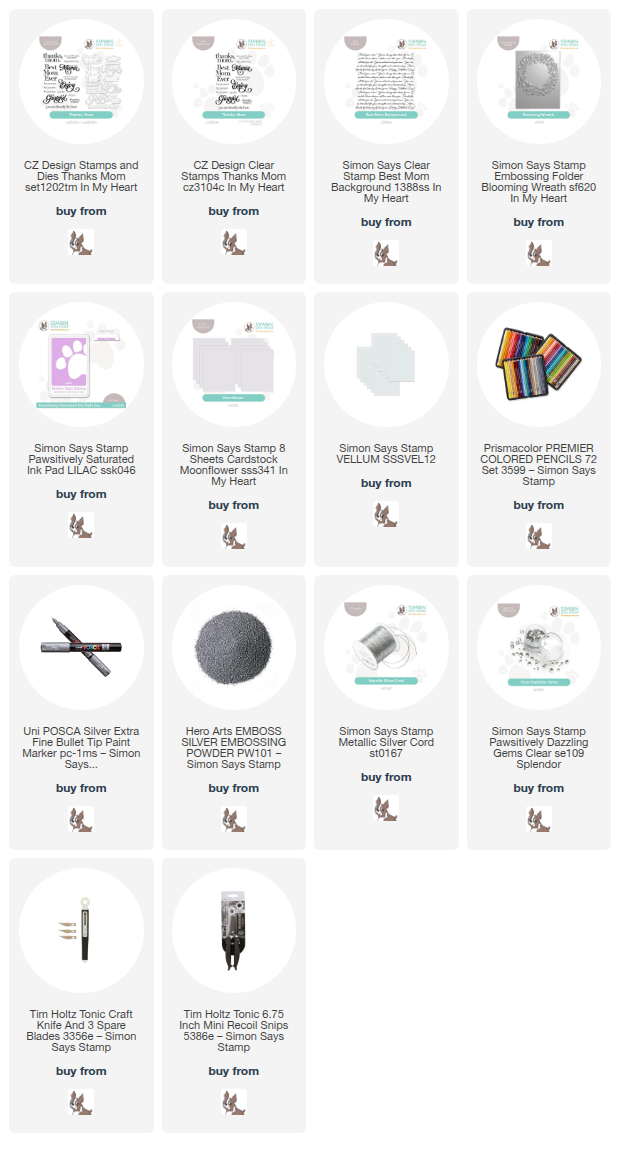
To begin my project, I ran a panel of the new Moonflower cardstock through my die cutting machine using the Blooming Wreath embossing folder. I then used my colored pencils and a silver paint pen to add lots of delicate details to the embossed flowers, adding different shades of purple and shimmering metallics to the intricate images that had been embossed into my cardstock. Starting with the pale lavender cardstock helps enhance the monochromatic aesthetic of my project! Once I had finished coloring all of the images, I used my sharp scissors to cut the finished wreath out, as well as using a sharp craft knife to cut out the center of my wreath. I backed the finished wreath with vellum, creating the perfect circlet upon which to arrange my greeting!

After I had completed the floral wreath, I stamped the new Best Mom Background onto a full size A2 panel of the Moonflower cardstock using Lilac Pawsitively Saturated Ink. I then adhered the finished wreath over the center of the stamped panel using foam adhesive. The vellum behind the wreath helps to soften the patterned background, allowing plenty of visual space for the eye to focus on the sentiment!

After I had mounted the wreath, I heat embossed two greetings from the new Thanks Mom stamp set onto more Moonflower cardstock using silver embossing powder. I used the coordinating dies to die cut the greetings and placed them in the center of my colored wreath, again using foam adhesive, adding a bit of extra height to the sentiment so that it was easily viewed by the recipient. I tied some silver cord around the entire card base, nestling the bow beneath the greeting, then adhered my card front to my A2 card base. Finally, I added some Clear Pawsitively Dazzling Gems for an additional touch of sparkle!

Well, that’s all for my project today! I hope you’re enjoying the springtime temperatures like we are… the sun is warm and bright today, and the flowers are a-blooming. Thanks so much for stopping by today, and have a marvelous day!
Filed Under: simon says stamp Tagged With: best mom background, blooming wreath, colored pencil, die cutting, embossing, embossing folder, monochromatic, mother's day, no line coloring, thanks mom

Primary Sidebar

  • Facebook
  • Instagram
  • Pinterest
  • YouTube

Favorite Shops

Secondary Sidebar

Subscribe

Enter your email address to subscribe to this blog and receive notifications of new posts by email.

Instagram
Something is wrong.
Instagram token error.
Follow
Load More

Archives

Tags

3D embossing folder alcohol markers better press birthday birthday card blog hop card kit christmas christmas card christmas tag colored pencil copic copic coloring Daniel Smith die cutting embossing folder embroidery felt giveaway holiday holiday card hot foil ink blending karin brushmarker pro layered stencil masculine my monthly hero new release no line coloring no line watercolor OLO marker olo markers original illustration pawsitively saturated rainbow shaker card slimline stamping stamptember stencil thank you thinking of you valentine's day video watercolor

Popular Posts

Simon Says Stamp October 2026 Card Kit of the Month: Homespun Gratitude!
February 2018 My Monthly Hero Blog Hop!
Altenew Craft A Flower: Poppy Blog Hop+Giveaway!
Felted Gourd Wall Hanging with Simon Says Stamp!
Sunflower Home Decor with Simon Says Stamp!
Craft Your Life Project Kit: Feathered Lilies Blog Hop+Giveaway!
Simon Says Stamp October 2025 Card Kit of the Month!
Altenew Standalone Die Blog Hop+Giveaway!
The Ton Anniversary Release- Day 2
Honey Bee Stamps Cheerful Love Blog Hop!

Disclosure

Some affiliate links are used in my posts. This means that, should you click on one of my links and purchase something from that company, I will receive a small portion of the sale at no extra cost to you. I use the money earned from these sales to help maintain my blog. I so appreciate you visiting and, if you do choose to use one of my affiliate links, thank you so much for your support!
Copyright © 2026 ·Brunch Pro Theme · Genesis Framework by StudioPress · WordPress · Log in
Loading Comments...