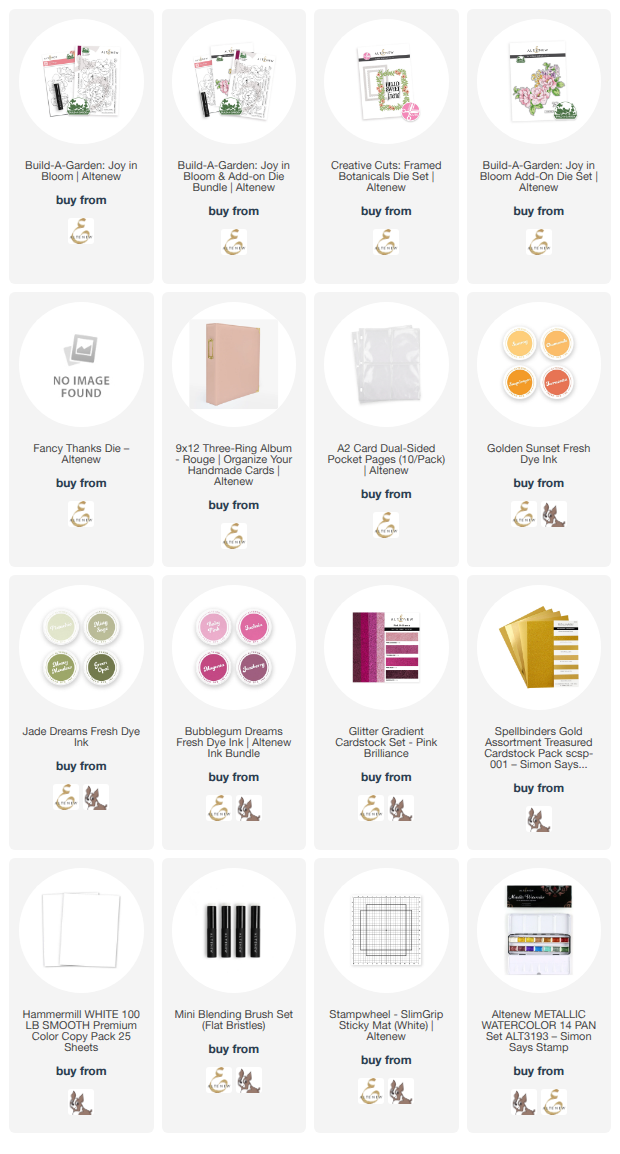
I have gathered links to all of the products used at the bottom of the post for your convenience, using affiliate links at no extra cost to you. Thank you for shopping with my links! I truly appreciate your support for my work!*

Hi friends! I am so excited to be hopping along with my friends at Altenew today to share projects created using their new October 2026 Release! (Click HERE to check it out!) I don’t think anybody can get enough of Altenew’s exquisite floral designs, and the ease with which you can create using these incredible stamps, dies, and stencils makes them even more worthy of a place in your craft room. I just love that they make each step so intuitive! I have two projects to share with you today using the same shades of ink but with very different aesthetics, so let’s get started with the details!

For both of my projects today, I used the following Fresh Dye Inks:
Golden Sunset Fresh Dye Ink Quartet
Sunray, Chamomile, Snapdragon, Terracotta
Jade Dreams Fresh Dye Ink Quartet:
Green Opal, Mossy Meadow
Bubblegum Dreams Fresh Dye Ink Quartet:
Baby Pink, Fuchsia, Magenta, Jazzberry
By using the same ink shades, I was able to create a coordinating card set, but with wildly different overall aesthetics based on how deeply saturated the colors were!

For my first card, I used the gorgeous new Build-A-Garden Joy In Bloom with it’s extraordinary and enormous floral bouquet. You could easily use this large-scale bouquet for home decor or a scrapbook page due to it’s substantial size! I stamped the bouquet on an A2 panel of white cardstock with embossing ink, centering the large peony blooms prominently on the card front, then embossed it with shimmering gold embossing powder. I lightly blended pinks and yellows around the edges of the embossed image before stenciling so that the finished blended image would have some unique color variation and would match the blended background in my head! I used the Altenew Sticky Mat to hold my embossed panel in place before I began stenciling with the Golden Sunset Fresh Dye Ink Quartet, Jade Dreams Fresh Dye Ink Quartet, and Bubblegum Dreams Fresh Dye Ink Quartet. It is really quite magical to watch all of the layers come to life with each new color!

After I had finished blending the image, I used the coordinating add-on die to cut the image out. I used residual ink left on the blending brushes to blend yellow and pink ink around the edges of my blank white card front, which I then splattered with some shimmering gold watercolor. I placed the bouquet on the card front with some thin foam adhesive squares, then added the die cut greeting from the new Framed Botanicals die set, the pieces of which I cut from both gold pearl and vellum cardstock. Finally, I added a gold twine bow and some shimmering gems for added sparkle!

My second card features the leafy frame from the new Framed Botanicals die set with a vibrant blended background. I used several of the same shades of pink and yellow ink from the previous card to create this unique ombré background, which I then splattered with gold watercolor. I die cut the leafy frame using more gold pearl cardstock, then used tiny pieces of thin foam adhesive to attach it to the blended and splattered card front.

In my stash, I found some deep pink cardstock that coordinated beautifully with the pink blending on the card, so I used it to die cut the delicate blooms from Framed Botanicals and added them to my frame with more foam adhesive. For the greeting, I die cut the older-but-still-gorgeous Fancy Thanks die using Rhodolite glitter cardstock from the Pink Brilliance glitter cardstock gradient set. I added it to the bottom 1/3 of the cad front with more foam adhesive, then finished teh card off with some sparkling gems in the center of each pink bloom!

Altenew also has released this gorgeous and super useful Blush 3-Ring Card Album. These albums are beautiful quality, and sized perfectly to fit an A2 card! The album comes in both blush and cream, and features exquisite gold accents that are simply luxurious.

The inserts perfectly fit an A2 card and envelope, so that you can store your handmade beauties neatly and safely. And let’s face it, sometimes we make a card that is so pretty that we just want to keep it for ourselves, right? I am certainly guilty of this!! This album is such a lovely way to display our favorite works, perhaps showing growth or style changes over the years.

I love that you can even place an A2 envelope in each slot, as well. It would be a great way to display your cards at a craft show, as well!
Well, that’s all for my projects today! Now for some fun giveaway information:

$300 in total prizes! To celebrate this release, Altenew is giving away a $100 gift certificate to 1 lucky winner and a $50 gift certificate to 4 winners! Please leave a comment on the Altenew Blog and/or each designer’s blog post on the blog hop list below by October 15th for a chance to win. Altenew will draw 5 random winners from the comments left on each stop of this blog hop and announce the winners on the Altenew’s Blog Hop Post on October 17th, 2026. The winner of the $100 gift certificate will be chosen from comments left on the Altenew blog.
You can see the full hop list below:
Thanks so much for stopping by today, and happy hopping!