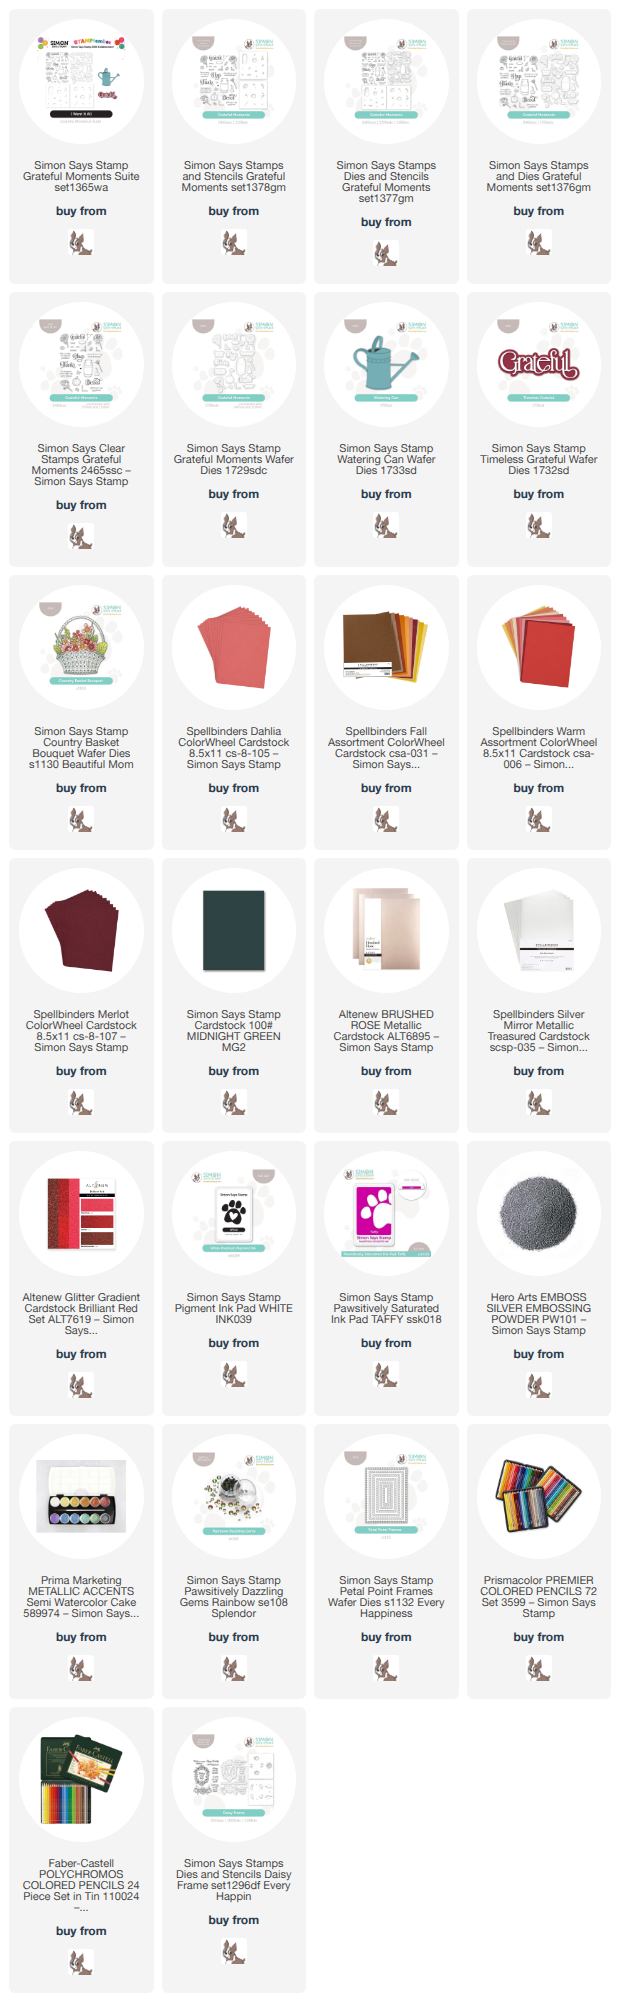
This post was sponsored by Simon Says Stamp. Thanks, Simon! *I have gathered links to all of the products used at the bottom of the post for your convenience, using affiliate links at no extra cost to you. Thank you for shopping with my links! I truly appreciate your support for my work!*
Hi friends! As we wind down on a fabulous STAMPtember celebration, Simon Says Stamp still has a few surprises up their sleeves to share with you! Today, they have released a special collection called Grateful Moments, which is a specially-curated product suite consisting of stamps, coordinating dies and stencils, and couple of extra dies that work beautifully with the Grateful Moments product suite! Click HERE to see the entire collection! These stamps, dies, and stencils will also be restocked if/when they sell out- hooray! I have created two projects today filled with pretty flowers, saturated colors, and gratitude, so let’s get started on the details!

For both of my projects, I wanted to select a color palette that worked beautifully with the autumnal feel of these products from the Grateful Moments product suite, but also had a touch of vivid summertime color. I started with a gorgeous pinky-coral for the card fronts, but then added in burgundy, a rich burnt orange, multiple shades of pink, and some metallics! I think these colors are so striking together!

While these stamps and dies work beautifully with their coordinating stencils, I wanted to take advantage of these absolutely beautiful images by really getting into the weeds with some detailed pencil coloring. I stamped many of the gorgeous images from the Grateful Moments stamp set onto some of that pinky-coral cardstock using Simon Says Stamp’s White Pigment Ink, then used my colored pencils to add lots of vibrant color to the milk jug, flowers, gourd, and pumpkins. I think the effect of the opaque pencils on the colored cardstock is so striking! I cut the finished images out with their coordinating dies.

To ground my cluster of images, I die cut one of the Petal Point Frames from the same pinky-coral cardstock. I also stamped one of the poignant greetings from Grateful Moments onto the colored cardstock using White Pigment Ink, adding white embossing powder over the top to make it really crisp and clean. I also die cut a Timeless Grateful, cutting the detail layer three times-once from rose gold metallic cardsock and twice more from white scrap cardstock, which I layered to create a dimensional greeting, then adhered that onto a burgundy glittery shadow layer. Before I arranged all of the die cuts onto the A2 pinky-coral card front, I blended Taffy Pawsitively Saturated Ink to coordinate with the beautiful pinks of the bouquet and splattered some coppery metallic watercolors on the blended background. I arranged all of the die cuts, adhering them with a variety of heights of foam adhesive, then added a few Rainbow Pawsitively Dazzling Gems to the card. The Rainbow gems really pick up the variety of colors included with all of the images! So much color saturation on this card!

My second card keeps the color palette in the same family, but switches the rose gold for a shining silver! I die cut the new Watering Can standalone die from some shining silver foil cardstock, cutting the accent lines from plain black cardstock. After assembling all of the pieces, I used scraps of cardstock in the same color palette (rich burnt orange, magenta, autumn rose, and hibiscus) along with some jewel green foliage to create a gorgeous floral arrangement in the watering can using the flowers from the previously-released Country Basket Bouquet die set. The size of these blooms worked beautifully with the proportions of the watering can!!

For the greeting, I stamped a sentiment from Grateful Moments onto some deep burgundy cardstock and embossed it with silver embossing powder to tie into the silver watering can. I die cut the sentiments with their coordinating dies. To adorn the pinky-coral A2 card front, I trimmed down some thin strips of cardstock with my guillotine trimmer and adhered them across the bottom with liquid adhesive, creating a ground for my bouquet and greeting so that they were not floating on the card! I arranged all of the die cuts on the card front, adhering them with different heights of foam adhesive, then finally finishing the card with some sparkling Clear Pawsitively Dazzling Gems.
I am just obsessed with this semi-analogous color palette! It’s a bit of a refreshed autumn palette, adding in those cool pinks and coral, but it still definitely has a fall aesthetic!
The folks at Simon Says Stamp are offering a fabulous FLASH SALE to celebrate this newest Grateful Moments release:
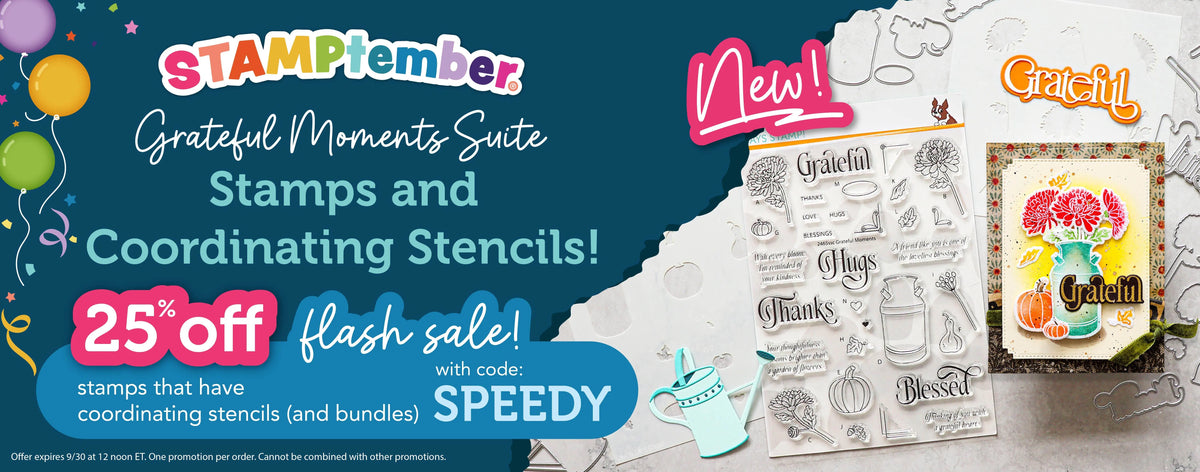
All Simon Says Stamp-branded stamps and coordinating stencils are 25% off using code SPEEDY at checkout! (Click HERE to see everything included with the sale!) The offer expires tomorrow at noon Eastern time, so don’t wait! While I didn’t use the stencils on my projects today, I absolutely adore the ease and speed with which you can create a unique and detailed project without having to dig out your coloring mediums. If coloring isn’t your thing, you definitely will want to take advantage of this sale. I even have one of my own illustrations and it’s coordinating stencils included with this sale! Click HERE to check out the Daisy Frame collection!
Well, that’s all for me today. Thanks so much for stopping by today, and Happy STAMPtember!