This post is sponsored by Simon Says Stamp. Thanks, Simon!
Hi friends! I am back today with a project and video featuring some fun new products from the Simon Says Stamp Sunny Vibes release. I shared a fun shaker card using the beautiful Modern Medallions stamp set last week and thought that I would create a video sharing the technique that I used. (You can see the project HERE.) I love using this ombré inking technique for pretty backgrounds, and the Sunny Vibes release has some really lovely ones! Here’s the video:
(I am trying to make more videos, but my house is pretty noisy with all four kids home for the summer, so I’m trying this format. Let me know what you think! If you can’t see the video above, you can click HERE to see it on YouTube.)

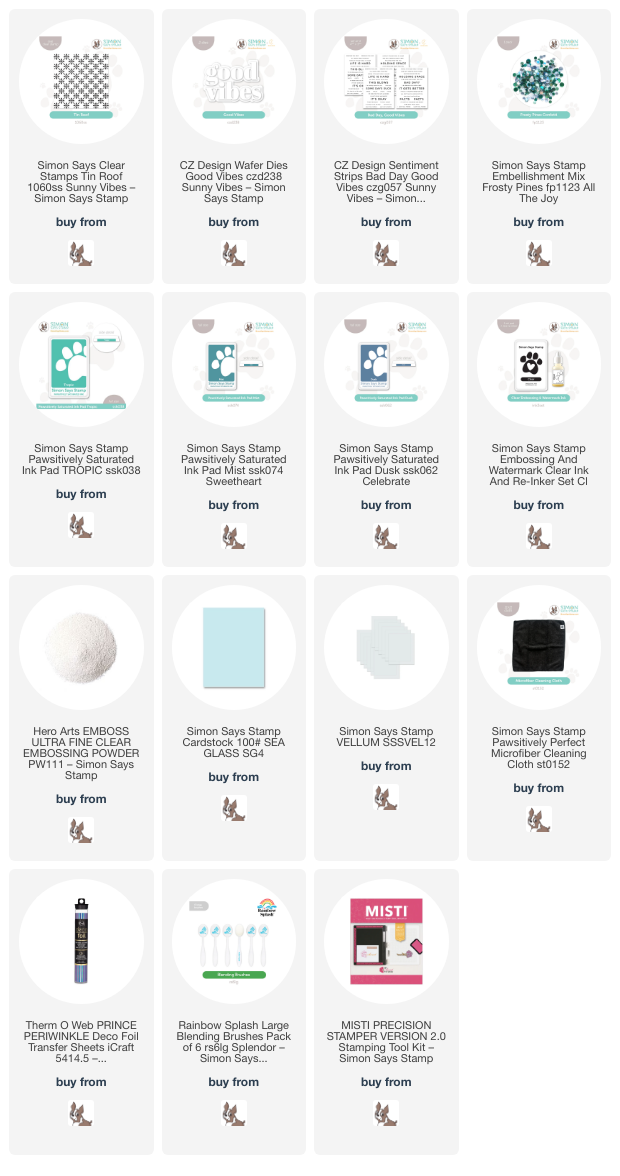
For this project, I used the Tin Roof background stamp. Using my MISTI, I inked up the stamp three separate times, first inking with Tropic Pawsitively Saturated ink and dabbing the edge of the ink with the new Microfiber Cloth to soften the edges. Using the Microfiber Cloth to dab the edges helps the different ink colors fade smoothly into one another. I inked up the center part of the stamp with Mist, dabbed the top and bottom with the cloth, then finished the bottom off with Dusk. I did ink and stamp each section more than once in order to make sure that I had good coverage on the entire image. After I had finished the colorful stamping, I stamped the entire image with clear embossing ink and covered it with clear embossing powder, which makes the stamped image even more crisp and vibrant!

After I had finished the ombré stamping and heat embossing, I used blending brushes to blend the same ink colors (Tropic, Mist, and Dusk) in a lighter concentration over the stamped background. You might wonder why I heat embossed the image rather than just ombré stamping and blending over the top; I think that additional step of adding the clear embossing powder makes that image look so much more crisp and the colors a bit more vibrant, and then when the clear embossing powder resists the ink blending, it helps it to pop even more! Blending directly over the stamping dulls it a bit and makes the pattern a bit less crisp, in my opinion. After I had finished blending, I trimmed the panel down slightly and created a flat shaker pocket using some leftover stamp packaging. I filled the shaker pocket with Frosty Pines sequins mix, which coordinated nicely with the blues and greens in the stamping and blending.

After mounting the shaker packet on a full sized panel of coordinating teal A2 cardstock, I turned to the sentiment. I die cut the detail layer of the Good Vibes die from Sea Glass cardstock and mounted the pieces on a vellum shadow die cut. I also used some pretty iridescent blue foil to add beautiful coordinating shine to the sentiments from the Bad Day, Good Vibes sentiment cards. Before I mounted these sentiment components, however, I added a pretty white silk bow, orienting it to the left side. I added the sentiment pieces over the top with some foam adhesive to finish the card!
Well, that’s all for my project today. I hope you’ll let me know if you like the video format; I took a poll on Instagram to see if people would be interested in videos with no voice over, just occasional subtitles and music, and the response was overwhelmingly yes. If people like this video, I will plan to make more!! Thanks so much for stopping by today, and have a marvelous day!