• Skip to main content
  • Skip to primary sidebar
  • Skip to secondary sidebar

Sixth Street Sundries

Emily Midgett

  • Home
  • About Me
  • Contact
  • OLO Marker Color Swatch Chart
  • Shop

wedding card

Blurple Blooms for the Happy Couple with Simon Says Stamp!

June 23, 2026

This post was sponsored by Simon Says Stamp. Thanks, Simon! *I have gathered links to all of the products used at the bottom of the post for your convenience, using affiliate links at no extra cost to you. Thank you for shopping with my links! I truly appreciate your support for my work!*

Hi friends! I have another wedding card to share with you today using some pretty new dies from the Simon Says Stamp Always There release. (click HERE to see the entire collection) I never tire of standalone dies, because they offer so many ways to customize your project through coloring techniques, cardstock, and color palettes. I chose to create this A7 wedding card with a trio of framed blooms and a simple, pre-printed sentiment. Let’s get started with the details on my project!

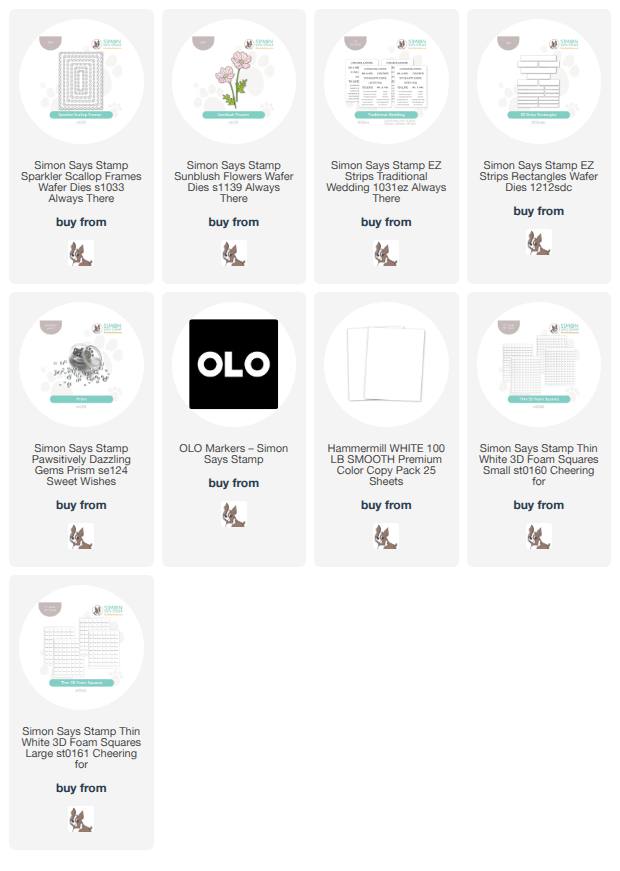
I began by die cutting several sets of the Sunblush Flowers from plain white cardstock. I love using alcohol markers with my standalone dies, giving me the freedom to create a completely custom color palette that goes beyond the colored cardstock in my stash! I used my OLO Markers to create these lovely blurple blooms; they remind me of the delicate blue flowers in my wedding bouquet!

After I had finished coloring all of the blooms and foliage, I decided to frame them with a trio lovely decorative frames cut with the Sparkler Scallop Frame set. These nested scalloped rectangle dies come in a variety of sizes, and I selected one of the medium sizes to perfectly fit within an A7 card front. I think that A7 is a great size for wedding cards; what occasion demands a celebratory card more than a wedding? I popped up the frames on my A7 card front using thin foam adhesive, spacing them evenly across the horizontal card front, then arranged my quartet of blooms on the frames with more thin foam adhesive.

For the greeting, I combined the new EZ Strips Traditional Wedding pre-printed sentiment cards with the older EZ Strips Rectangles, die cutting tons of sentiments with one pass through my die cutting machine! I selected a simple “to the happy couple” and popped it up with more foam adhesive in the center of the card front. I added several sparkling Prism Pawsitively Dazzling Gems to make it feel even more special and celebratory!

Well, that’s all for my project today! Standalone dies can create such elegant cards, and you can add your own special touches with your coloring mediums or color choices. Such a fun way to create! Thanks so much for stopping by today, and have a marvelous day!
Filed Under: simon says stamp Tagged With: die cutting, EZ strips, EZ strips rectangles, no line coloring, olo markers, sparkler scallop frame, sunblush flowers, traditional wedding, wedding card

Love is in the Air with New Simon Says Stamp!

June 11, 2026

This post was sponsored by Simon Says Stamp. Thanks, Simon! *I have gathered links to all of the products used at the bottom of the post for your convenience, using affiliate links at no extra cost to you. Thank you for shopping with my links! I truly appreciate your support for my work!*

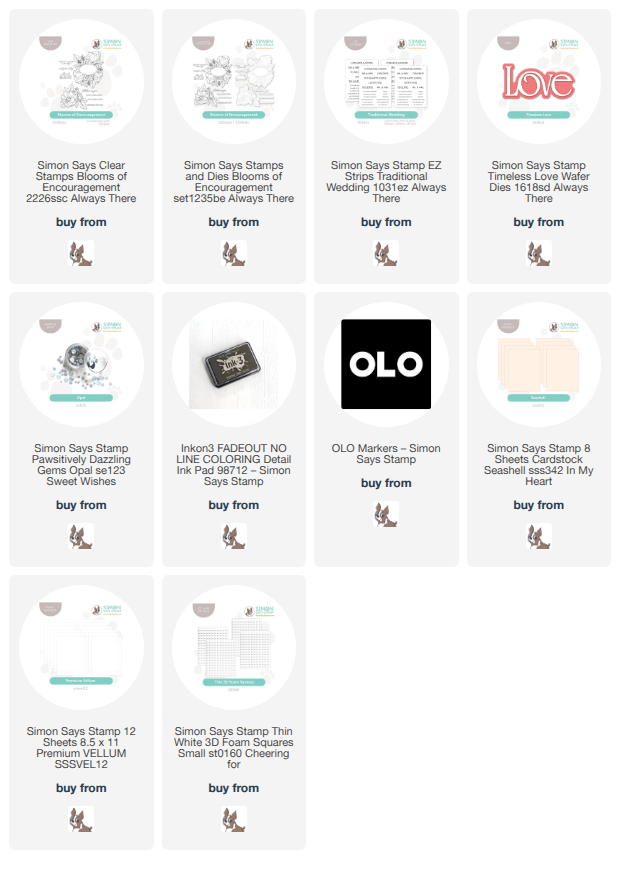
Hi friends! I am back today with a card to kick off wedding season! While my husband and I are pretty much out of the “wedding season” phase, it’s always a good idea to have a card on hand for a wedding or bridal shower. I used my new Blooms of Encouragement set with OLO Markers to do some intricate no-line coloring on this wedding card, creating a continuous pattern on my card front that I think looks like gorgeous wrapping paper or fabric. Let’s get started with the details!

To begin, I stamped the smaller dahlia nosegay stamp from Blooms of Encouragement on my white A2 card front using no-line coloring ink. I created the pattern by stamping the image in it’s entirety once on the card front, then rotating the panel and the stamp so that it hung over the edge of the panel, making sure that none of the images were repetitive or at the same angle each time, so that it looks as unique and continuous as possible. Once I had finished stamping all of the background, leaving a space for a greeting, I used OLO Markers to color the images with a rich green, muted lavender, and soft pink color palette.

Once the coloring was complete, I turned my attention to the sentiment. I die cut the detail layer of the new Timeless Love die set using Simon Says Stamp’s Seashell cardstock, backing it with a vellum shadow layer. I enhanced this large die cut greeting focal point with some smaller sentiment strips from the EZ Strips Traditional Wedding sentiment card set. I popped all of the greeting pieces up using thin foam adhesive squares for a bit of extra height and dimension.

Once I had completed the main elements of the card, it was time to add some extra texture and sparkle. I tied a dainty white silk bow and tucked it beneath the sentiment strips with liquid adhesive, then added a few shimmering Opal Pawsitively Dazzling Gems for added shine and texture. I love the effect that these few additions have on the overall aesthetic of the card!

Well, that’s all for my project today! I am so excited about the new Blooms of Encouragement set…. it fulfills so many of my coloring dreams and it’s great for a variety of occasions. Thanks so much for stopping by today, and have a marvelous day!

Filed Under: simon says stamp, Uncategorized Tagged With: blooms of encouragement, bridal shower, die cutting, ez strips traditional wedding, no line coloring, olo markers, original illustration, timeless love, wedding card

Blushy Wedding Card Duo with Orange Blossom Blessing from Simon Says Stamp!

April 30, 2026

This post was sponsored by Simon Says Stamp. Thanks, Simon! *I have gathered links to all of the products used at the bottom of the post for your convenience, using affiliate links at no extra cost to you. Thank you for shopping with my links! I truly appreciate your support for my work!*

Hi friends! My love affair/obsession continues with the blushy peach Apricot cardstock from Simon Says Stamp… I am so inspired by such a beautiful shade, the epitome of springtime in my eyes! I couldn’t resist pairing it with an older set that I illustrated for Simon Says Stamp, called Orange Blossom Blessing. I illustrated this set to have two generously sized floral bouquets with orange blossoms and foliage, but I also wanted to make sure that there were plenty of individual options for bouquet building and accents. I created two different cards using just the individual stamps and some die cut accents. Let’s get started with the details on my projects!

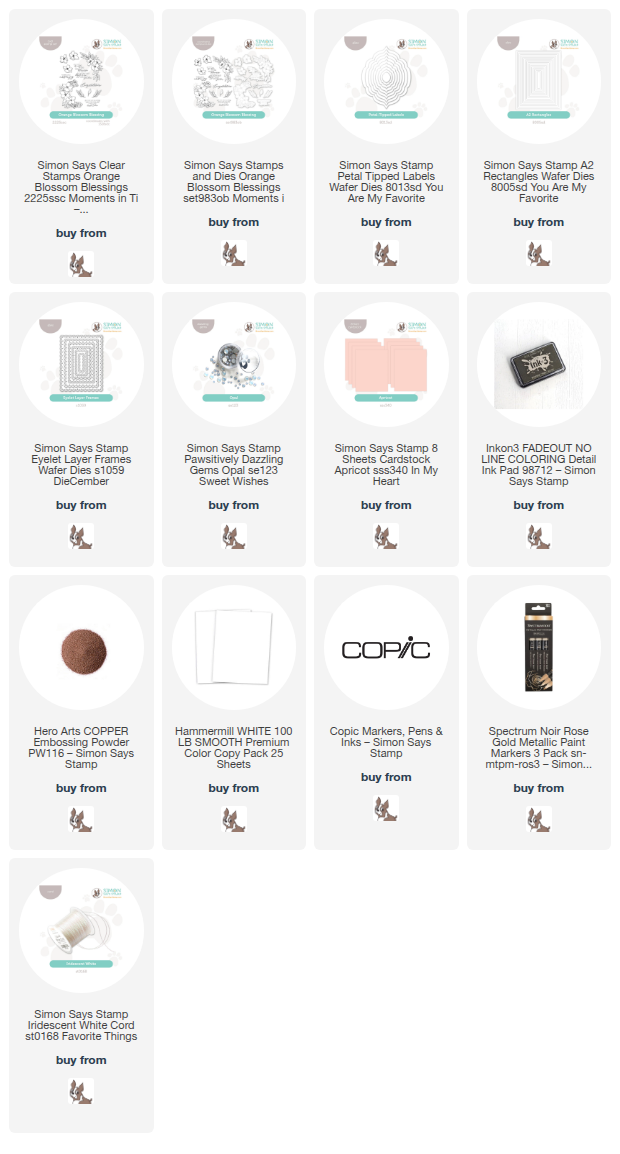
As I said earlier, the Apricot cardstock from the  In My Heart release, (click HERE to see the entire new release!) has quickly become a favorite of mine, so I used that shade as the basis for both of my projects, selecting some beautiful blushy coordinating alcohol markers. Using the individual flower and foliage stamps from Orange Blossom Blessing, I stamped a custom background pattern on an A2 panel of white cardstock using no-line coloring ink, as well as several individual images on a separate panel of white cardstock.

For the first project, I created a custom background pattern by stamping flowers all over the panel of white A2 cardstock, rotating the stamps and the cardstock each time to create a fluid and continuous pattern. I filled in the open spots with the individual foliage stamps, trying to keep things from looking repetitive. After I had colored all of the images with the alcohol markers, I used a rose gold opaque metallic paint pen to add the stamens to the centers of each flower. I love how that touch of metallic marker adds a subtle shimmer to the panel!

Because I had spent a bit of time coloring the card front, I didn’t want to cover it any more than necessary, so I stamped a simple “congratulations” from Orange Blossom Blessing onto some white cardstock and heat embossed it with Copper embossing powder to coordinate with the metallic flower centers. I die cut the sentiment with its coordinating die, and also die cut a vellum Petal Tipped Labels die upon which I could mount the sentiment. I popped it up with some thin foam adhesive squares, then added some more thin foam adhesive behind the solid die cut to hide it and mounted it on the corner of the horizontal card front. I also added a thin white frame cut using the A2 Rectangles, which I adhered around the edge of the card front with liquid adhesive. A thin white silk bow and some Opal Pawsitively Dazzling Gems finished the card off!

For my second card, I used the individual floral images to accent the larger sentiment from the Orange Blossom Blessing set. After coloring the flowers using the same color palette as the first project, I die cut the individual images with their coordinating dies, as well as the embossed wedding blessing sentiment, which I heat embossed in white on vellum cardstock. I think that it looks so dainty, but still so generously sized that it can be a focal point on the card!

I also die cut one of the Eyelet Layer Frames, cutting out the center with one of the A2 Rectangle dies, creating a neat frame with beautiful details! I popped up the frame using foam adhesive on a panel of my beloved Apricot cardstock, centering the frame on the A2 card front. I added some clear dimensional adhesive behind the vellum greeting and placed it in the center of the frame, then tucked the individual flower and foliage die cuts around the sentiment, creating a delicate floral swag around the greeting. Finally, I added a few Opal Pawsitively Dazzling Gems and an Iridescent White Cord bow for a bit of added texture!

Well, that’s all for my projects today! I just love when a color sparks an entire card set like this gorgeous Apricot cardstock. Are any of you planning to attend the CREATE event in Columbus, Ohio? If so, I will be teaching at a Create It, Take It booth, so I’d love it if you stopped by and said hi!! Thanks so much for stopping by today, and have a marvelous day!

Filed Under: simon says stamp Tagged With: anniversary card, die cutting, eyelet layer frames, no line coloring, orange blossom blessing, petal tipped labels, wedding card

Lovebirds, Embossing, and Glittering Watercolors with Simon Says Stamp!

April 23, 2026

This post was sponsored by Simon Says Stamp. Thanks, Simon! *I have gathered links to all of the products used at the bottom of the post for your convenience, using affiliate links at no extra cost to you. Thank you for shopping with my links! I truly appreciate your support for my work!*

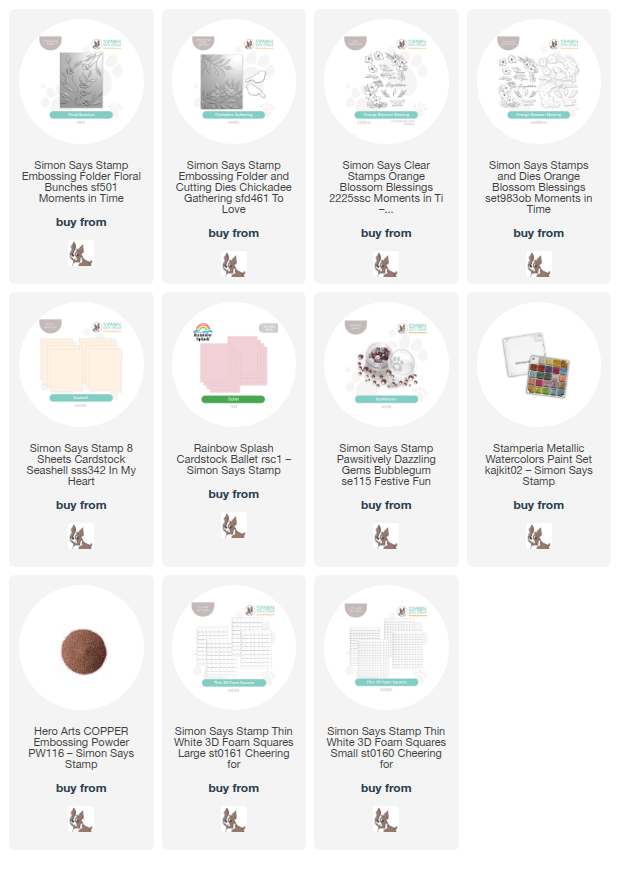
Hi friends! I an homage to blush and glitter for you today featuring some absolutely gorgeous cardstock, two different embossing folders, and sparkling glitter watercolors. Whenever I want to create something really unique and out of my typical hyper-realist color palettes, I switch up the foliage with an outside-the-box color. I love adding colored details to embossing folder images, even moreso when it’s coordinating embossed die cuts, and so I paired the beautiful birdies from Chickadee Gathering with the delicate blooming branches from the Floral Bunches embossing folder to create this pretty wedding or bridal shower card. Let’s get started with the details!

To begin, I ran an A2 panel of Apricot Simon Says Stamp cardstock through my die cutting machine with the Floral Bunches embossing folder. This embossed beautifully on the cardstock, creating a delicately detailed textured background, but I took it one step further by adding some details to the embossed images. I used a cherry blossom pink alcohol marker for the blooms themselves, then used bronze metallic watercolors to add color to the leaves and stems, creating this pretty (and relatively simple!) background. The raised texture does so much of the shading work for you that simple coloring/watercoloring is all that is needed!

After I had created the background, I used some more Apricot cardstock to die cut the birds from Chickadee Gathering, then placed them in their appopriate spot within the embossing folder and ran it through my die cutting machine to create the shape and texture of these birds. Die cutting first and then adding the embossing makes sure that the deeply-embossed textured details remain as crisp as possible! I added some alcohol marker details to the birds, adding warm cocoa brown and some of the same blush from the blooms to keep the color palette cohesive. I also added lots of sparkling bronze metallic watercolor details to the individual feathers and the birds’ eyes!

For the card front itself, I trimmed 1/4″ from each of the long sides of the embossed background panel using my trimmer. I placed the trimmed, embossed panel in the center of a full sized A2 panel of Ballet Rainbow Splash cardstock, the pale pink of which coordinates beautifully with the blush blooms on the embossed section. I also used the same Ballet cardstock to create my greeting, heat embossing two of the sentiment stamps from my older Orange Blossom Blessing stamp set using Copper embossing powder. When I am creating a new stamp set, I strive to add sentiments that are unique and timeless, and as we are coming up on wedding season, I see myself reaching for this set more and more with it’s elegant greetings! I die cut the finished embossed sentiments with their coordinating dies, then arranged the sentiments and the birds on the card front, adhering the die cuts with thin foam adhesive squares. I love how the lovebirds flank the sentiments, drawing your eye to the greeting immediately! For a final special touch, I added some Bubblegum Pawsitively Dazzling Gems for one last sparkling accent.

Well, that’s all for my project today! Have you ever mixed embossing folders? Sometimes the scale of the images work so perfectly together that it’s impossible to resist!! Thanks so much for stopping by today, and have a marvelous day!
Filed Under: simon says stamp, Uncategorized Tagged With: 3D embossing folder, bridal shower, chickadee gathering, embossing folder, floral bunches, wedding card

Wedding Day Bows with Simon Says Stamp!

September 9, 2025

This post was sponsored by Simon Says Stamp. Thanks, Simon!

Hi friends! I have some super feminine inspiration to share with you today using a couple of new goodies from the Simon Says Stamp STAMPtember mega-release that kicked off our month-long STAMPtember celebration! (Check it out HERE!) We’re celebrating all things stamping, so throughout the month of September, Simon Says Stamp will have exclusive collaborations with some of our favorite stamping companies, releasing a limited edition stamp set designed in collaboration with a different company nearly every day! (Click HERE to see the Collaboration Sets page, and be sure to bookmark it so that you don’t miss out on any of the amazing limited edition sets!!) My project for today, however, focuses on the gorgeous new Pretty Bows 2 die set. We’re celebrating all things stamping during STAMPtember, but we can’t forget about the fabulous dies that open up whole new worlds of creativity. Let’s get started on the details for my wedding card!

*I have gathered links to all of the products used at the bottom of the post for your convenience, using affiliate links. Thank you for shopping with my links! I truly appreciate your support for my work!*

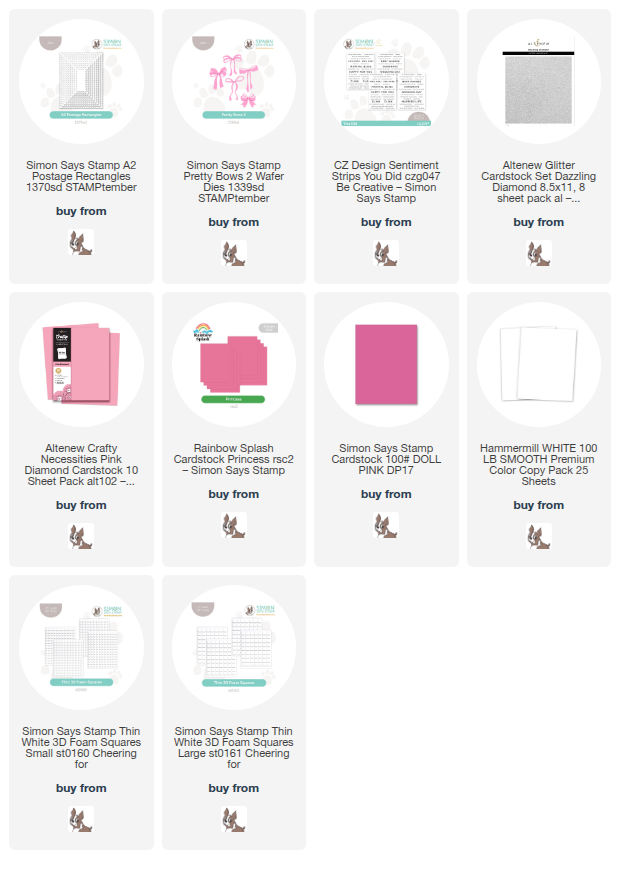
Bows are all the rage right now… in hair, on clothes, in artwork… so I thought I’d pair them with one of my favorite design tricks: when in doubt, use the same image repeatedly to create a focal point! I die cut three of the new Pretty Bows 2 twice each using light, medium, and dark shades of pink cardstock. I decided to use two of each bow, layering them together, to create a full, fluffy bow, but you could easily do this with a single die cut image. I think they look so pretty next to each other!!

I wanted to give the visual of a postage stamp collage with the bows, so I die cut three A2 Postage Rectangles from plain white cardstock and adhered them to a panel of white cardstock using foam adhesive. I arranged the bow die cuts on each postage stamp with some foam adhesive for extra dimension.

After I had created the central focal point, it was time to add a sentiment and some sparkling accents. I trimmed down a wedding sentiment from the You Did Sentiment Strips and popped it beneath the bows, then trimmed down some very thin strips of Dazzling Diamond glitter cardstock, centering these strips on some slightly wider strips of plain white cardstock. I popped these strips up with foam adhesive, placing them above and below the row of bow postage stamps. I think the crisp, straight lines work beautifully with the bold, graphic aesthetic of the row of postage stamps!

Well, that’s all for my project today. If you’re ever stuck on how to use a particular image, try repeating it on your card front. It’s one of my favorite techniques! Thanks so much for stopping by today, and have a marvelous day!

Filed Under: simon says stamp, Uncategorized Tagged With: a2 postage stamp rectangles, pretty bows 2, wedding card

  • Page 1
  • Page 2
  • Page 3
  • Interim pages omitted …
  • Page 5
  • Go to Next Page »

Primary Sidebar

  • Facebook
  • Instagram
  • Pinterest
  • YouTube

Favorite Shops

Secondary Sidebar

Subscribe

Enter your email address to subscribe to this blog and receive notifications of new posts by email.

Instagram
Something is wrong.
Instagram token error.
Follow
Load More

Archives

Tags

3D embossing folder alcohol markers better press birthday birthday card blog hop card kit christmas christmas card christmas tag colored pencil copic copic coloring Daniel Smith die cutting embossing folder embroidery felt giveaway holiday holiday card hot foil ink blending karin brushmarker pro layered stencil masculine my monthly hero new release no line coloring no line watercolor OLO marker olo markers original illustration pawsitively saturated rainbow shaker card slimline stamping stamptember stencil thank you thinking of you valentine's day video watercolor

Popular Posts

Simon Says Stamp Sending Cheer Blog Hop- Day 2 + Freebie + Giveaway!
Altenew October 2026 Release Blog Hop + Giveaway!
Altenew Build A Flower Sweet Violet+Giveaway!
Floral Follies on Canvas with New Simon Says Stamp STAMPtember!
Simon Says Stamp STAMPtember Tim Holtz Collaboration: Festive Holidays!
Altenew Paint A Flower: Carnation Blog Hop+Giveaway!
Autumn Legs with Colorado Craft Company and Catherine Pooler!
Hero Arts Partners Blog Hop: Lawn Fawn!
Rustic Monochromatic Stars for Christmas with Rainbow Splash!
Altenew March 2020 Release Blog Hop+Giveaway!

Disclosure

Some affiliate links are used in my posts. This means that, should you click on one of my links and purchase something from that company, I will receive a small portion of the sale at no extra cost to you. I use the money earned from these sales to help maintain my blog. I so appreciate you visiting and, if you do choose to use one of my affiliate links, thank you so much for your support!
Copyright © 2026 ·Brunch Pro Theme · Genesis Framework by StudioPress · WordPress · Log in
Loading Comments...