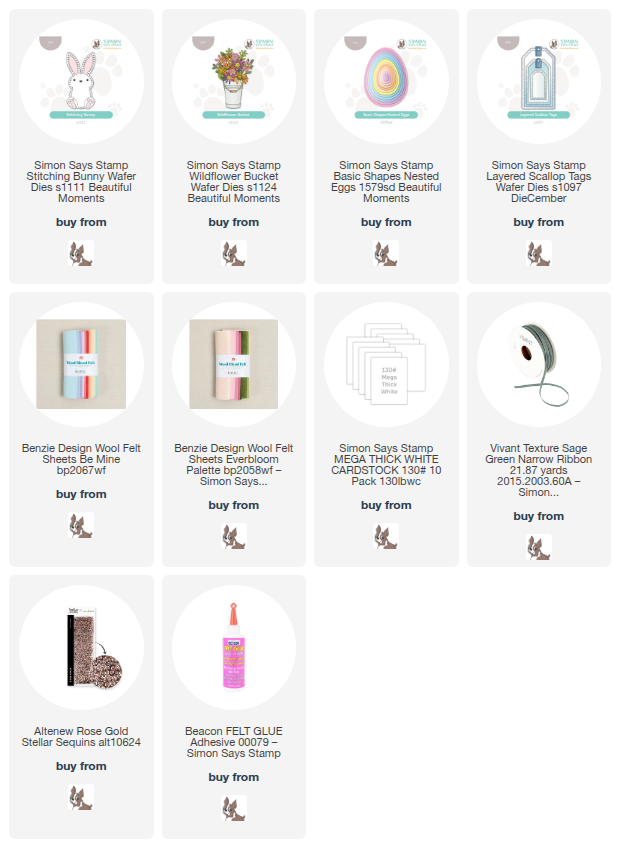
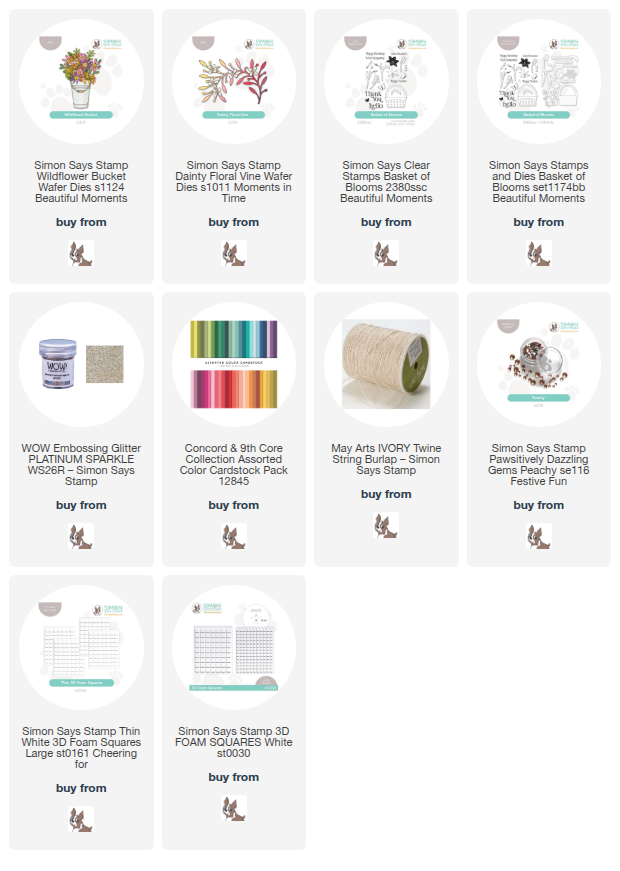
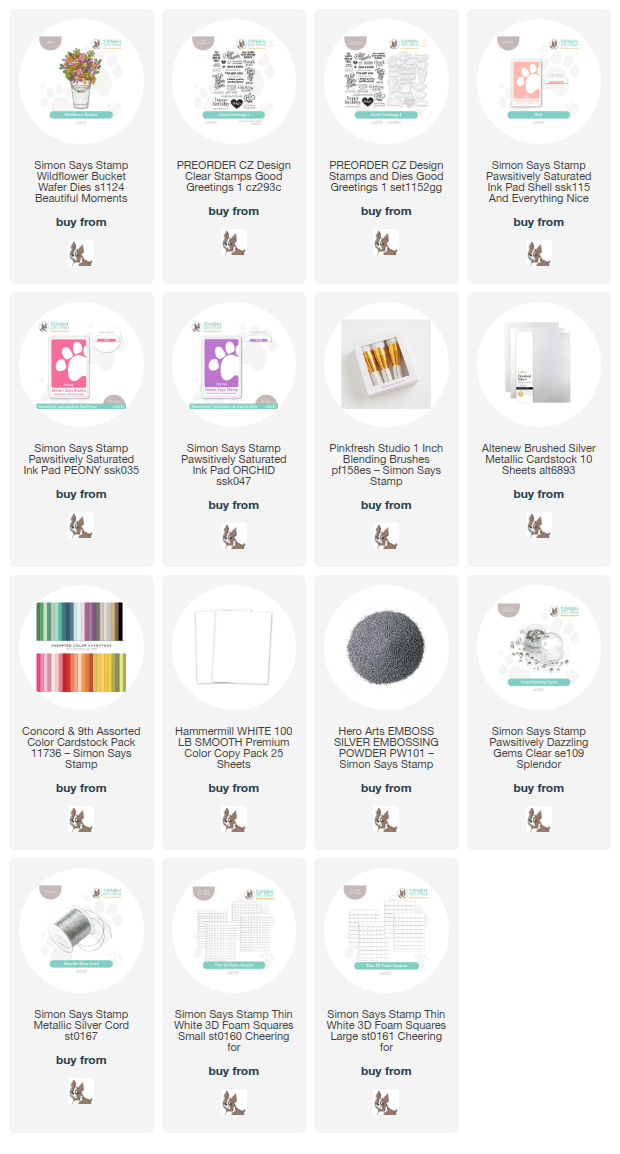
This post was sponsored by Simon Says Stamp. Thanks, Simon! *I have gathered links to all of the products used at the bottom of the post for your convenience, using affiliate links at no extra cost to you. Thank you for shopping with my links! I truly appreciate your support for my work!*
Hi friends! I am back today with a sweet little gift tag that I created using some springtime felt colors and the new Stitching Bunny die set from the Simon Says Stamp Beautiful Moments release! (Check out the full Beautiful Moments release HERE!) I love using my felt to create handmade gifts, and this little tag could be an ornament, a door hanger, or just a little snippet of springtime decoration after being used to adorn a gift bag or basket. Using felt rather than just cardstock makes it feel more permanent, at least to me. Let’s get started on the details!

To begin, I die cut the components of the new Stitching Bunny from cream and blush felt. I also die cut a rosy felt egg using the new Basic Shapes Nested Eggs. Before placing my bunny on the egg, I used felt glue and embroidery floss to add the extras: sequined eyes, floss whiskers, and the pink toe beans and ears. Once I had finished adding all of the extras, I stitched the bunny to the egg in the center, leaving the head unattached so that I could add a small amount of fluff to help the bunny pop up nicely!

Because I had placed my bunny in the center of my generously-sized felt egg, I had some room on either side to add some embellishment. I die cut a flower and some foliage from Wildflower Bucket twice each, using the same pale pink for the flower that I’d used for the ears to provide continuity for each element. I adhered these felt die cuts to the egg using felt glue. I added a bit of shimmering embellishment with some stitched sequins and beads, as well.

Once I had finished adhering all of the felt die cuts to the front of the egg, I die cut a backer using the same size of egg die from Simon Says Stamp Mega Thick cardstock. This 120 lb weight cardstock is perfect for adding extra stability to your tags! I adhered it to the back of the felt egg with more felt glue, then created a tag hanger with one of the dies from the Layered Scallop Tags set, which I cut from metallic felt twice. I sandwiched the felt/cardstock egg between the two tag hangers, adding plenty of felt adhesive to make sure that it stayed put, and placed it under a heavy glass paperweight to dry. Once dry, I added a coordinating sage green ribbon hanger and bow and added the to and from information on the back before hanging it on my gift bag!!
Well, that’s all for my project today! How adorable would these be on Easter baskets?? A decoration and keepsake all in one little felt package! Thanks so much for stopping by today, and have a marvelous day!