• Skip to main content
  • Skip to primary sidebar
  • Skip to secondary sidebar

Sixth Street Sundries

Emily Midgett

  • Home
  • About Me
  • Contact
  • OLO Marker Color Swatch Chart
  • Shop

winter card

Simon Says Stamp January Card Kit: The Small Things- Now Available for Preorder!

December 14, 2025

This post was sponsored by Simon Says Stamp. Thanks, Simon!

Hi friends! The new Simon Says Stamp January 2026 (say what?!) Card Kit of the Month was just released and is now available for preorder! The The Small Things Kit such a lovely, peaceful kit filled with so many carefully curated products that work beautifully together or individually or with other products! Here’s a sneak peek at the contents of the kit:

The Small Things Kit features an absolutely beautiful stamp set that could be used for holiday cards and well beyond, layering stencils and coordinating dies, a spectacular embossing folder, patterned papers, embellishments, cardstock… so much value in one package and at a great price! The individual contents of the kit are valued at well over the $44.99 price tag (or $39.99 for subscribers, making an even better value! Click HERE to subscribe!)

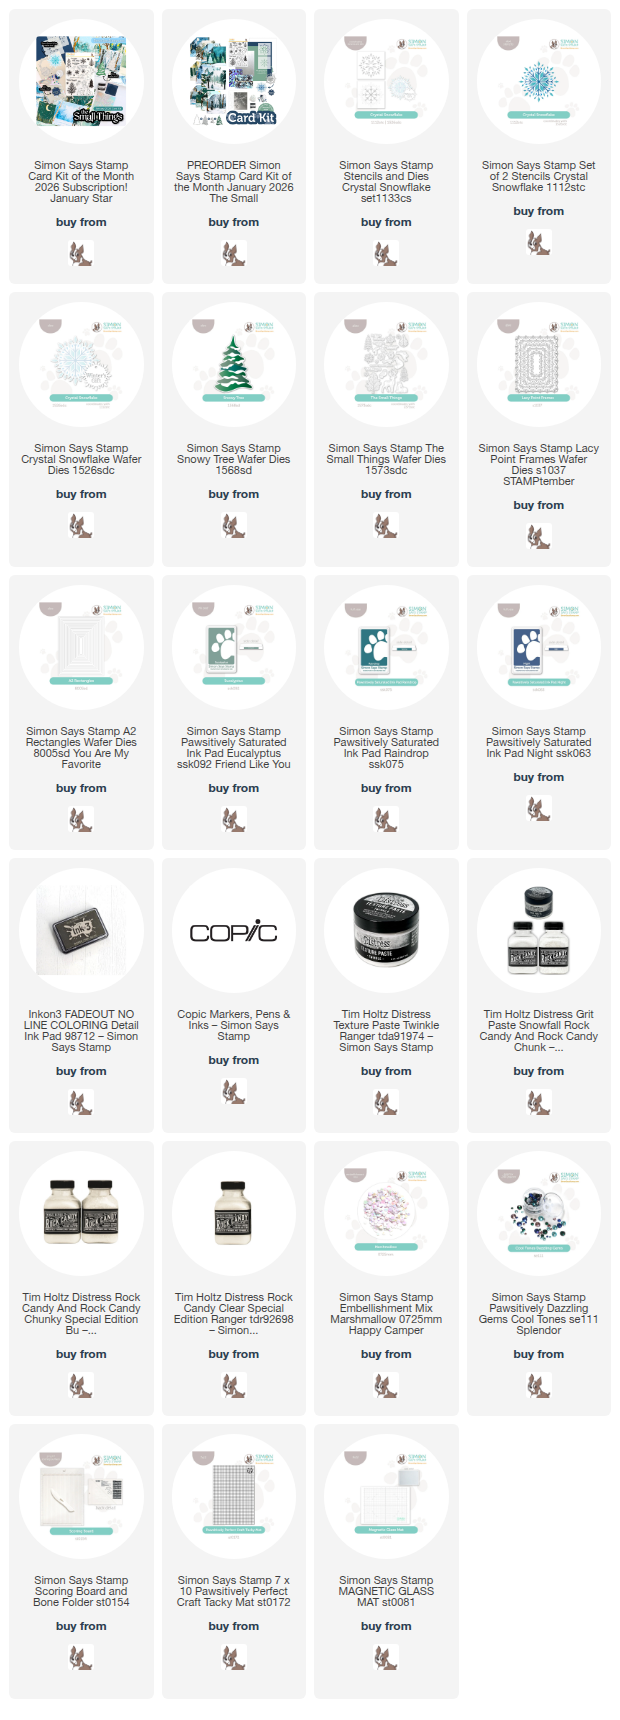
I created two cards to share with you today, featuring a serene navy, teal, and turquoise color palette that I pulled from some of the absolutely stunning patterned papers included with the kit, perfect for creating those winter-but-not-holiday cards. Let’s get started with the details!

*I have gathered links to all of the products used at the bottom of the post for your convenience, using affiliate links at no extra cost to you. Thank you for shopping with my links! I truly appreciate your support for my work!*

When creating a card set like this, I like to first decide on my color palette. I loved the gorgeous teal, navy, and green color palette with which the patterned paper was designed, so I selected a snowy night scene and then selected cardstock and ink colors to match.

My shaker card began with that gorgeous panel of patterned paper, which I made into a flat shaker background with some gorgeous sequins and leftover acetate packaging. I used the A2 Rectangles dies with the Lacy Point Frames to create an intricate frame which I popped up on my shaker front with thin foam adhesive squares. To embellish this peaceful scene, I stamped the beautiful deer images from The Small Things using no-line coloring ink, then used Copic markers to do some coloring, adding black Micron pen and white gel pen to the details on the eyes and hoofs. I cut them out (you could use the coordinating dies which are available for purchase separately!) and then created a snowy tree using the new Snowy Tree die. I arranged all of the die cuts in the corner of my shaker frame, then added a leftover holiday sentiment strip. Such a pretty, serene card. I can feel the crisp and cold night air when I look at this card!

My second card features a fun fold, allowing that gorgeous Crystal Snowflake Stencil set and coordinating die to be the star of the show! I blended the snowflake image using Eucalyptus, Raindrop, and Night, adding a layer of the Twinkle Texture Paste included in the kit over the second stencil and sprinkling Rock Candy Glitter over the top for gorgeous, ice-encrusted sparkle! I die cut the completed and dried snowflake with its coordinating die and added some shimmering Pawsitively Dazzling Gems to the snowflake for even more sparkle!

For the card base itself, I trimmed a 5.5″ x 8.5″ panel of white cardstock, then used my Simon Says Stamp Score Board to score lines at 2 1/8″ from the edge of each side, creating my A2 card base with a fun fold! I used some small pieces of painter’s tape to keep the flaps folded down, then used the “kissing” method to stamp the individual snowflakes from The Small Things with the same shades of ink that I used to blend the snowflake stencil! I simply loaded up the snowflake stamps with ink, stamped once (or twice depending on how vibrant the color was to start) on some scratch paper, then stamped a lovely and soft snowflake pattern all over the card front. I layered a strip of the included silver foil cardstock with the Sage cardstock over the center of the gate-fold card, then adhered the stenciled snowflake to the center. Finally, I added a silver embossed sentiment strip in the center of the snowflake!

Well, that’s all for my projects today. This card kit is available for preorder right now and will begin shipping in early January, so it will be perfect for those winter cards or to get a jumpstart on next year’s Christmas cards! (Can you even believe that Christmas is less than 2 weeks away?!)

The Simon Says Stamp Card Kits are such an incredible value; the value of the individual elements of each kit equals far more than the $44.99 price tag, so you’re getting incredible bang for your buck. If you are consistently interested in the Simon Says Stamp Card Kit of the Month, you can sign up HERE to become a subscriber for an even bigger discount on these carefully curated products. As always, Simon also makes each individual element of the kits available a la carte, so that you can pick and choose what you would like to purchase if buying the entire kit isn’t really your thing. Options galore! Who can say no to such incredible value though, right?

Thanks so much for stopping by today, and have a marvelous day!
Filed Under: simon says stamp Tagged With: card kit, christmas card, crystal snowflake, flat shaker, holiday card, lacy point frames, layering stencil, shaker card, snowy tree, stencil, the small things, winter card

Sweet Snowy Birds and Punny Sentiments!

January 22, 2024

This post was sponsored by Simon Says Stamp. Thanks, Simon!

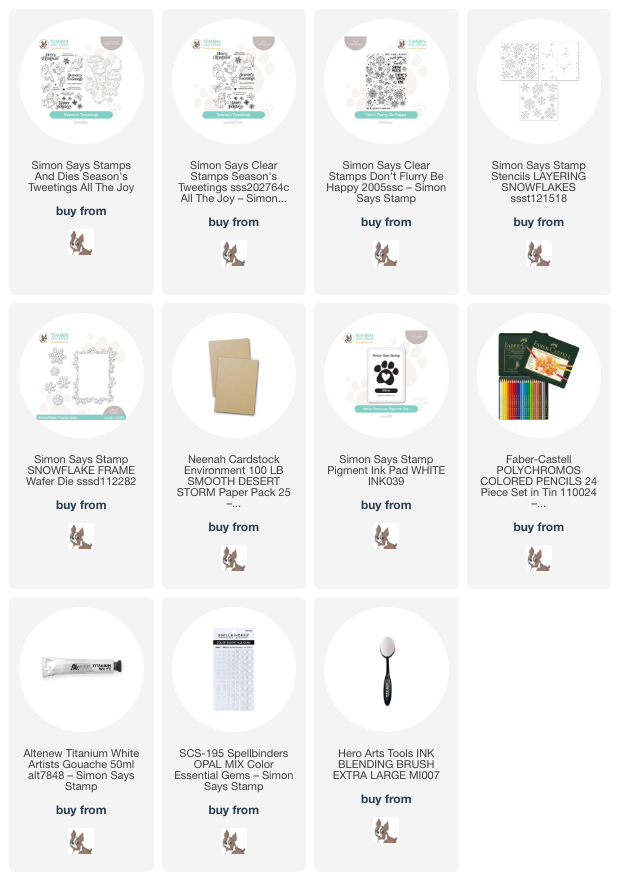
Hi friends! We have another snow day for my kiddos today, so I am snatching a few moments while my kiddos are occupied to share a pair of cards with a completely appropriate theme for the current weather outside! I used to shy away from the more “cutesy” critter illustrations, but after seeing Debby Hughes’s masterful coloring on things I would previously have not considered to work well with my coloring style, I decided that I could still apply my own preferred coloring techniques and mediums no matter the illustrative style! I love these sweet birds from Simon Says Stamp’s Season’s Tweetings; we have a cardinal pair that live in the trees outside of my house, and it never fails to cheer me when I hear their precious little cheeps. I paired the Season’s Tweetings set with my colored pencils and some Kraft cardstock to create these unique winter projects. Let’s get started with the details!

I love the look of colored pencil on colored cardstock, and pencil images pop so magnificently on Kraft cardstock. I find that I forget about Kraft cardstock in favor of the rainbow of vivid colorful cardstock in my stash, but when I use it I am always astonished at how much I like the finished look! I recently found a wintry card that I made a long time ago using colored pencils on Kraft with crisp white snowflakes created with white pigment ink, and thought how darling it would be recreated with these sweet birds from Season’s Tweetings. I also wanted to show that these birds don’t have to just be used for Christmas cards, as well!

For my first card, I stamped the cardinal from Season’s Tweetings onto Kraft cardstock using white pigment ink and used colored pencils to color him in, creating the vibrant ruby red feathers that are such a welcome sight in the bleak winter landscape and adding a vivid turquoise scarf to protect him from the chill. I die cut the finished bird with the coordinating die and began work on my background.

White pigment ink shows up so beautifully on Kraft cardstock, so I created a wintry backdrop for my bright feathered friend using the Layering Snowflakes Stencil and white pigment ink. I have a blending brush dedicated just to white pigment ink, which is great to have in your toolbox for several different techniques. I blended the snowflakes, then used the blending brush to blend more white pigment ink around the edges of the card to create the feel of a frosted windowpane. To top it off, I splattered the background with some white gouache, as well, adding further texture.

After I had created the background, I heat embossed a couple of sentiments from Don’t Flurry Be Happy onto some vellum using white embossing powder. I used sharp scissors to fussy cut the greetings, then used foam squares to adhere the cardinal and clear dimensional adhesive to adhere the greetings on my snowy card front. To accent the die cuts, I cut the individual snowflakes from the Snowflake Frame die set from plain white cardstock and tucked them in around the cardinal and greeting. I love how the white cardstock pops on the Kraft background! Finally, I scattered a few white gems for one more addition of texture.

For my second card, I colored a sweet bluebird from Season’s Tweetings on more Kraft cardstock using colored pencils. I stamped him first using white pigment ink, then used the pencils to add vibrant jewel-bright colors to make him pop from the brown background. I find that white pigment ink is my favorite for use with colored pencils on colored cardstock; it doesn’t quite absorb fully into the cardstock, but becomes part of the pencil layer, allowing a super smooth image with crisp edges. After I’d finished coloring, I used the coordinating die to cut my little birdie out.

For the background, rather than create an all-over pattern, I decided to create a small highlighted area in the center of my Kraft card front, first by blending white pigment ink in the center of the card, then stamping snowflakes from Season’s Tweetings with white pigment ink. I also added a few snowy dots amongst the stamped snowflakes with a white gel pen. I find that adding different gradients of white can be a great way to add extra interest and texture to a snowy background. I popped up the bird and a white embossed sentiment strip, also from Don’t Flurry Be Happy, using foam squares, then tucked a few more white die cut snowflakes around the main focal point. Don’t you just love how that bright blue bird just pops off of the background??

Well, that’s all for my projects today! I hope this will inspire you to take a second look at stamp sets that you didn’t think would vibe with your personal style, because taking stamp sets and fitting them into my own vision and aesthetic is one of the best things about this hobby. Thanks so much for stopping by today, and have a marvelous day!

Filed Under: simon says stamp Tagged With: colored pencil, don't flurry be happy, layering snowflakes, polychromos, season's tweetings, snowflake frame, stencil, winter card

Jump Start the Holidays with Hero Arts!

October 20, 2017

Good morning! Today, the team at A Blog Named Hero are participating in a wonderful blog hop celebrating the crafty comeback of Lea Lawson. If you don’t know Lea’s story, click here. We are so excited to join Hero Arts in celebrating her return to the crafty world! The entire A Blog Named Hero team is here to provide you with some inspiration to help jump start your holiday crafting! You should have arrived here from Donna’s blog and your next stop is Kelly’s blog.

There’s something about a pretty bird surrounded by snowflakes and pine boughs that screams winter to me. To create this wintry project, I started by blending Hero Arts Stonewash, Pool, and Soft Pool ink on an A2 panel. I then stamped snowflakes from an older mini set by Lia Griffith using white pigment ink and blended some more white pigment ink around the edge of the panel to really give it a frosty look. I also added a few dots here and there with my white gel pen.

After I had created the background panel, I began stamping the focal point of the card. I stamped the beautiful cardinal (female cardinals are brown, which is a cousin of gray, just go with it haha!) from Color Layering Cardinal using Shades of Gray cubes and the pine boughs were stamped using both Antiqua and Emerald Green inks. I fussy cut them all, adding in a few loose pine boughs. I adhered the main branch and cardinal with dimensional adhesive, then added in some loose boughs using regular adhesive to add lots of dimension.

To create the greeting, I die cut the peace from the Peace Stamp ‘n Cut using silver foil, then stamped the rest of the greeting onto some thin strips of card stock and mounted them with foam tape. The last step was to add a few sequins from my stash.

We will be giving away a $25 gift certificate, randomly chosen from all of the comments left at every stop along the blog hop. To enter, leave a comment on any of the blogs by Friday, November 10th at 11:59pst, and the winner will be announced on Lea Lawson’s blog on Sunday, November 12th.

Hero Arts
Lea Lawson
Ilina Crouse
Jana Millen
Jessica Frost-Ballas
Lisa Stein
Coralynn Murray
Donna Idlet
Emily Midgett
Kelly Szafron
Kimberly Rendino
Melissa Chipperfield
Michelle Lupton
Swapna Patil
Tracy Freeman
Libby Hickson
Have fun, and good luck! 🙂

Filed Under: A Blog Named Hero, Hero Arts Tagged With: christmas card, holiday card, ink blending, multi step stamping, winter card

Primary Sidebar

  • Facebook
  • Instagram
  • Pinterest
  • YouTube

Favorite Shops

Secondary Sidebar

Subscribe

Enter your email address to subscribe to this blog and receive notifications of new posts by email.

Instagram
Something is wrong.
Instagram token error.
Follow
Load More

Archives

Tags

3D embossing folder alcohol markers better press birthday birthday card blog hop card kit christmas christmas card christmas tag colored pencil copic copic coloring Daniel Smith die cutting embossing folder embroidery felt giveaway holiday holiday card hot foil ink blending karin brushmarker pro layered stencil masculine my monthly hero new release no line coloring no line watercolor OLO marker olo markers original illustration pawsitively saturated rainbow shaker card slimline stamping stamptember stencil thank you thinking of you valentine's day video watercolor

Popular Posts

Simon Says Stamp Sending Cheer Blog Hop- Day 2 + Freebie + Giveaway!
Altenew October 2026 Release Blog Hop + Giveaway!
Rustic Monochromatic Stars for Christmas with Rainbow Splash!
December 2018 My Monthly Hero Blog Hop + Giveaway!
March 2020 Essentials By Ellen Blog Hop+Giveaway!
The Ton Stamps Summer Release: Day 1
Hero Arts Partners Blog Hop: Lawn Fawn!
Waffleflower July Release Blog Hop!
Simon Says Stamp STAMPtember Tim Holtz Collaboration: Festive Holidays!
Honey Bee Stamps Autumn Blessings Blog Hop-Day 2!

Disclosure

Some affiliate links are used in my posts. This means that, should you click on one of my links and purchase something from that company, I will receive a small portion of the sale at no extra cost to you. I use the money earned from these sales to help maintain my blog. I so appreciate you visiting and, if you do choose to use one of my affiliate links, thank you so much for your support!
Copyright © 2026 ·Brunch Pro Theme · Genesis Framework by StudioPress · WordPress · Log in
Loading Comments...