This post was sponsored by Simon Says Stamp. Thanks, Simon!
Hi friends! I have some super colorful and fun projects to share with you today using the brand new, extra-large Happy Rainbow stencil set from the Sunny Vibes release and a ton of gorgeous Pawsitively Saturated Inks from Simon Says Stamp! This rainbow stencil is a whopping 6″ x 9″, of which I took full advantage to create both a card and matching bookmark. Let’s get started with the details on my projects!

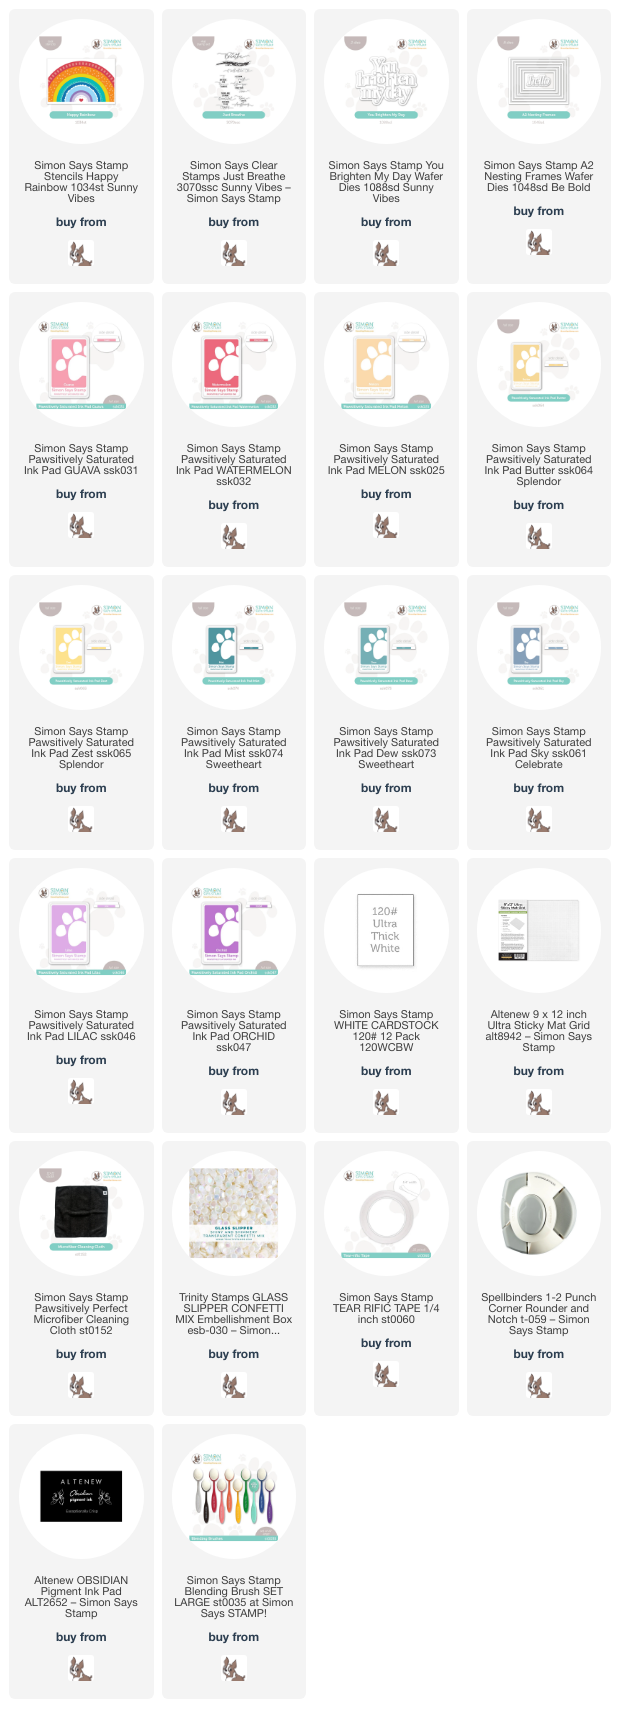
To create both of my projects, I started with a 5.5″ x 8.5″ panel of white cardstock, which is half of a full sheet of white cardstock. I used the Altenew 9×12 Ultra Sticky Mat, adhering first my panel of white cardstock, then placing each of the four stencils from the Happy Rainbow stencil set over the top. Because they are 4″ x 9″, the stencils each are slightly wider than the width of the cardstock panel, so they adhere to the sticky mat very nicely and remain in place while blending. I used blending brushes to blend Pawsitively Saturated Inks in shades of Guava, Watermelon, Melon, Butter, Zest, Mist, Dew, Sky, Lilac, and Orchid for the sweet rainbow image. Each of the first three stencils has only the solid stripes, spaced plenty far apart so that you can easily blend without worrying about colors transferring. I did wipe down my stencils between each color with the new, super economical Microfiber Cleaning Cloth because I got a bit wild with my blending. The back of the stencil packaging comes with a very handy color printed image of the finished product so that you know what colors to blend where!

After I had finished blending this large image, I used my trimmer to cut the entire piece in half, saving one half for this shaker card and using the other half for my bookmark! I wanted to create something fun and cheerful, and what’s more fun than a shaker card? I used some leftover stamp packaging to create my shaker front, filling it with some pretty iridescent sequins from Trinity Stamps.

For the greeting, I wanted something simple and cheerful, and the whimsical font and sweet message from the new You Brighten My Day die from the Sunny Vibes release was absolutely perfect! I die cut it once from regular cardstock and once from some glittery white cardstock, adhering the two pieces together with liquid adhesive. I also die cut an iridescent white foil frame using the A2 Nesting Frames die, which I used to draw the eye towards the greeting. I adhered both die cut pieces to the front of the shaker, creating a simple and fairly easily mailed card sure to cheer up even the grumpiest curmudgeon!

Because I had an entire A2 rainbow panel left over, I decided to create a sturdy bookmark using some Simon Says Stamp Ultra Thick White Cardstock and the Just Breathe stamp set. I cut the A2 panel in half, as well as a piece of the Ultra Thick White Cardstock in the exact same size, then adhered the two pieces together using Tear-rific Tape and used my corner rounder tool to round the edges. I stamped a greeting from Just Breathe onto the bottom of the bookmark using Obsidian Black pigment ink and added clear embossing powder to make the encouraging sentiment pop on the colorful background. I punched a hole in top of the bookmark and added a sparkling silver twine loop.
Well, that’s all for my projects today! This Happy Rainbow stencil set is super fun and would be really great for so many different occasions, or even as decor for maybe a little girl’s nursery or bedroom! Thanks so much for stopping by today, and have a marvelous day!