Hi friends! Today, Pinkfresh Studio is releasing their new Happiness collection, filled with absolutely gorgeous new Better Press Plates, stamps, dies, and stencils. We are hopping along to celebrate the new release and inspire you with all of the marvelous new goodies! You can see the full hop list down at the bottom of the post, along with the giveaway and freebie information.

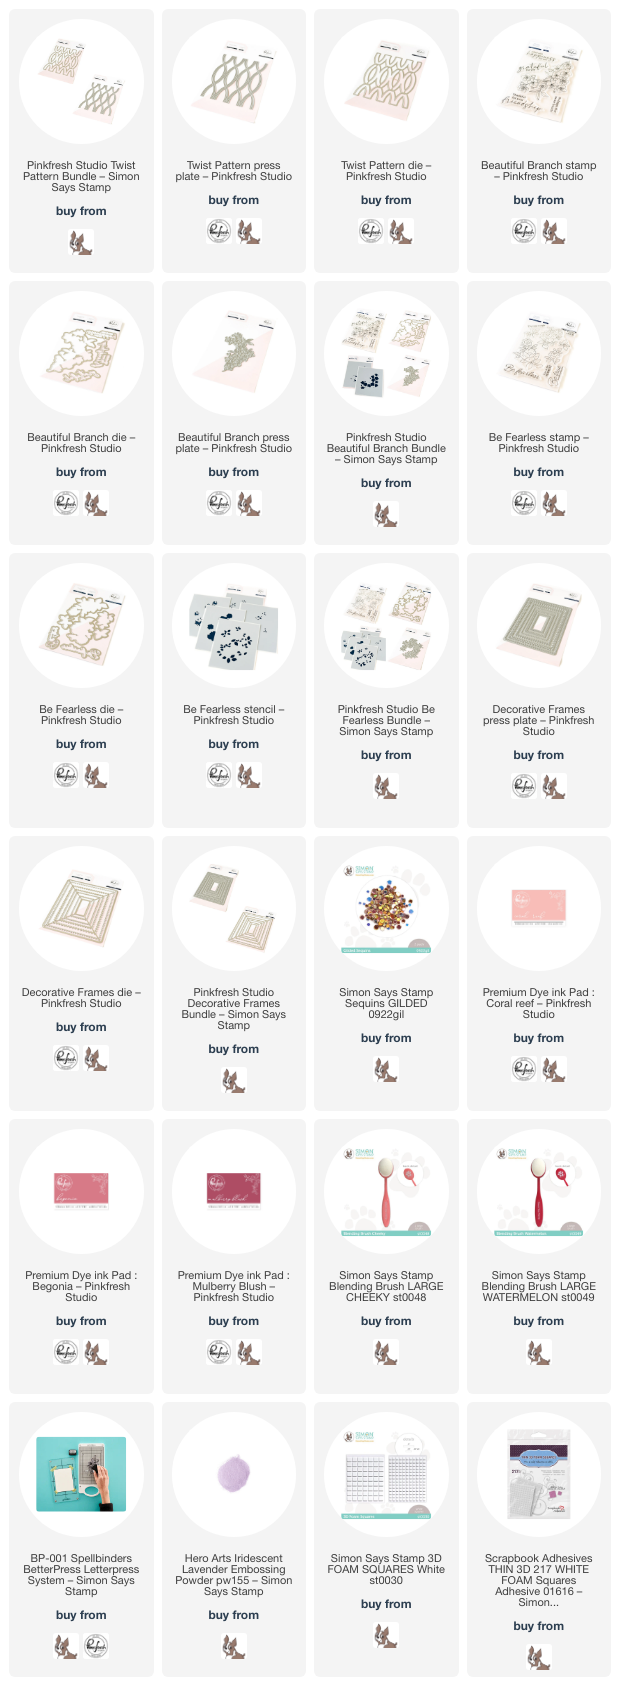
For both of my projects, I used a stunning combination of Coral Reef, Begonia, and Mulberry Blush ink. This ink combination creates a beautiful, unique fade from coral into mauve, which I thought worked perfectly with the cherry blossom images in the new Beautiful Branch Press Plate and coordinating die. I loved the combination so much that I used it for my second card featuring the new Twist Pattern Press Plate. Let’s get started with the details on my projects!

I started by creating a lovely textured background using the Beautiful Branch Press Plate set. To do this, I simply place the Press Plate on my cotton letterpress paper in the correct spot and run it through my Platinum 6 using the Better Press system without adding any ink to the plate. This debosses the pattern into the thick cotton paper, creating beautiful texture without adding additional color. I ran the plate through multiple times, rotating the plate each time to deboss the pattern in different spots and creating a halo of dripping cherry blossom branches on the side of my A2 cotton panel.
After I had finished impressing my pattern in the background, I used blending brushes to blend Coral Reef, Begonia, and Mulberry Blush ink, which I think creates the loveliest cherry blossom “haze” for my background. The ink blending over the top of the debossed images really helps to enhance them. After I had finished ink blending, I splattered the background with some sparkly glitter watercolors for added interest and sparkle!

After I had finished my background, I inked up the Beautiful Branches plate using Begonia ink and ran it through my Better Press system, then die cut the finished image with the coordinating die. I lightly blended some more Begonia ink in the center of the flowers, then used some more sparkling glitter watercolors on the edges of the blooms to add subtle shimmer and to coordinate with the background. I also used the new Decorative Frames Press Plate and coordinating die with Begonia ink, then die cut the finished frames. I love that you ink and die cut once to create a multitude of frames in different sizes! So clever. I arranged the frames on my pressed and blended card front, then used foam tape to adhere the different elements. I heat embossed a greeting from the Beautiful Branch stamp set onto some coordinating mauve cardstock, then die cut it with the super detailed coordinating die. Finally, I added a few Blossom Glitter Drops for extra sparkle!

For my second card, I thought that I would make a monochromatic ombré flat shaker card, embellishing the front of the shaker with an ombré pressed die cut. I started by inking up the Twist Pattern Press Plate and coordinating die using Coral Reef, Begonia, and Mulberry Blush ink. The coating on the plates makes it super easy to use multiple ink colors on your plates, and the colors fade very nicely into each other as long as you ensure that they overlap. After running the inked background panel through the Better Press system, I used blending brushes to blend the same ink shades onto the entire piece of cardstock, which creates a very subtle tone-on-tone blend over the impressed pattern. After I had finished blending, I die cut the Twist Pattern Press Plate image using the coordinating die and set it aside.
To create the flat shaker, I blended the same shades of ink on a full size A2 panel of white cardstock, then used some leftover stamp packaging to create the shaker pocket. I filled the shaker with some coordinating sequins from the Gilded Sequin pack and mounted the Twist Pattern die cut on the front with some foam adhesive squares.

To adorn my shaker, I stamped the floral images from the new Be Fearless stamp set using Mulberry Blush ink, then stamped directly over the top with sticky embossing ink, then added some Iridescent Lavender embossing powder to create a custom embossing color. Using the same color inks, I blended only three of the the different layers of the Be Fearless layering stencils, preferring only to ensure that the images had flat color rather than super detailed layers. I cut the images out with their coordinating dies, as well as another sentiment from Beautiful Branches. I popped both of the die cuts up with some more foam adhesive. This flat shaker card is so much fun and so unique! I love that you don’t need to have a bulky frame to have a shaker card like I used to make many years ago.
Well, that’s all for my projects today. Now for some fun giveaway information!
Pinkfresh Studio will be giving away the full release on the Pinkfresh blog & YouTube channel. They will also be giving away a total of TEN $25 gift cards along the hop. Be sure to leave a comment on each stop on the hop for maximum entries, because the winners will be selected from the comments.
Winners will be selected and posted on June 11, 2024 on our GIVEAWAY PAGE. Winners must check that page & claim their prize within 2 weeks.
Here’s the full hop list in case you get lost:
Thanks so much for stopping by today, and happy hopping!