Good morning, friends! I love when my friends at OLO Marker give me an excuse to play with their wonderful markers. They launched a new monthly series earlier this year: Colors of the Month! Each month, they will offer a special bundle of colors that work nicely together, giving you an opportunity to try the colors out and build up your collection. This month’s colors are RV0.1, R5.5, and R5.7. I took this opportunity to do some coloring with the Butterfly Ranunculus stamp set that I illustrated for Simon Says Stamp, building up the different layers of color to create a bright pink bloom with maroon foliage. Let’s get started on the details of my project!
With the OLO Markers, I find that they layer beautifully, allowing for more versatility and greater variety of color with fewer markers. One swipe of the marker lays down a light layer of color, while adding subsequent layers over the top adds more intensity and vibrancy to the colored image. I also used the tip-to-tip method to do some subtle blending of the colors. I put these techniques to use to create these monochromatic blooms!

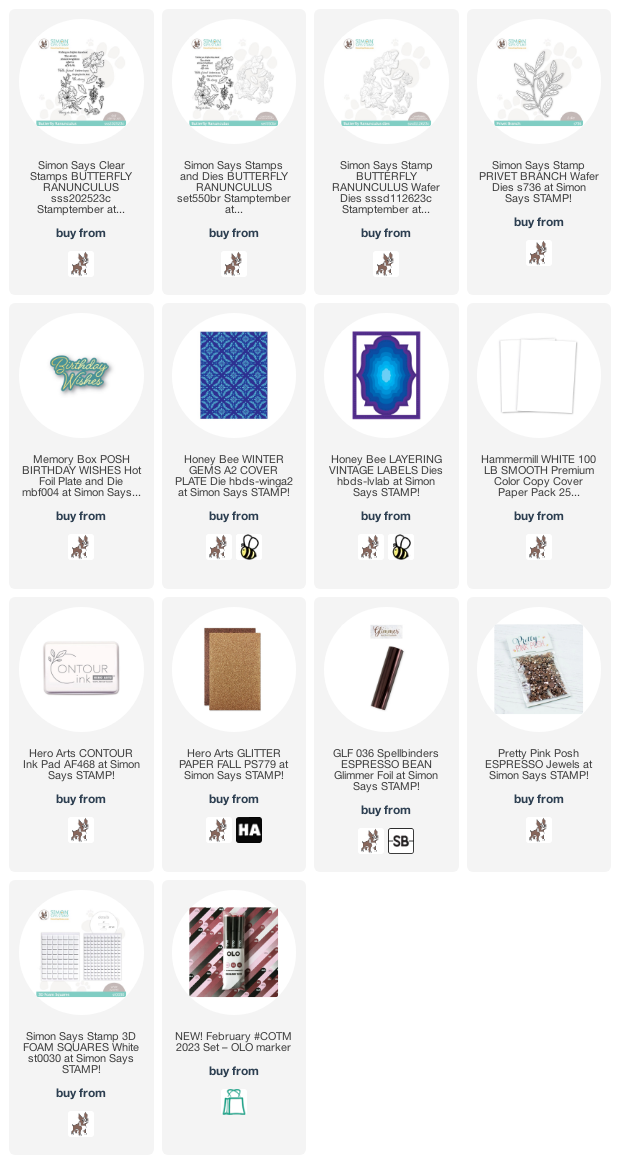
I began by stamping my Butterfly Ranunculus images onto some Hammermill cardstock using Contour Ink from Hero Arts. This Hammermill+Contour Ink combination is my favorite for doing no-line coloring with the OLO Markers. After I finished stamping the images, I used the Colors of the Month to add lots of vibrant pink and maroon to the images. I used only the R5.5 and R5.7 markers for the leaves, saturating the color on the shadowed areas with multiple layers of color and keeping the highlights as light as possible with only one swipe of the R5.5 marker. Layering the colors in this way helps to maintain the contrast of the shadows vs. highlights, while also allowing me to use a minimal amount of markers!

For the large bloom, I used all three of the markers from the Color of the Month, working the first couple of layers using the tip-to-tip method of coloring, where I touch the tip of the lighter marker to the tip of the darker marker. As I touch the lighter marker to the paper, the darker ink that has been added to the tip slowly fades away, creating a smooth blend, much more subtle than if I had added the darker marker directly to the paper and blended it out with the lighter marker. Again, I kept the highlights as light as possible by swiping my marker over them only once, allowing for as minimal saturation as possible. Once I had added my first layer of color, I went back in with the two darker markers to add darker shadows to the areas tucked behind the top petals. For the really shadowed areas, I put the markers directly to the paper, but for the petals more towards the front, I used the tip-to-tip method to allow for a more subtle blend.
I die cut the finished colored blooms with the coordinating dies, then, to accent the monochromatic colored blooms, I die cut the Privet Branch dies from some chocolate brown glitter cardstock and cut them up so that I could tuck them here and there. This chocolate brown glitter cardstock beautifully accented the greeting, a hot foiled “birthday wishes” using the Posh Birthday Wishes hot foil plate and die from Memory Box and some shiny Espresso Bean foil from Spellbinders.

For the background, I used the absolutely beautiful new-to-me Vintage Labels die set from Honey Bee Stamps. I die cut the largest label from some more Hammermill cardstock (I love the unique shape of these label dies!) and used one of the smaller labels to cut out the center of the die to create the frame shape. For the card front base, I used the stunning Winter Gems cover plate die, also from Honey Bee Stamps. This cover plate isn’t technically a die, as it doesn’t cut anything out; rather it debosses a beautiful pattern into the cardstock, creating a gorgeous and subtle texture that looks divine behind basically anything. I popped up the white frame and colored flowers and glittering foliage die cuts with foam adhesive, then added the foiled greeting with a double layer of foam adhesive to create extra height and allow it to stand out a bit. The final step was to add a few shiny rose gold Espresso jewels!
Well, that’s all for the details on this project. I love that you can create such incredible highlights and dimension with so few OLO markers depending on how many layers of color you add to your project! If you wanted to try the OLO markers, simply click my link HERE! I am so excited to see what next month’s Color of the Month is over at OLO. Thanks so much for stopping by today, and have a marvelous day!
GASP!
Absolutely STUNNING!!!!!
Holy gorgeous!!!
The leaves had me stumped until I read you used brown glitter card stock. A great addition! Those 3 markers in your hands are stunning!