Hi friends! Merry Christmas! I have a few more holiday felt projects to share with you using beautiful new dies from the Honey Bee Stamps Cozy Christmas release. I made so many felt gifts this year and enjoyed myself so much; I am contemplating giving myself some time to just sit and sew each week. It’s good to try new things, isn’t it? Especially when they’re so therapeutic and relaxing! While many companies make dies specifically for stitching with handy dandy little holes to make the stitching as foolproof as possible, I wanted to create these special gifts with some non-stitching dies. Let’s get started on the details for my projects!
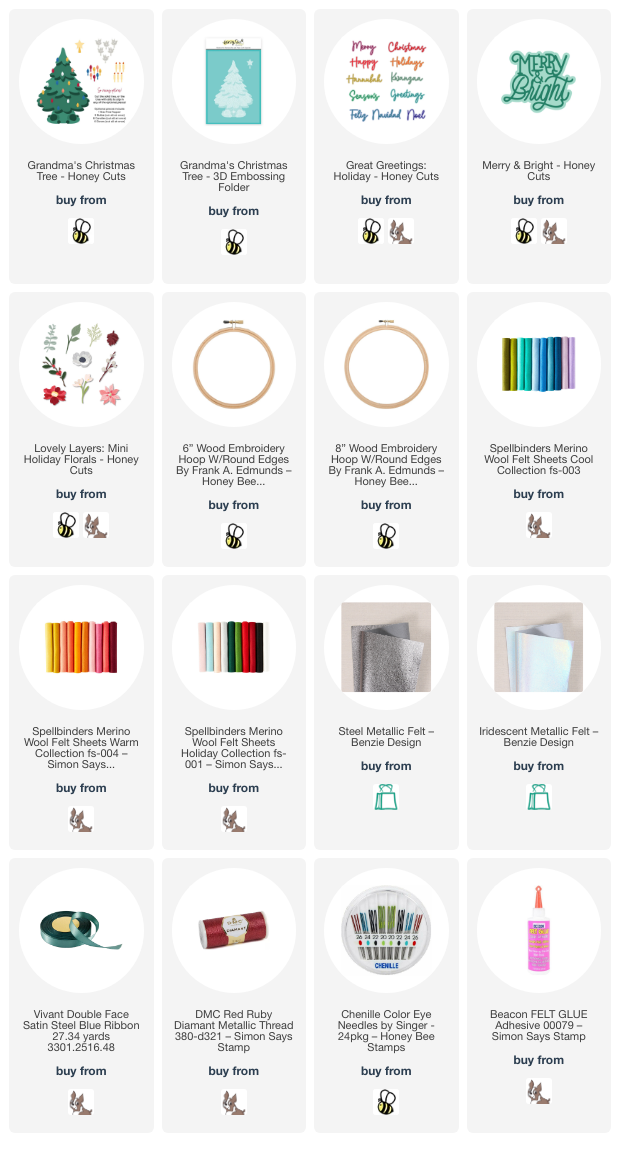
*I have gathered links to all of the products used at the bottom of the post for your convenience, using affiliate links. Thank you for shopping with my links! I truly appreciate your support for my work!*

For my first project, I thought that I would combine two of my favorite nostalgic memories from my childhood: my Grammy’s ceramic Christmas tree and my mom’s love of the song “Feliz Navidad.” I feel like every 70’s, 80’s, and 90’s kid had one of these ceramic trees in their family heirlooms, and my Grammy’s, while not pink like this felt tree, was absolutely iconic. The Grandma’s Christmas Tree die set from Honey Bee Stamps is an older set, but no less fabulous for it’s age. The details, the generous size, the coordinating embossing folders and stencils…. perfection! I used some pale pink felt to die cut the tree, then used the coordinating Grandma’s Christmas Tree embossing folder to run the image through my die cutting machine. Even though the embossed details didn’t stay on the springy felt, they were impressed deeply enough that I was able to use some coordinating pink embroidery floss to stitch some larger seed beads onto the edges of the different layers of the tree.

After I had added the beads, I adhered the colorful die cut felt lights with some felt glue, then used the same pale pink embroidery floss to add some stitched details in approximately the same spots as the embossed details. I adhered the tree to an 8″ embroidery hoop to which I had added some neutral linen material using more felt glue. For a greeting, I used the Great Greetings: Holiday dies, cutting the shadow layer from the “Feliz Navidad” sentiment from some hot pink felt, then cut the detail layer from some metallic iridescent silver felt. The metallic coating on the iridescent felt cuts these super detailed letters beautifully. I adhered the greeting beneath the tree with felt glue, then added some embroidered metallic red snowflakes and seed beads for some additional texture and shine!

For my second project, I used the absolutely spectacular Lovely Layers: Mini Holiday Florals to create a felted holiday wreath. I die cut the poinsettias, anemones, and foliage from a variety of red, peach, and teal felt, adhering the different layers of the flowers together using felt glue. Because there are so many layers on the anemone blooms, I did end up trimming some of the center out of the last couple of layers to keep the felt layers from becoming super thick. I think that’s one of my favorite things about felt: you can manipulate the felt a little to get the angles and images just perfect!

Once I had finished adhering the different layers together on the flowers, I decided to embellish the flower centers with some sparkling seed beads. I mixed two different shades of yellow on the center of the anemones, creating lots of interest and texture. Once I had finished embellishing my flowers, I die cut the beautifully intricate Merry & Bright die from some metallic charcoal felt. I adhered the sentiment in the center of a 6″ embroidery hoop, which I had filled with some glittering aqua fabric. To ensure that the glue spread evenly and cleanly, I flipped the embroidery hoop over and placed a glass weight in the center of the hoop, similar to how I weight paper adhered with liquid glue to ensure smooth drying.

After allowing a bit of dry time for the sentiment die cut, I flipped the hoop back over and began arranging my floral die cuts and foliage. I first placed the flowers and adhered them with the felt glue, then began arranging the foliage, tucking some beneath the flowers and arching others around the perimeter of the circular embroidery hoop. Finally, I added a few seed beads and sequins as well as a coordinating satin bow to the top of my hoop. The colors are a bit non-traditional, but I absolutely love how modern and fresh the coral, red, and aqua looks with the traditional floral Christmas imagery!
Well, that’s all for my projects today. These felt gifts have been such a joy to create, and I am looking forward to playing with textiles and embroidery even more after things calm down from the holidays! I hope that you and your loved ones had a restful, yummy holiday filled with lots of love and a few treats, including crafty ones! Thanks so much for stopping by today, and Merry Christmas!
Leave a Reply