• Skip to main content
  • Skip to primary sidebar
  • Skip to secondary sidebar

Sixth Street Sundries

Emily Midgett

  • Home
  • About Me
  • Contact
  • OLO Marker Color Swatch Chart
  • Shop

scrappy tails crafts

Beachy Pastels with Scrappy Tails Crafts!

July 24, 2023

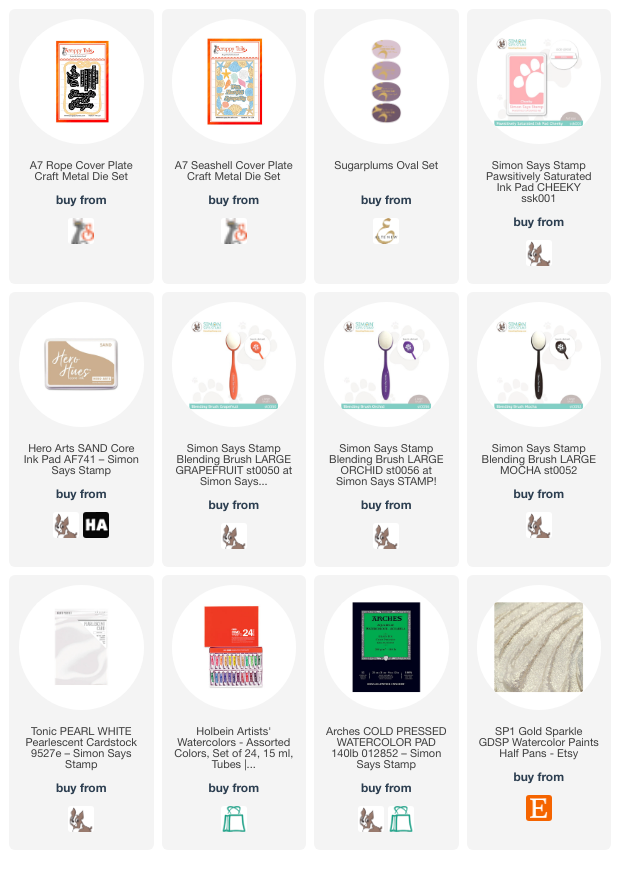
Hi friends! I have a couple of muted beachy projects to share with you today using some beautiful newer products from Scrappy Tails Crafts! Sabrina from Scrappy Tails Crafts generously sent me some of their gorgeous new June 2023 release to work with, and I was immediately drawn to the magnificent dies in the release: the A7 Seashell Cover Plate die and the beautiful sentiments in the A7 Rope Cover Plate die sets. I pulled out some watercolors and created a pair of soft, ethereal cards, perfect for sympathy or just general thinking of you. Let’s get started with the details!

For both of these cards, I kept my color palette extremely subtle, reminiscent of a beautiful beach sunset. I die cut the large A7 Seashell Cover Plate die from some Arches Cold Press watercolor paper, as well as the individual seashells included with the die set, and watercolored them using Holbein watercolors. I added some shimmering handmade watercolor accents using my watercolors from IUILE watercolors. These are my favorite way to add a touch of shimmer and shine to my projects!

For this larger project, after watercoloring the cover plate, I chose to pull the colors from the background onto the card front. I pulled out Amethyst (from Altenew), Cheeky (from Simon Says Stamp), and Sand (from Hero Arts), then used blending brushes to very lightly blend these colors around the edges of my A7 card front. The super soft colors enhance the softly watercolored die cuts so nicely!!

Once I had finished blended the background, I turned my attention to the greeting. I die cut the beautiful sentiments from the A7 Rope Cover Plate using white pearlescent cardstock. I die cut the detailed sentiment die cut twice from white cardstock and once from the pearlescent cardstock, then adhered them together to create a dimensional die cut greeting. I backed the sentiment strip die cut with a small piece of cardstock that I blended with the Amethyst ink to create a bit of contrast. After I’d added the die cut frame with some foam adhesive, I adhered the greeting with both liquid and foam adhesive, finally adding a few sparkly jewels for some added texture.

My second card uses some of the leftovers from the first card, but this time allows the sentiment to be the star of the show! I die cut the beautiful “thoughts and prayers” die, keeping the outline die around the detailed sentiment portion. I saved the detailed layer for later and reserved the centers of some of the letters (like g, a, and o). I then die cut only the background of the sentiment from heavyweight vellum using the outline die cut. I adhered the vellum to the back of the outline, then added the centers of the letters that I had saved to the side. For the smaller sentiment strip, I kept the individual letters in their correct spot, adding a strip of washi tape to the back to keep them in place.

Using the same colors of ink that I used on the first project, I lightly blended a halo on the center of my creamy white cardstock front. I adhered my sentiment pieces over the top of this subtly blended area using foam adhesive, then added the individual watercolored seashell die cuts using both liquid and foam adhesive. Finally, I added a few sparkling gems to fill in the bare spots of the seashell arrangements.

Well, that’s all for my projects today! The June 2023 release is so beautiful and full of gorgeous summery imagery. You should definitely take a peek! Thanks so much for stopping by today, and have a marvelous day!
Filed Under: scrappy tails crafts Tagged With: beachy, holbein watercolor, rope cover plate, seashell cover plate, sympathy card, watercolor

Welcome Spring with Scrappy Tails Crafts!

May 16, 2023

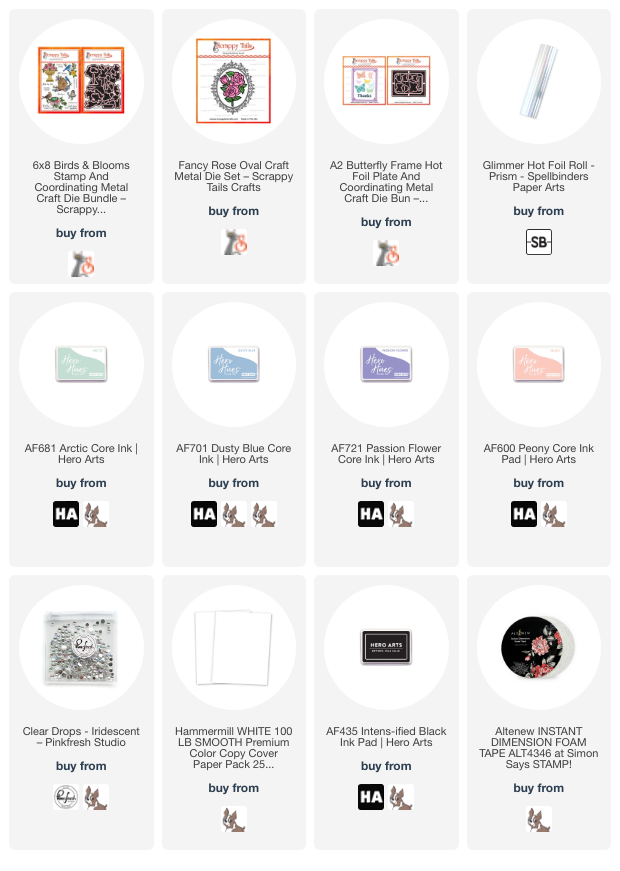
Hi there! Today I have some inspiration using products from a new-to-me company: Scrappy Tails Crafts! I was very honored when the ladies at Scrappy Tails Crafts reached out and asked if I would like to play with some of their newer products. Their new release is filled with beautiful images of Birds and Butterflies, and I had such fun creating this pair of delicate, crisp cards with splashes of soft color. Let’s get started with the details!

If you’ve followed my blog for any length of time, you will know of my obsession with colorful, super saturated vibrant backgrounds. But sometimes, a girl just needs a little crisp white cardstock with some pops of color, you know? I kept both of these cards simple with some crisp white Hammermill cardstock, which is perfect for both foiling and for alcohol markers!

For my first card, I began by stamping one of the beautifully detailed images from the Birds and Blooms stamp set using alcohol marker-friendly ink. I love that this stamp is all one piece-no masking required to create this beautiful little scene! I used my alcohol markers to add lots of vibrant color to the image, creating a sweet blue birdhouse and adding some swipes of yellow to my birdie’s belly and tail feathers, to (hopefully) create a Pine Warbler. (I am definitely not an ornithologist!!) I used the coordinating die for the Birds and Blooms set to cut out the detailed image, as well as one of the sentiments from the set. I love when there are dies to coordinate with the sentiments in the stamp set, as well!

To ground my sweet little scene, I used the gorgeous, detailed frame from the Fancy Rose Oval die set, which I slightly offset on my A2 panel so that it would be falling off the edge of my card front. I reserved the solid center oval piece and very lightly blended a “sky” using some pale blue ink and a blending brush. The pale blue ink adds just enough color to differentiate the background from the rest of the crisp white card. I adhered the frame and its blended solid interior piece to a crisp white A2 card front using foam adhesive.

I adhered my die cut and colored birdhouse scene using a double layer of foam tape, to help it pop even further from the background and truly make it the focal point. I nestled the sentiment in amongst the cherry blossoms with some more foam tape, then added a few shining iridescent blue pearls for another element of texture on this crisp, colorful card that screams springtime!

My second card features some iridescent hot foiling, created using the gorgeous A2 Butterfly Hot Foil Frame + Coordinating Dies. I hot foiled the butterflies and frame onto some more crisp white Hammermill cardstock using some iridescent hot foil, which creates a beautiful rainbow effect. I die cut all of the images using the coordinating dies and set them aside.

Next, I perused my inks to find a few colors that I could use to create an “iridescent” background, selecting colors that would coordinate with the iridescent rainbow colors in my hot foiled pieces. I used Arctic, Dusty Blue, Passion Flower, and Peony inks from Hero Arts, lightly blending all around the edges of my solid A2 background panel, and I think the combo of these four inks picks up the iridescent colors in the foil beautifully!

I popped up the hot foiled frame around the edge of my blended background panel using foam adhesive, then added the butterflies and greeting, scattering the butterflies so that they fluttered in a visual cascade down the front of my card front, keeping the larger butterflies in the center of the card and tapering off in size towards the top and bottom. The final touch was to add a few iridescent gems for one last touch of sparkle!

Well, that’s all for my projects today! The new release from Scrappy Tails Crafts features so many beautiful butterfly and bird themed products… if you’re totally in springtime mode like me, you’re going to want to check it out! Thanks so much for stopping by today, and have a marvelous day!

Filed Under: scrappy tails crafts Tagged With: A2 Butterfly Frame, birds and blooms, fancy rose oval, hot foil, ink blending, iridescent

Primary Sidebar

  • Facebook
  • Instagram
  • Pinterest
  • YouTube

Favorite Shops

Secondary Sidebar

Subscribe

Enter your email address to subscribe to this blog and receive notifications of new posts by email.

Instagram
Something is wrong.
Instagram token error.
Follow
Load More

Archives

Tags

3D embossing folder alcohol markers better press birthday birthday card blog hop card kit christmas christmas card christmas tag colored pencil copic copic coloring Daniel Smith die cutting embossing folder embroidery felt giveaway holiday holiday card hot foil ink blending karin brushmarker pro layered stencil masculine my monthly hero new release no line coloring no line watercolor OLO marker olo markers original illustration pawsitively saturated rainbow shaker card slimline stamping stamptember stencil thank you thinking of you valentine's day video watercolor

Popular Posts

Simon Says Stamp Joy For You Blog Hop- Day 1!
Simon Says Stamp Joy For You Release-Now Available!
Frozen Fractals All Around with New Simon Says Stamp Joy For You Release!
Shaped Holiday Shaker Card with New Simon Says Stamp Jolly Season Card Kit of the Month!
Holiday Postage with New Simon Says Stamp!
Simon Says Stamp Glory to the Newborn King Holiday Kit-Part II!
Altenew Build A Flower: Fuchsia Blog Hop+Giveway!
Holiday Joy in Pink and Green with New Simon Says Stamp DieCember!
Pinkfresh Studio 5th Birthday!
Honey Bee Stamps September Release Blog Hop!

Disclosure

Some affiliate links are used in my posts. This means that, should you click on one of my links and purchase something from that company, I will receive a small portion of the sale at no extra cost to you. I use the money earned from these sales to help maintain my blog. I so appreciate you visiting and, if you do choose to use one of my affiliate links, thank you so much for your support!
Copyright © 2026 ·Brunch Pro Theme · Genesis Framework by StudioPress · WordPress · Log in
Loading Comments...