• Skip to main content
  • Skip to primary sidebar
  • Skip to secondary sidebar

Sixth Street Sundries

Emily Midgett

  • Home
  • About Me
  • Contact
  • OLO Marker Color Swatch Chart
  • Shop

beautiful roses

VIDEO: Better Press Plates Used for More than Just Letterpress!

January 24, 2024

Hi friends! I am up on the Pinkfresh Studio YouTube channel using one of my new illustrations for Pinkfresh Studio’s Better Press Plate line: Beautiful Roses! I used the plate to create this card without inking it up at all. Watch below or check it out HERE on YouTube!

One of my favorite attributes of the Better Press system and plates is that they don’t just have to be used for the letter press technique. Not only do they imprint gloriously detailed images into your paper, but they also can be used for hot foiling and adding delicious texture to your letter press paper. In today’s video, I use my new Beautiful Roses Press Plate illustration from Pinkfresh Studio (PFS | SSS) to both deboss a floral background pattern and hot foil the detailed floral image onto some super smooth vellum. Let’s get started with the details!

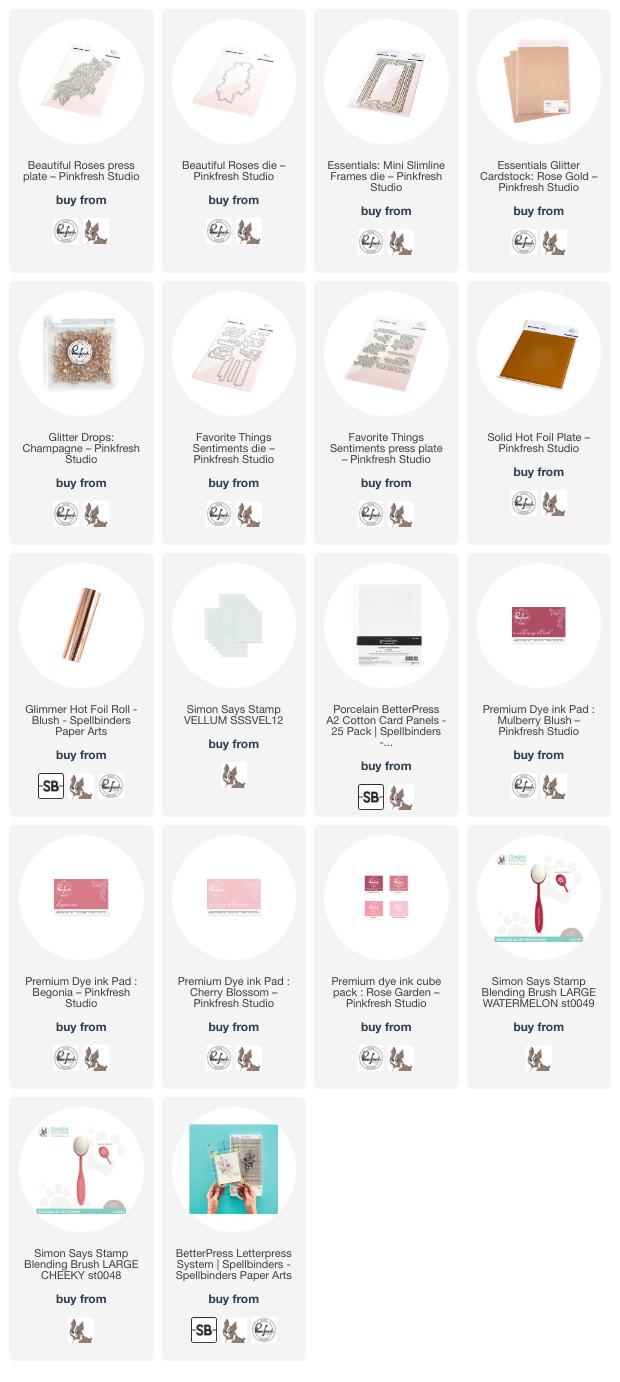
To start, I hot foiled the Beautiful Roses Press Plate (PFS | SSS) onto some vellum from Simon Says Stamp using the Glimmer Hot Foil machine from Spellbinders (SB | SSS | PFS). I have had good luck using delicate images on this super smooth vellum, and the Blush foil from Spellbinders (PFS | SSS | SB) worked beautifully with the Beautiful Roses plate! After hot foiling, I die cut the image using the coordinating die (PFS | SSS).

Next, I used the Beautiful Roses Press Plate (PFS | SSS) without ink to create this textured, debossed pattern on the background of my Porcelain Better Press paper (SB | SSS). Using the grid guides on the magnetic plate and clear platen from the Better Press system (SB | SSS), I was able to arrange the Beautiful Roses Press Plate (PFS | SSS) around the edge of my A2 panel of Porcelain Better Press paper (SB | SSS), rotating it to make the pattern as cohesive and natural as possible. In the video, I also show how I took advantage of the magnetic attributes of the system to ensure perfect placement on my paper! Debossing the pattern into the paper creates a beautifully subtle texture, which I enhanced by blending Cherry Blossom, Begonia, and Mulberry Blush inks using blending brushes. The ink concentrates in the debossed lines, making the pattern pop a bit from the background. After I had finished blending, I splattered the entire panel with some rose gold glitter watercolors.

To ground my foiled vellum image, I die cut the smaller Mini Slimline Frame (PFS | SSS) using Rose Gold Glitter Cardstock (PFS | SSS). This pinky metallic gold glitter paper coordinates beautifully with the Blush foil! I popped up the frame with foam adhesive, offsetting it to the left and trimming off the excess. For the greeting, I hot foiled a few sentiments from the Favorite Things Sentiments Press Plates (PFS | SSS) set using more Blush foil, then hot foiled the leftover negative images with the Solid Hot Foil Plate (PFS | SSS). I die cut the greetings with the Coordinating Dies (PFS | SSS), then adhered the solid die cut to the transparent vellum, flipping it over to add foam adhesive behind the solid die cut so as to keep the vellum clean of unsightly adhesive. I added a melon twine bow and some Champagne Glitter Drops (PFS | SSS) for extra sparkle and texture!

Well, that’s all for my project today! I love experimenting with the Better Press plates and machine. It’s such fun to find new ways to get more uses out of your supplies, and it’s so surreal to see and use my own illustrations as a Press Plate! Thanks so much for stopping by today, and have a marvelous day.
Filed Under: pinkfresh studio Tagged With: beautiful roses, better press, favorite things, glimmer hot foil, letterpress, original illustration

Pinkfresh Studio December 2023 Press Plate Release!

December 11, 2023

Hi friends! We’re starting off the new week with a new release over at Pinkfresh Studio, and this release is extra exciting to me because I have not one, but TWO different illustrations being released today. And they’re not just in stamp form; both my Beautiful Roses and Camellias illustrations are available as Press Plates to be used with the Spellbinders Better Press system as well as the Glimmer Hot Foil System! I am unbelievably excited to have these two new illustrations in Press Plate form. I think that the Press Plates lend such an air of elegance and sophistication to your cardmaking, and I think it is absolutely ingenious that they can be used for both letterpress and hot foil alike.

If you haven’t invested in a Better Press Letter Press system from Spellbinders, you’re really missing out. Hot foiling stymied me at first, I will admit, and it took several ruined cardstock panels (and a helpful cheat sheet Post-It Note on my Platinum 6) before I got the hang of my hot foil machine; the the Better Press system, however, is truly so user-friendly. I was literally able to use the first panel that I created with the system, with no real learning curve at all. And now, your other favorite stamp companies are coming out with beautiful plates to use with the system! So much versatility and so many gorgeous designs. I am thrilled to have these two new illustrations!

For my project today, I used the helpful grid lines on the magnetic insert panel to arrange my Beautiful Roses Press Plate on the center of an A2 panel of watercolor paper using the black Better Press ink. I can’t wait to experiment with the different colors of ink with these detailed Press Plates. The elegance of these letterpress images are really going to kick up my cardmaking. I am envisioning a toile background in light blue ink! I can’t wait to play more!

After I had impressed the image the first time, I flipped my clear platen and thus my card front 180* and impressed the image again. Because of the grid on the magnetic panel, I was able to place my rose swag exactly where I wanted it so that I could impress the image twice and create this wide band of roses in the center of my card!

After I had pressed the image twice using black ink, I used the soon-to-be-available new Liquid Watercolors from Pinkfresh Studio to add lots of vivid magenta and jade green to my watercolor panel. Liquid watercolors are such a fun medium; they are super concentrated, and so are incredibly vibrant, and because you can measure precisely how many drops are being released from the bottle, you can exactly recreate custom color mixes! I can’t wait to play more with these watercolors.

After I had finished watercoloring my image, I used the new Favorite Things Sentiments Press Plates and Coordinating Dies to create this simple and elegant letter press sentiment strip. I trimmed the watercolored panel down at the top and bottom, then mounted it on a full size A2 panel of black cardstock. I added a strip of glitter cardstock in the center of my rose panel to cover up the “seam” between the two pressed images, then popped up the letter press sentiment using some foam adhesive. The final touch was to add a few Twilight Ombré Glitter Gems for some more sparkle!

Well, that’s all for my project today. Now for some fun giveaway information!

Pinkfresh Studio will be giving away the full release on the Pinkfresh blog & YouTube channel. They will be giving away a total of TEN $25  gift cards along the hop. As per usual with blog hops – the winners will be picked from the comments.
Winners will be posted on December 19, 2023 on our GIVEAWAY PAGE. Winners must check that page & claim their prize within 2 weeks.

Here’s the full hop list in case you get lost:

You are invited to the Inlinkz link party!

Click here to enter
Loading Comments...