• Skip to main content
  • Skip to primary sidebar
  • Skip to secondary sidebar

Sixth Street Sundries

Emily Midgett

  • Home
  • About Me
  • Contact
  • OLO Marker Color Swatch Chart
  • Shop

rattan stripes

Altenew March 2023 Marvelous Monthly Series Release Blog Hop #1 + Giveaway ($300 in Total Prizes!)

March 17, 2023

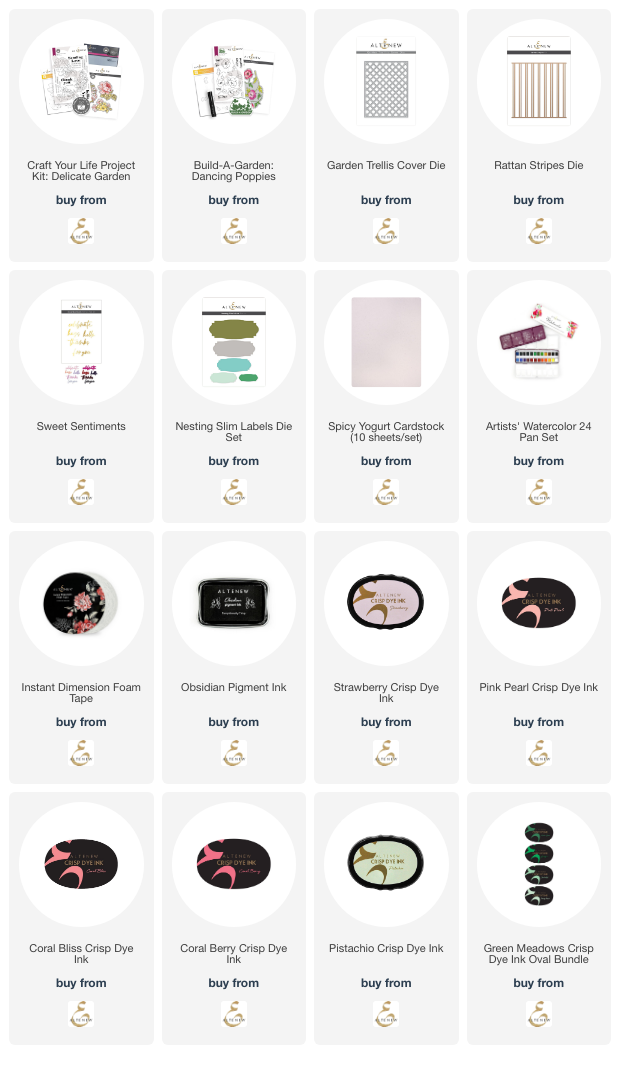
Good morning! Today, the folks at Altenew are hopping along to celebrate the newest Marvelous Monthly release for March, 2023! These monthly subscription series are always such fun and a great value, providing so many different elements to create a huge variety of stunning cards. I have two cards to share with you today, featuring the new Build-A-Garden: Dancing Poppies and Craft Your Life Project Kit: Delicate Garden. Here’s a peek at the two different sets that I’ll be using today:

I love that you receive so many different elements in each kit so that you can mix and match, depending on what kind of coloring medium (or none at all!) that you feel like using that day! If you are loving these kits as much as I am, you can always SUBSCRIBE to be sure that you receive a kit each month (and at a discount!). Let’s get started on the details for my projects today!

I love the juxtaposition of crisp black accents and softly colored flowers, and it was this color combination that I had in mind when creating both of these cards. I used Spicy Yogurt cardstock with coral, peach, and mint with intense black accents to create this pair of cards!

For my first card, I stamped the images from Dancing Poppies onto some watercolor paper using Obsidian pigment ink, then clear embossed over the top, which helps to add a level of crispness to the stamping. I used the Artists’ 24 Pan Watercolor Set to add some soft pinky coral to the poppy flowers and some pale minty green to the leaves. I used the one-and-done die to die cut all of the watercolored flowers.

For the background, I wanted to highlight those shiny black lines and dramatic black centers on the watercolored poppies, so I layered together the Rattan Stripes Cover Die twice from some black cardstock, then the Garden Trellis cover plate cut once from black cardstock, to create this unique, super textured, layered background. I adhered all three pieces to a Spicy Yogurt cardstock base using liquid adhesive.

For the greeting, I die cut the “thanks” Sweet Sentiment dies from black and Spicy Yogurt cardstock to coordinate nicely with the creamy background and the watercolor paper itself. I arranged the flowers on my rattan card front, popping them up with Instant Dimension Foam Tape, then added the greeting at the bottom. The final step was to add some gems for sparkle!

My second project features the stunning new Craft Your Life Project Kit: Delicate Garden. I began by stamping all of the floral images in the stamp set using Obsidian pigment ink, then clear embossed over the top to again create those super crisp black lines on my white cardstock. I used the coordinating stencils included in the kit to do some subtle, soft ink blending, creating peachy and minty bouquets using Strawberry, Pink Pearl, Coral Bliss, and Coral Berry inks for the flowers, and Green Meadows inks for the foliage. I die cut all of the blended flowers using the coordinating dies, included with the kit.

I loved each of the floral bouquets so much that I couldn’t bear to leave one off of the card, so I expanded my canvas and created a slimline card front to display them all properly! I created the base from more Spicy Yogurt cardstock, then die cut a large Nesting Slim Labels panel, upon which I stamped some of the floral bouquets again using Obsidian pigment ink, then clear embossed over the top. I popped up the embossed label die cut on the slimline card front using some more Instant Dimension Foam Tape, then arranged the blended florals in a pretty swag down the front of the card. I adhered the bouquet with more foam tape, to create a double layer of foam tape along the edges of the die cut. So much height!

I heat embossed the greetings from the Delicate Garden using the Obsidian and clear embossing powder combination, then fussy cut them with my sharp scissors. I popped those images up from the card front using yet another layer of foam tape, for a grand total of three layers of foam tape in the center of the card! Definitely a card to be hand delivered or placed inside a package, ha. Finally, I added a few black crystals for one last pop of black and touch of sparkle.

Well, that’s all for my projects today! Now for some fun giveaway information:

$300+ in total prizes! To celebrate this release, Altenew is giving away a FULL RELEASE BUNDLE to 1 grand prize winner and a $25 gift certificate to 4 winners! Please leave a comment on the Altenew Card Blog and/or each designer’s blog post on the blog hop list below by March 23, 2023 for a chance to win.Altenew will draw 5 random winners from the comments left on each stop of this blog hop and announce the winners on the Altenew Winners Page on March 24, 2023. *The grand prize winner will be chosen from comments left on the Altenew Card Blog.

Here’s the full hop list:

You are invited to the Inlinkz link party!

Click here to enter

Thanks so much for stopping by today, and happy hopping!
Filed Under: altenew Tagged With: build a garden, craft your life, dancing poppies, delicate garden, layered stencil, nesting slim labels, rattan stripes, slimline, stencil, subscription, sweet sentiments, trellis, watercolor

Altenew February 2023 Boho Chic Stamp, Die, Stencil & More Release Blog Hop #1 + Giveaway ($300 in Total Prizes!)

February 1, 2023

Hi there! Today, we are celebrating the release of Altenew’s new Boho Chic collection, a new array of products that have so many unique subjects/styles and can work seamlessly together or on their own! You can check out the full hop list HERE on the Altenew blog or check out the link list at the bottom of this post.

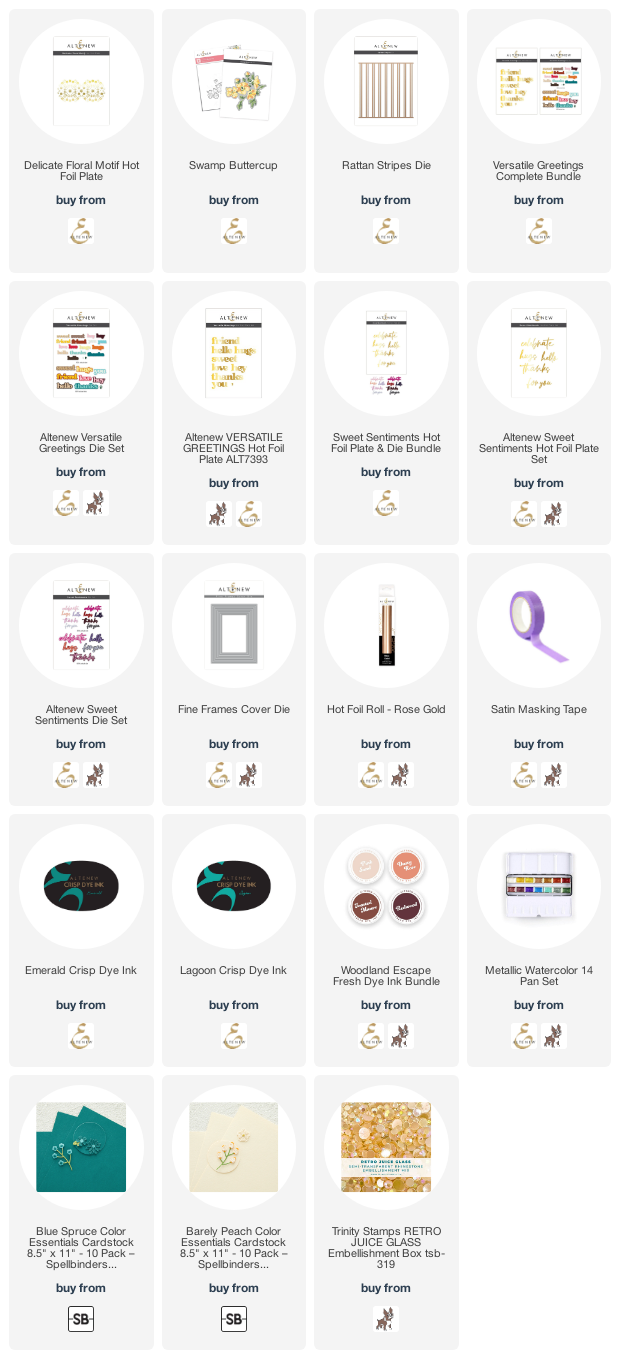
My projects for today’s post feature an interesting, new-to-me color combination: rose gold, blush, and teal. I began by doing some hot foiling with the new Delicate Floral Motif hot foil plate. I loved the look of the contrast of Altenew’s Rose Gold Hot Foil roll on some intense teal cardstock, so I used that as my color inspiration for both projects today, keeping the colors intense and vibrant on the hot foiled card, juxtaposing it with a lighter, more pastel version for the second project. Let’s get started with the details!

To start, I hot foiled the new Delicate Floral Motif hot foil plate with the Rose Gold Hot Foil from Altenew on some intense teal cardstock from my stash, centering it a bit to the left of the center of the A2 card front and using some low-tack tape to keep it in place when using my hot foil machine. I love how beautifully the contrast of colors showcases details from the new Delicate Floral Motif hot foil plate. To highlight the details even further and direct the eye towards the hot foiled focal point, I blended some Emerald ink around the edges of the card front, then splattered some coordinating rose gold metallic watercolor around the edges.

While my panel was drying, I hot foiled greetings from the Versatile Greetings and Sweet Sentiments hot foil and die bundles. I used the same teal cardstock and Rose Gold Hot Foil to keep the color scheme completely cohesive. I love the combination of fonts with these two sentiment sets; the chunky type font contrasts beautifully with the delicate script of the handwritten font. Once I had hot foiled and die cut the greetings, I popped them up on the card front using some foam adhesive.

Once I had added the foiled sentiment die cuts, I almost called it good, but the more I looked at it, the more it felt like I needed just one more element of that metallic rose gold. One of my favorite ways to accent a focal point is to add a rectangular frame around the edge of my card front, and the Fine Frames Cover Die creates perfectly delicate accent frames that fit so many different styles of card. I die cut the Fine Frames Cover Die from some glittery cardstock in a shade almost identical to the rose gold foil. I adhered one around the blended edge of my card front using some liquid adhesive. The rose gold foil, rose gold splatters, and rose gold frame contrast so beautifully with the dark teal background!

My second card is a light and airy version of the same color scheme used before. I know that the new Swamp Buttercup is probably meant to be done in shades of yellow, but I was in “rose gold mode,” so I took some artistic license and blended the flowers using the muted pinks of the Woodland Escape Fresh Dye Ink collection. I blended the leaves using Lagoon and Emerald inks, lightly blending a touch of the darkest shade from the Woodland Escape quartet on the edge of the foliage to add extra dimension and interest. I die cut the finished floral bouquet using the coordinating die.

For the background, I die cut the new Rattan Stripes die from two A2 panels of pale peach cardstock, rotating it 90* the second time to create a plaid pattern. I adhered them both to a white A2 card front using liquid adhesive around the edges. The pale peach cardstock creates such a subtle background, but with tons of texture to keep things interesting. I added the die cut stenciled bouquet to the plaid card front using foam tape.

For the greeting, I used the Sweet Sentiments dies to die cut a glittery greeting. I die cut the solid background piece from some heavyweight vellum, then die cut the detail layer once from plain white cardstock and once from the same glittery rose gold cardstock used on the previous card. I adhered it to the card front, nestling it amongst the flowers with some dots of liquid adhesive. The final touch was to add a few peachy gems for some sparkle.

Well, that’s all for my projects today! Now for some fun giveaway information:

$300 in total prizes! To celebrate this release, Altenew is giving away a *$100 gift certificate to 1 lucky winner and a $20 gift certificate to 10 winners! Please leave a comment on the Altenew Card Blog and/or each designer’s blog post on the blog hop list below by 02/07/2023 for a chance to win. Altenew will draw 11 random winners from the comments left on each stop of this blog hop and announce the winners on the Altenew Winners Page on 02/08/2023.
*The winner of the $100 gift certificate will be chosen from comments left on the Altenew blog.

Here’s the full hop list:

You are invited to the Inlinkz link party!

Click here to enter

Thanks so much for stopping by today, and happy hopping!

Filed Under: altenew Tagged With: delicate floral motif, fine frames cover die, hot foil, rattan stripes, swamp buttercup, sweet sentiments, versatile greetings

Primary Sidebar

  • Facebook
  • Instagram
  • Pinterest
  • YouTube

Favorite Shops

Secondary Sidebar

Subscribe

Enter your email address to subscribe to this blog and receive notifications of new posts by email.

Instagram
Something is wrong.
Instagram token error.
Follow
Load More

Archives

Tags

3D embossing folder alcohol markers better press birthday birthday card blog hop card kit christmas christmas card christmas tag colored pencil copic copic coloring Daniel Smith die cutting embossing folder embroidery felt giveaway holiday holiday card hot foil ink blending karin brushmarker pro layered stencil masculine my monthly hero new release no line coloring no line watercolor OLO marker olo markers original illustration pawsitively saturated rainbow shaker card slimline stamping stamptember stencil thank you thinking of you valentine's day video watercolor

Popular Posts

Simon Says Stamp October 2026 Card Kit of the Month: Homespun Gratitude!
February 2018 My Monthly Hero Blog Hop!
Altenew Craft A Flower: Poppy Blog Hop+Giveaway!
Felted Gourd Wall Hanging with Simon Says Stamp!
Sunflower Home Decor with Simon Says Stamp!
Craft Your Life Project Kit: Feathered Lilies Blog Hop+Giveaway!
Simon Says Stamp October 2025 Card Kit of the Month!
Altenew Standalone Die Blog Hop+Giveaway!
The Ton Anniversary Release- Day 2
Altenew Build A Flower Japanese Mum Blog Hop!

Disclosure

Some affiliate links are used in my posts. This means that, should you click on one of my links and purchase something from that company, I will receive a small portion of the sale at no extra cost to you. I use the money earned from these sales to help maintain my blog. I so appreciate you visiting and, if you do choose to use one of my affiliate links, thank you so much for your support!
Copyright © 2026 ·Brunch Pro Theme · Genesis Framework by StudioPress · WordPress · Log in
Loading Comments...